

After a decade of making these every Halloween, every school lunch, and every rainy Saturday afternoon, I’ve landed on the Rice Krispies treat ratio that just works – soft, chewy, simple. The trick? One extra tablespoon of butter, real vanilla extract, and a pinch of salt. No brown butter, no double marshmallows, no bakery pans.
Save this Recipe!
Video
It’s kind of amazing when you think about it. How can a few simple ingredients taste so good? Butter, marshmallows, and cereal may be simple on their own, but when melted and mixed together, they transform into soft, chewy bars everyone loves. My small upgrades make them even better without losing that classic flavor we all grew up with.
Why you’ll love this recipe
- True to the classic – Just like the original Rice Krispie Treats recipe, with only a few small upgrades.
- Balanced flavor – Vanilla and a pinch of salt keep them from being overly sweet.
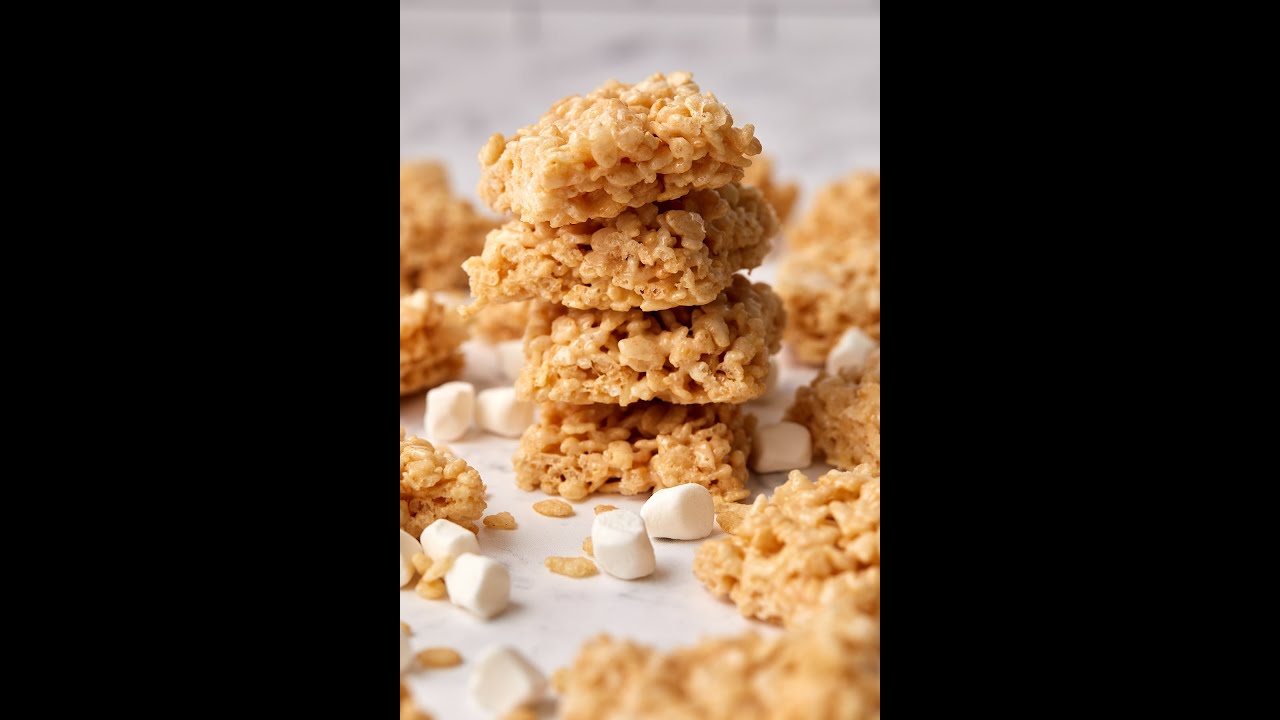
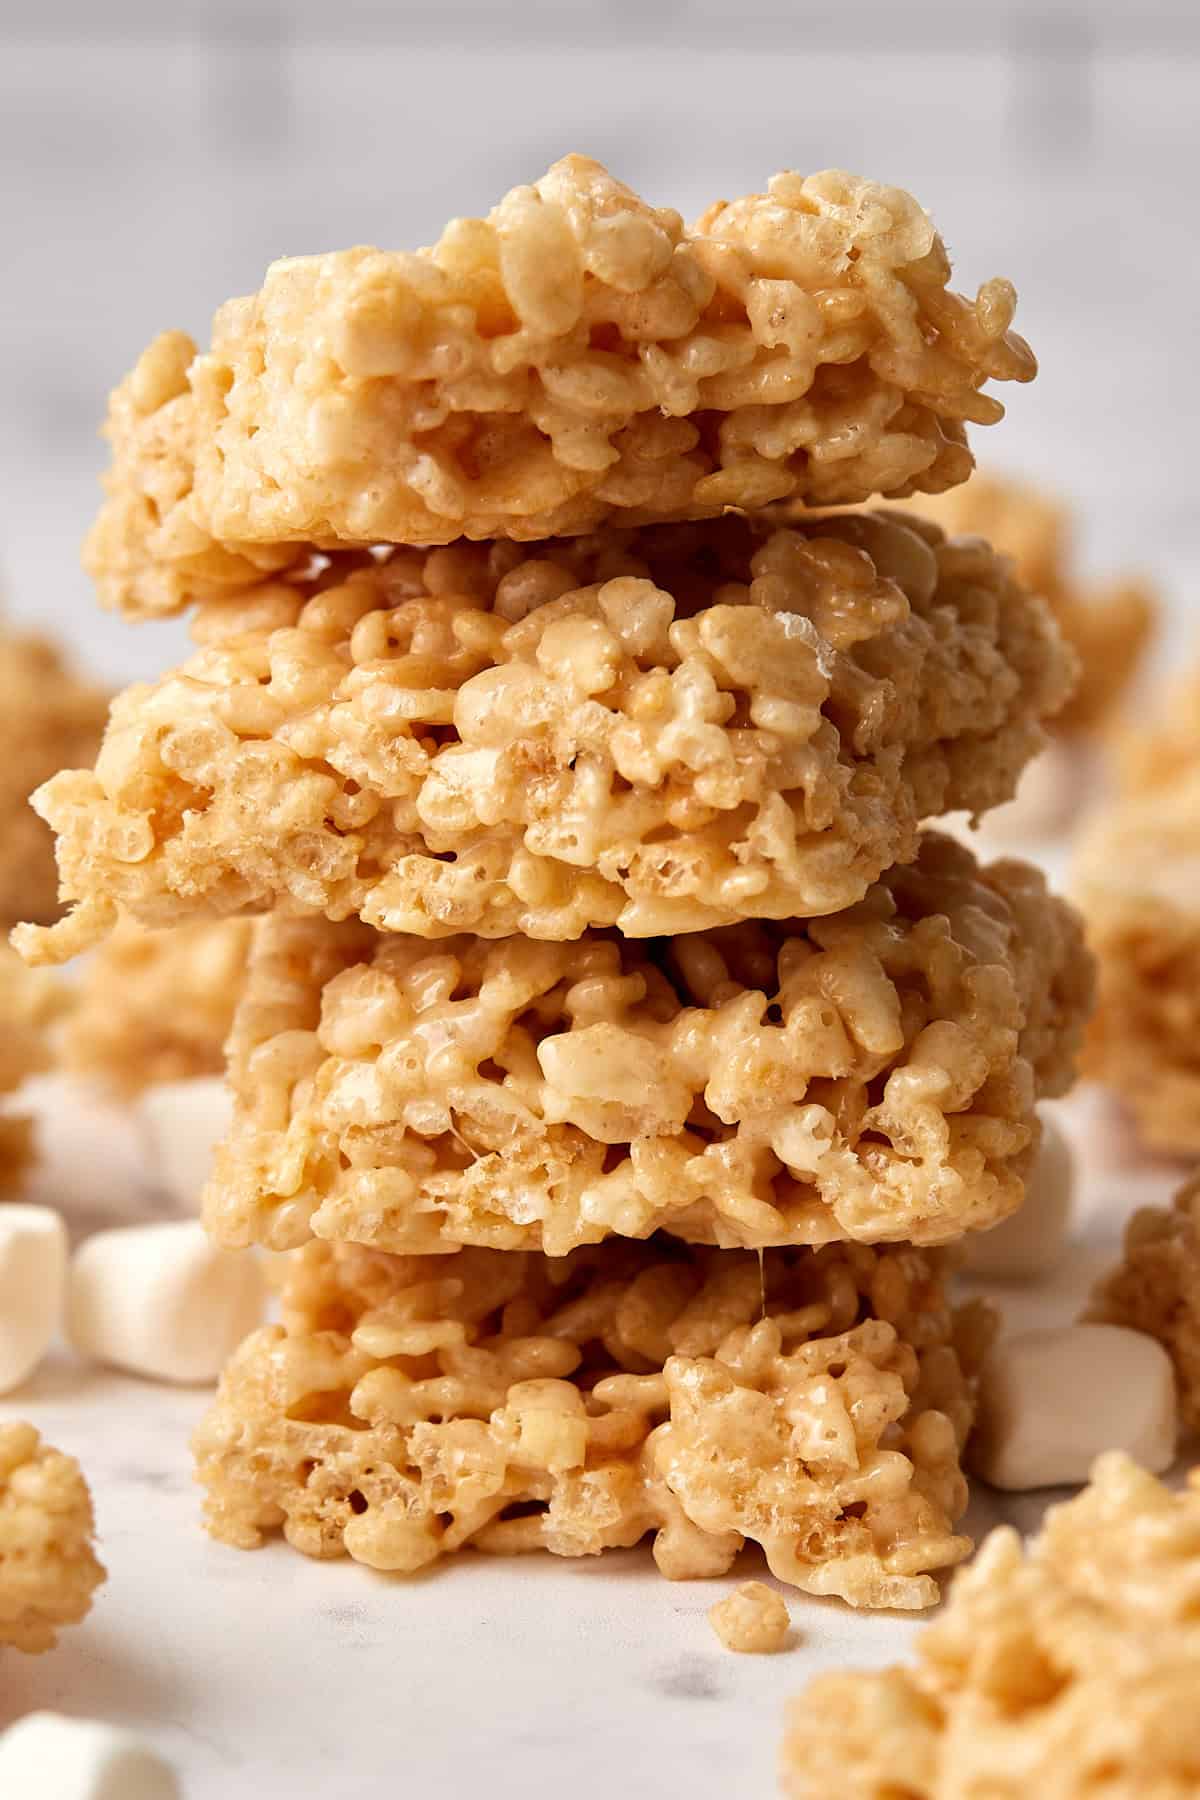
- Soft & chewy – A little extra butter ensures the perfect gooey texture.
- Quick & easy – One pot, 10 minutes on the stove, and you’re done.
Recipe Ingredients
Here’s what you’ll need to make these classic Rice Krispie Treats with my simple upgrades:

Ingredient Notes:
- Butter – Unsalted is best for controlling flavor. If you use salted butter, cut back on the added salt. European-style butter (like Kerrygold) has more fat and gives a richer flavor.
- Mini marshmallows – Fresh marshmallows melt smoothly. Avoid stale, half-open bags. Large marshmallows can work too.
- Rice Krispies cereal – Use a fresh, unopened box for the best crunch. Stale cereal will taste flat.
- Vanilla & salt – A splash of vanilla adds warmth, and salt balances the sweetness.
Substitutions and Variations
- Butter – Use salted butter and cut back on the added salt, or swap in dairy-free butter sticks.
- Marshmallows – Minis melt best, but large ones work. You can also use marshmallow fluff (1 jar ≈ 10 oz bag of marshmallows) for a softer texture.
- Cereal – Any crispy rice cereal brand works. Puffed rice gives a lighter crunch.
- Pan size – Use a 9×13-inch pan for thinner bars, or a 9×9-inch pan for thick, bakery-style squares.
How to make Rice Krispies Treats
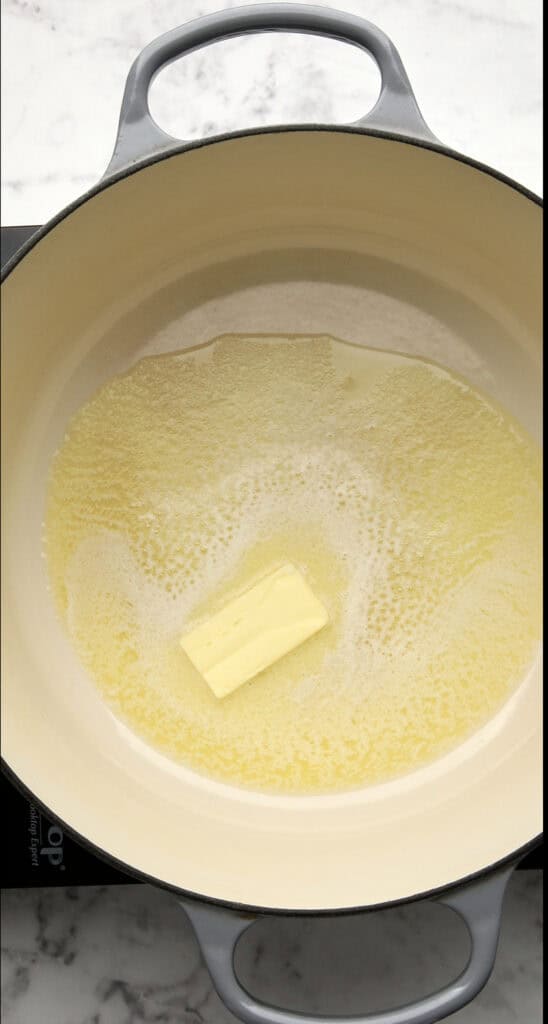
Step 1: In a large pot over medium-low heat, melt the butter until smooth.
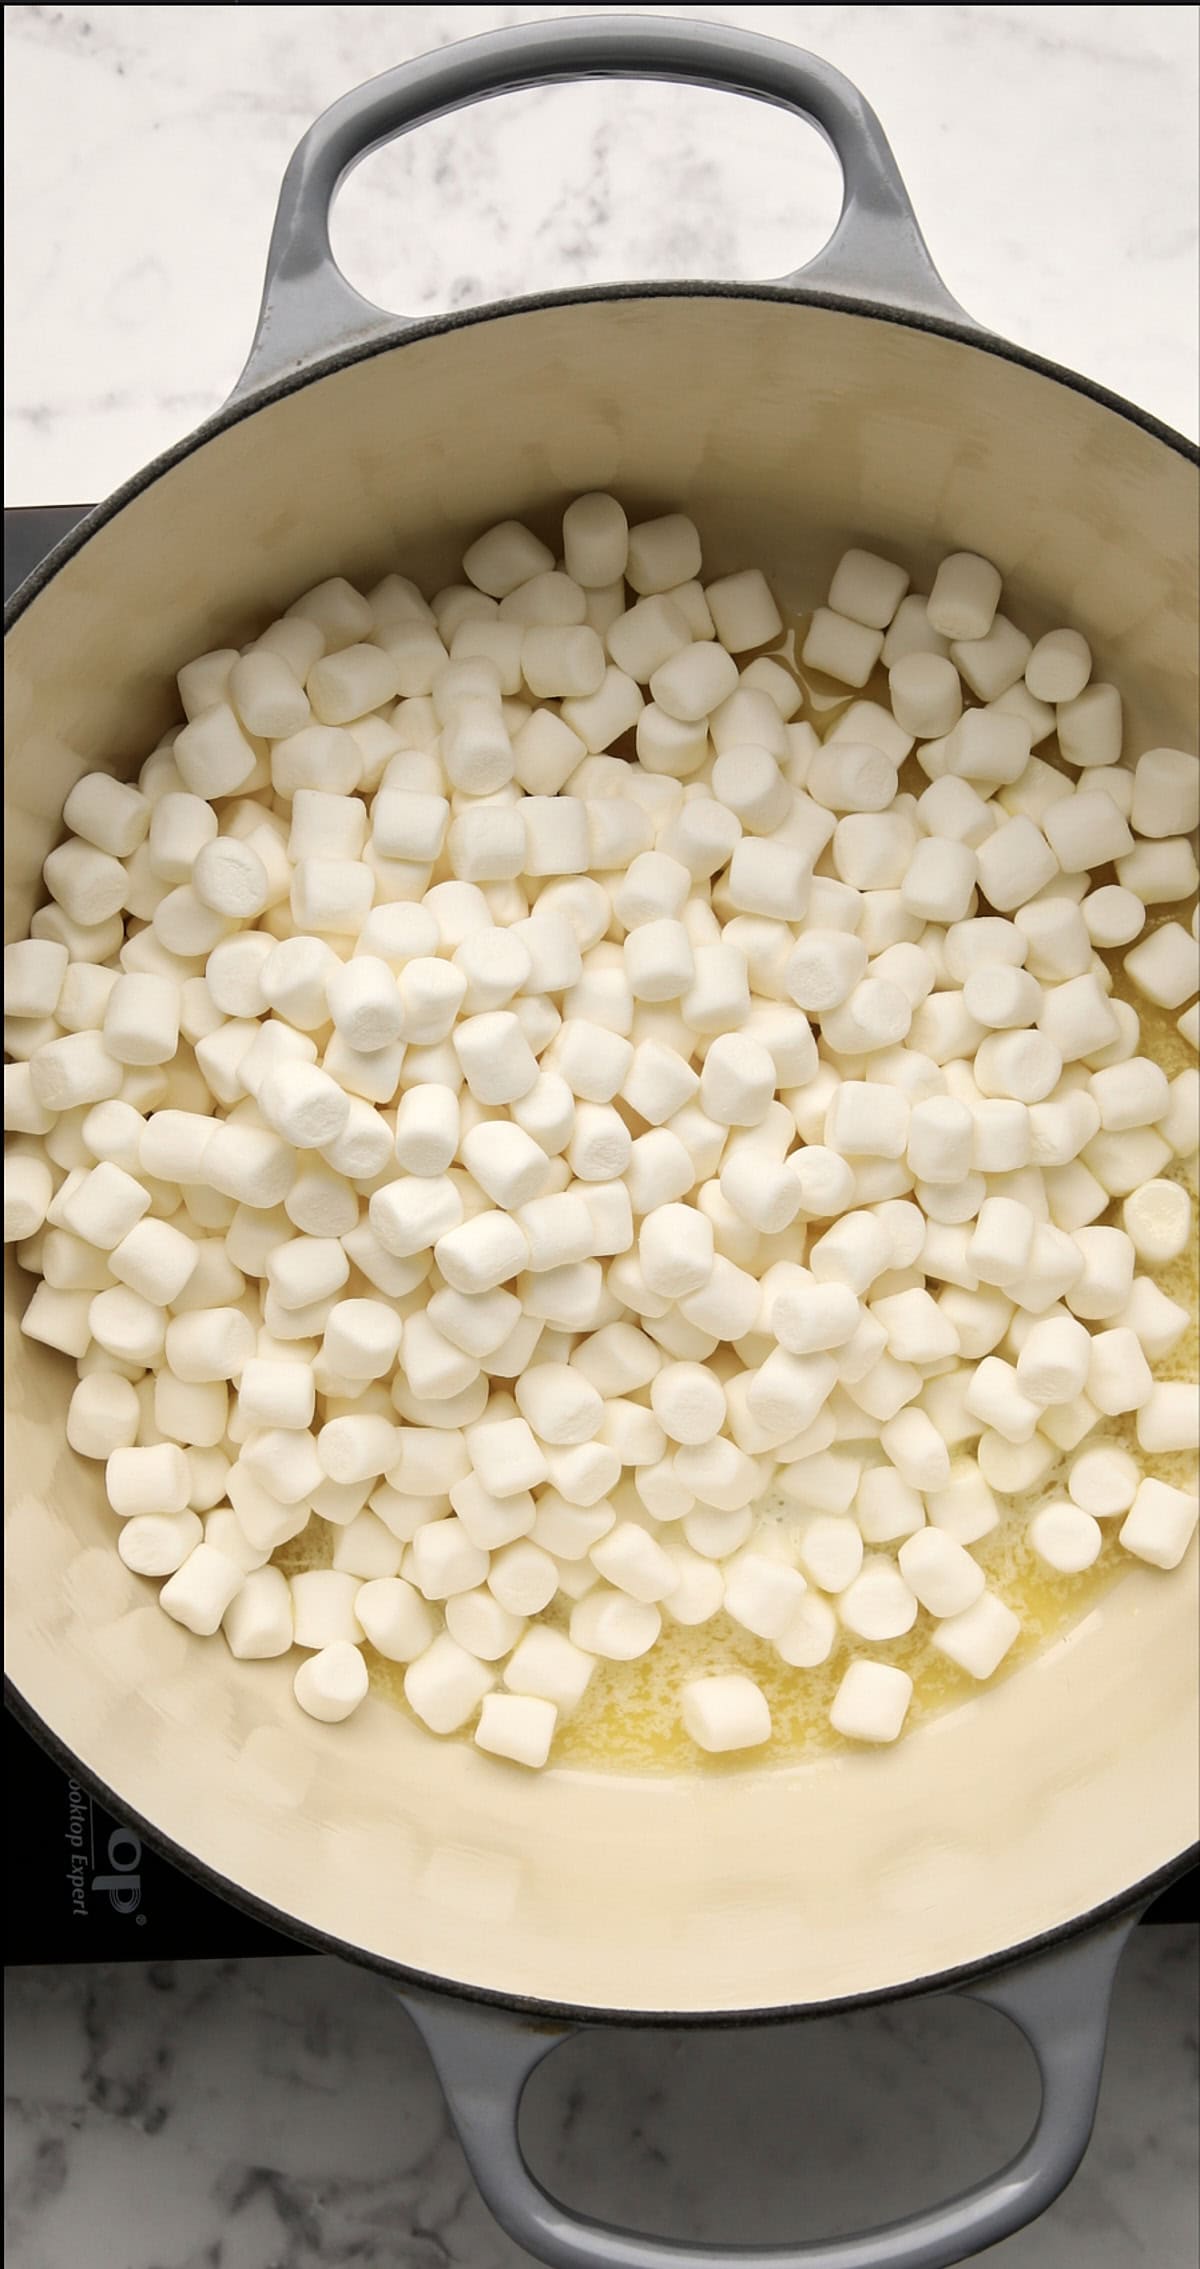
Step 2: Stir in all the marshmallows. Keep stirring until fully melted and creamy.
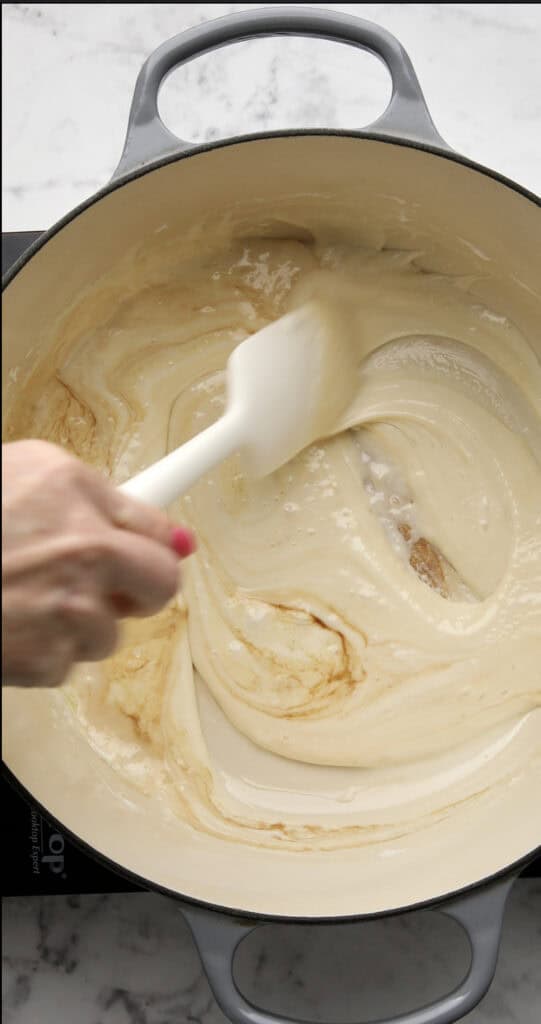
Step 3: Stir in vanilla and salt.
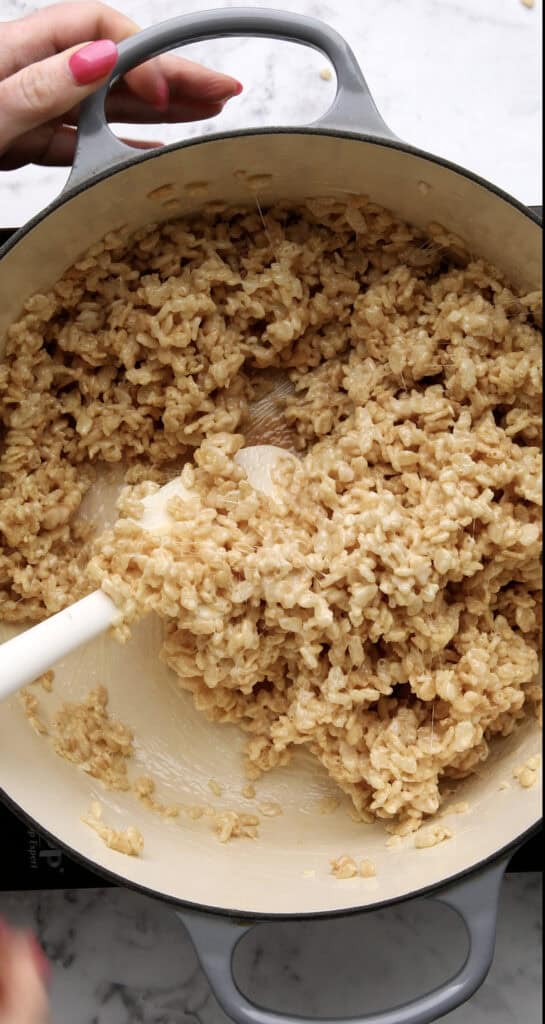
Step 4: Remove from heat. Gently fold in Rice Krispies cereal until evenly coated.
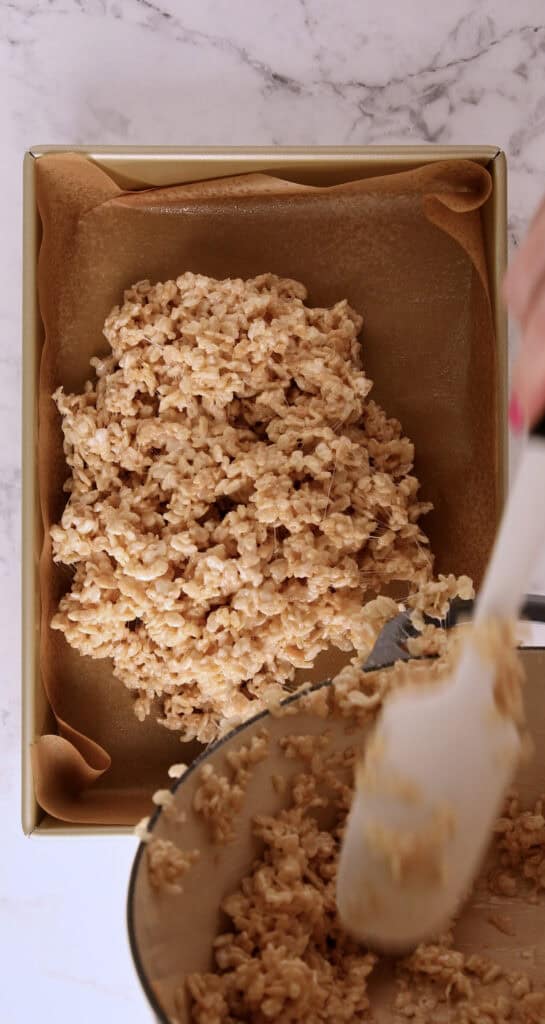

Step 5: Transfer mixture into a greased 9×13 pan.
Step 6: Use buttered hands or a spatula to gently press into an even layer. Tip: Don’t press too firmly or the bars will be dense.
Why your Rice Krispies treats turn out hard (and how to fix it)
The number one reason rice krispie treats turn out hard, brick-like, or chalky? Pressing too firmly into the pan. When you compact the cereal hard, you flatten the marshmallow pockets and squeeze the chew right out of the bar. Press just firmly enough to hold together, not so firm that you compress the bars into a uniform block. The cereal pieces should still look distinct, not pulverized.
Other common culprits when Rice Krispies treats turn out hard:
- Cooking the marshmallows past ‘just melted.’ Once the marshmallow base looks smooth and glossy, pull it off the heat. Keeping it on the burner past that point dries it out, and the cooled bars set firm.
- Stale marshmallows. Older marshmallows have lost moisture and won’t melt smoothly. If your bag has been open for more than a few weeks, start with a fresh bag.
- Adding cereal when the marshmallow base is too cool. If the marshmallow has started to firm up before you fold in the cereal, you’ll get clumps and uneven coating. Add the cereal while the base is still warm and glossy.
- Storing in the fridge. Cold dries out the marshmallow base. Always store at room temperature in an airtight container.
Sarah’s Tips
- Use fresh cereal – Stale Rice Krispies lose their crunch and can make the treats taste flat. Opening a new box guarantees the best texture.
- Line your pan – A parchment paper sling makes removing and slicing a breeze. I do the same with my Salted Caramel Apple Pie Bars and Rhubarb Oatmeal Bars for clean edges and easy cleanup.
- Cut with a buttered knife – For neat squares, grease your knife lightly with butter or nonstick spray before slicing. It prevents sticking and keeps edges clean.
- Add sprinkles while warm – For a playful twist, scatter sprinkles over the top while the mixture is still slightly warm so they stick. My kids love this colorful version for birthdays or classroom parties.
More cereal marshmallow treat recipes
Once you’ve got the base recipe down, the cereal swap is endless. Same butter-and-marshmallow technique, different cereal every time.
- Cinnamon Toast Crunch marshmallow treats — cinnamon-sugar coating melts into the marshmallow base. Tastes almost like a soft cinnamon roll bar.
- Captain Crunch marshmallow treats — golden, buttery, slightly more substantial than the original.
- Fruity Pebbles marshmallow treats — colorful and fruity. Birthday-party staple.
- Chocolate Chip Rice Krispies treats — the classic plus mini chocolate chips folded in at the end.
- Peeps Rice Krispies treats — Easter version with marshmallow Peeps on top.
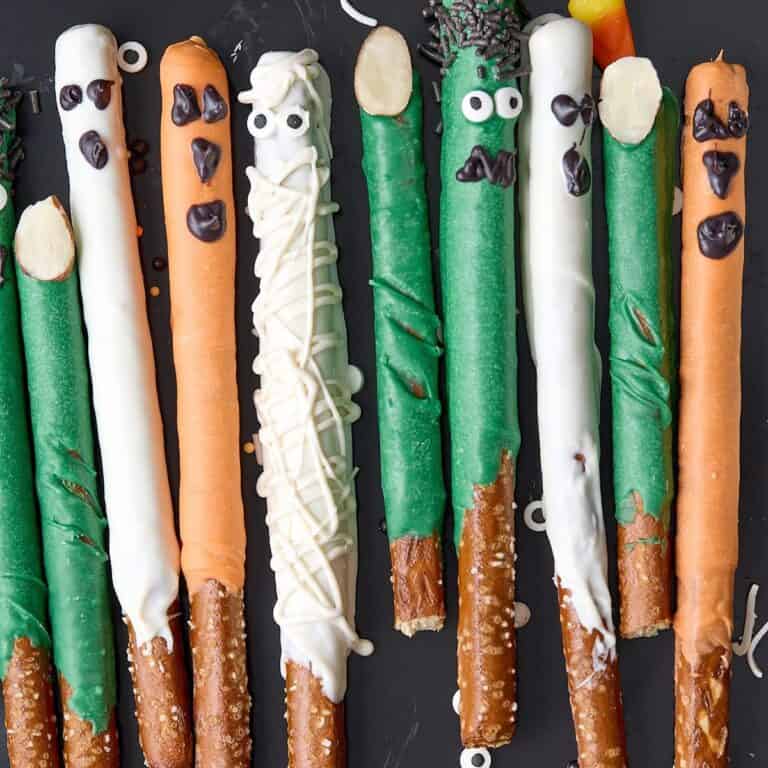
- Halloween Rice Krispies treats — four spooky designs for fall.
- Easy Christmas Rice Krispies treats — red, green, and M&M-loaded for the holidays.
Same base recipe, infinite cereal options.
Common Questions
Storage
Room temperature – Store Rice Krispie Treats in an airtight container at room temp for 3–4 days. Keep them out of the fridge, as refrigeration makes them dry and brittle.
Freezer – These treats freeze beautifully. Wrap each square individually in plastic wrap, then place in a freezer bag or airtight container. Freeze for up to 6 weeks. Thaw at room temperature before enjoying. I use the same method with my Apple Cider Muffins so there’s always a sweet snack ready for busy weeks.
Make-ahead – You can prepare Rice Krispie Treats a day or two in advance. Just be sure to store them tightly covered at room temperature so they stay soft and chewy.
If you can’t get enough of these easy treats, you’re going to love my Mini Egg Blondies and Frosted Sugar Cookie Bars too!


Thank you!
If you tried these, I want to hear about it, by leaving a comment below and ⭐⭐⭐⭐⭐. It makes my day to see your kitchen wins.
Tag me on Social!
Instagram | Facebook | Pinterest
See you next time! ♡ Sarah
Recipe
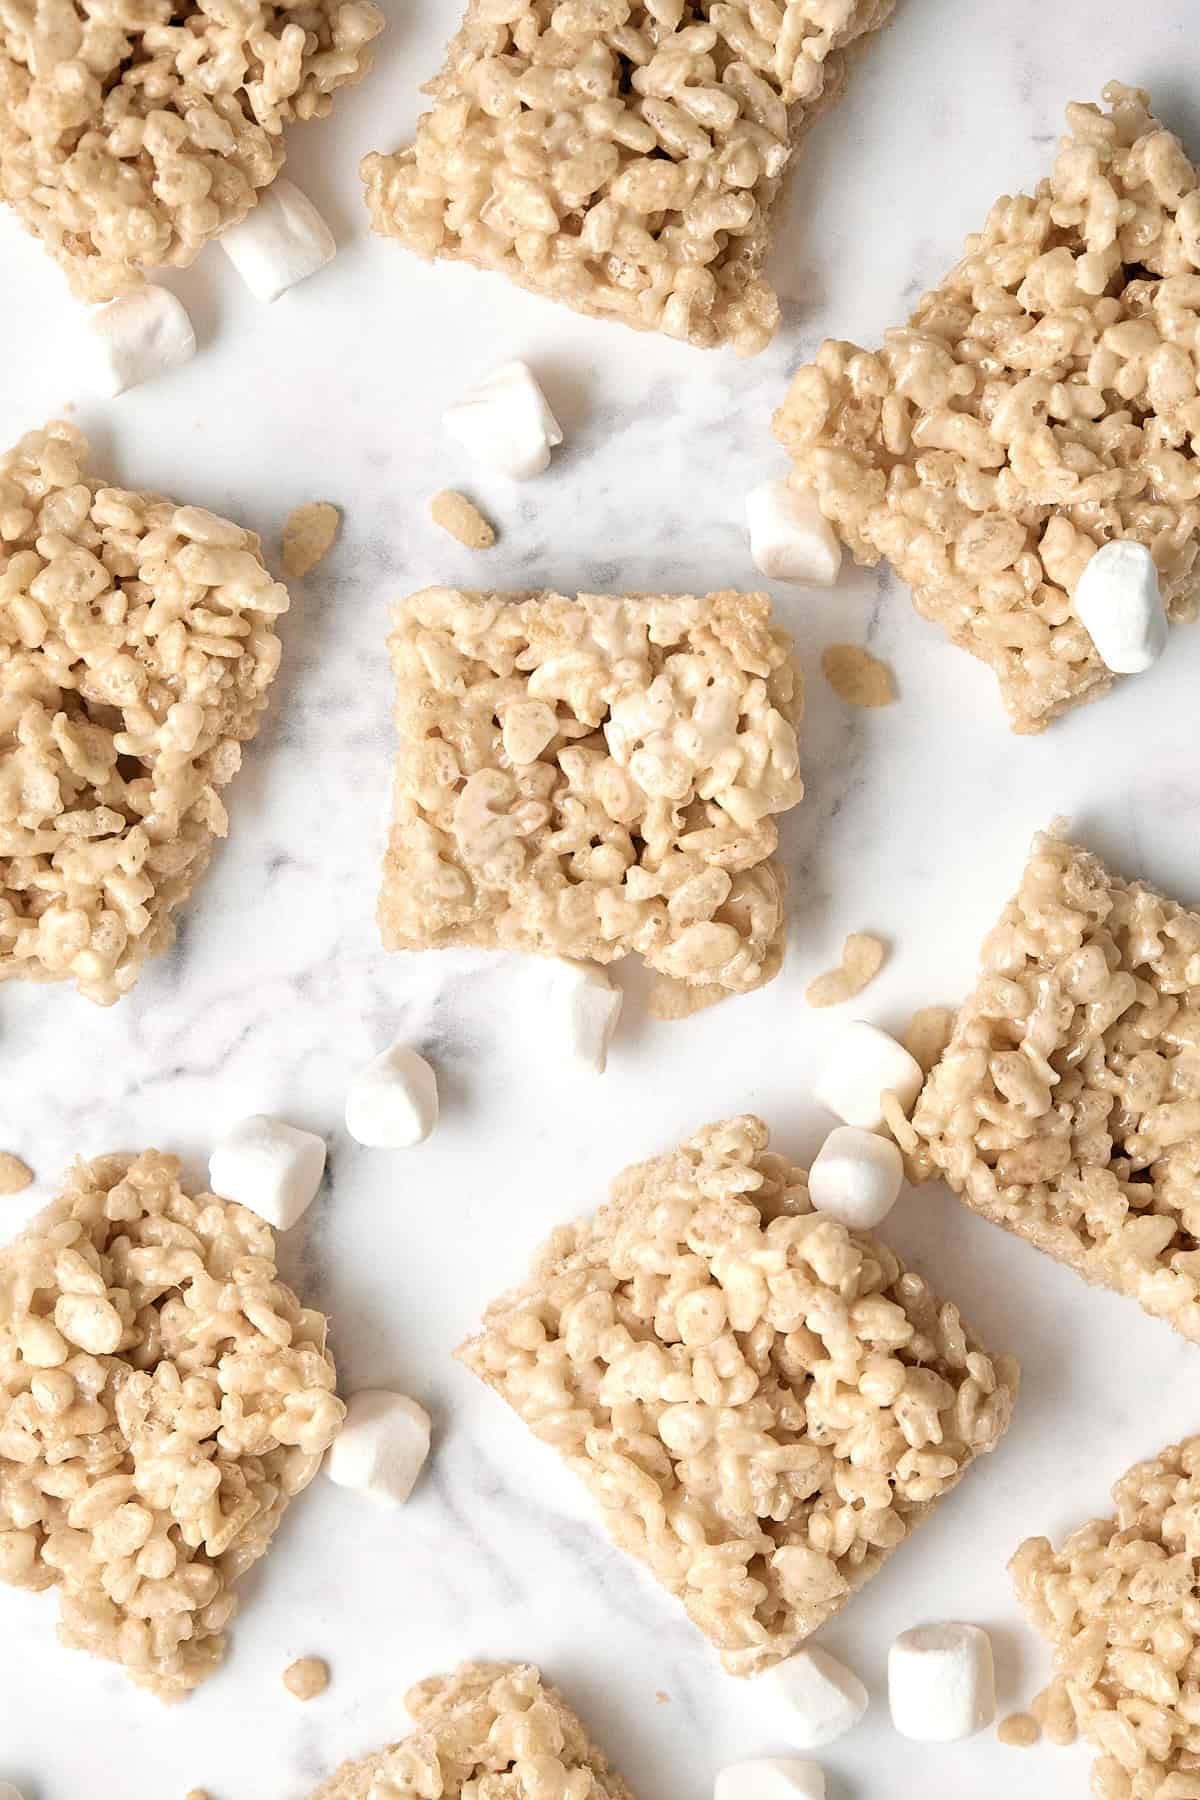
Soft and Chewy Rice Krispie Treats
Equipment
- Large pot
Ingredients
- 4 tablespoons (56g) unsalted butter
- 1 (10oz / 283g) bag mini marshmallows (about 6 cups; large marshmallows can be chopped and used if needed)
- 1 teaspoon vanilla extract
- 1/2 teaspoon Diamond Crystal kosher salt or 1/4 teaspoon table salt
- 6 cups (160g) Rice Krispies cereal
Instructions
- Line a 9×13-inch baking pan with parchment paper. Lightly grease the parchment with nonstick spray or butter. Set aside.
- Melt the butter in a very large pot over low to medium-low heat. Once melted, add the marshmallows. Stir constantly until they are completely melted and smooth.
- Remove from heat and stir in the vanilla extract and salt. Fold in the Rice Krispies cereal until every piece is coated.
- Transfer the mixture to the prepared pan. Lightly grease a silicone spatula and gently spread the mixture to fit the pan. Grease the back of a flat spatula and press down lightly to secure the mixture in place. Do not pack it down firmly or the bars will be dense.
- Let the treats set at room temperature for about 30 minutes. Cover tightly if leaving out for more than a few hours.
- Lift the treats out of the pan using the parchment sling. Cut into squares with a sharp, greased knife.
- Cover and store leftovers in an airtight container at room temperature for up to 3 days. Place parchment or wax paper between layers to prevent sticking.
Save this Recipe!
Video
Notes
- One (10 oz / 283 g) bag of mini marshmallows = about 6 cups.
- Use fresh cereal and marshmallows for the best texture.
- Don’t press the mixture firmly into the pan—light pressure keeps bars soft and chewy.
- Cut with a greased or buttered knife for clean squares.
- Let set at room temperature for about 30 minutes before slicing.