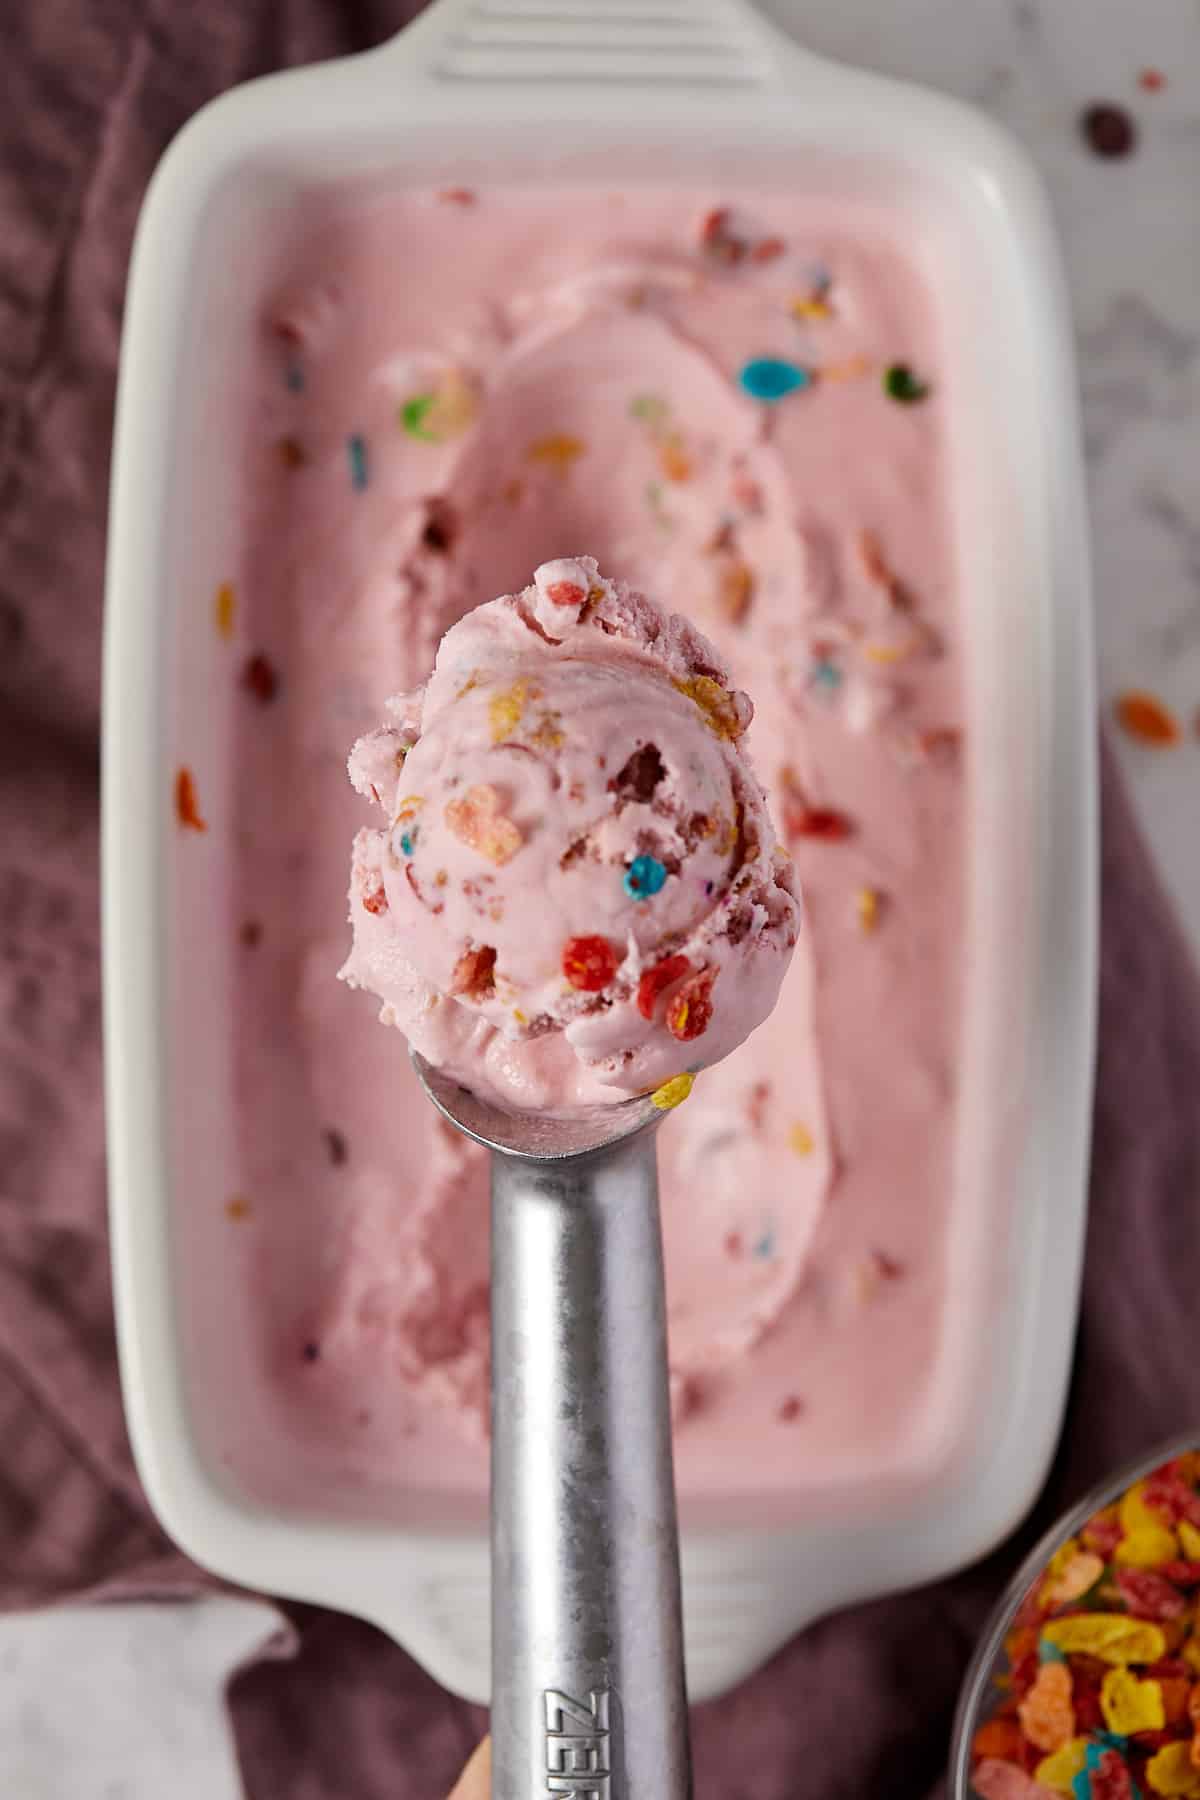
I make this Fruity Pebbles ice cream every summer, and it’s one we look forward to. The trick to a version that actually tastes like the cereal, not just sugar with rainbow specks, is a real cereal-milk base. You steep the Pebbles in cold cream and milk, strain them out, and let the soaked-in flavor do the work.
Save this Recipe!
The Fruity Pebbles cereal milk technique is adapted from the Milk Bar approach to soft-serve, and the crunchy mix-in is a baked cluster, not raw cereal. Raw Fruity Pebbles turn to colorful mush in the freezer within a day. Baking them with a little melted butter and milk powder gives you clusters that stay crisp in the carton, which is the whole reason this recipe is worth the steeping step.
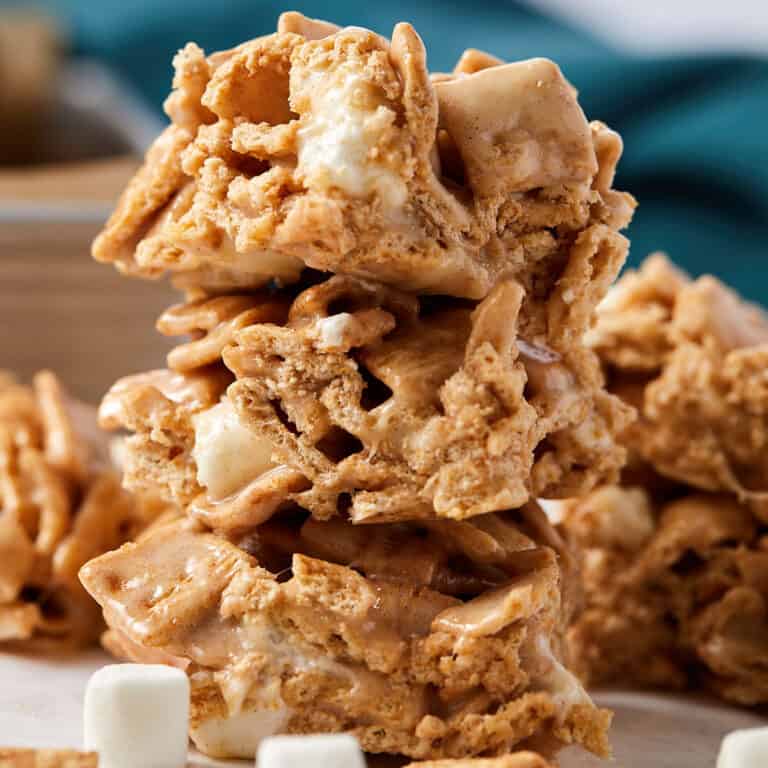
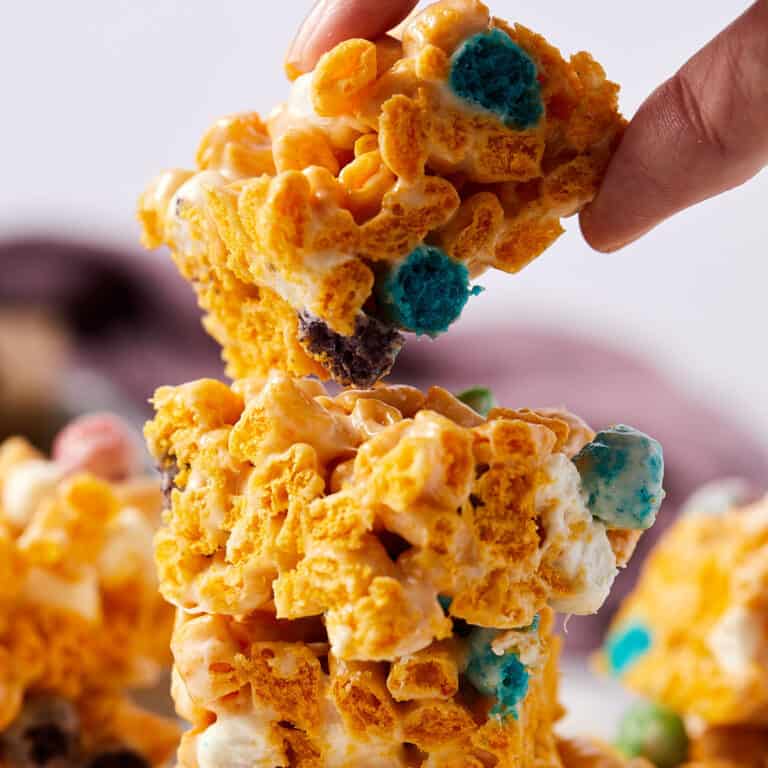
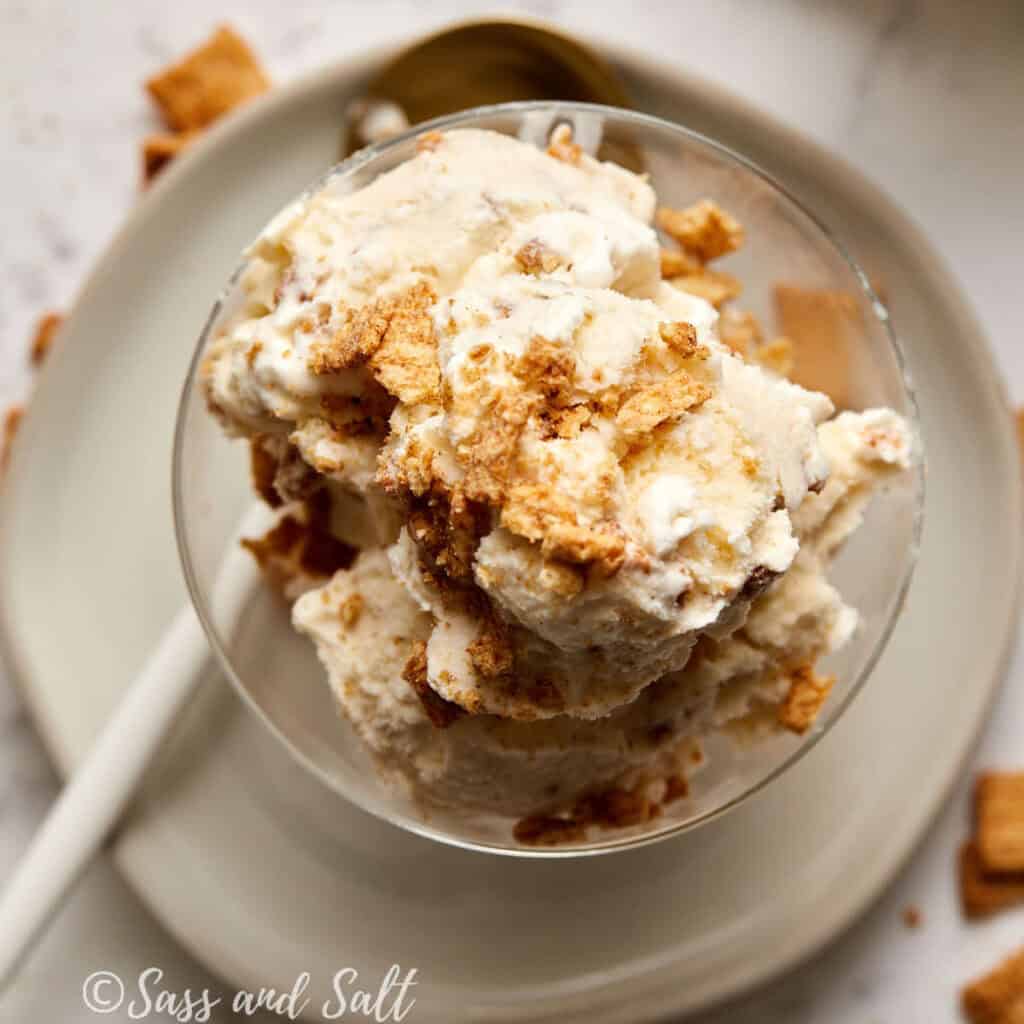
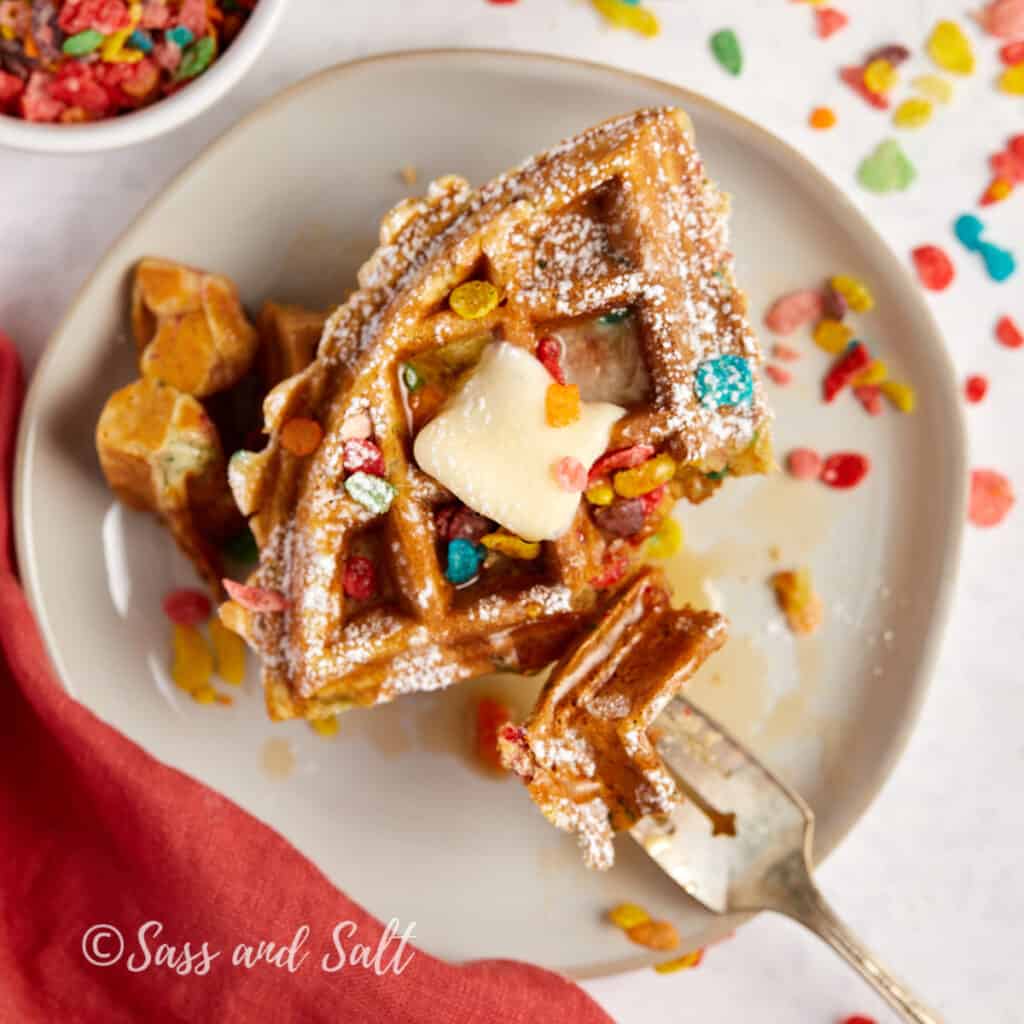
If you like cereal-flavored desserts, my Cinnamon Toast Crunch ice cream uses the same steeping method with a different cereal base, and the Fruity Pebbles waffles are a Saturday-morning version of the same flavor. If you want a no-bake option, my Fruity Pebbles rice crispy treats come together in about 10 minutes.
Why you’ll love this recipe
- Real cereal-milk flavor. Steeping the Pebbles in cream pulls the actual fruity flavor into the base instead of relying on syrups or extracts.
- The mix-in stays crunchy. Baking a portion of the cereal with butter and milk powder makes a cluster that holds up in the freezer instead of going soft after a day.
- Made with one ice cream maker. No eggs, no custard, no tempering, chill the base, churn, fold, freeze.
- Easy make-ahead. The base needs to chill anyway, so this is a recipe you start the night before and finish in 25 minutes the next day.
Recipe Ingredients
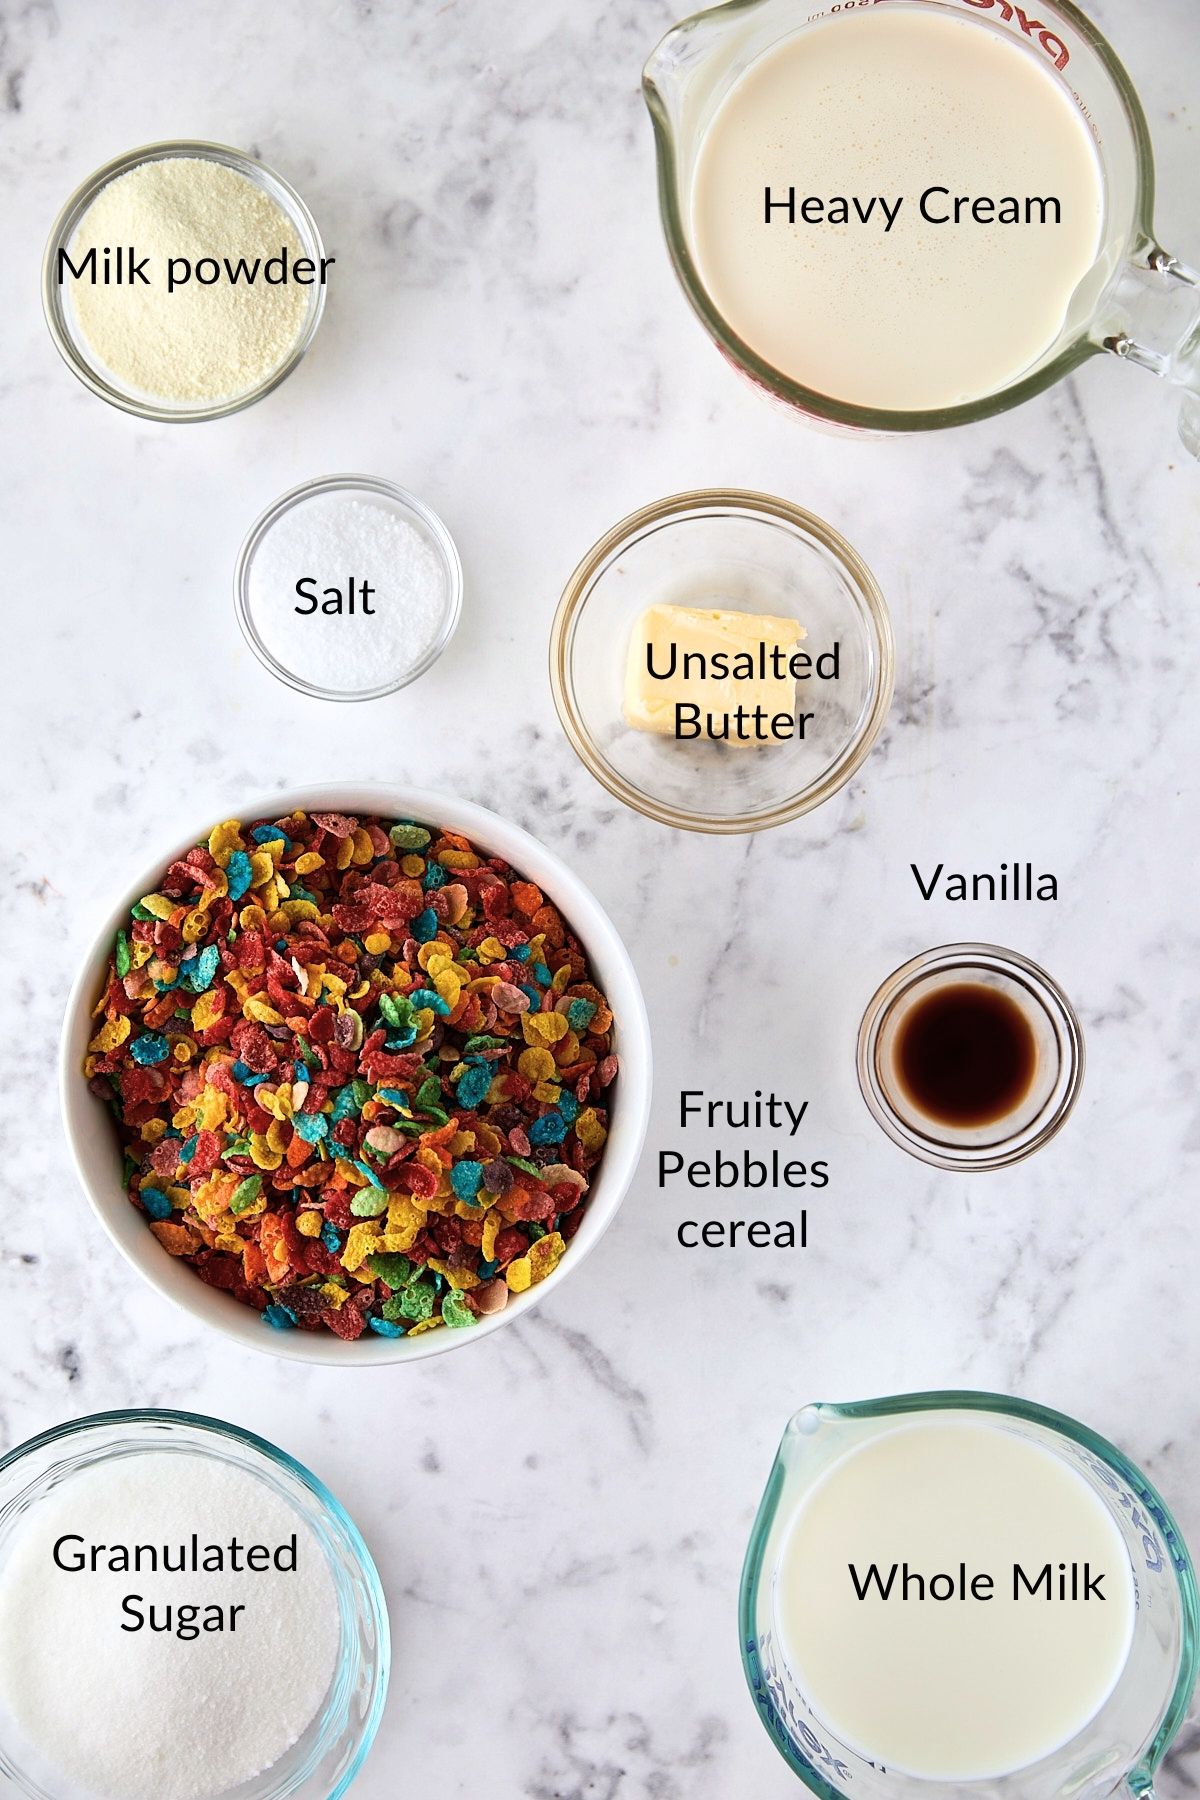
- Fruity Pebbles cereal: Use the original Fruity Pebbles, not Cocoa Pebbles or a generic colorful cereal — the flavor profile is built around the original. Off-brand fruity rice cereals are untested here.
- Heavy cream and whole milk: Both need to be cold going into the steep. The colder the dairy, the cleaner the cereal-milk extraction.
- Non-fat milk powder: Adds protein and stabilizes the base, which is what keeps the texture creamy instead of icy as the ice cream re-freezes after each scoop. (Serious Eats has a deeper breakdown of how stabilizers work in Philadelphia-style ice cream if you want the science.)
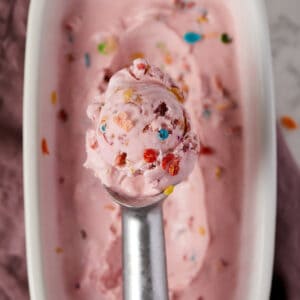
- Pink food coloring (optional): Without it, the base churns to a grayish-pink and reads “off” against the colorful crunch. A few drops of fuchsia or pink food coloring bring it back. AmeriColor fuchsia is what’s used in the photos.
- Unsalted butter: Only used in the crunch mix-in, not the ice cream itself. It’s what binds the clusters.
See recipe card below for a complete list of ingredients and measurements.
Before you start
- Freeze your ice cream maker bowl: If you’re using a freezer-bowl machine, such as the Cuisinart, place it in the freezer at least 24 hours in advance.
- Clear some freezer space: This recipe yields about 1 ½ quarts of ice cream. Although the container is not huge, my freezer is usually packed, and I am always searching for space.
- Airtight Freezer Container – Once churned, your ice cream needs a good home! I love these ice cream storage tubs for keeping the texture fresh and preventing freezer burn.
Substitutions and Variations
- Ninja Creami version. Pour the strained, seasoned base into a Creami pint instead of an ice cream maker. Freeze 24 hours, run the Ice Cream cycle, then re-spin once with a splash of milk if it looks crumbly. Fold the baked crunch in at the mix-in stage. Texture comes out denser than churned, and the cereal-milk flavor reads even cleaner because there’s no air whipped in.
- Ice cream sandwiches. Soften a pint to scoopable, sandwich a generous scoop between two cooled sugar cookies or graham crackers, roll the exposed edge in extra Fruity Pebbles crunch, and re-freeze on a parchment-lined sheet pan for at least 2 hours before serving. Wrap individually if you want to keep them longer than a day.
- Protein-boosted. Whisk one scoop (about 30g) of unflavored or vanilla whey isolate into the strained cereal milk along with the sugar and milk powder. Don’t go heavier than that; more protein turns the texture chalky once frozen. Plant-based protein powders don’t churn as cleanly here, so stick with whey if you can.
- Captain Crunch swap. The cereal-milk technique works identically with Captain Crunch — same 2 cups crushed, same 20-minute steep, same baked-crunch step. Skip the pink food coloring (the base churns to a clean pale yellow). Crunch Berries work too if you want the color speckle.
- Cocoa Pebbles version. Sub Cocoa Pebbles 1:1 in both the base and the crunch. Drop the pink coloring and add 1 tablespoon of cocoa powder to the base for a deeper chocolate read.
- No-churn shortcut. Whip 2 cups cold heavy cream to stiff peaks. In a separate bowl, whisk together 1 14-oz can of sweetened condensed milk, ½ cup of the strained Fruity Pebbles cereal milk (still do the steep), 1 tsp vanilla, and the food coloring. Fold the condensed milk mixture into the whipped cream until streak-free, fold in the crunch, and freeze for 6 hours. Softer than churned, but the flavor holds.
This recipe has not been tested with other substitutions or variations. If you replace or add any ingredients, please let us know how it turned out in the comments below!
How to make Fruity Pebbles Ice Cream
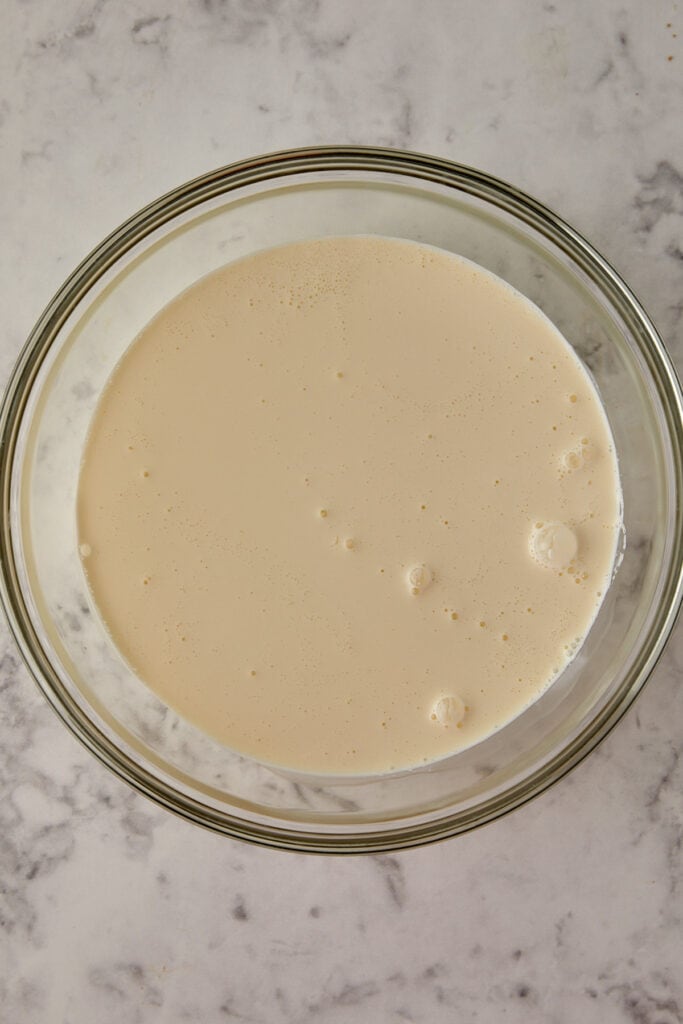
Step 1: In a medium bowl or large measuring cup, combine 2 cups of chilled heavy cream and 1 cup of chilled whole milk.
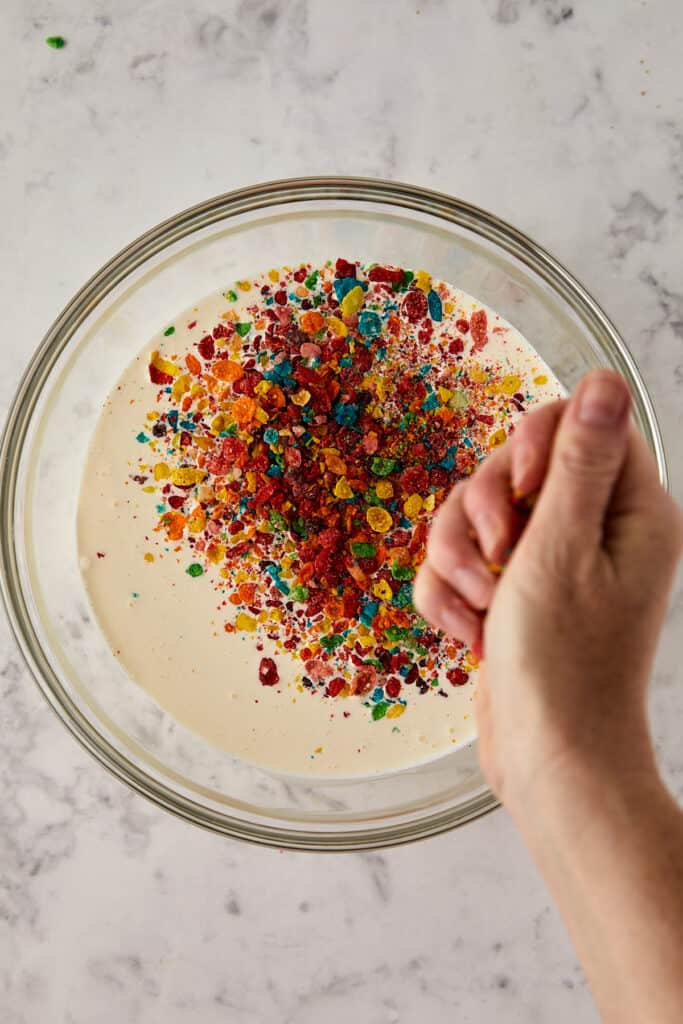
Step 2: Crush 2 cups (100 grams) of Fruity Pebbles cereal to a coarse, sandy texture. I just used my hand.
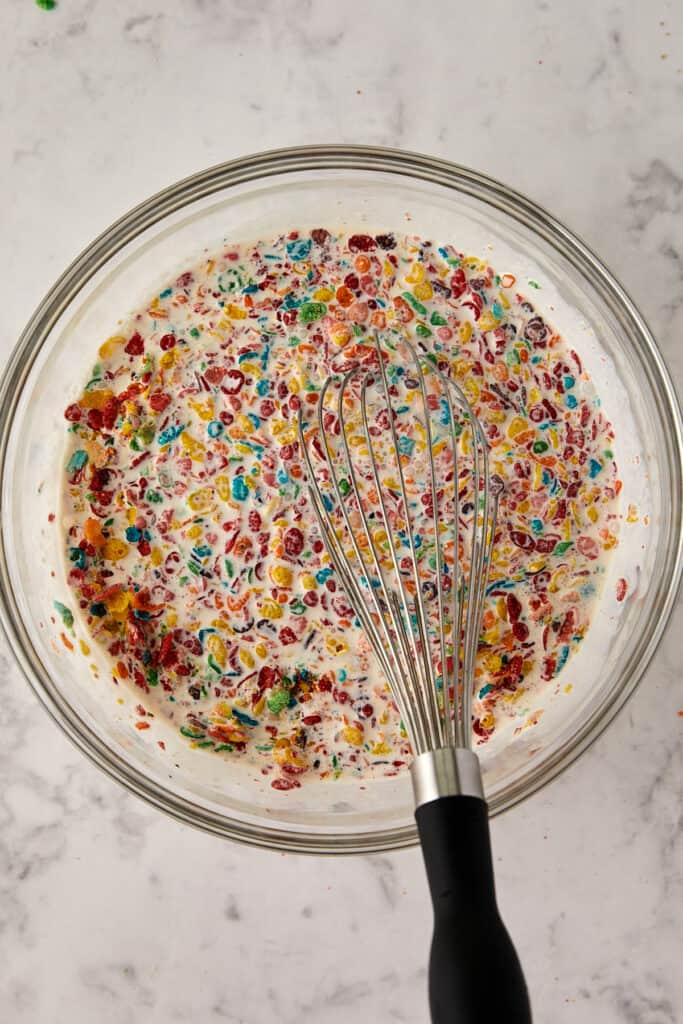
Step 3: Steep for 20 minutes.
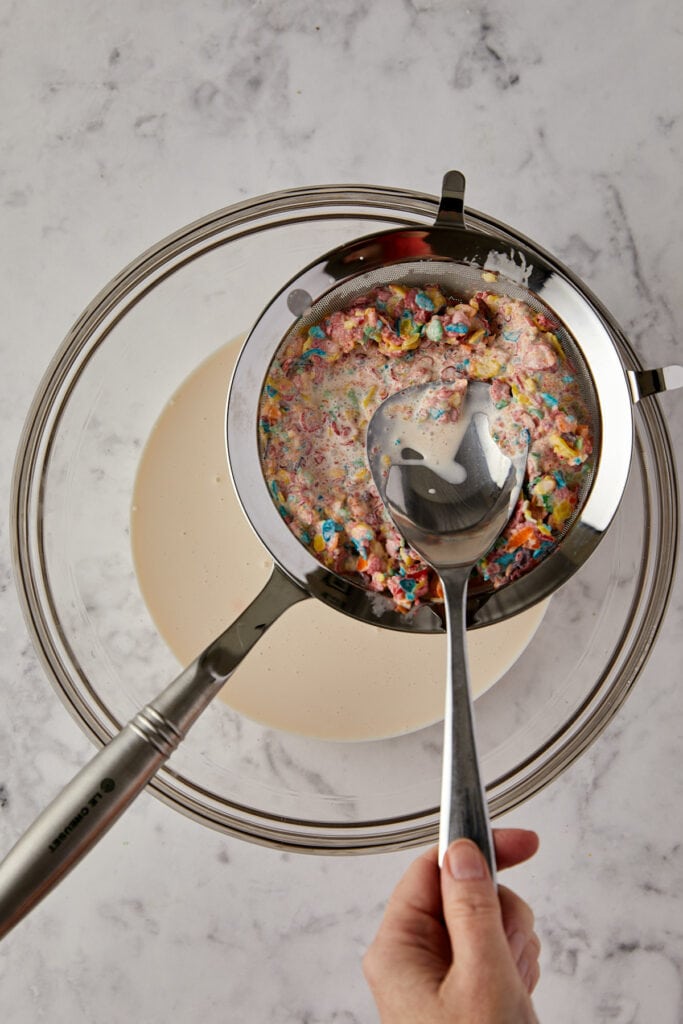
Step 4: After steeping, strain the mixture through a fine-mesh sieve into another bowl, collecting the milk while leaving the cereal behind. Use the back of a large spoon to press the milk out of the cereal.
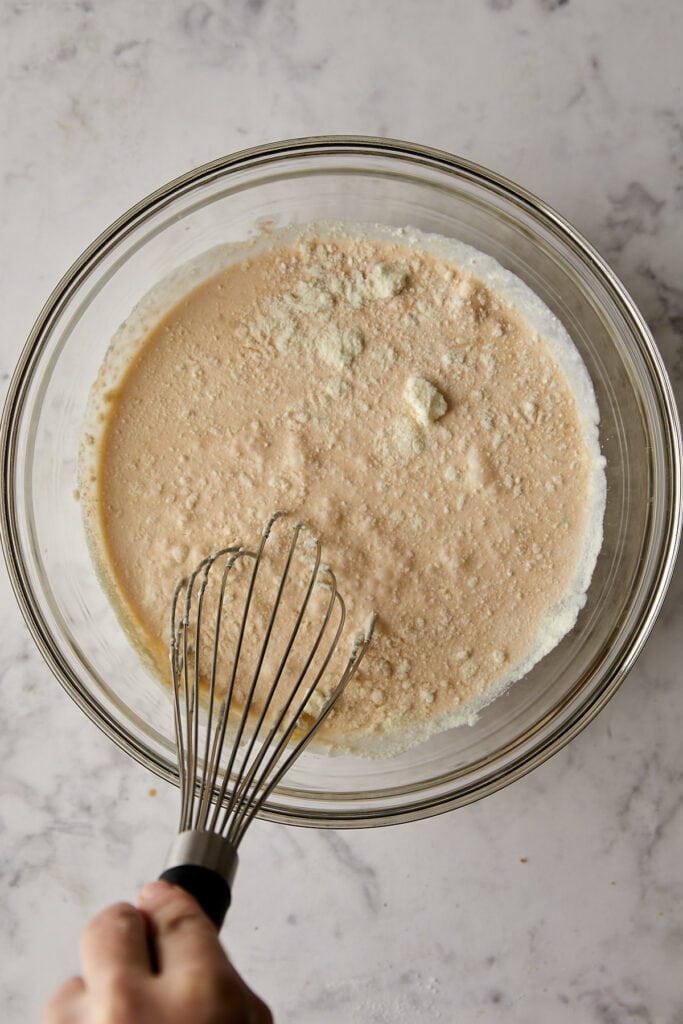
Step 5: Whisk in 1/2 cup of sugar, 1/2 teaspoon of kosher salt, 1 teaspoon of vanilla extract, and 2 tablespoons of non-fat milk powder into the Fruity Pebble-flavored milk. Refrigerate the ice cream base for at least 4 hours or overnight to allow the flavors to meld and chill thoroughly.
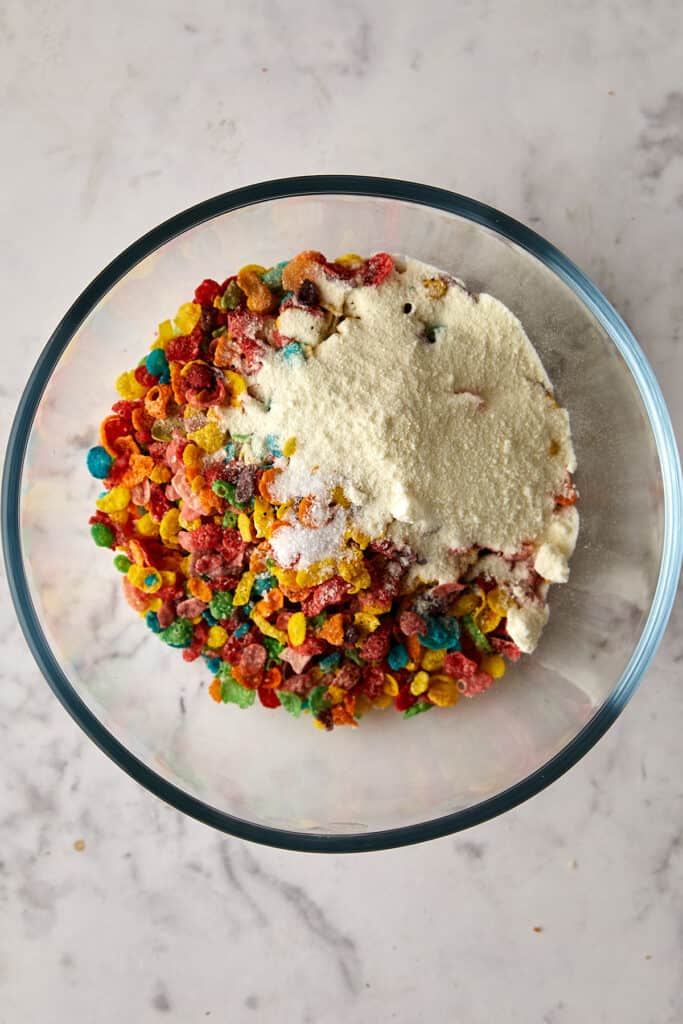
Step 6: In a medium bowl, combine Fruity Pebbles cereal, milk powder, and melted butter. Toss the mixture to coat the cereal evenly with the butter.
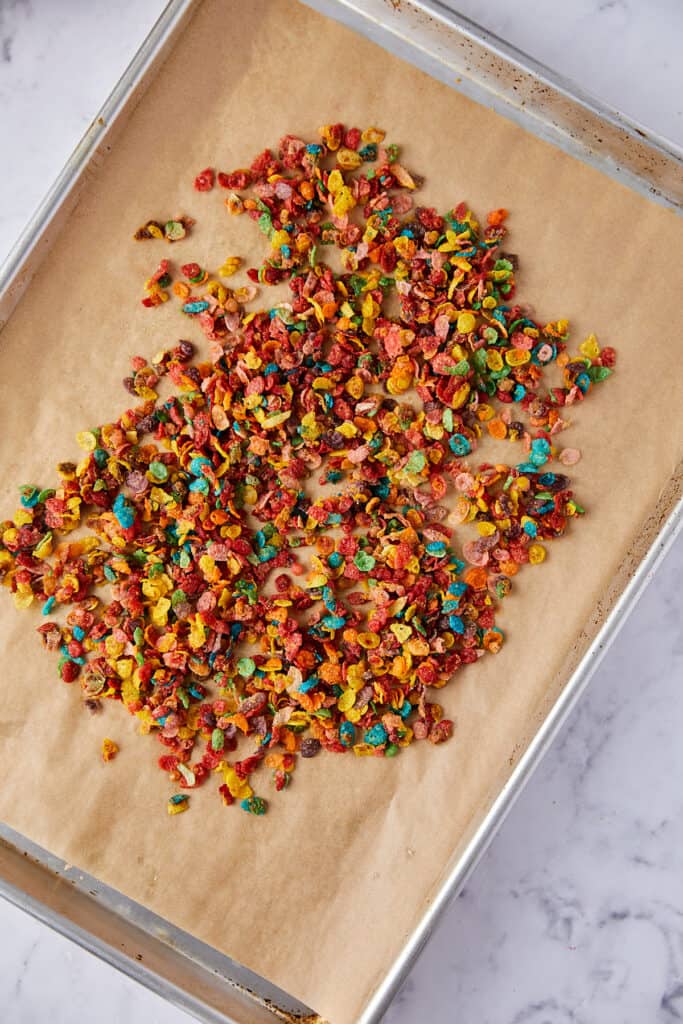
Step 7: Spread the clusters on a parchment- or Silpat-lined sheet pan and bake for 20 minutes, or until they appear toasted and smell buttery. Set aside.
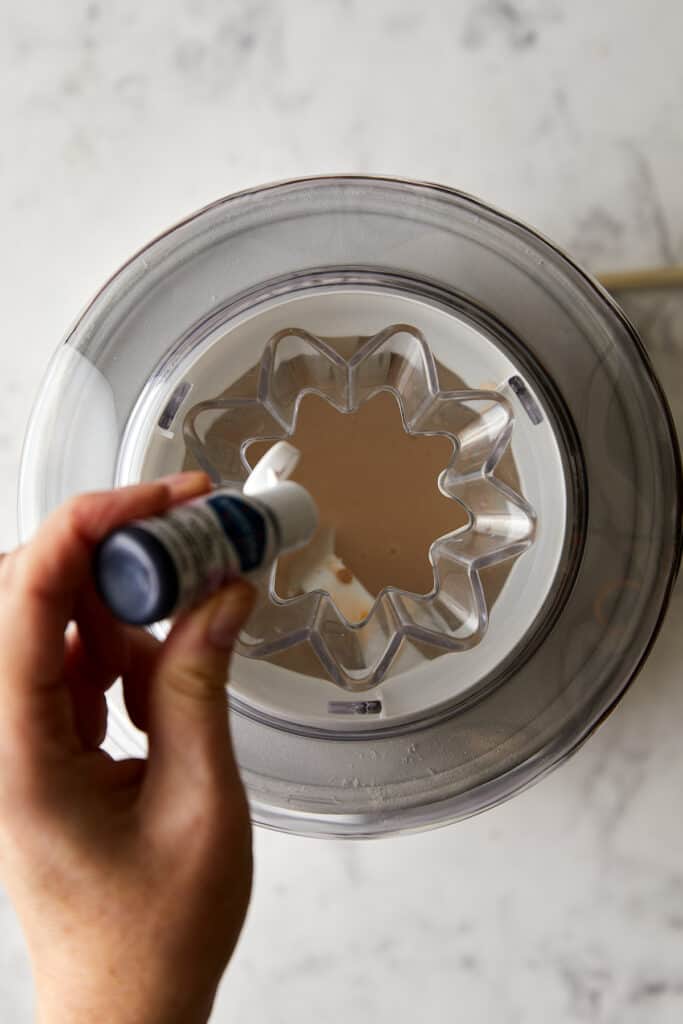
Step 8: Pour the chilled Fruity Pebble milk mixture into your ice cream maker and churn according to the manufacturer’s instructions.
Drop in a couple of drops of pink food coloring. I used AmeriColor fuchsia to make it the pink color. The color without it is unappealing.
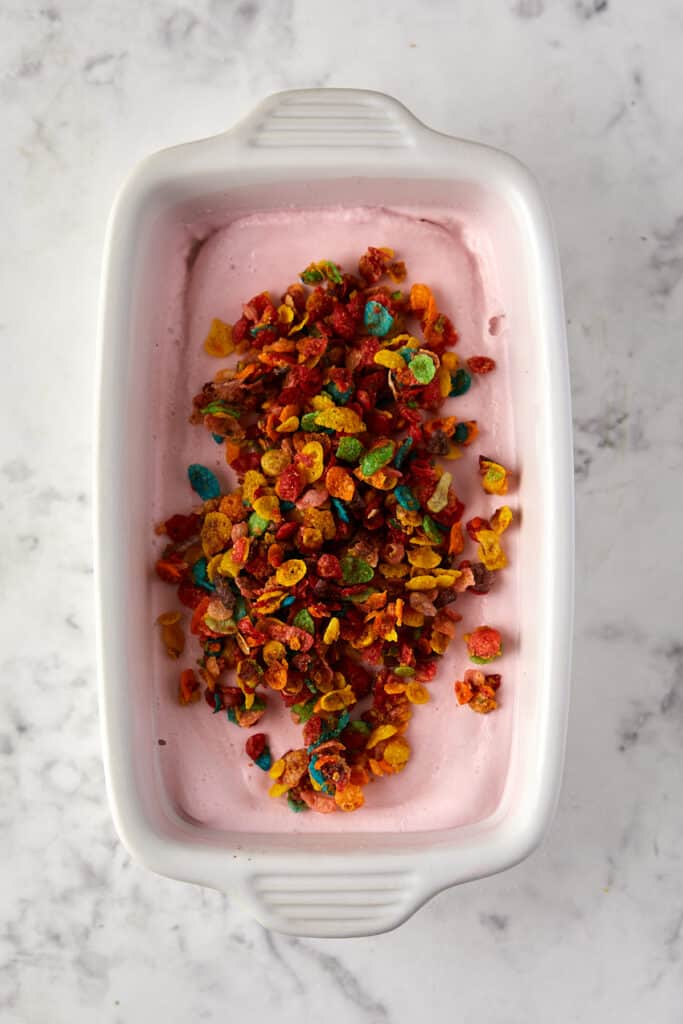
Step 9: Once the churning is complete, fold in 1/2 cup of the Fruity Pebbles crunch you prepared earlier. You will have extra Fruity Pebbles crunch to top your ice cream or enjoy as a snack!
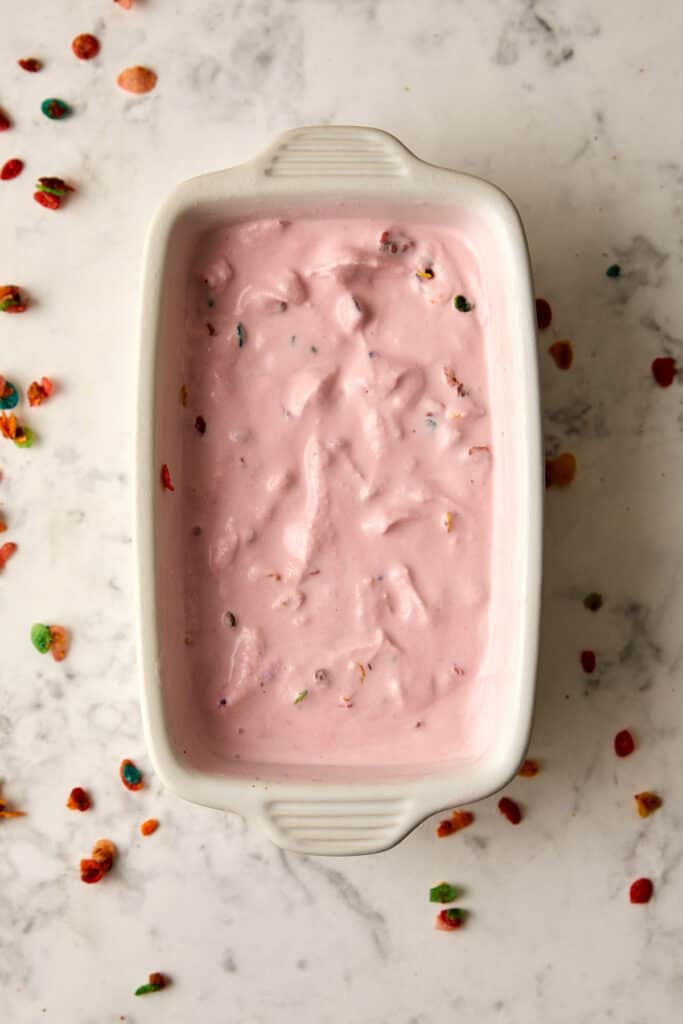
Step 10: Transfer to an airtight container and freeze for 4-5 hours or overnight.
Sarah’s Tips
- Chill everything before churning. Cold base, cold ice cream maker bowl, cold storage container. Anything warm slows the churn and gives you a softer, icier final texture.
- Don’t over-crush the cereal. Coarse, sandy chunks steep better than powder. Fine pieces clog the strainer and make pressing the milk out a slog.
- Let the crunch cool fully. Folding warm clusters into churned ice cream is the fastest way to ruin the texture you just spent two days building.
- Overnight beats same-day. Both for the base (better cereal-milk extraction) and the finished ice cream (firmer scoop, cleaner flavor). If you can plan one day ahead, do it.
Storage
- Freezer (best texture): Store in an airtight freezer-safe container, a quart-sized ice cream tub, or a loaf pan, tightly wrapped in plastic and foil; both work. Press parchment directly against the surface before sealing to limit ice crystal formation. Best texture for up to 2 weeks; still good for up to 2 months.
- Refrigerator: Don’t refrigerate. Ice cream needs to stay below 0°F to hold its texture. A few hours in the fridge will turn it into soup.
- Make-ahead: The cereal-milk base can be made up to 2 days in advance and held in the fridge before churning. The baked crunch can be made up to a week in advance and stored airtight at room temperature, or up to a month in the freezer in a zip-top bag.
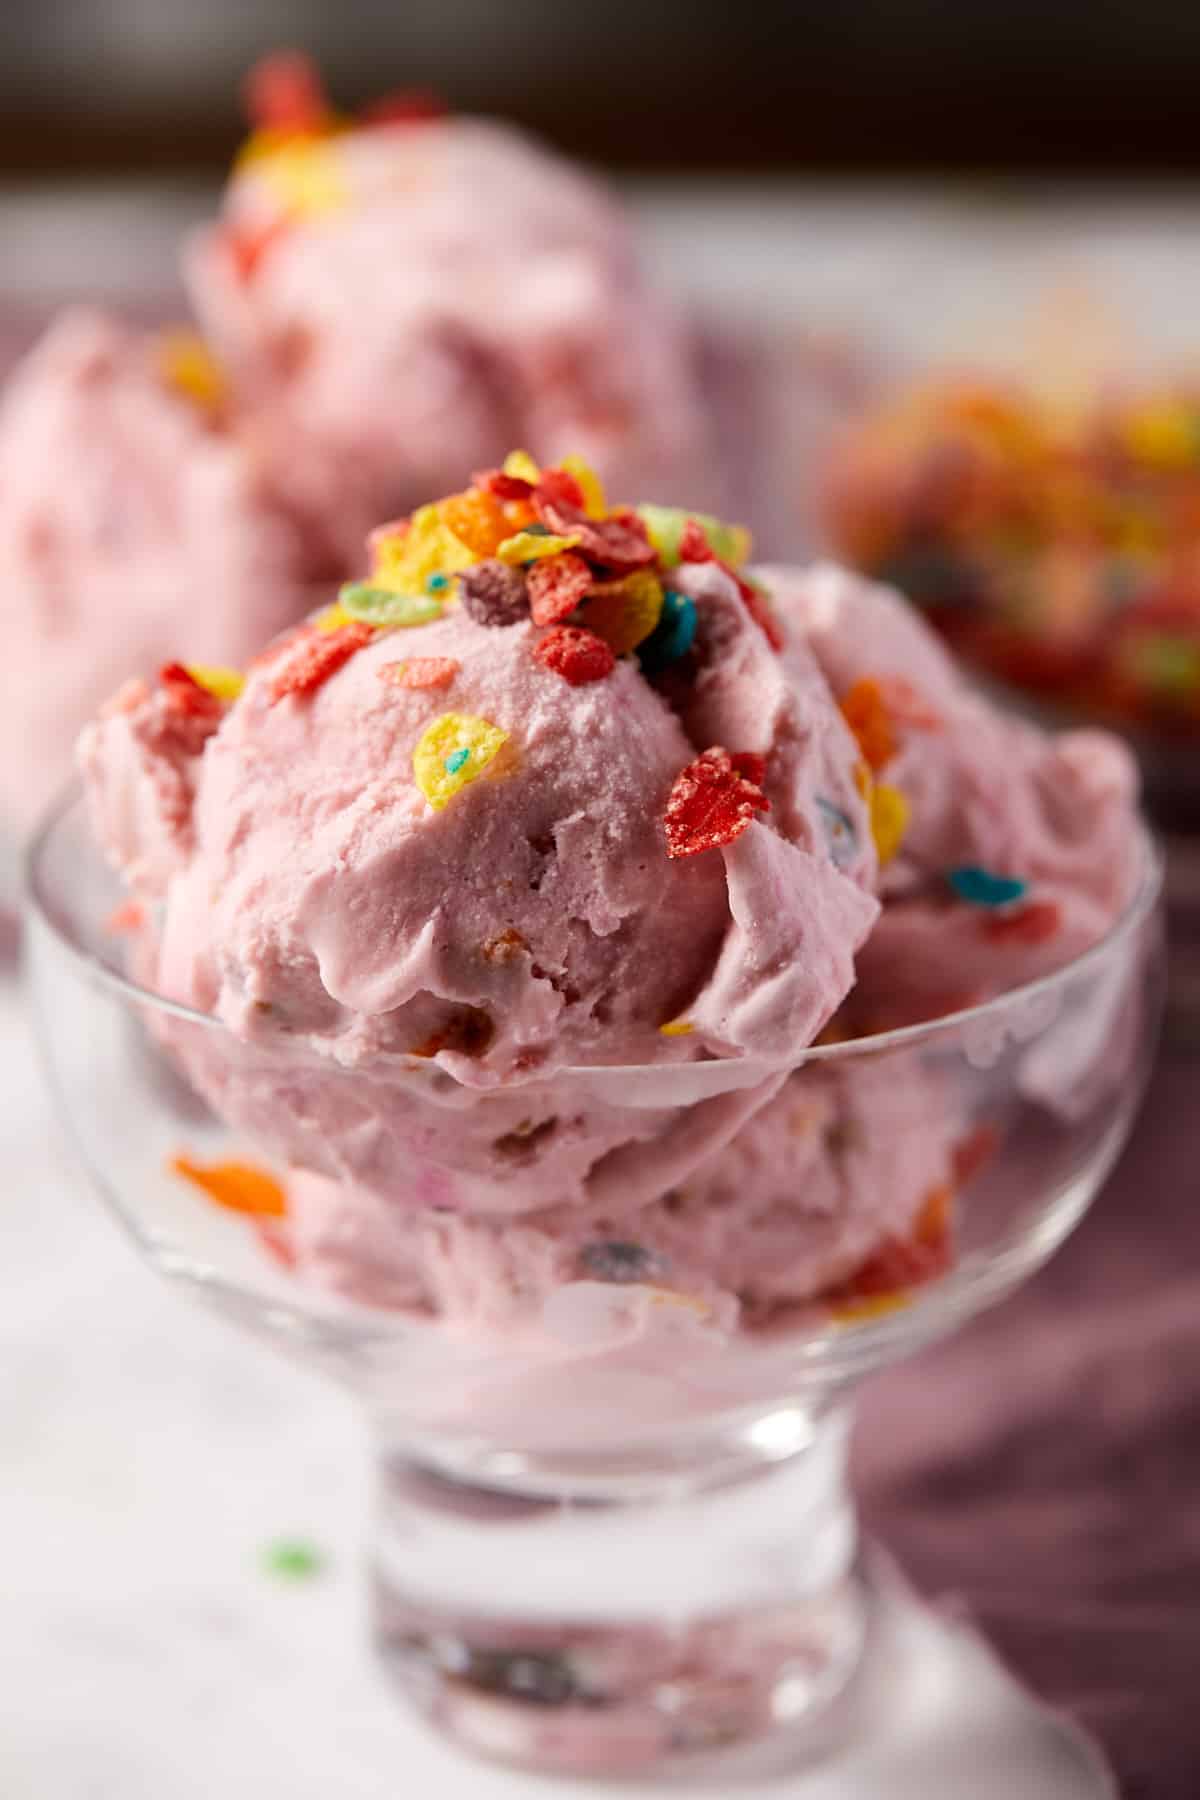
- Serving: Serve in a waffle cone, sugar cone, or a bowl with extra cereal crunch on top, homemade whipped cream, or a drizzle of homemade salted caramel sauce.
FAQs

Once you’ve made Fruity Pebbles ice cream from scratch with a real cereal-milk base, the store-bought version stops tasting like the cereal you grew up on. The steeping step is the part that does the work, and everything else is just keeping the texture clean. If you make it, drop a comment below and tell me whether you went the food-coloring route or kept it natural. I read every one.
Recipe
Fruity Pebbles Ice Cream
Equipment
Ingredients
For the Ice Cream Base:
- 2 cups (480 ml) heavy cream, chilled
- 1 cup (240 ml) whole milk, chilled
- 2 cups (100 grams) Fruity Pebbles cereal
- 1/2 cup (100 grams) sugar
- 2 tablespoons non-fat powdered milk
- 1 teaspoon vanilla extract
- 1/2 teaspoon (2 grams) Diamond Crystal kosher salt; for table salt, use the same weight or half as much by volume
- 1–2 drops pink or fuchsia food coloring, optional
For the Fruity Pebble Crunch Mix-in:
- 1 1/4 cups (60 grams) Fruity Pebbles cereal
- 2 tablespoons (10 grams) milk powder
- 1/4 teaspoon (1g) Diamond Crystal kosher salt; for table salt, use about half as much by volume or the same weight
- 3 tablespoons (43 grams) unsalted butter, melted

Instructions
Ice Cream Base:
- In a medium-sized bowl or large measuring cup, mix together the chilled heavy cream and whole milk.
- Use your hands to crush 2 cups of Fruity Pebbles until they reach a coarse sand-like texture.
- Add the crushed Fruity Pebbles to the milk and cream mixture, stirring well.
- Let the mixture steep for 20 minutes at room temperature to let the flavors meld.
Strain and Season the Milk:
- Place a fine-mesh sieve over a medium-sized bowl.
- Carefully strain the milk mixture, collecting the infused milk in the bowl below.
- Using the back of a spoon, press gently on the Fruity Pebbles to extract as much liquid as possible, but avoid forcing the cereal mush through the sieve.
- To the collected milk, whisk in the sugar, salt, vanilla extract, and non-fat milk powder.
- Refrigerate the mixture for at least 4 hours or overnight to chill thoroughly.
Make the Fruity Pebble Crunch:
- Preheat your oven to 275°F (135°C).
- In a medium-sized bowl, mix together 1 1/4 cups of Fruity Pebbles, milk powder, and salt.
- Add the melted butter to the bowl and toss everything together. The butter will help form small clusters of the cereal mix.
- Spread these clusters on a baking sheet lined with parchment paper or a silicone mat.
- Bake for 20 minutes or until the clusters look toasted and smell buttery.
- Allow the crunch to cool completely before using or storing. Keep in an airtight container at room temperature for up to a week or in the fridge or freezer for up to a month.
- You will have extra to-top ice cream and to snack on!
Churn the Ice Cream:
- Prepare your ice cream maker according to the manufacturer’s instructions.
- Pour the chilled Fruity Pebble milk mixture into the ice cream maker and churn until it reaches the consistency of soft serve.
- While the machine is running, drop in a couple of drops of food coloring.
- Remove the churned ice cream and fold in 1/2 cup Fruity Pebble crunch.
- Transfer the ice cream to an airtight container and freeze for at least 5 hours or overnight. I recommend overnight.
- Top with the extra Fruity Pebbles crunch, whipped cream or easy homemade salted caramel sauce.