
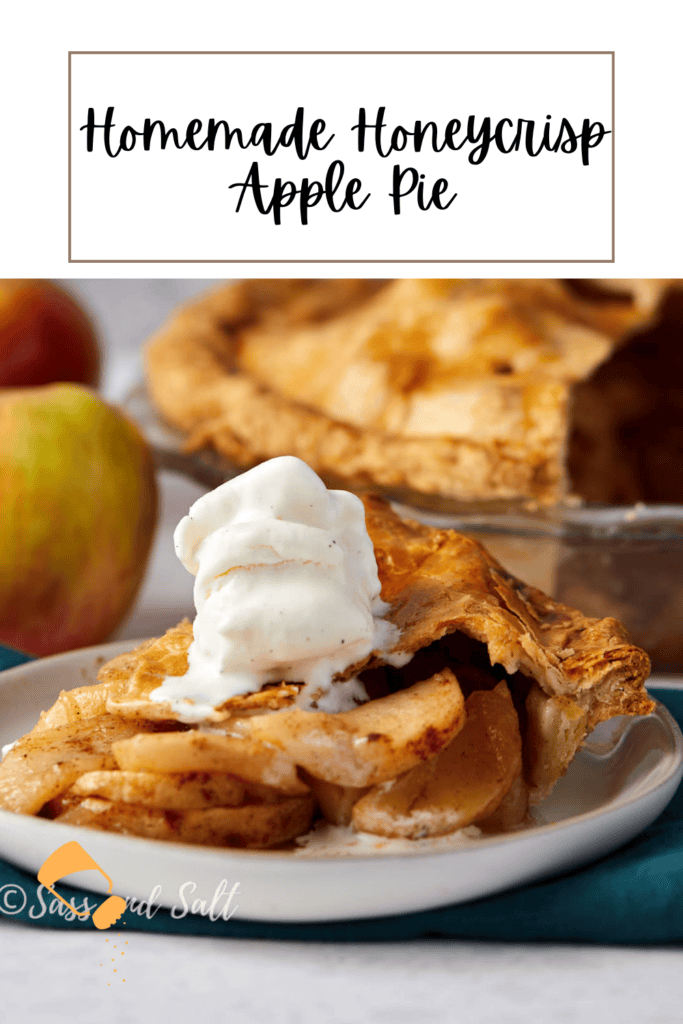
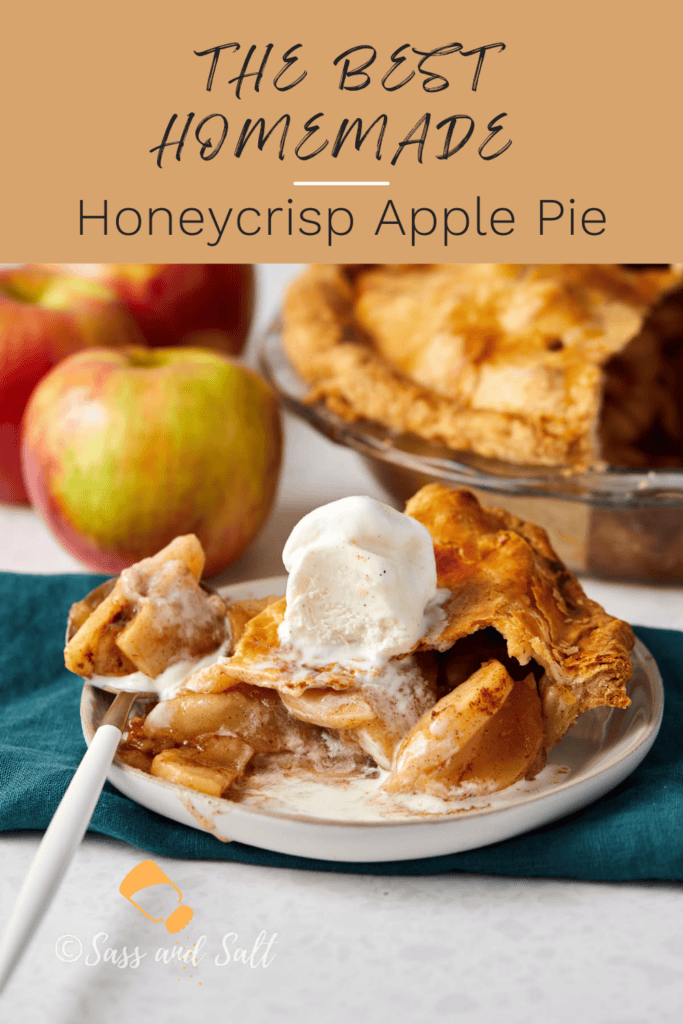
I’ve baked this Honeycrisp apple pie every fall for more than 10 years, and it’s the one pie I don’t have to think about anymore. Flaky all-butter crust, sweet-tart Honeycrisp apples that hold their shape, and a tapioca-thickened filling that’s juicy but never soggy.
Tried, tested, and loved
⭐⭐⭐⭐⭐ “I followed this recipe almost to a T. I added an extra tsp of cinnamon. Was amazing. My pie was the belle of the ball in flavor and appearance.” – CM
– From the comments below
Save this Recipe!
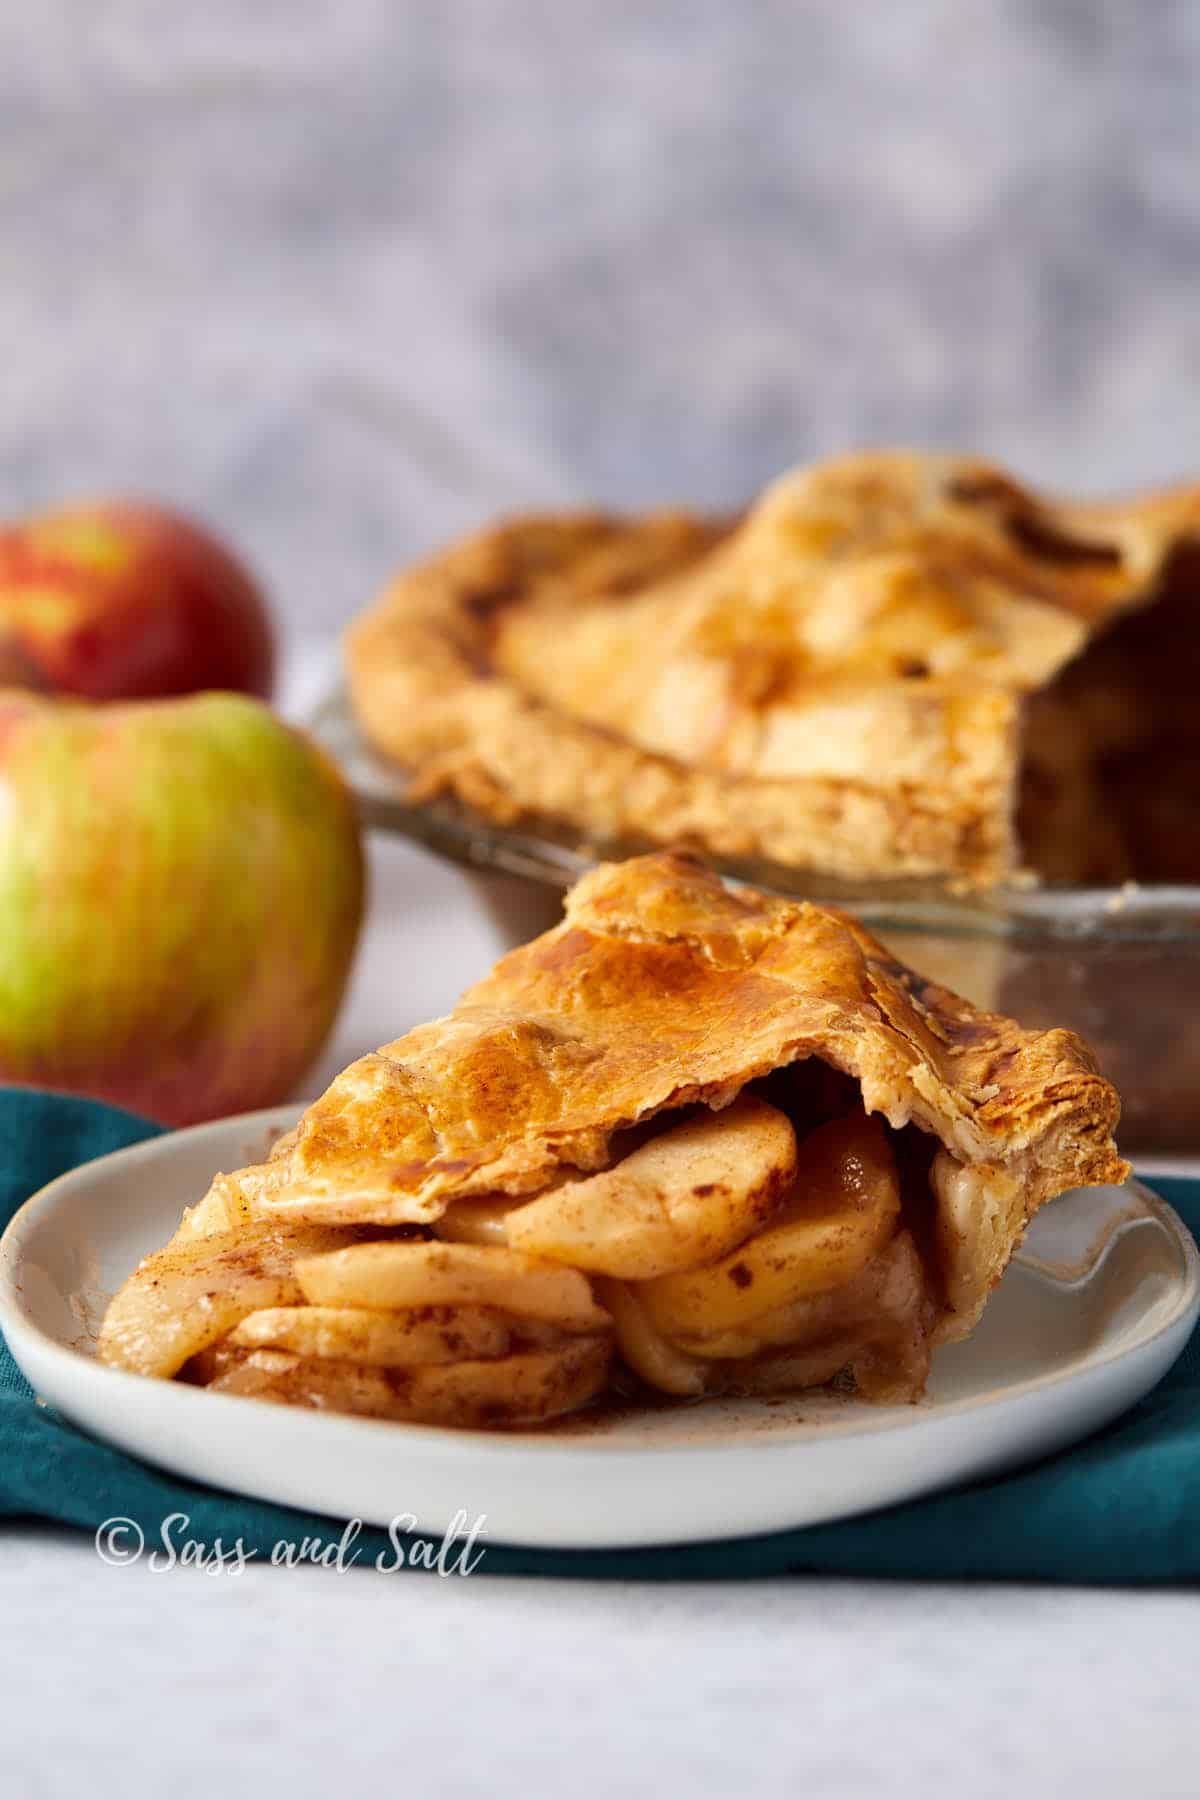
The reason it works is the apple. One variety, no blending. Honeycrisps are firm enough to hold their shape in distinct slices after an hour in a hot oven, and they release just enough juice to mingle with the cinnamon and sugar rather than flooding the crust.
It’s my kids’ most-requested dessert, which says something because I also make a lot of cookies around here.
Why you’ll love this recipe
- One apple, one perfect pie – No need to mix varieties or pre-cook the filling. Honeycrisp apples give you consistent flavor and texture in every slice.
- Juicy but never soggy – Honeycrisps hold their shape as they bake, creating a perfectly juicy filling that won’t soak your crust.
- All-butter crust – Golden, flaky layers that practically melt in your mouth.
- Family favorite – It’s my kids’ most requested dessert, so it’s on repeat at our house all season long.
- Pure autumn comfort – Simple, reliable, and everything you want in a fall dessert.
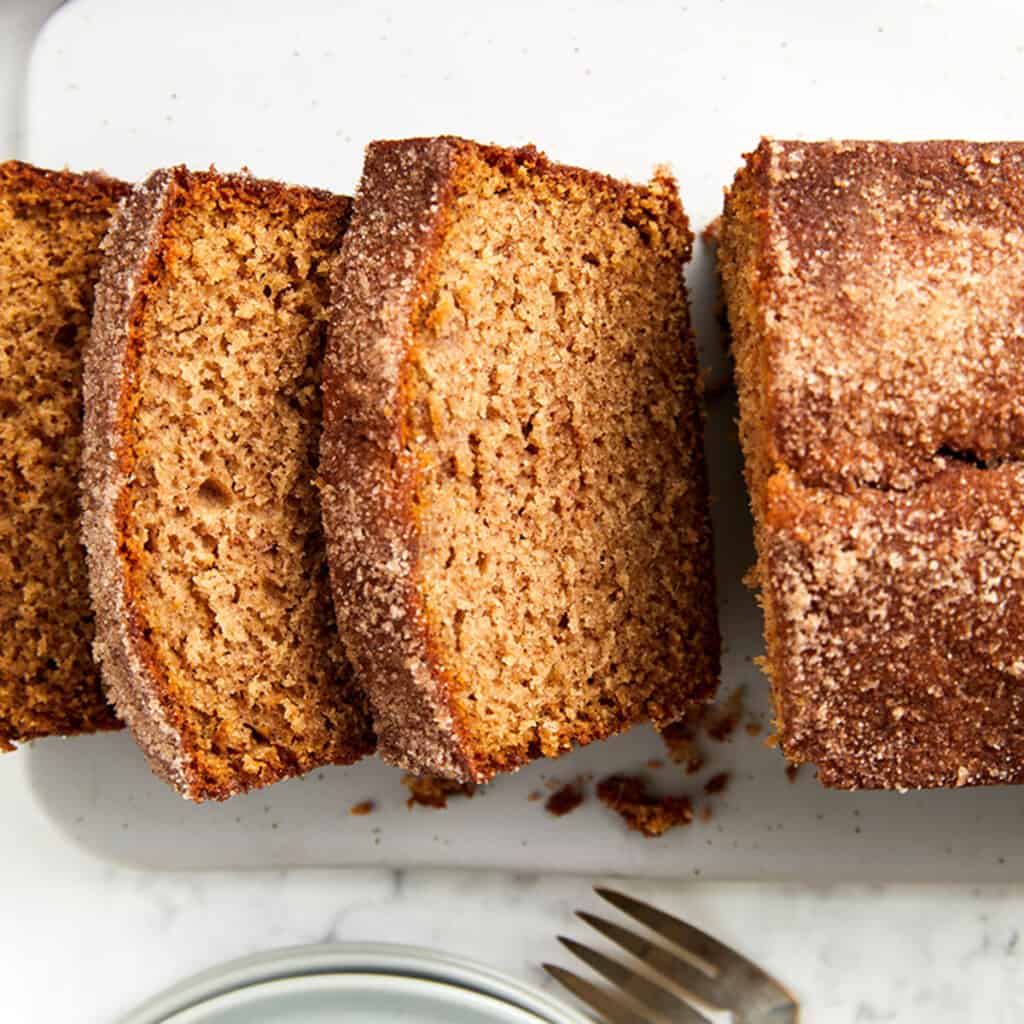
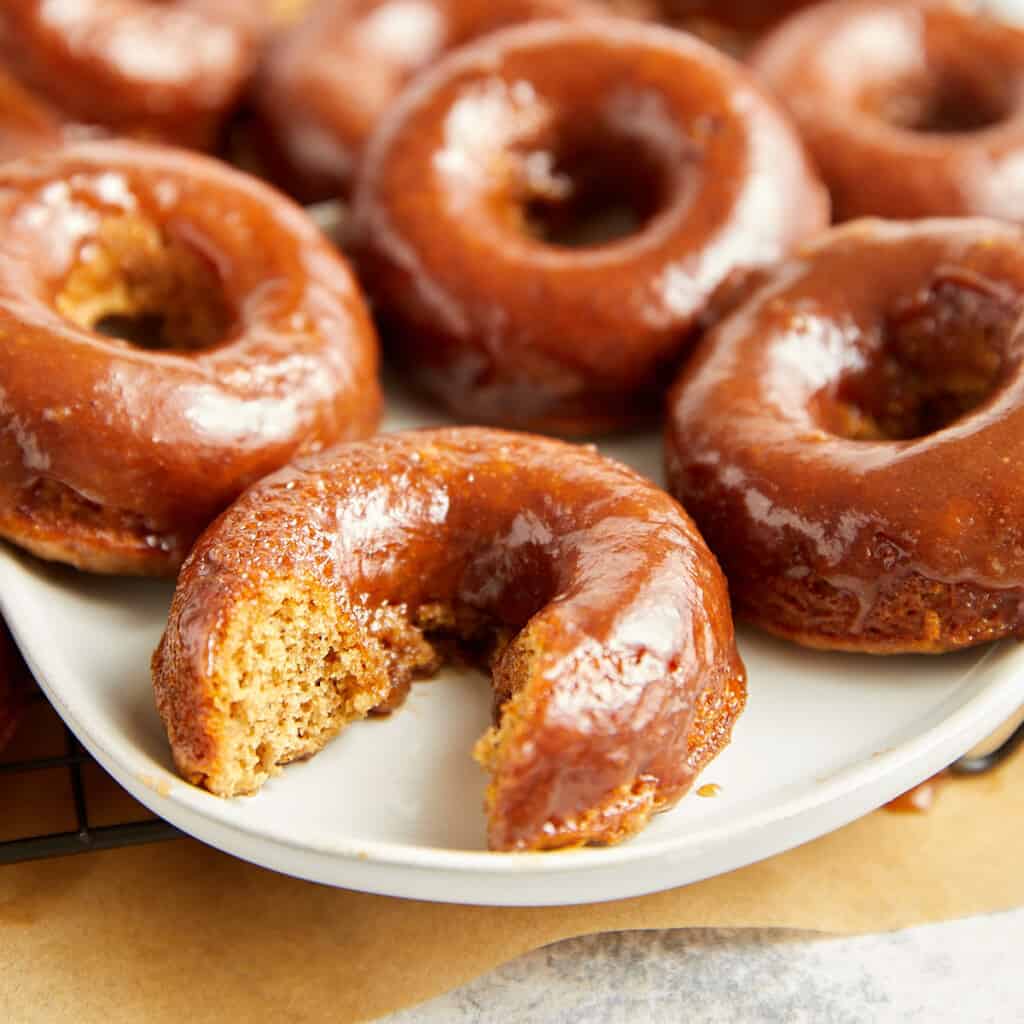
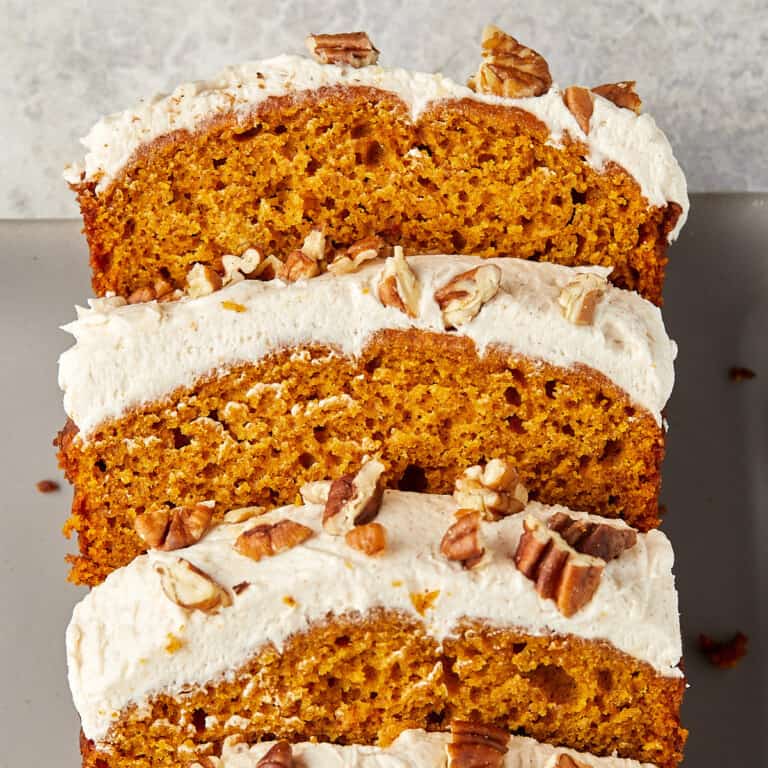
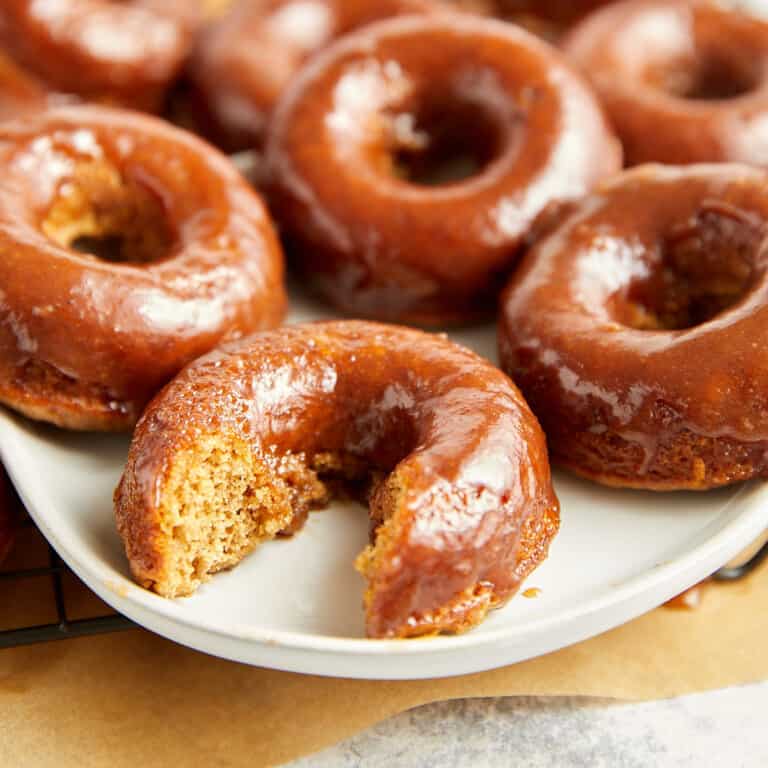
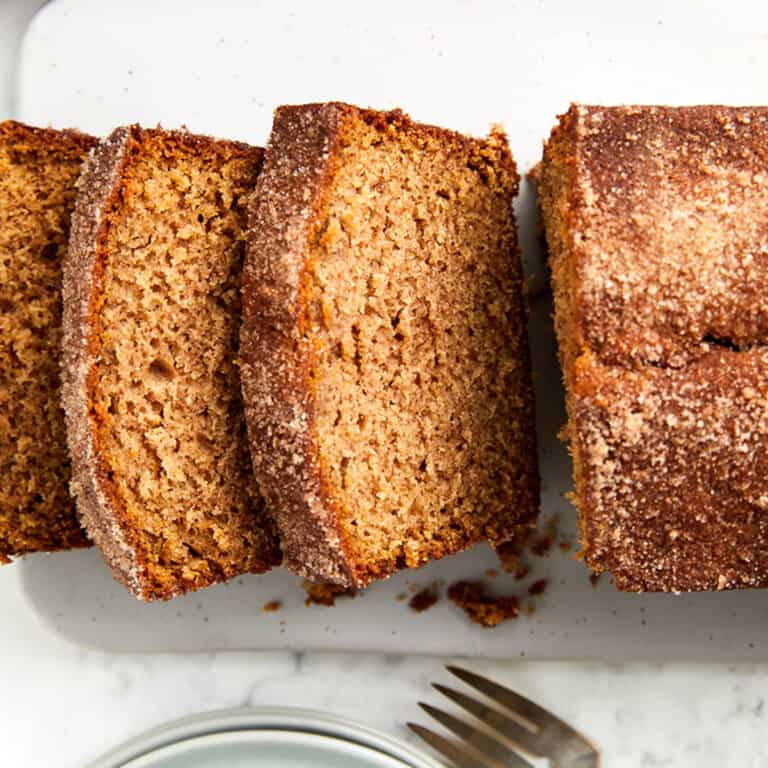
Looking for more cozy apple desserts? Try my Apple Cider Donut Loaf Cake, tender and spiced with cinnamon. Or bake a batch of Baked Apple Cider Donuts, soft, buttery, and glazed with apple butter. For something lighter, my Apple Cider Muffins are fluffy, warm with spice, and just right for crisp fall mornings.
Are Honeycrisp apples good for pie?
Yes, and it is the only variety I use for this recipe. Honeycrisps stay in distinct slices through a long bake instead of collapsing, and they are sweet-tart on their own, so you do not have to blend varieties to balance the flavor. They also make a genuinely juicy pie, releasing plenty of liquid that the tapioca thickens into a proper filling, as long as you let it cool completely before slicing. For how they compare to other varieties, what to use if you cannot find Honeycrisps, and which apples to avoid, see the substitutions section below.
The Flakiest All-Butter Pie Crust
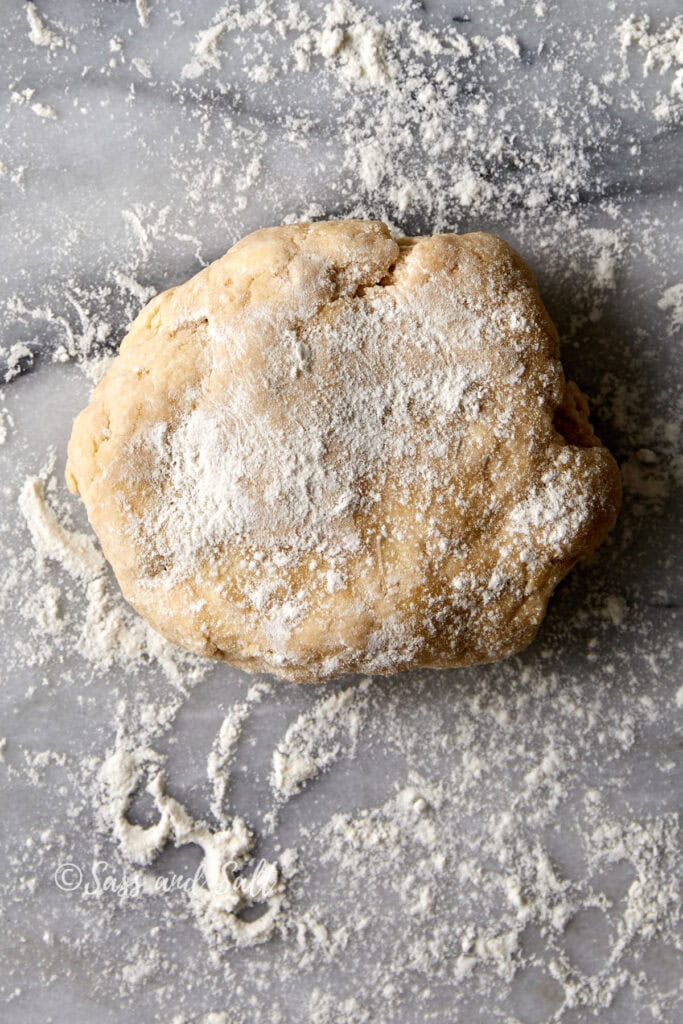
The foundation of any great pie is the crust, and my all-butter pie crust delivers every time. Made entirely with butter, it bakes into golden, flaky layers that are rich and full of flavor.
The secret starts with cold butter. As it melts in the oven, it creates steam pockets that form those delicate, crisp layers. The method is simple: mix flour, salt, and cold butter until you see pea-sized chunks, then add just enough cold water to bring the dough together. The result is a dough that rolls out smoothly and bakes into the perfect base for your Honeycrisp apple pie.
Ingredients
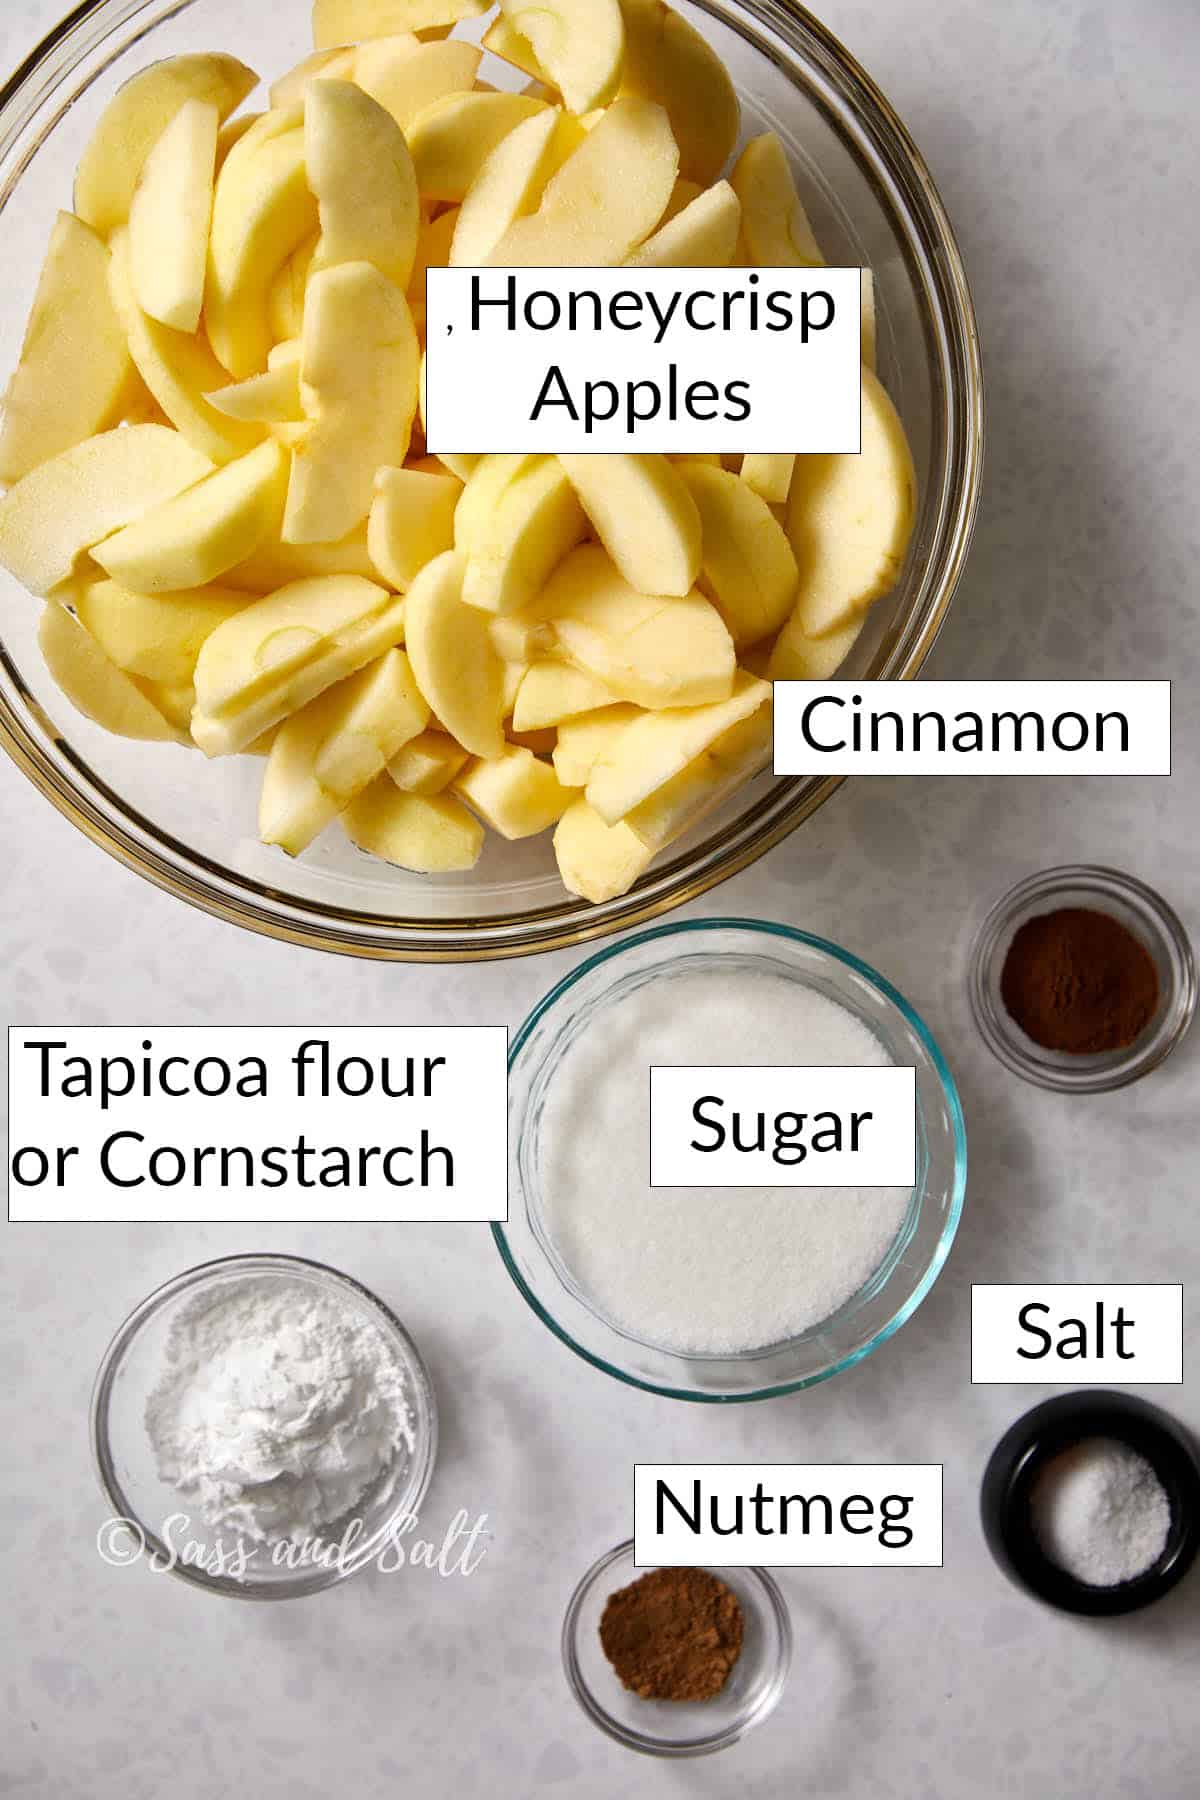
- Honeycrisp apple slices – Firm, crisp, and naturally sweet-tart. These apples hold their shape when baked. They pair perfectly with warm spices.
- Cinnamon & ground nutmeg – A cozy spice duo that adds warmth, depth, and that classic apple pie aroma.
- Tapioca flour or cornstarch – Thickens the filling so each slice holds together. I prefer tapioca flour for a clearer, glossier finish. Cornstarch works as a 1:1 swap with similar results.
Substitution and Variations
Apples – This pie is best with Honeycrisp, but if you can’t find them, try Granny Smith, Braeburn, or Jonagold.
Thickener – Tapioca flour is my favorite. Cornstarch works as a 1:1 swap with similar results, the filling will be slightly more opaque but most people won’t notice. All-purpose flour can work in a pinch, but it’s a weaker thickener, so you’ll need to double the amount (½ cup instead of ¼ cup). It also gives you a cloudier, slightly starchier filling.
Crust – Use my all-butter pie crust for the flakiest results, or switch the top crust for a lattice design or a crumb topping for a rustic variation.
Spices – Stick with cinnamon and nutmeg for classic flavor, or add a pinch of cardamom or allspice for a warmer, more complex pie.
Mini Pies – Turn this recipe into mini tarts or hand pies for individual servings perfect for holiday parties.
Honeycrisp Apple Pie Filling Recipe
The filling is the part most people overthink. With Honeycrisps, you don’t have to.
This filling doesn’t need to be pre-cooked. No simmering the apples down, no thickening juice on the stove, no waiting for it to cool. Everything goes in one bowl and takes about 5 minutes.
What’s in the filling: Honeycrisp apples, sliced ¼ inch thick; granulated sugar; tapioca flour (or cornstarch); cinnamon; nutmeg; and kosher salt. Six ingredients, no stovetop, no cooling. Toss everything in a big bowl until the apples are evenly coated, then spoon into your chilled pie shell.
This is a juicy pie by design. Honeycrisps release a lot of liquid during an hour-long bake, and the ¼ cup of tapioca turns all that juice into a thick, sliceable filling. Don’t skimp on the tapioca, and don’t cut a warm pie. The filling doesn’t fully set until the pie has cooled for at least 4 hours (overnight is even better). Slice it too early, and you’ll get the puddle people complain about in the comments on other recipes, and that’s the filling still setting, not a broken recipe.
The ¼-inch slice rule is the one detail I wouldn’t cut corners on. Thicker than that, and the apples stay crunchy even after an hour in the oven. Thinner and they turn to mush. I landed on ¼ inch after years of testing and stopped looking after that.
Tapioca flour vs. cornstarch: which thickener makes the best apple pie filling?
This is the question I get most about this pie, so here’s the short version.
- Tapioca flour (my pick). Creates a clearer, glossier gel than cornstarch, and it’s more acid-stable, which matters because apples are naturally acidic. Tapioca also holds up better if the pie sits on the counter for a few hours or gets frozen and reheated.
- Cornstarch. A reliable 1:1 swap and easier to find at most stores. The finished filling is slightly more opaque and has a subtly starchier mouthfeel than tapioca, but for a pie served the day it’s baked, most people won’t notice the difference.
- All-purpose flour. The old-school option. Gives you a cloudier, slightly starchy-tasting filling, not bad, just not as clean-tasting as the other two. I stopped using it years ago.
If you can find tapioca flour, it’s worth grabbing a bag. Check the baking aisle or the gluten-free section, since tapioca is naturally gluten-free and stores often shelve it there. One bag lasts a whole baking season.
Step-by-Step Honeycrisp Apple Pie
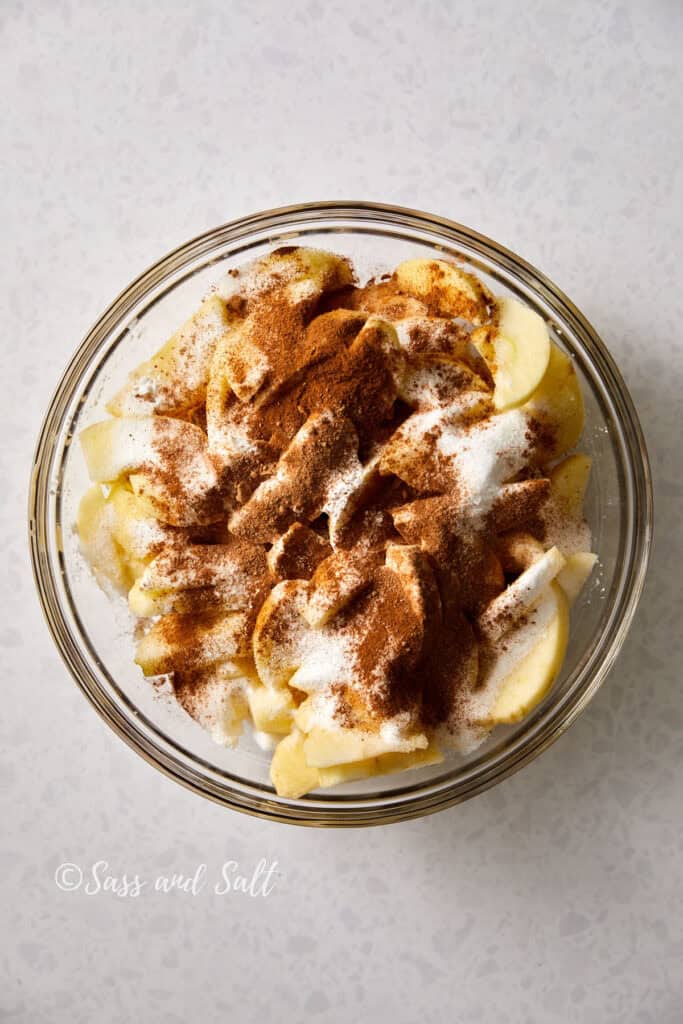
Step 1: In a large mixing bowl, combine sliced Honeycrisp apples, sugar, cinnamon, nutmeg, salt, and flour.
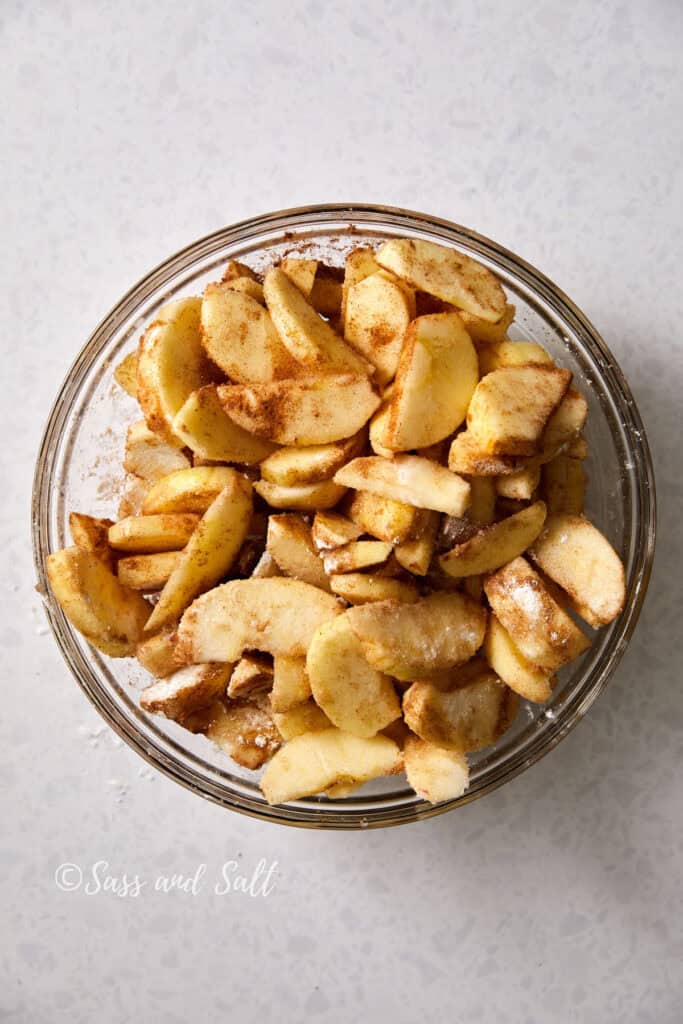
Step 2: Toss until the apples are evenly coated so every bite is full of flavor.
Step 3: In a small bowl, mix sugar, flour (or cornstarch), and cinnamon.
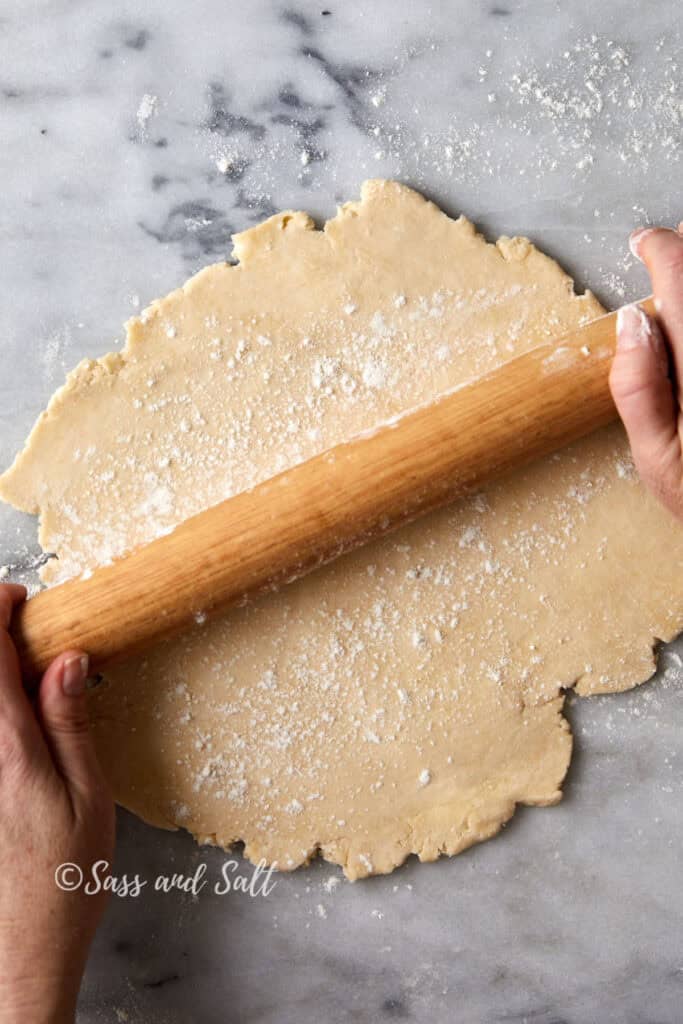
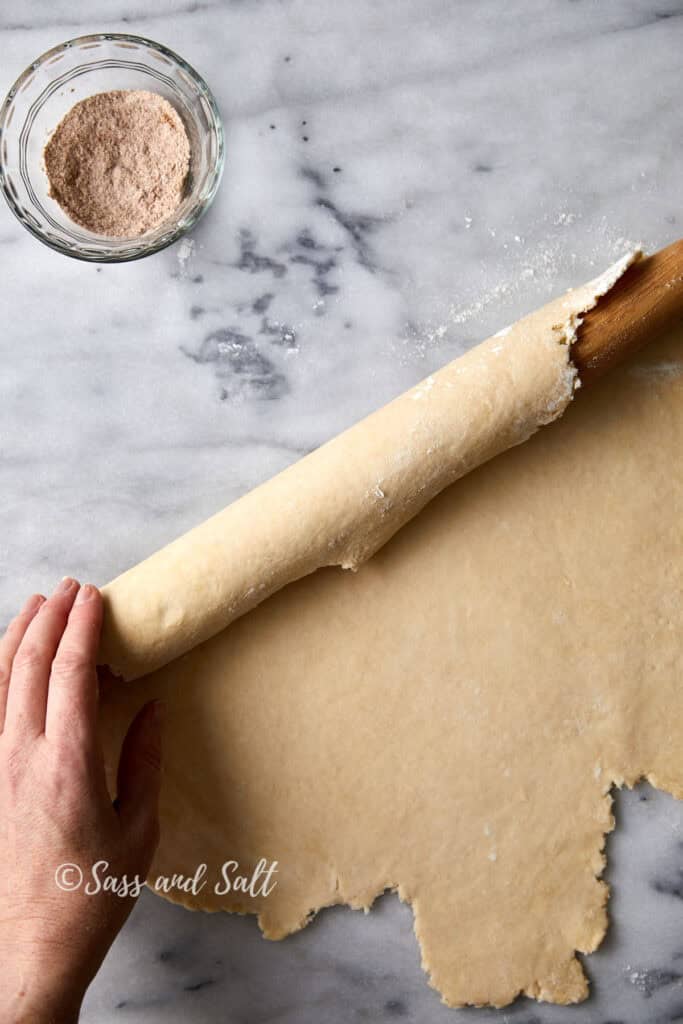
Step 4: On a lightly floured surface, roll out one disc of chilled all-butter dough (keep the other cold). Rotate a quarter turn every few rolls until you have a 12-inch circle.
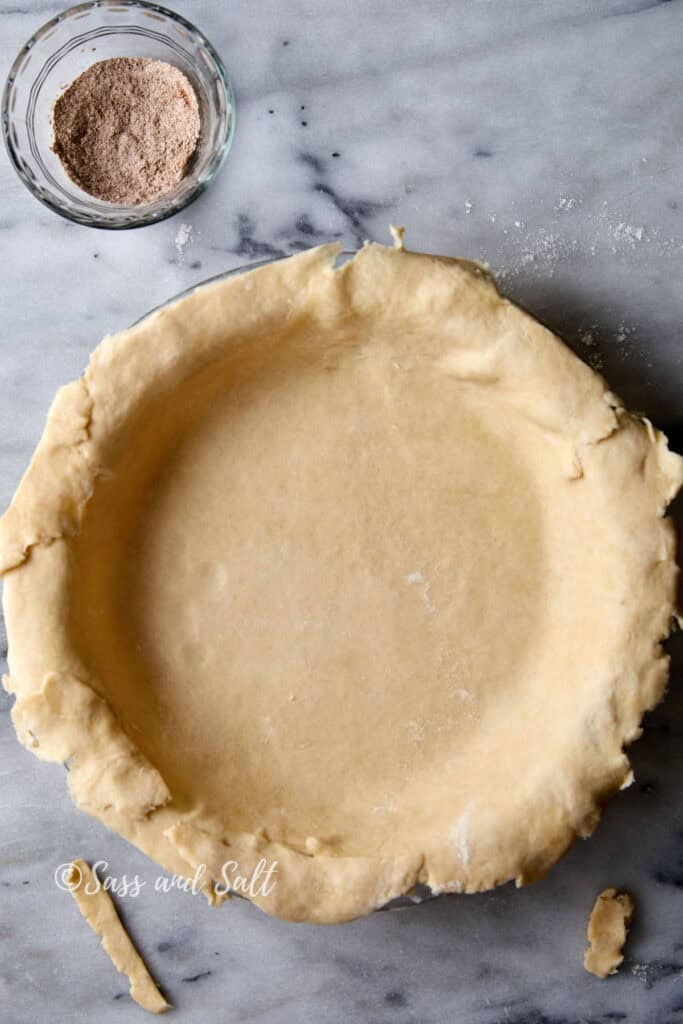
Step 5: Place the dough into a 9-inch pie plate, letting it settle into the corners without stretching. Trim to leave a ½-inch overhang.
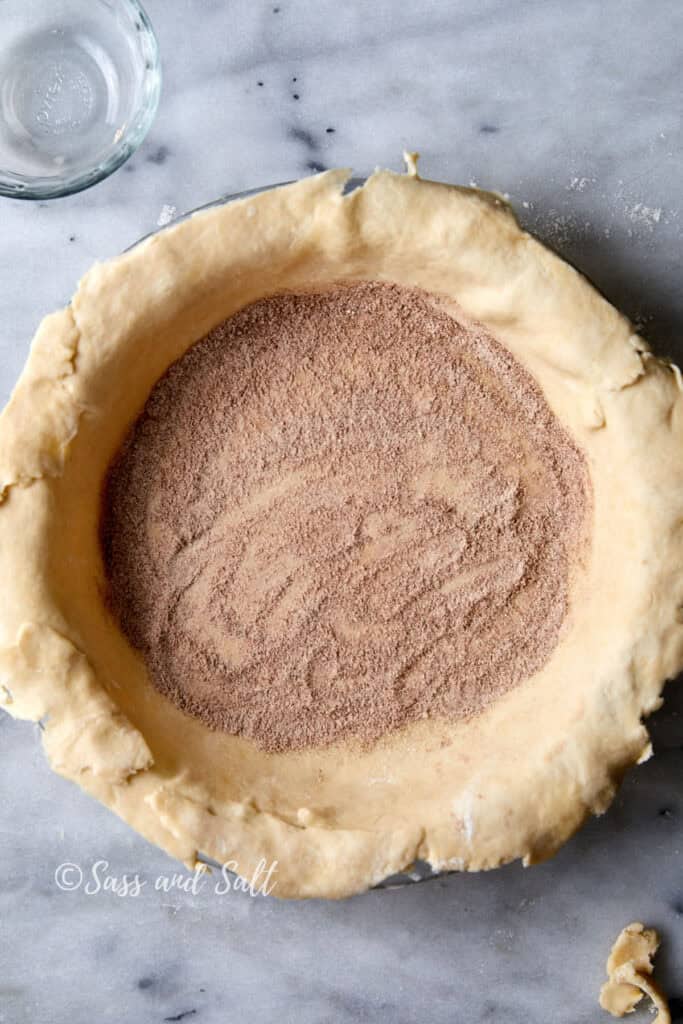
Step 6: Sprinkle the flour-sugar mixture evenly across the bottom of the crust.
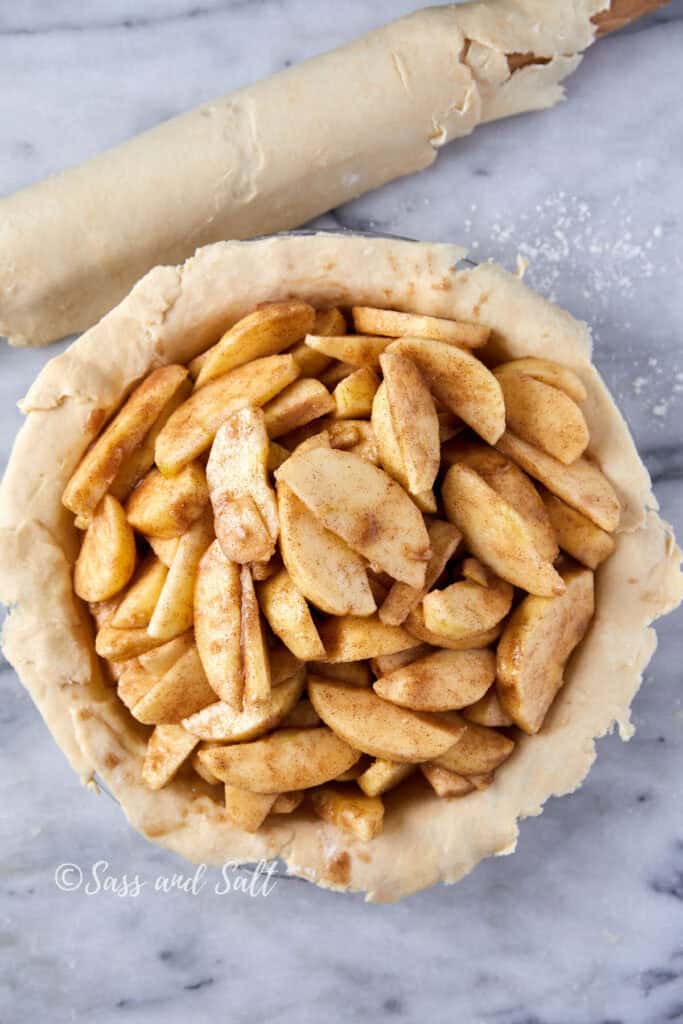
Step 7: Spoon in the Honeycrisp apples into the prepared crust. The mound may seem high, but the apples will cook down as they bake.
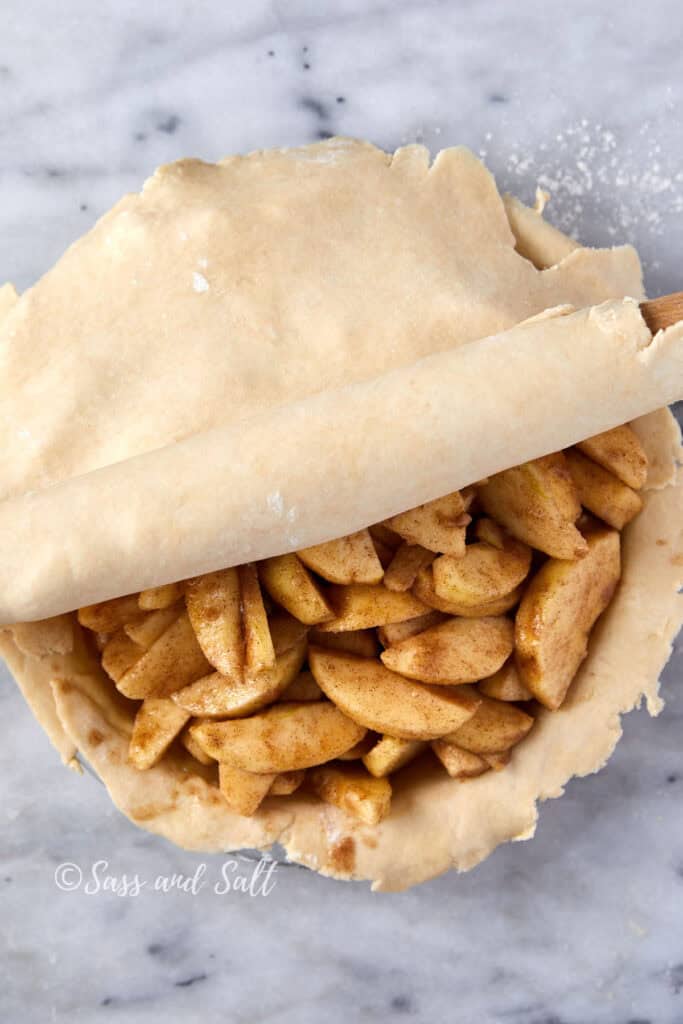
Step 8: Remove the second dough disc from the fridge. Roll out the second disc of dough into a 12-inch circle. Place over the apples, trimming any extra.
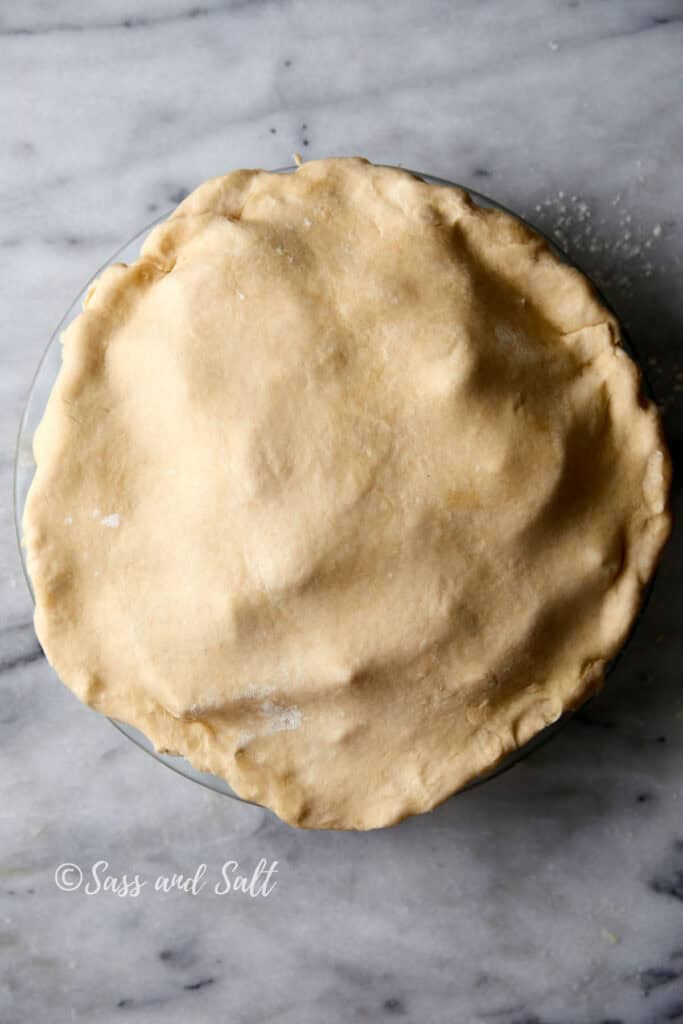
Step 9: Fold the crust edges together and seal. Crimp for a neat finish.
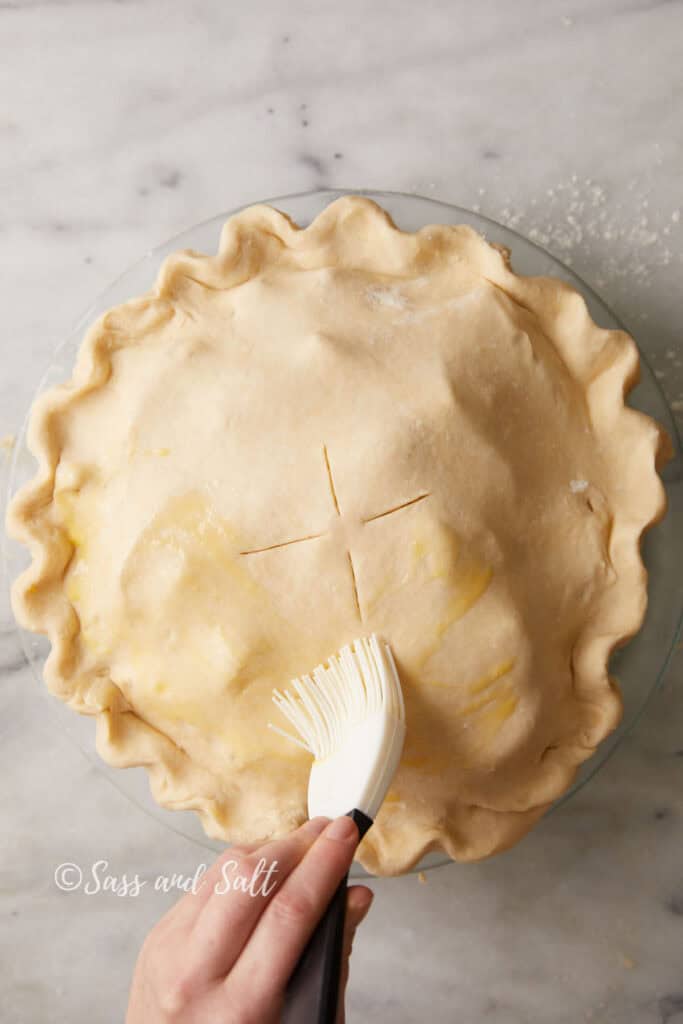
Step 10: Cut vents in the top crust to let steam escape from the apple filling. Brush the top crust lightly with egg wash and sprinkle with coarse sugar, if desired. Set the pie on a baking sheet lined with parchment paper.
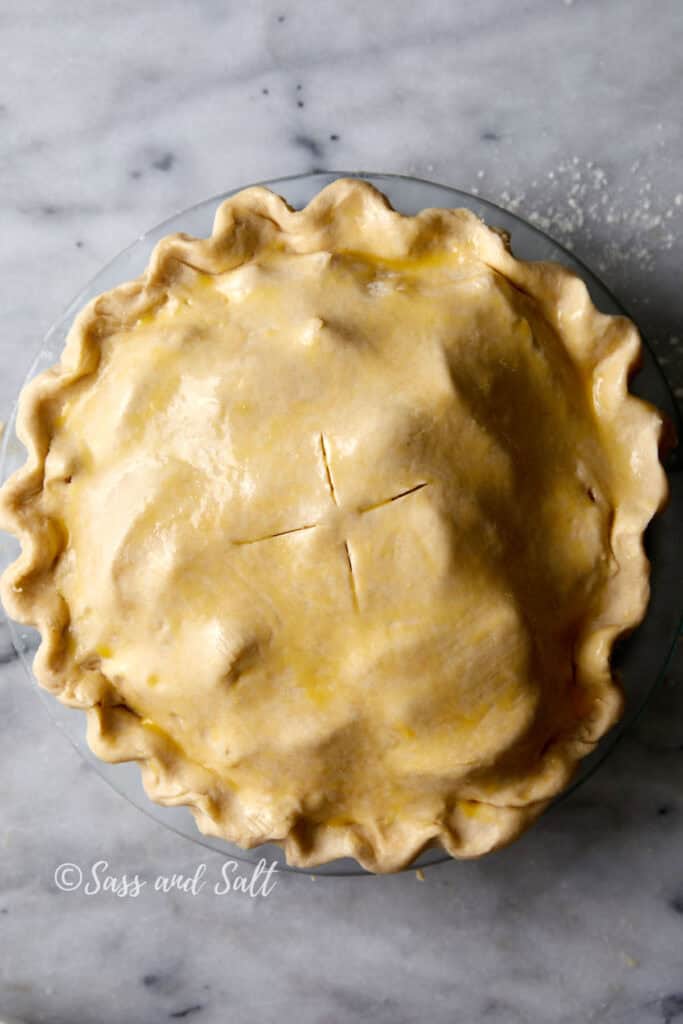
Bake at 425°F for 15 minutes, then reduce to 375°F (190°C) and bake 40–45 minutes more, until the crust is golden and the filling bubbles. Cover the edges with foil if they brown too quickly. Cool completely before slicing.
Expert tip
Place your pie pan on a rimmed baking sheet before sliding it into the oven. This makes it super easy to remove without accidentally breaking that perfect crust with your oven mitts. Want an even crispier, golden crust? Pop the baking sheet on a baking stone. It helps keep the bottom crust beautifully crisp, avoiding any of that soggy texture!
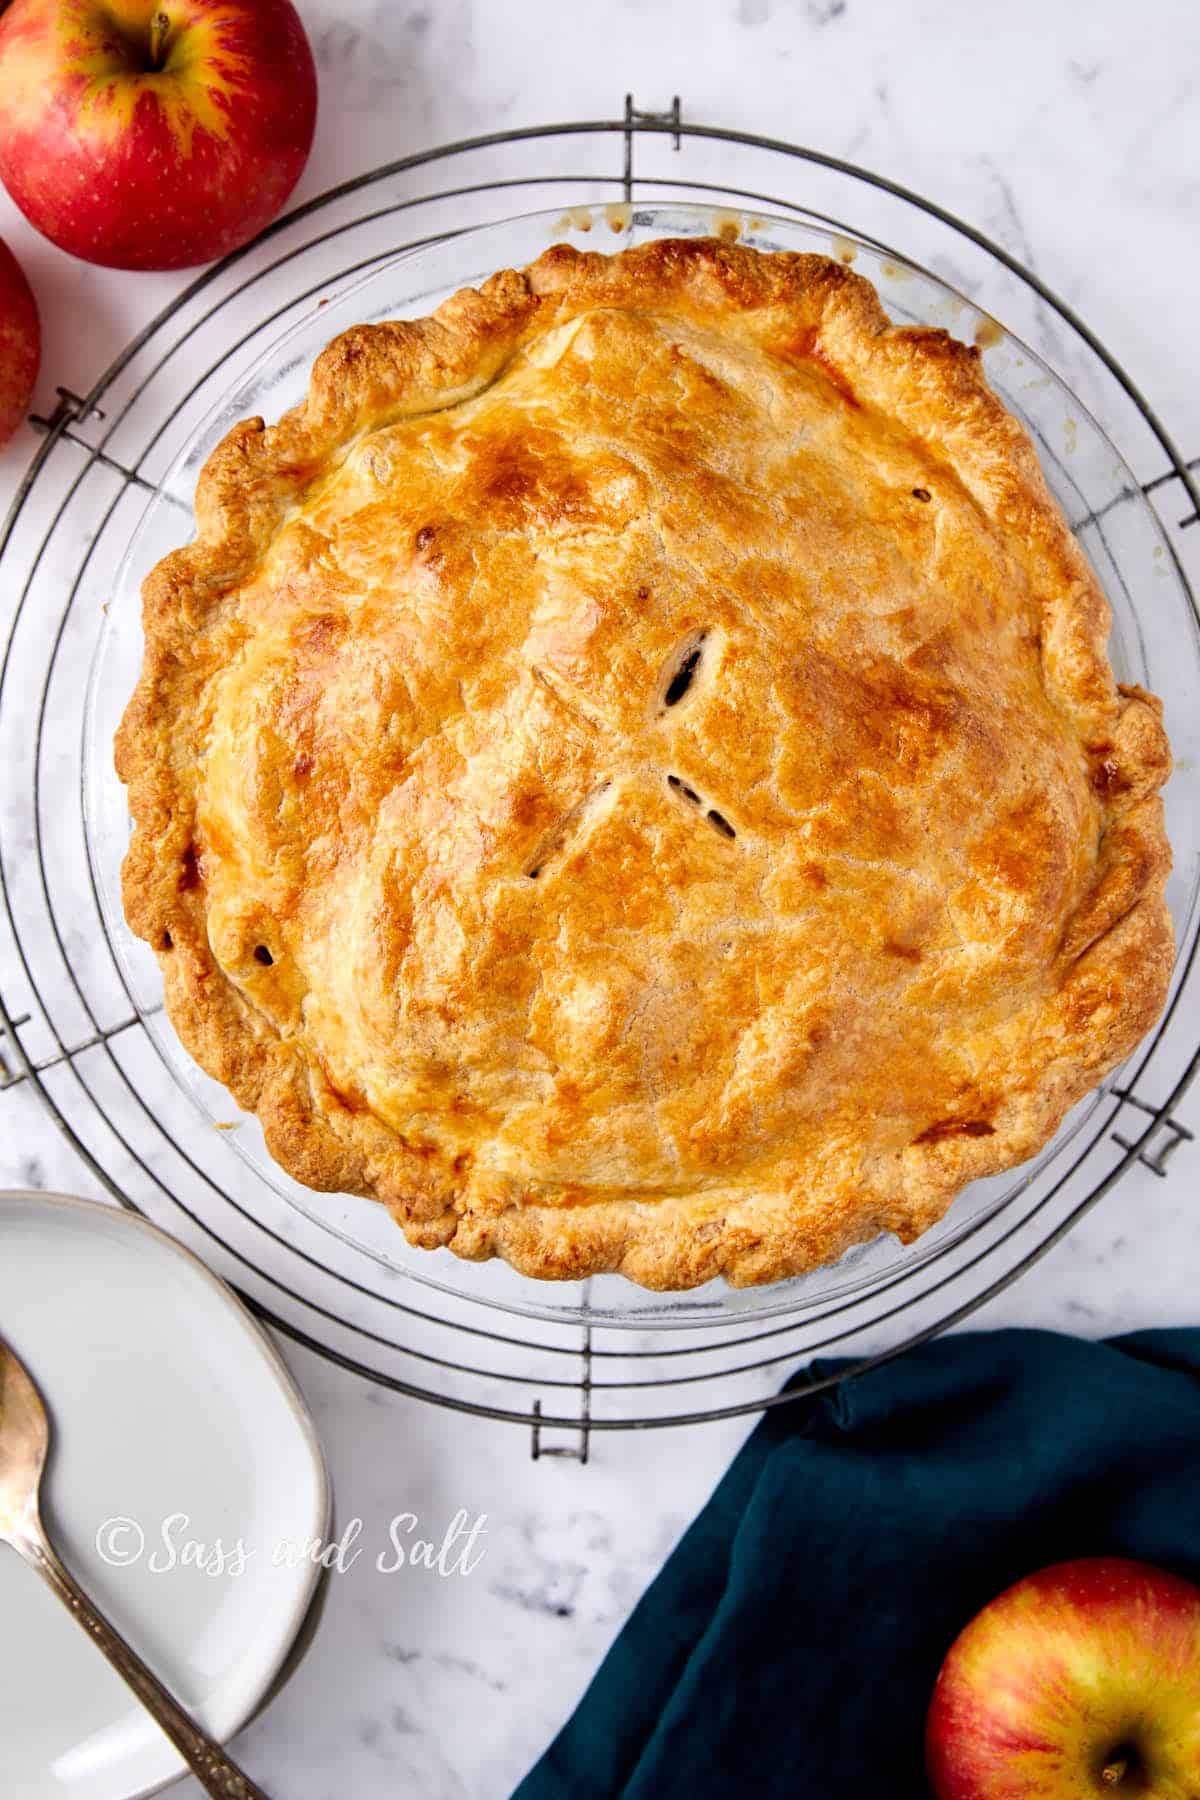
- Cool the Pie: Once the pie is done, remove it from the oven and let it cool completely on a rack. This allows the filling to set, so it isn’t too juicy when you cut into it. Cool the pie all day (or overnight) before cutting. I know it’s hard to wait, but if you cut into the pie too soon, the filling will run.
My Best Tips
- Keep your butter and dough cold – Cold butter creates steam pockets as the pie bakes, giving you those gorgeous flaky layers. Always chill your dough before rolling.
- Sprinkle the bottom crust with a flour-sugar mixture – This simple step absorbs excess juices and keeps the base from getting soggy.
- Protect the crust edges – If the edges start browning too quickly, loosely cover them with foil for the last 15–20 minutes of baking.
- Use a baking stone or steel – Setting your pie plate on a preheated surface helps the bottom crust stay golden and crisp.
- Cool completely before slicing – Waiting at least 4 hours (or overnight) ensures the filling sets beautifully instead of spilling out.
Common Questions
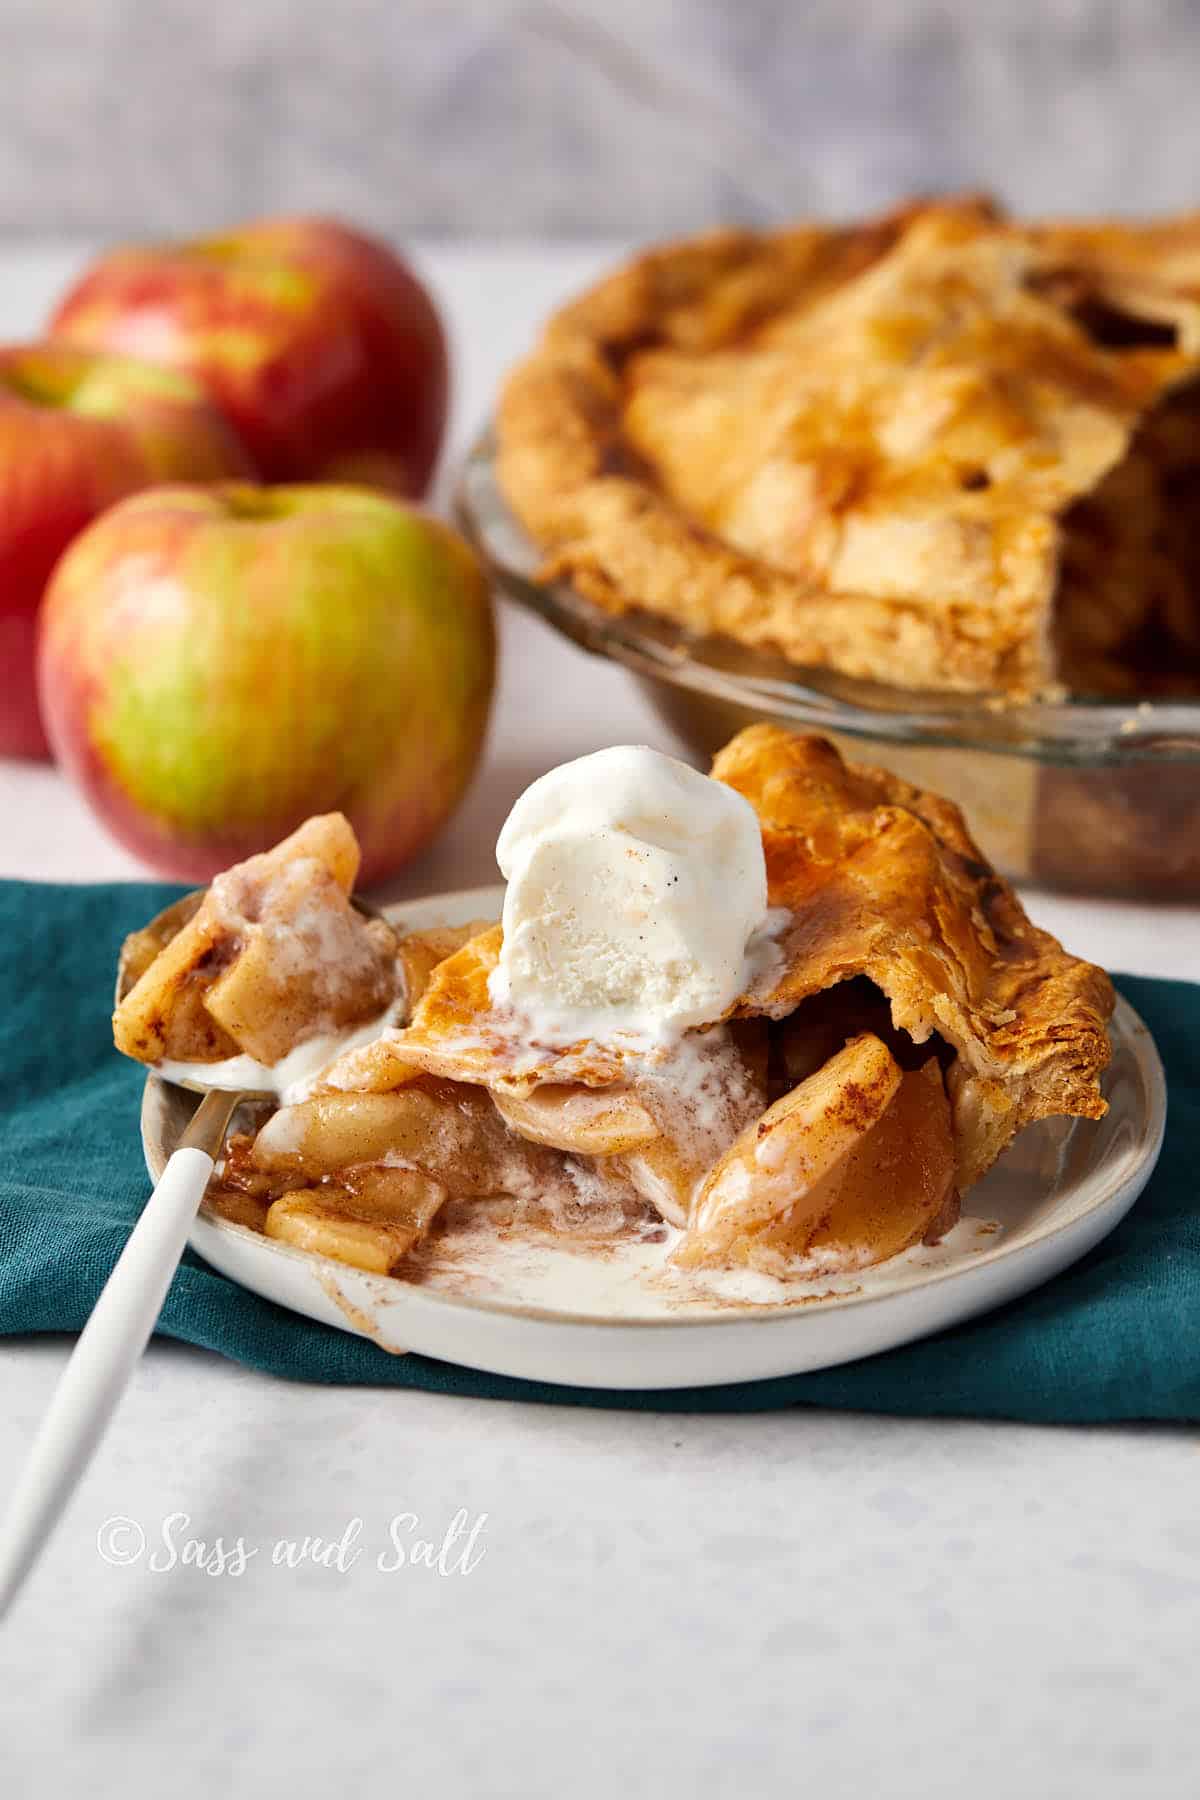
Best Ways to Serve Apple Pie
- With Vanilla Ice Cream – The classic pairing. The cold, creamy sweetness melts into the warm pie for the perfect hot-and-cold contrast.
- With Whipped Cream – A lighter topping that adds airy texture and balances the tartness of the apples. Add a pinch of cinnamon for a cozy twist.
- With Salted Caramel Sauce – A buttery-sweet drizzle with a hint of salt perfectly complements the apple flavor.
Storage
- Room Temperature – Covered, up to 2 days.
- Refrigerator – Tightly wrapped, 4–5 days.
- Freezer – Double wrapped, up to 3 months.
Reheating:
- Oven at 350°F (175°C).
- Place slice on baking sheet, loosely covered with foil.
- Warm for 10–15 minutes.
Make-Ahead Tips
- 1 Day Ahead – Bake, cool, cover, and store at room temp.
- Pie Crust Dough – Refrigerate up to 3 days or freeze for 3 months.

Recipe
Honeycrisp Apple Pie
Equipment
- pie plate 9 inch, at least 1 1/2" to 2" deep
- Large Baking Sheet, rimmed
- Large mixing bowls
Ingredients
- Flaky Butter Pie Crust (recipe makes 2 crusts, 1 for bottom and 1 for top)
Filling
- 10 cups (1250g), Honeycrisp apple slices, about 8 large apples, peeled and cored, cut 1/4 inch thick
- 3/4 cup (150g) Granulated sugar
- 1/4 cup Tapioca flour (30g) or cornstarch
- 1 1/2 teaspoons Cinnamon
- 1/2 teaspoon (2 grams) Diamond Crystal kosher salt; for table salt, use half as much by volume or use the same weight
- 1/4 teaspoon Ground nutmeg
Bottom of the Pie Crust
- 1 teaspoon Granulated sugar
- 1 teaspoon Tapioca flour, cornstarch or all-purpose flour
- 1/2 teaspoon Cinnamon
Egg Wash & Optional Topping:
- 1 large egg plus 1 tablespoon water, whisked
- Coarse sugar for sprinkling

Instructions
- Preheat your oven to 425°F (220°C).
- Prepare a 9-inch pie pan. Lightly grease with butter or nonstick spray.
- To make the filling: In a large bowl, combine the apple slices, granulated sugar, tapioca flour, cinnamon, salt, nutmeg, and mix until thoroughly combined.10 cups (1250g), Honeycrisp apple slices, about 8 large apples, peeled and cored, cut 1/4 inch thick, 3/4 cup (150g) Granulated sugar, 1 1/2 teaspoons Cinnamon, 1/4 teaspoon Ground nutmeg, 1/2 teaspoon (2 grams) Diamond Crystal kosher salt; , 1/4 cup Tapioca flour (30g) or cornstarch
- In a small bowl, Combine the granulated sugar, flour, and cinnamon. Set aside.
- To assemble the pie: On a floured surface, roll out one disc of chilled pie dough until it forms a 12" circle. Place it into a 9-inch pie dish.
- Spread the sugar, flour, and cinnamon on the bottom of the crust.1 teaspoon Granulated sugar, 1 teaspoon Tapioca flour, cornstarch or all-purpose flour, 1/2 teaspoon Cinnamon
- Spoon the prepared apple filling into the pie crust, piling it high and tightly.
- Roll the second dough disc into a 12-inch circle. Place over apples. Trim excess, fold edges under, and crimp to seal.
- Brush with egg wash and sprinkle with coarse sugar.1 large egg plus 1 tablespoon water,
- Cut at least 4 slits in the top.
- Place pie on a parchment-lined baking sheet. Bake at 425°F (220°C) for 15 minutes, then reduce to 375°F (190°C) and bake 40–45 minutes, until golden and bubbling.
- Cool at least 4 hours (or overnight) before slicing to allow the filling to set.
- Store any leftover pie, lightly covered, at room temperature for several days. Freeze for longer storage.
Save this Recipe!
Notes
- Keep butter and dough cold for flakiest crust.
- Sprinkle bottom with flour-sugar mixture to prevent sogginess.
- Shield edges with foil if browning too fast.
- Bake pie on a preheated baking stone for extra crisp bottom crust.
- Cool completely before slicing.
This is the best apple pie I have ever eaten!
Easy as pie !!!!! LOL..
Honey crisp apples delicious. Thank you for this recipe. Will be making this again.,..SOON. Take care..
Yay!! So happy it was a hit! Nothing beats Honeycrisp apples in a pie. Thank you for sharing, comments like this make my day!
I followed this recipe almost to a T. I added an extra tsp of cinnamon. Was amazing. My pie was bell of the ball in flavor and appearance.
Thank you so much for taking the time to comment! “Belle of the ball” might be my favorite compliment a pie has ever gotten. So happy it turned out beautifully for you. This made my day!