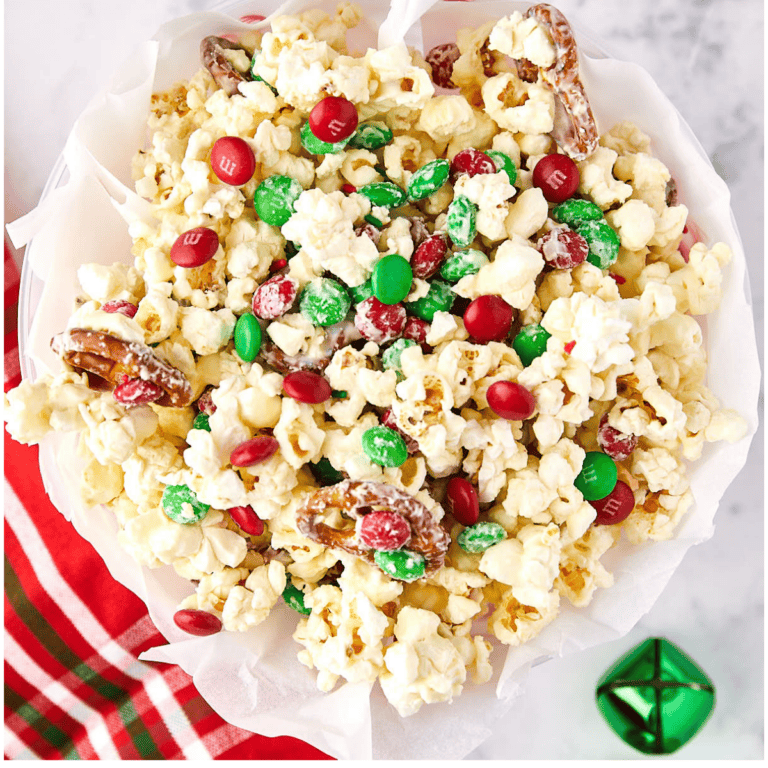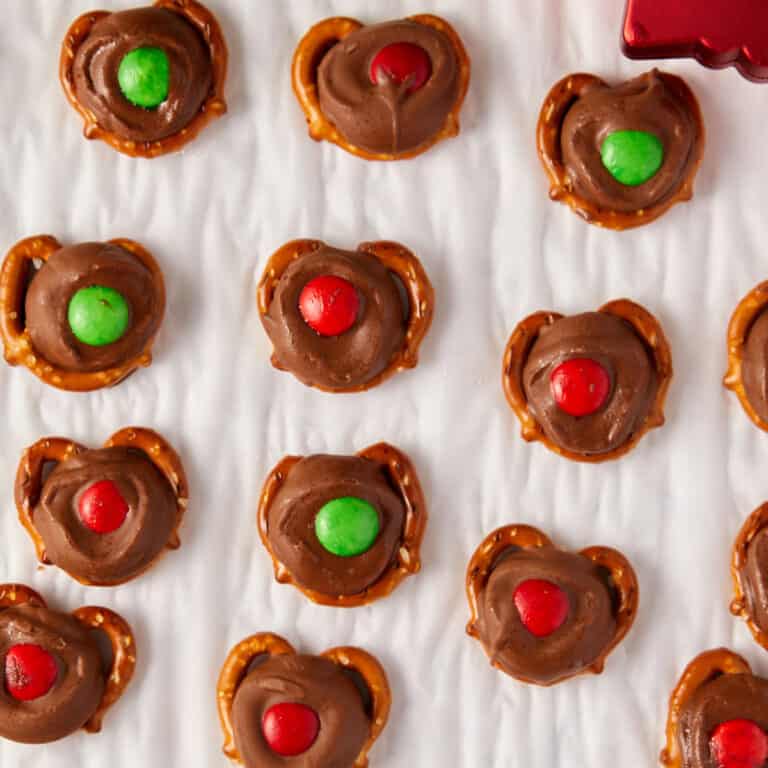


Christmas is a time of joy, celebration, and, of course, delicious treats. Among the array of holiday goodies, Easy Christmas Rice Krispie Treats with M&M’s stand out for their simplicity, taste, and festive appearance. As you enjoy the simplicity and joy of making these, don’t forget to explore other quick and delightful recipes like the adorable Rolo Pretzel Reindeer and Reindeer Nose Treats (Rolo Pretzel Bites) or the irresistibly sweet White Chocolate Christmas Chex Mix with M&M’s. Each recipe is designed to add a touch of magic to your holiday gatherings while being easy enough to whip up even amidst the holiday rush!

Save this Recipe!
Why You’ll Love this Christmas Rice Krispie Treats Recipe
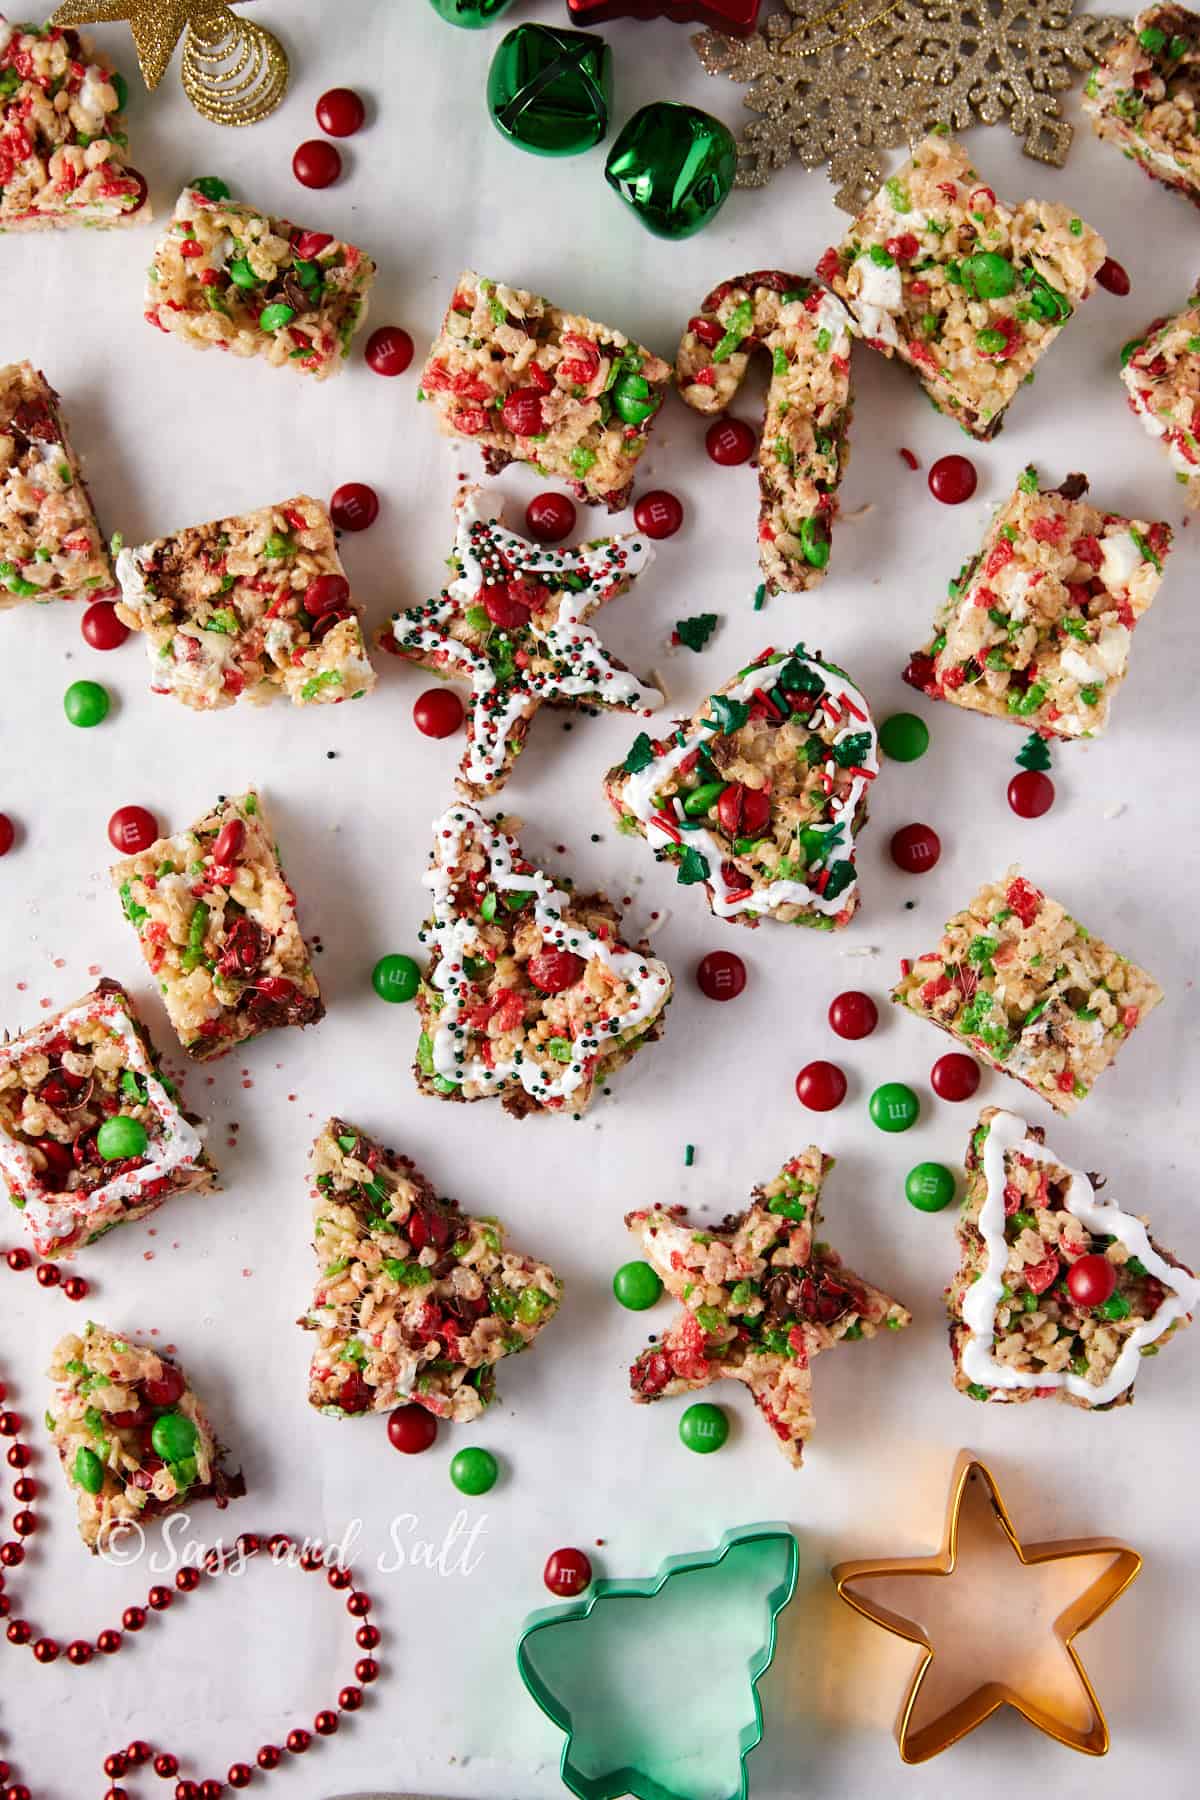
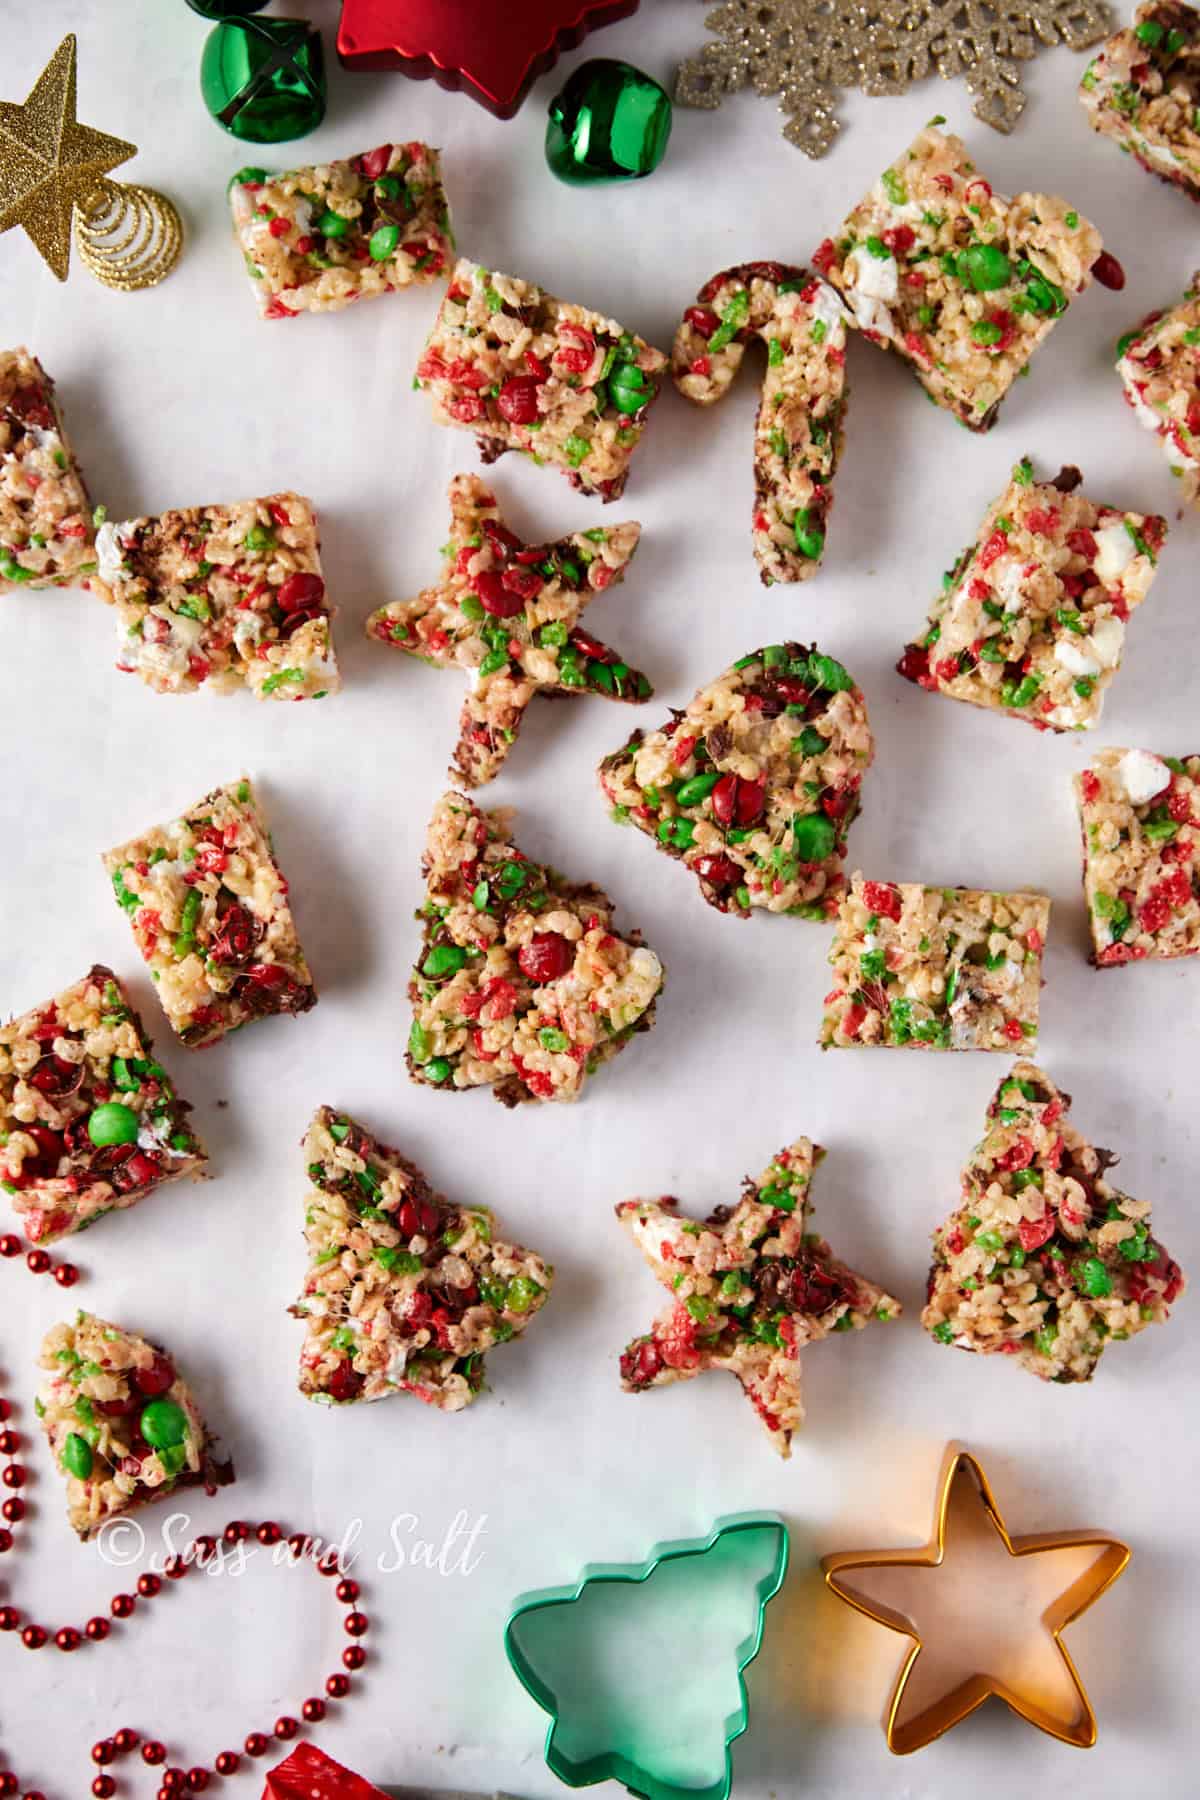
- Festive & Fun: The bright red and green M&Ms add a delightful pop of Christmas color, making these treats a cheerful addition to any holiday spread.
- Quick & Easy: With just a few simple ingredients and minimal prep time, these Rice Krispie Treats are perfect for when you need a festive treat in a hurry.
- Kid-Friendly: Kids love the crispy texture and the fun colors. They can even help make them, turning this recipe into a fun family activity.
- Versatile: Easily adaptable for various occasions. Switch up the M&M colors for different holidays or add-ins to suit your taste.
- No-Bake: No need to turn on the oven, which means less time cooking and more time enjoying the festivities.
- Crowd-Pleaser: These treats are universally loved by both kids and adults, making them a safe bet for any gathering.
Rice Krispie Christmas Treats Ingredients
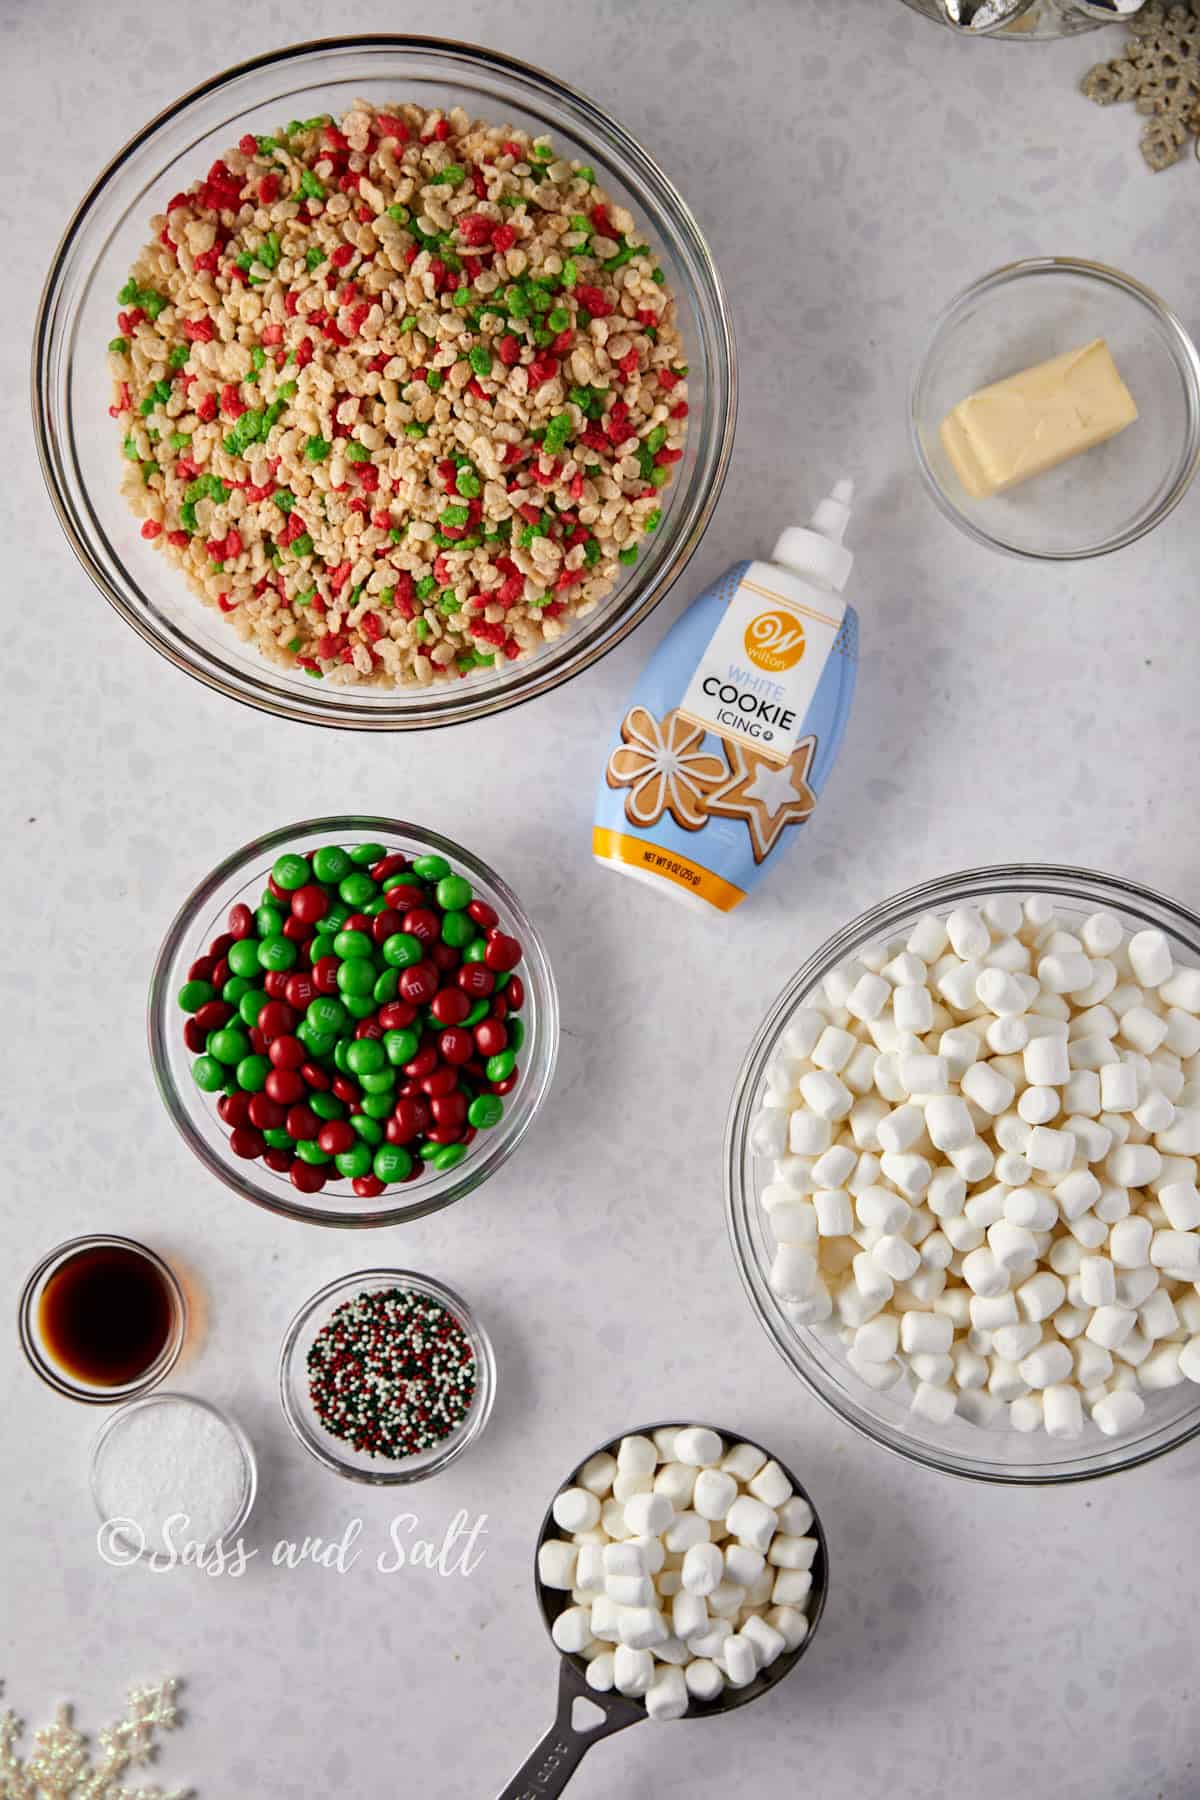
- Rice Krispies cereal: This is the main body of the treat, providing that signature light and crispy texture. Rice Krispies are neutral in flavor, making them the perfect canvas for the sweet marshmallow coating. I used their red and green color mix edition version!
- Mini marshmallows: Marshmallows, when melted, act as a sticky binder that holds the Rice Krispies together. Their sweet flavor and gooey texture upon melting make the treats deliciously chewy. Mini marshmallows melt more evenly and quickly, making them ideal for this recipe.
- Unsalted butter: Butter is used to help melt the marshmallows smoothly and adds a rich, creamy flavor to the treats. Using unsalted butter allows you to control the overall saltiness of the dessert.
- M&Ms (preferably red and green for a festive look): M&Ms add a delightful crunch and chocolatey taste to the treats. The red and green colors provide a festive touch, making the treats visually appealing and perfect for holiday celebrations.
- Vanilla extract: A splash of vanilla extract enhances the flavor complexity of the treats. It adds a subtle but distinct aroma and taste that complements the sweetness of the marshmallows and the chocolatey M&Ms.
- Salt: A pinch of salt is essential in most sweet recipes as it helps balance the sweetness and bring out the flavors of the other ingredients. In Rice Krispie Treats, it can help enhance the buttery taste and ensure that the treats aren’t overly sweet.
- Frosting: Frosting can be used as a topping or a binder for additional decorations. It adds extra sweetness and can be flavored or colored to suit the occasion. For instance, you might use green or red frosting for a festive Christmas look. It also provides a sticky surface for sprinkles or additional M&Ms to adhere to.
- Sprinkles: Sprinkles add a decorative touch and can make your treats more visually appealing, especially for festive occasions or parties. They come in various colors and shapes, allowing you to customize the look of your Rice Krispie Treats to fit any theme or holiday.
How to Make Rice Krispie Treats for Christmas:
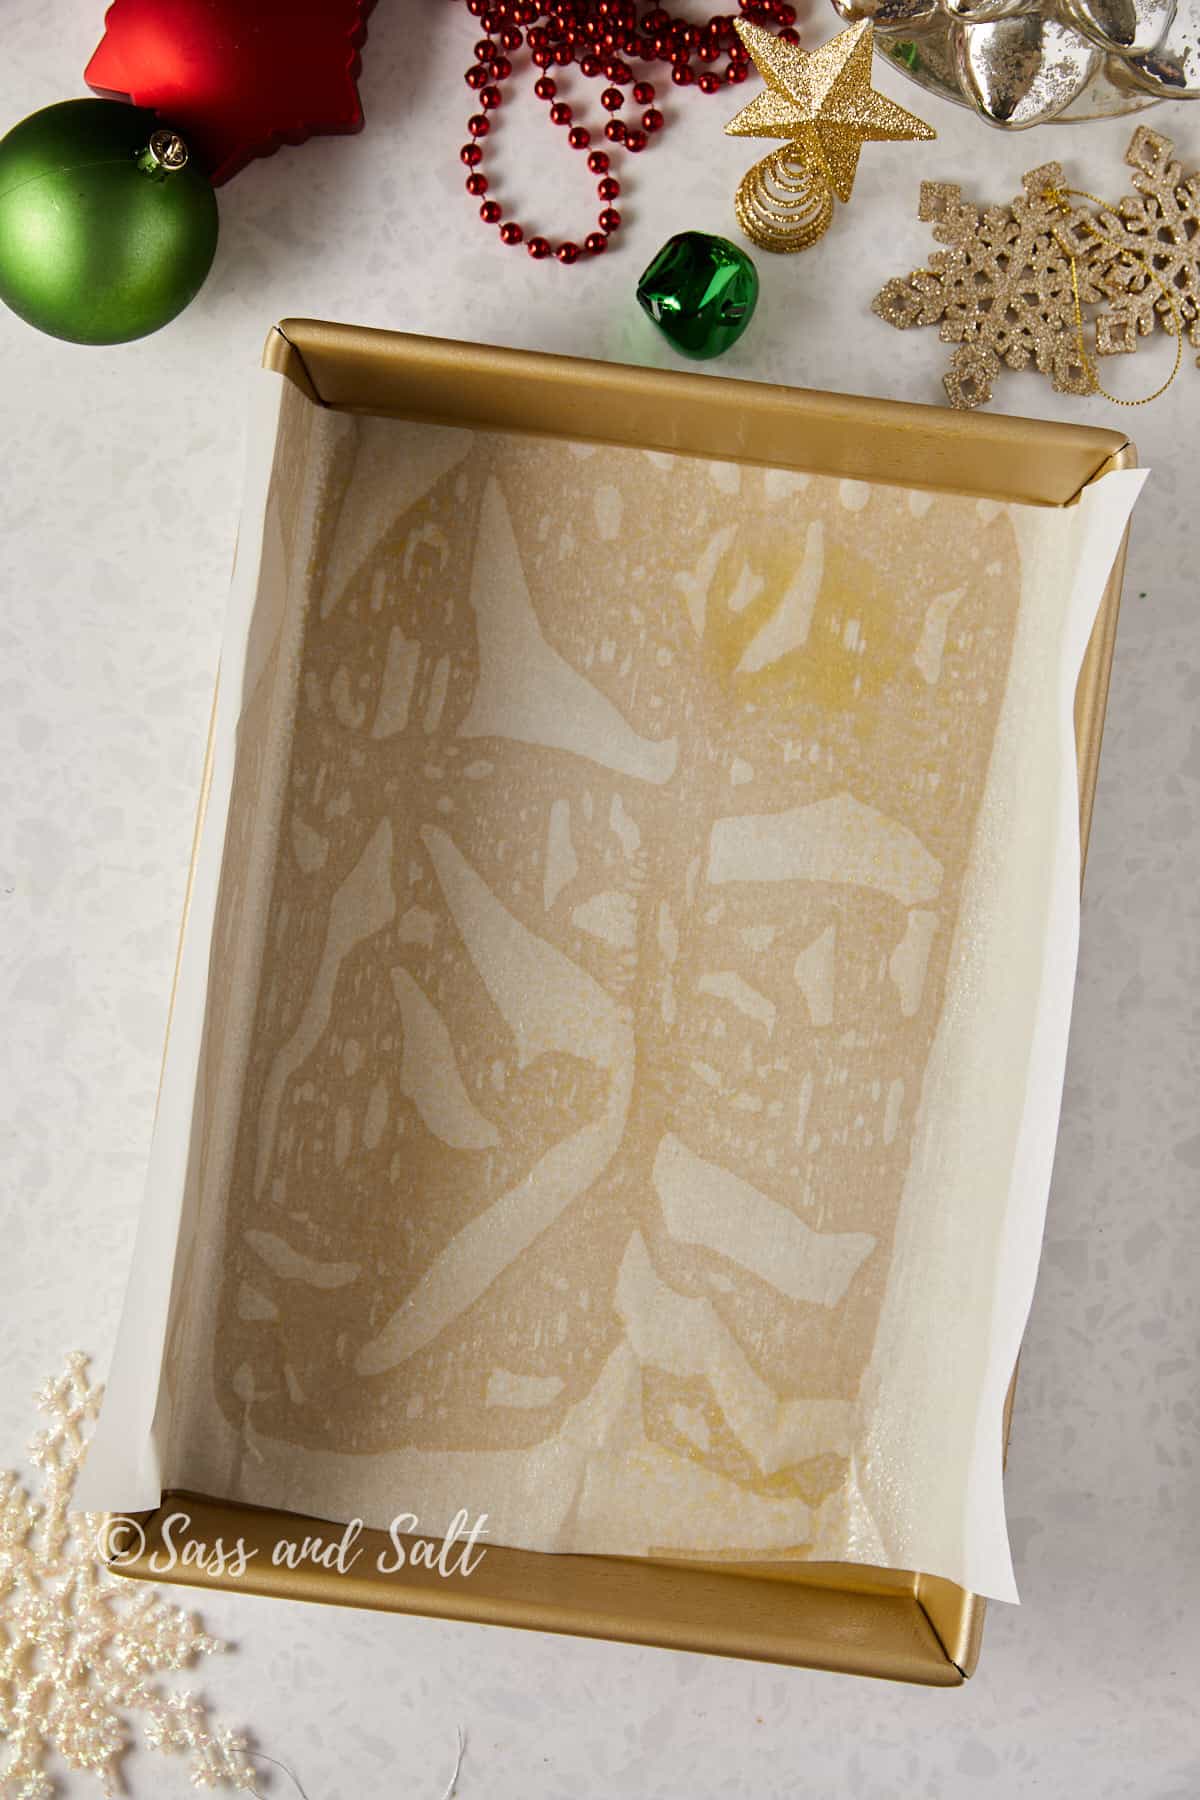
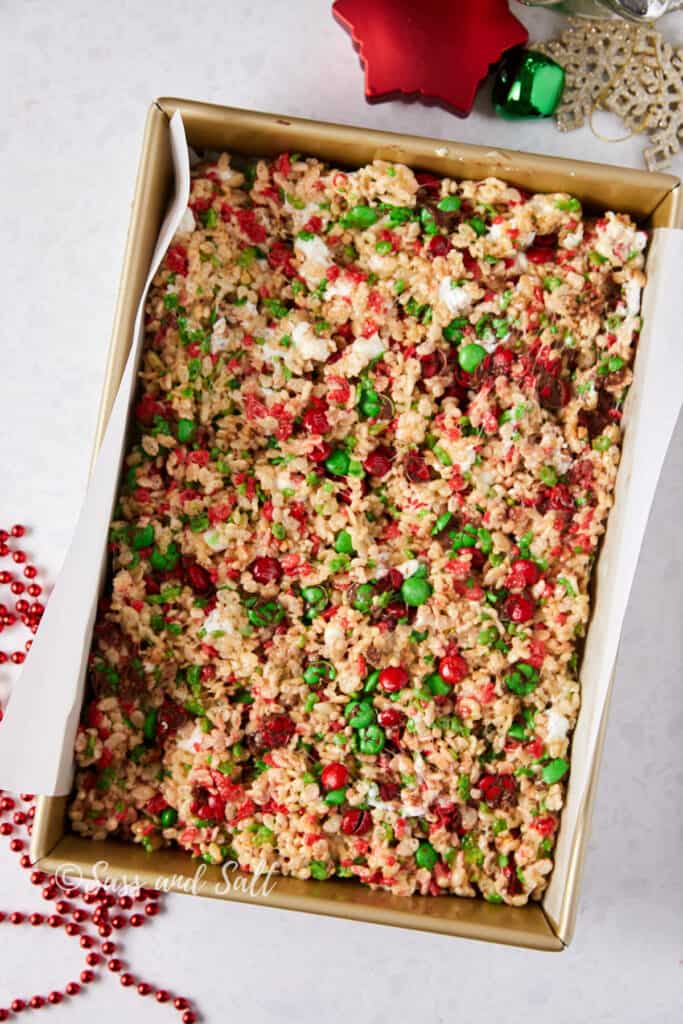
- Grease a 9 x 13 inch baking pan with butter or line it with parchment paper to prevent the treats from sticking. I take a sheet of parchment, cut it to size, place the paper in the pan, and spray it with cooking spray.
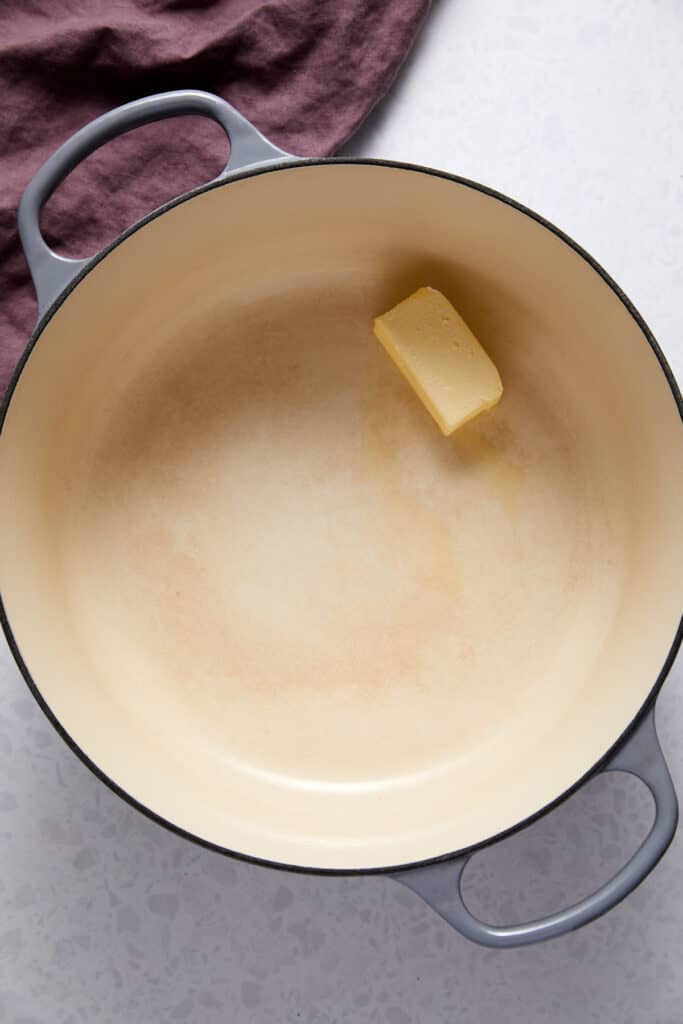
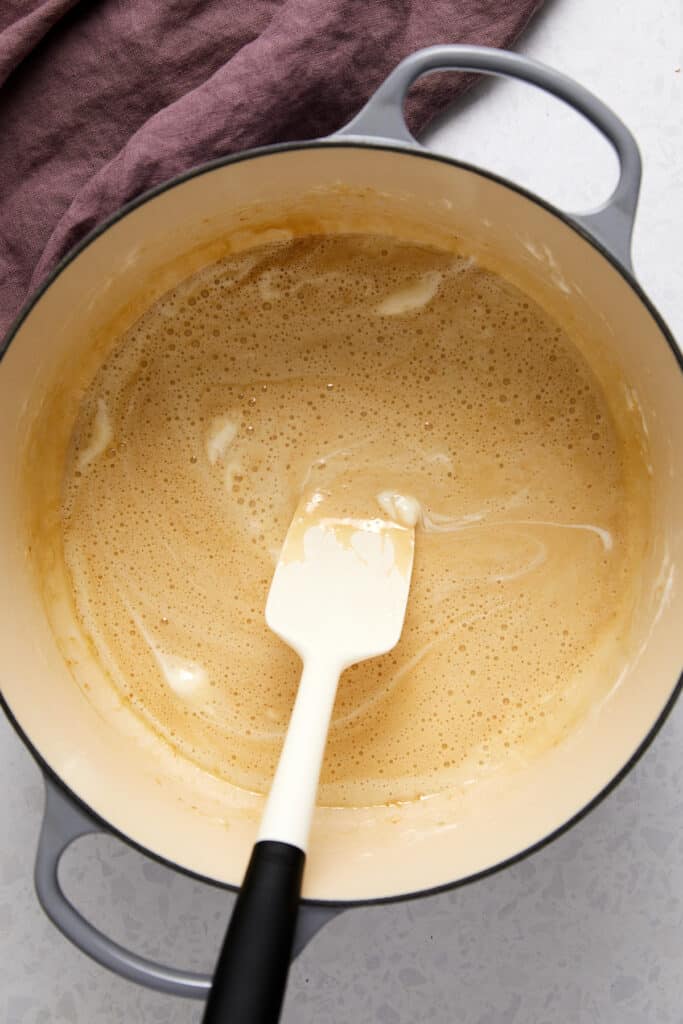
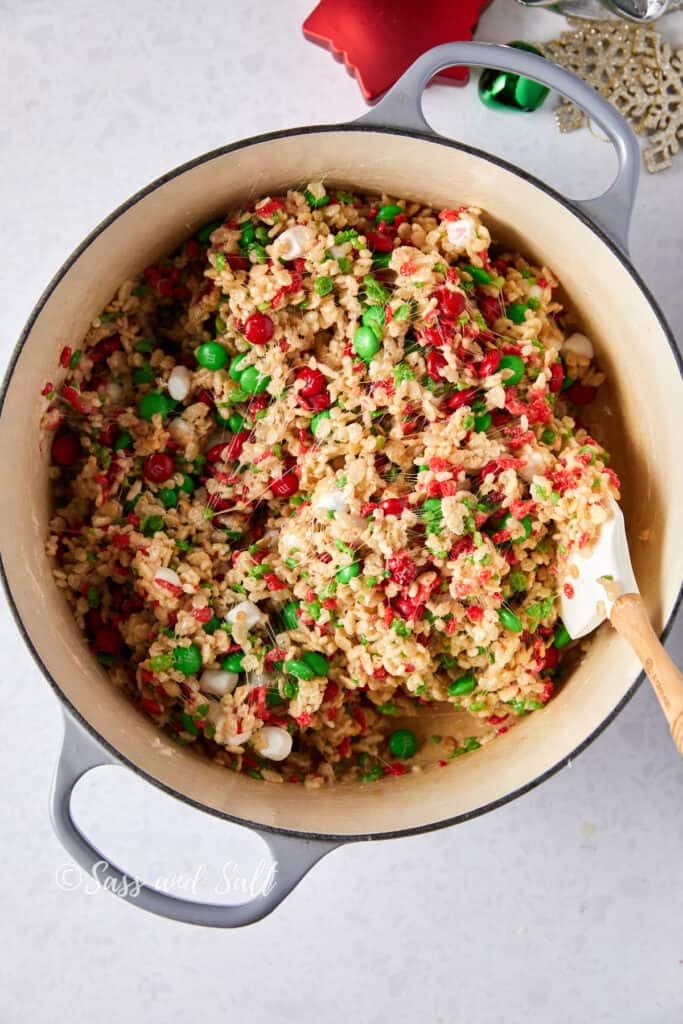
2. Start by melting the butter in a large saucepan over low heat. I use my 7 quart Dutch oven. Any similar size works great!
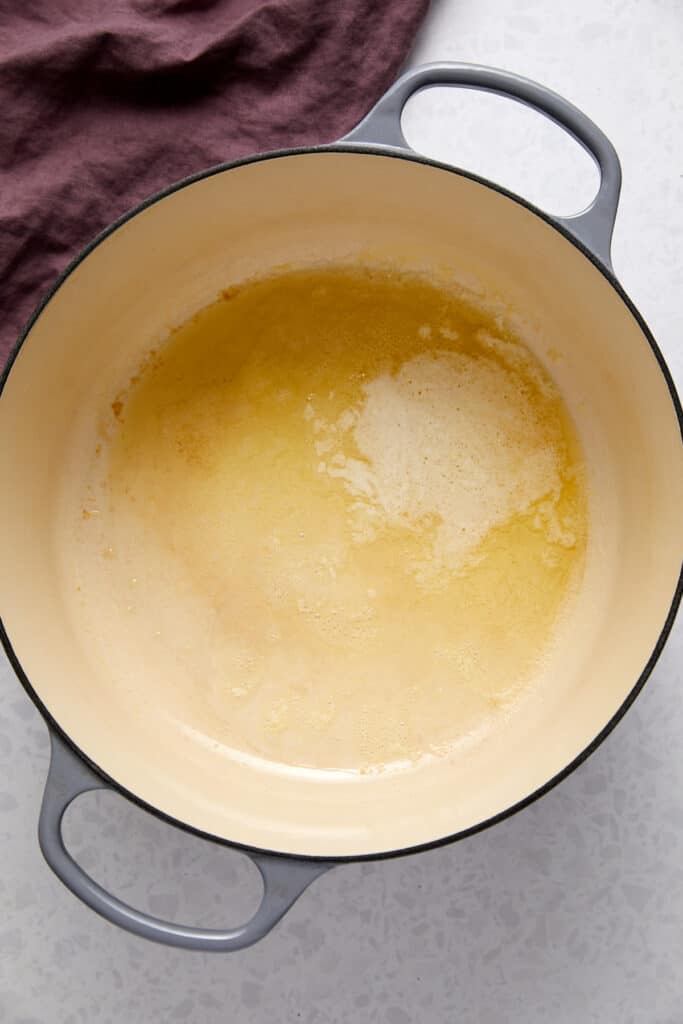
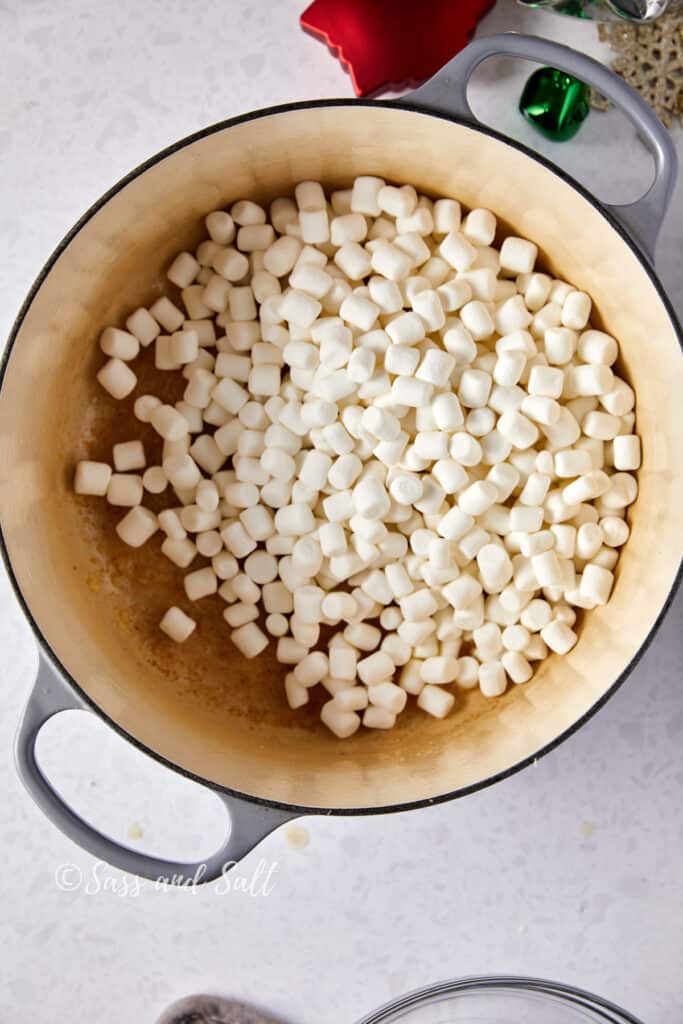
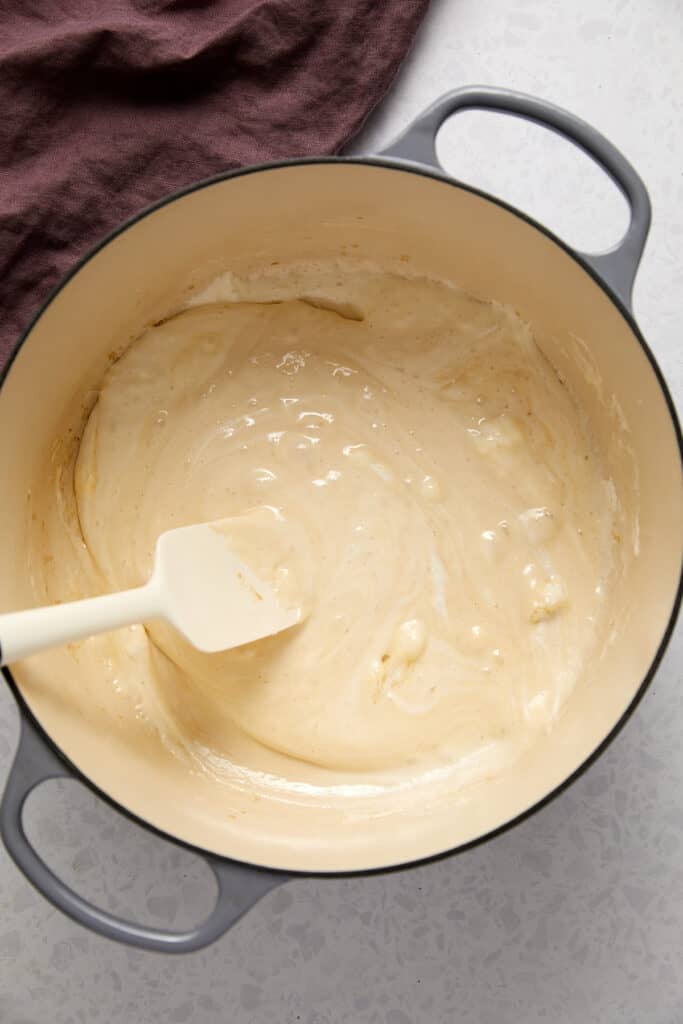
3. Once the butter has melted and bubbly, add the bag of mini marshmallows to the saucepan. Stir constantly until the marshmallows have completely melted and combined with the butter.
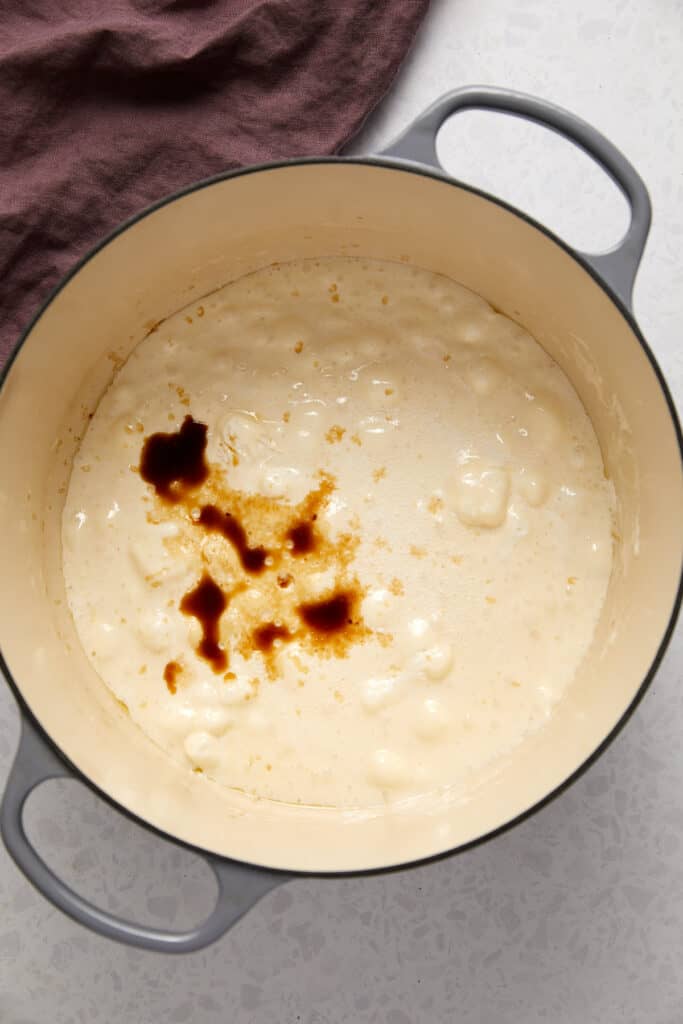
3. Remove the saucepan from heat, stir in vanilla and salt.
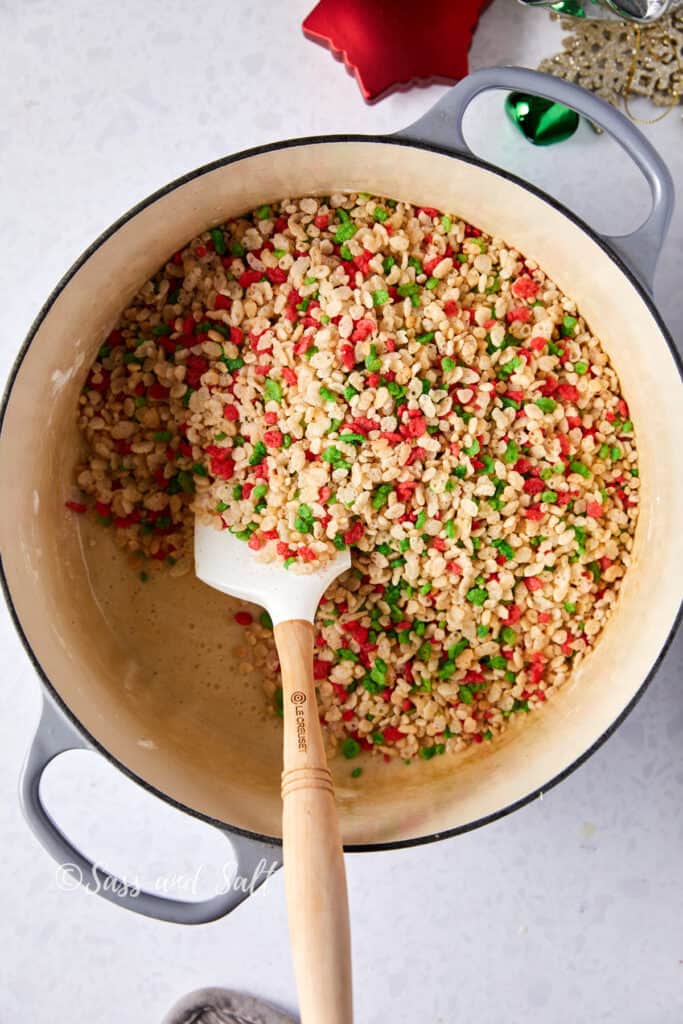
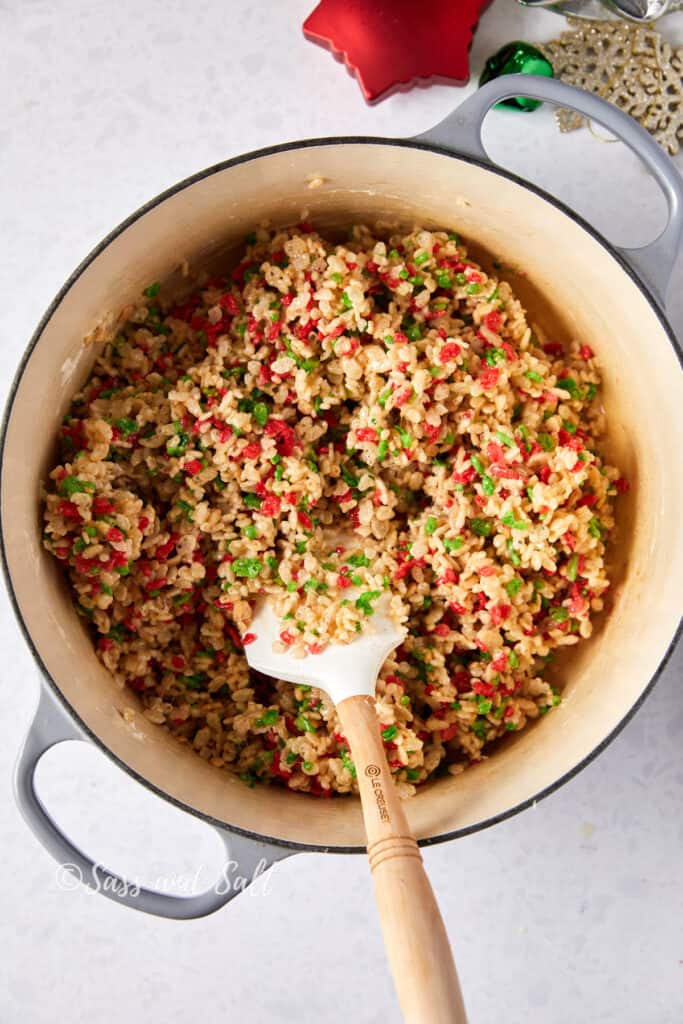
4. Add the Rice Krispies to the marshmallow mixture. Stir well to ensure all the cereal is coated with the melted marshmallow.
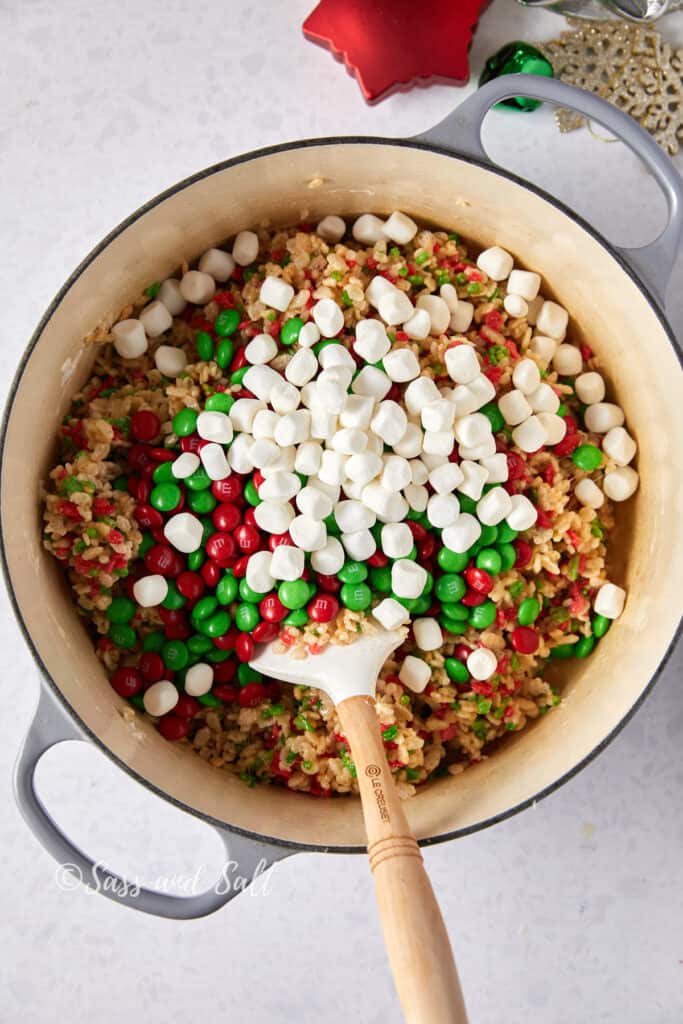
4. Pour in one cup of marshmallows and M&M’s. Fold them gently into the mix. Transfer the mixture to the dish and gently press it down using a spatula or your hands. You may want to spray your hands with cooking spray so they don’t stick!
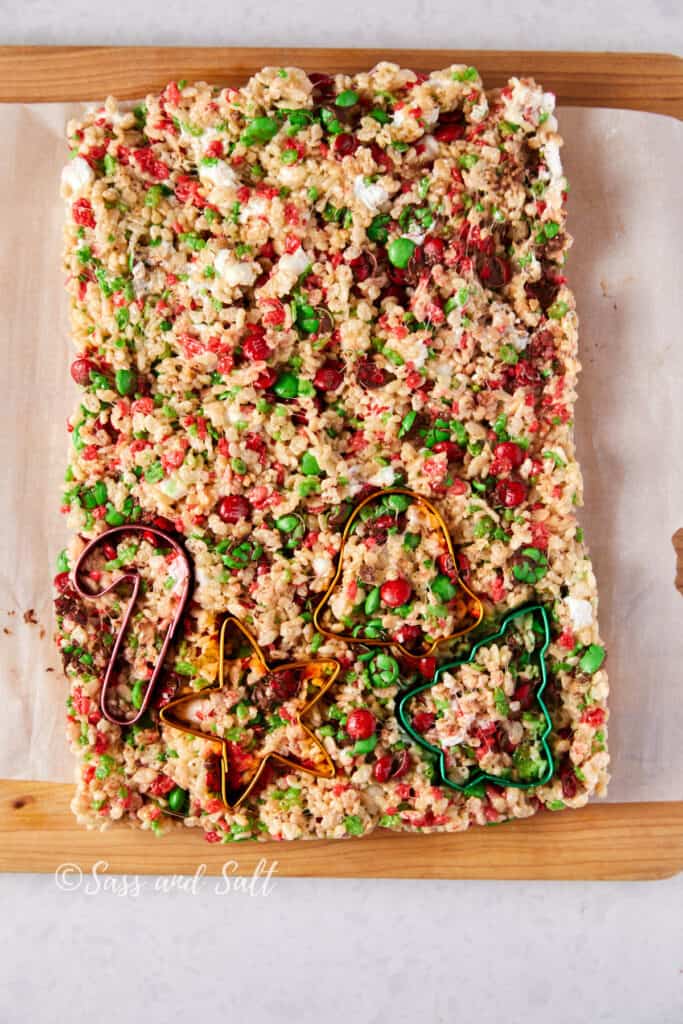
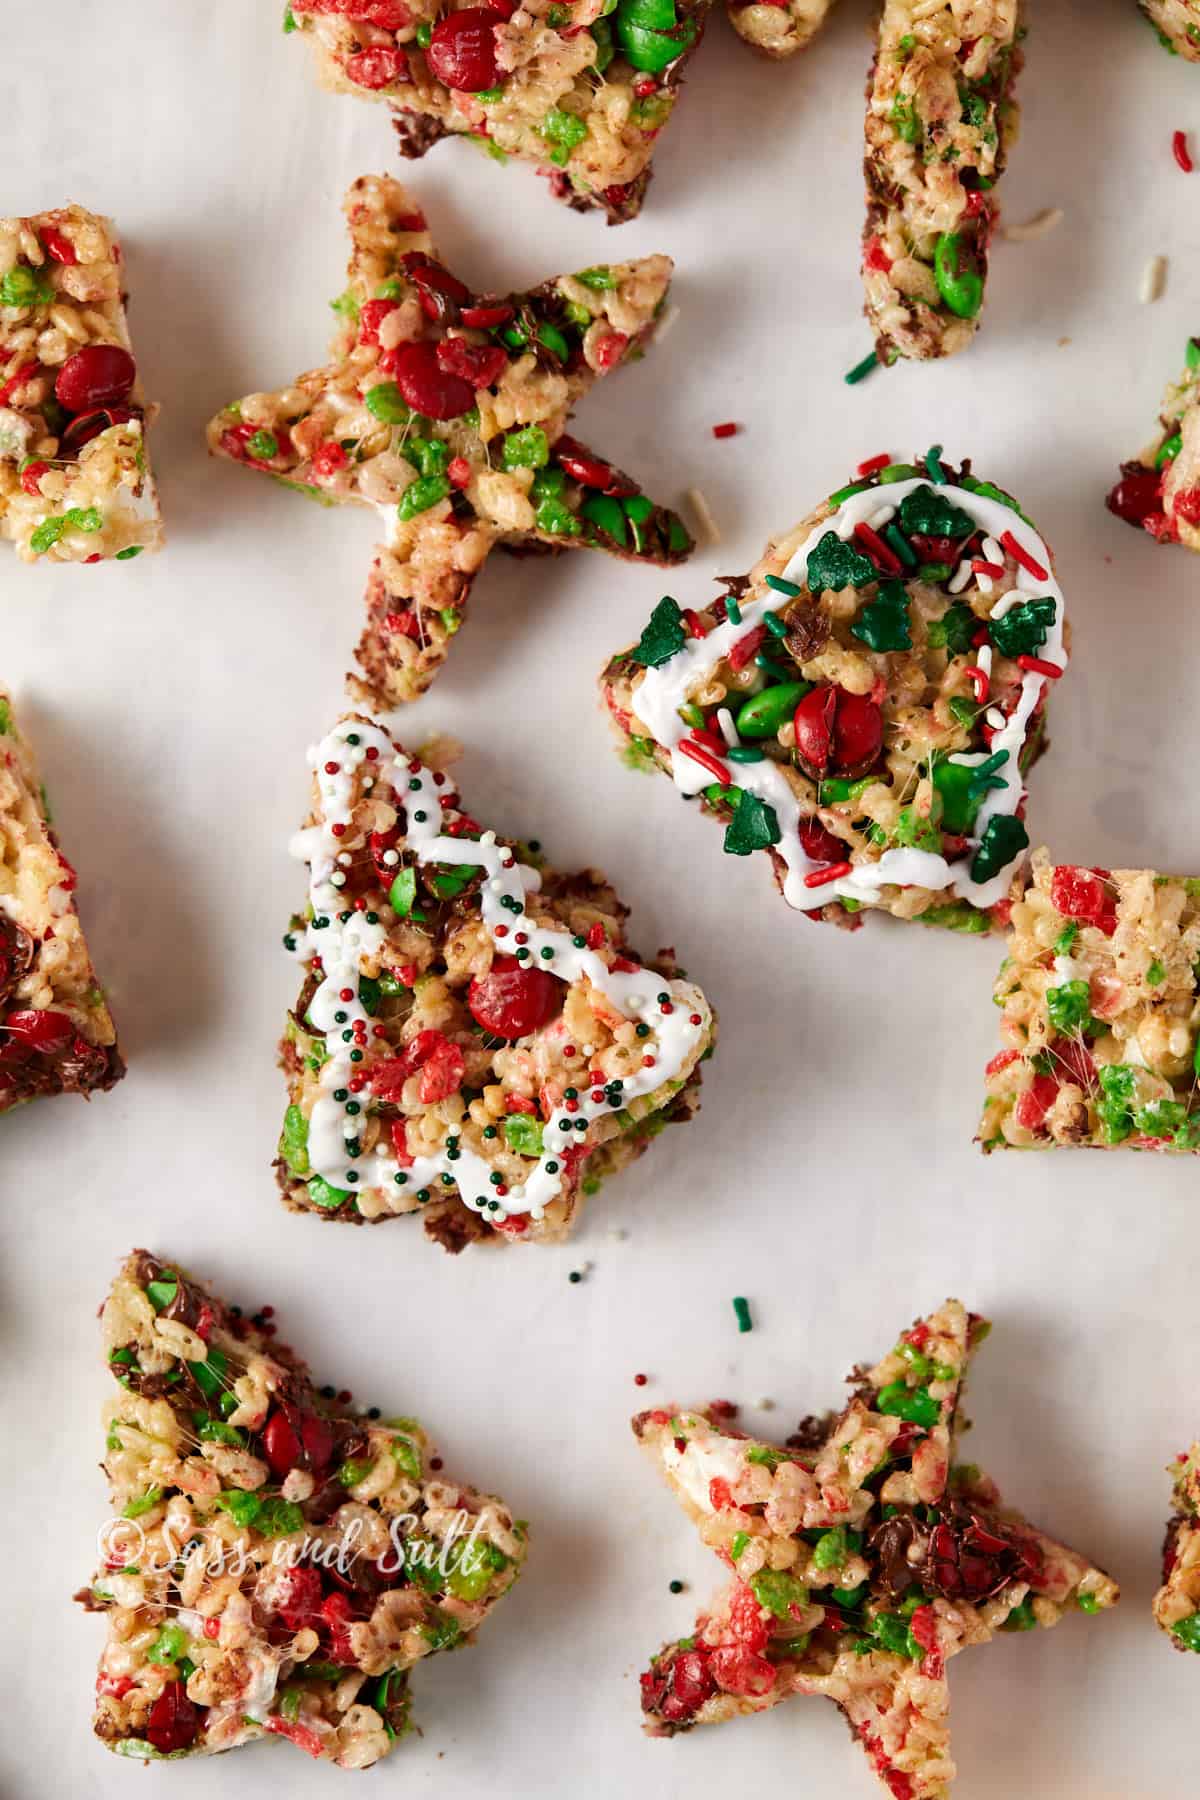
5. Transfer the mixture to the dish and gently press it down using a spatula or your hands. You may want to spray your hands with cooking spray so they don’t stick! Use the parchment paper to lift out treats. Use a cookie cutter and cut into Christmas shapes.
6. Outline shapes with frosting and add sprinkles, if desired.
Christmas Rice Krispie Treats Recipe Tips
- Chill: You can chill the M&Ms in the freezer for 30 minutes before folding them into the rice krispie mixture to prevent the chocolate candy from melting.
- Low and Slow: When melting your butter and marshmallows, keep the heat low to avoid burning. Slow melting ensures a smooth and even mixture, crucial for coating the cereal evenly.
- Fresh Marshmallows Matter: Use fresh, soft marshmallows for the best gooey texture. Older marshmallows can result in a harder, less pliable treat.
- Grease Your Hands and Utensils: To prevent sticking, lightly grease your hands and utensils (like the spatula) with butter or non-stick spray when pressing the mixture into the pan and cutting the treats.
- Don’t Over-Press: When pressing the mixture into the pan, do it gently. Over-pressing can make the treats too dense and hard.
- Make Them Ahead: These treats can be made a day or two in advance, making your holiday preparations a bit easier. Just make sure to store them in an airtight container at room temperature.
- Involve the Kids: This is a great recipe to make with children. They can help add the M&Ms, press the mixture into the pan, or even sprinkle the decorations. It’s a fun and festive way to spend some quality time together.
Easy Variations on Holiday Rice Krispie Treats
- Chocolate Drizzle: After the treats have set, melt some dark, milk, or white chocolate and drizzle it over the top for an added chocolatey flavor and an elegant finish.
- Nutty Addition: Mix in chopped nuts like pecans, almonds, or walnuts for a crunchy texture and rich flavor.
- Peppermint Twist: Add crushed peppermint candies or a few drops of peppermint extract to the marshmallow mixture for a minty, festive flavor.
- Cereal Mix: Mix in other cereals with the Rice Krispies for a different texture and flavor. Consider cereals like Cheerios or Cornflakes for an interesting twist.
- Fruity Flavors: Add dried fruits like cranberries or raisins for a chewy texture and a burst of fruity flavor.
- Caramel Delight: Drizzle salted caramel over the top of the treats or mix in bits of soft caramel candies for a gooey, sweet addition.
Recipe Substitutions
- Rice Krispies: If you don’t have Rice Krispies, you can use puffed rice cereal or any other similar plain cereal.
- Butter: Unsalted butter can be replaced with salted butter (just omit any additional salt from the recipe), margarine, or vegan butter for dairy-free or vegan diets.
- Add-Ins and Toppings:
- Sprinkles: If you don’t have sprinkles, use crushed cookies, crushed candy canes, or a drizzle of melted chocolate for decoration.
- Frosting: If you don’t want to use frosting, melted chocolate or a simple glaze made from powdered sugar and milk can provide a similar effect.
Storage Tips
- Room Temperature Storage:
- Store the treats in an airtight container at room temperature.
- They typically last well for up to 3 days when stored this way.
- Avoid Refrigeration:
- Refrigerating these treats can cause them to become hard and lose their ideal texture.
- If you must refrigerate (due to a warm climate or added perishable ingredients), let them come to room temperature before serving for the best texture.
- Layering with Parchment Paper:
- If stacking treats in a container, place sheets of parchment or wax paper between layers to prevent them from sticking together.
- Freezing for Longer Storage:
- You can freeze these treats for up to 6 weeks.
- Wrap them individually in plastic wrap and then place them in a zip-lock freezer bag or an airtight container.
- Thaw at room temperature for a few hours before eating.
- Cutting Before Storing:
- It’s often easier to cut the treats into squares before storing, as they can harden slightly and become more difficult to cut cleanly over time.
- Avoid Moist Environments:
- Store them in a cool, dry place away from moisture, as humidity can make them soggy.
Holiday Rice Krispies FAQs
They are not the same. While you can sometimes use marshmallow fluff instead of melted marshmallows (and vice versa), the results may vary slightly. Fluff doesn’t firm up the same way melted marshmallows do upon cooling, which can affect the texture of your final product.
Mix other candies, like chopped chocolate bars or sprinkles, for added color and flavor.
Yes, you can use either mini or regular M&M’s. However, I don’t believe they make a holiday color in the mini size. But, mini M&M’s will work.

Easy Christmas Rice Krispie Treats with M&M’s
Ingredients
- 4 tablespoons unsalted butter
- 10 ounce bag mini marshmallows, plus 1 cup mini marshmallows, divided
- 1 teaspoon vanilla extract
- 1/2 teaspoon (2g) Diamond Crystal kosher salt; for table salt, use about half as much by volume or the same weight
- 6 cups Rice Krispies cereal
- 1 cup M&M's
Instructions
- Line a 9×13 with parchment paper. Lightly grease the parchment. I always use a very light mist of nonstick spray. Set aside.
- Melt the butter over low heat in a large pot or Dutch oven. Once melted, add the 10-ounce bag of marshmallows. Stir the mixture until the marshmallows are just melted. Stir in the salt and vanilla to combine.
- Remove the pan from the heat, add the Rice Krispies, and mix until coated with the marshmallow mixture.
- Immediately stir in an additional one cup of marshmallows and cup of M&M's.
- Turn the mixture out into the prepared pan and, using a wooden spoon or spatula that has been coated in non-stick cooking spray, lightly press the mixture into an even layer. Do not pack it down with force.
- Lift the treats as a whole out of the pan using the edges of the parchment paper. Use the cookie cutters to cut out shapes.
- Let treats rest for 15 minutes. Cover and store leftover treats at room temperature for up to 3 days. To keep, place in an airtight container, with sheets of parchment or wax paper between layers.
Save this Recipe!
Notes
- Marshmallows: You will need 2 (10-ounce) bags of miniature marshmallows for this recipe. You will only need a cup of the 2nd bag, use the rest for hot chocolate!
- Omitting Extra Marshmallows: You can omit the extra marshmallows that get stirred in at the end if you wish. Don’t worry about altering the recipe – it’ll still be great.
- Storing + Shelf Life: These are best eaten the same day you make them. But if you’ve got leftovers, keep them in an airtight container at room temperature, and they should be good for about 3 days. Wrapping them individually in plastic wrap before storing them can help keep them fresh.
- Freezing: Wrap each in plastic wrap, put them in a freezer bag, and keep them for a few months. Or layer cut pieces in layers separated with parchment paper. When ready to eat them, let them thaw at room temperature if desired. I sometimes eat them right out of the freezer! I am not patient.