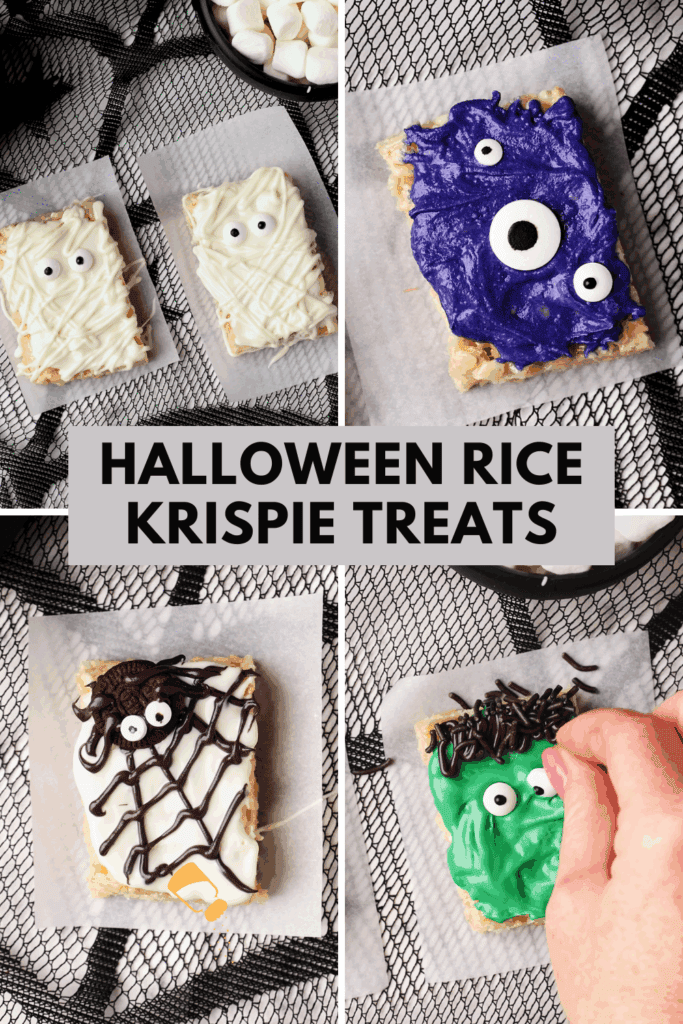

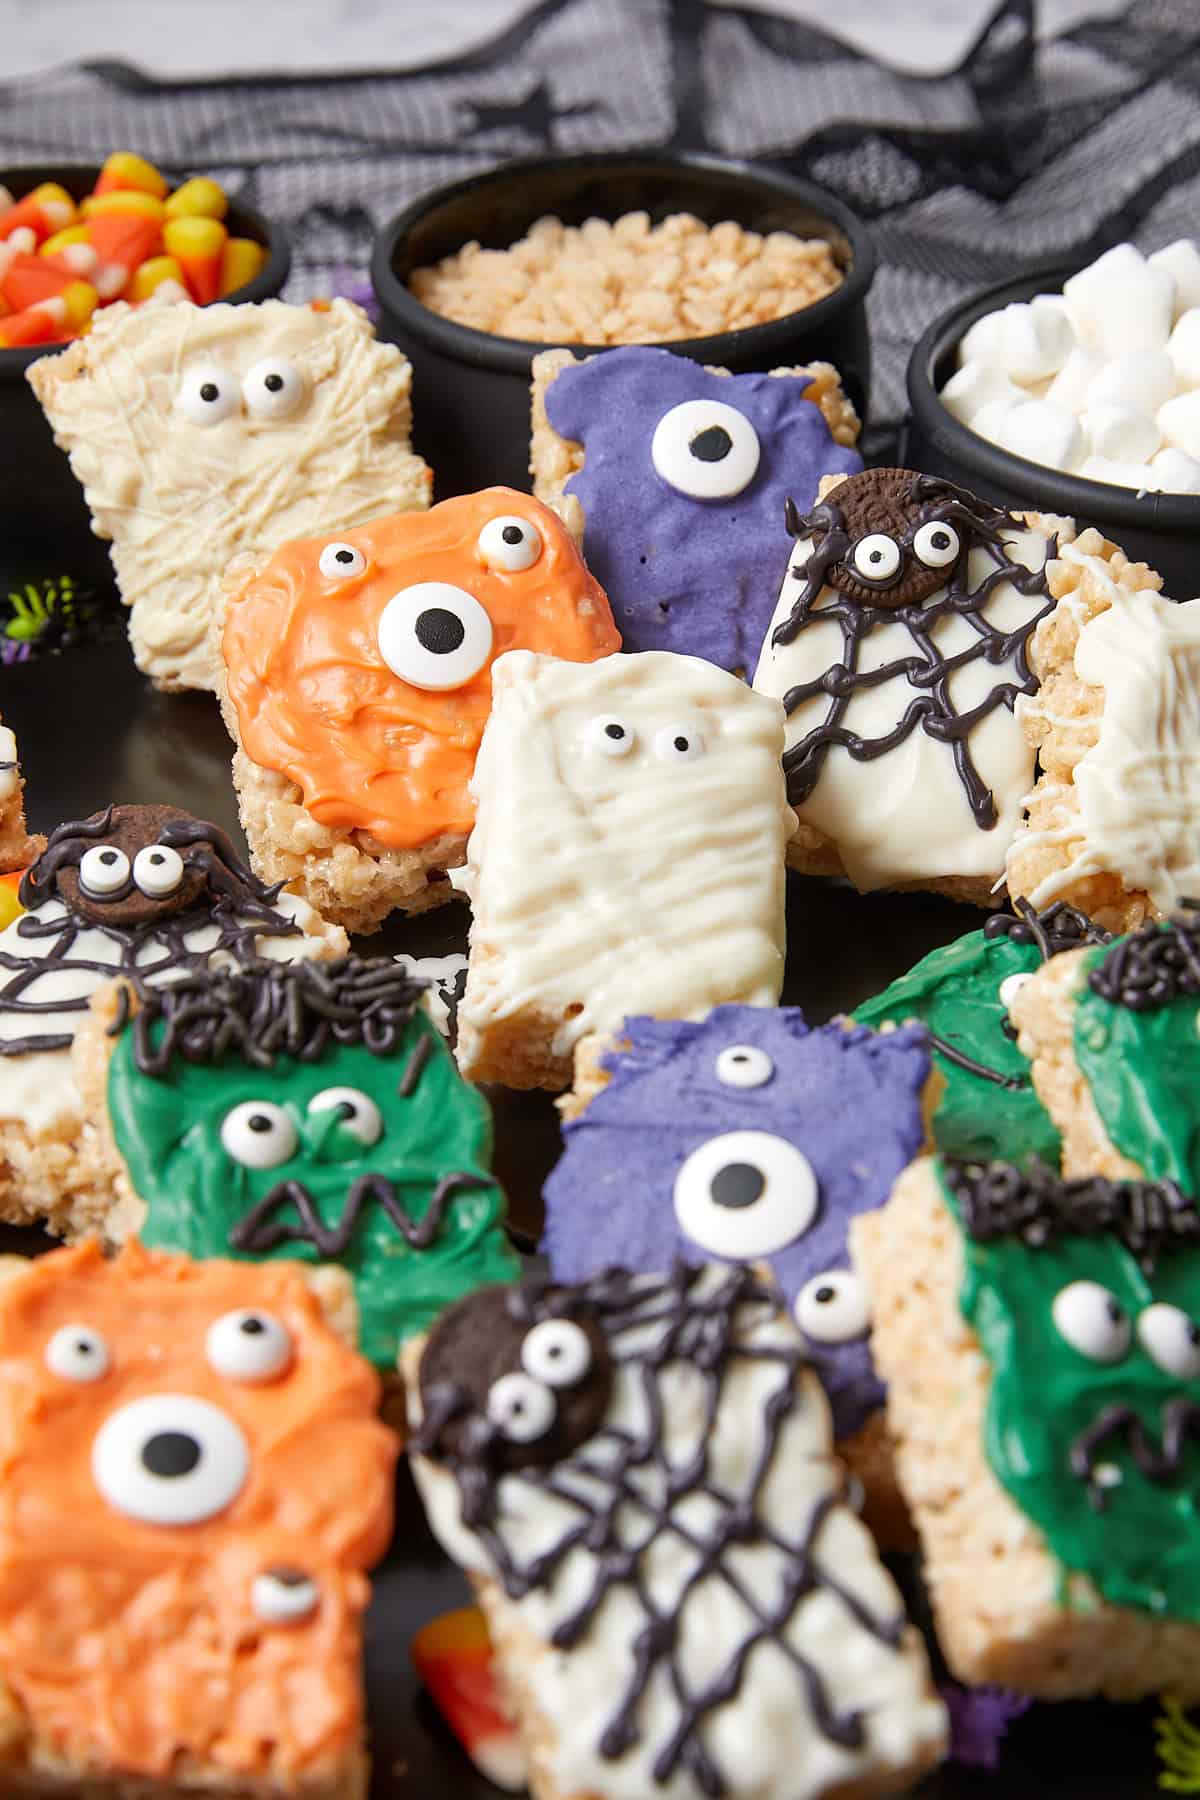
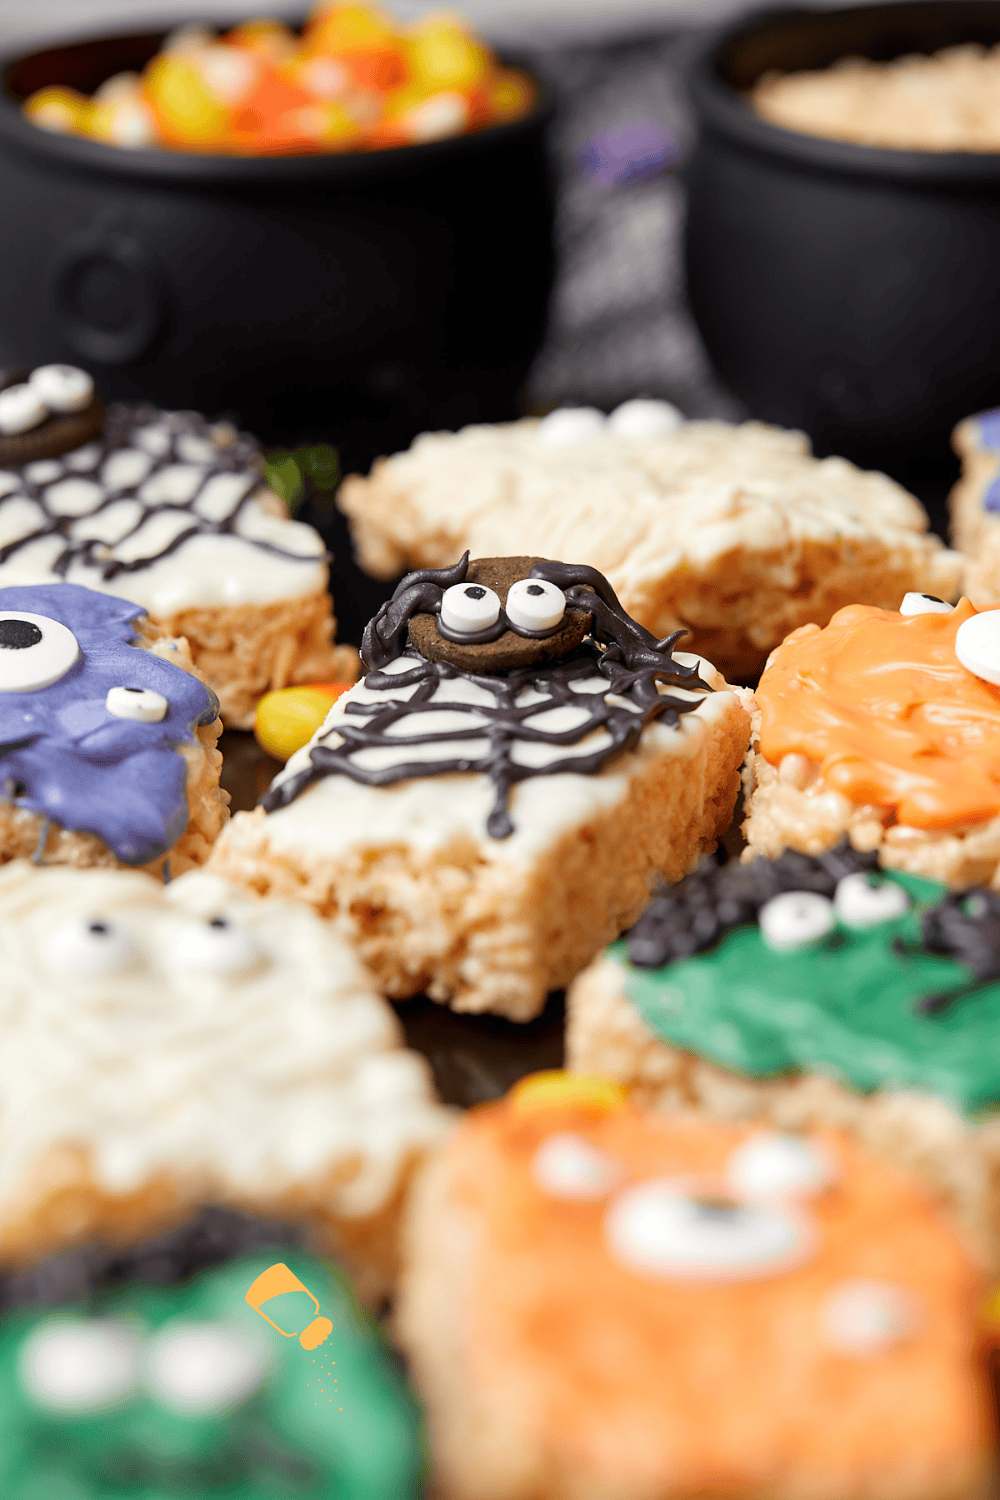
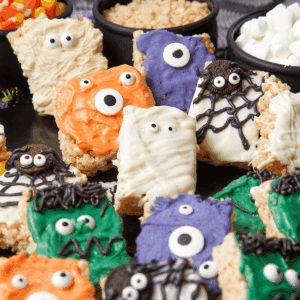
These easy Halloween Rice Krispie treats turn one batch into four spooky designs: mummies, Frankensteins, spiders, and monster eyes. It is the same butter-and-marshmallow base I make year-round, dressed up with candy melts and candy eyes.
I made these for my daughter’s birthday party (October 26, a few days before Halloween). They work just as well for a class party or a trick-or-treat tray.
The base is my soft and chewy Rice Krispies treats, so if you have made those before, you already know it by heart.
Save this Recipe!

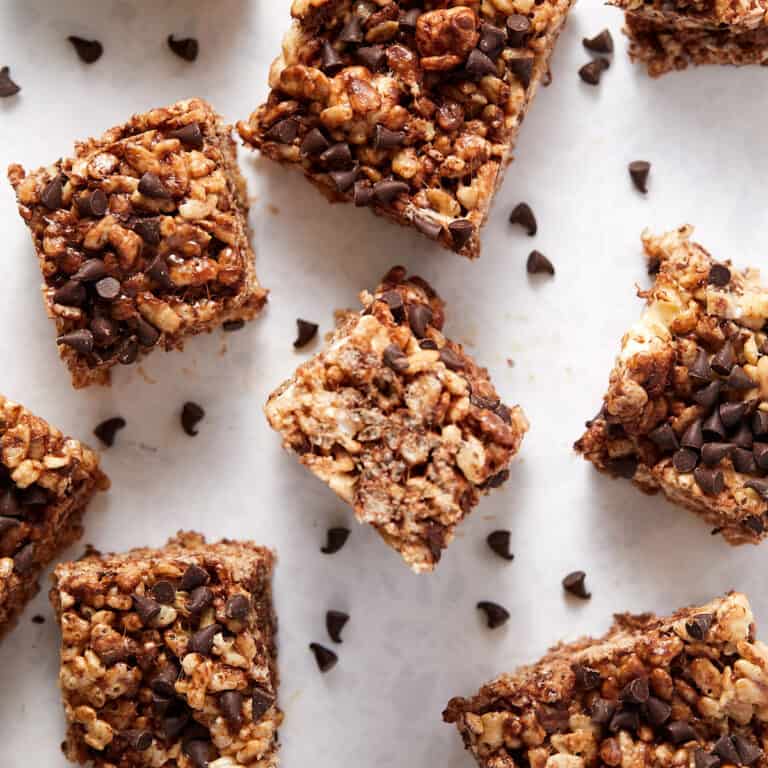
If you love a no-bake cereal treat, you’ll also want to try my Chocolate Chip Rice Krispies treats, Peeps Rice Krispies treats, and Fruity Pebbles marshmallow treats.
For more fall ideas, see my roundup of easy fall desserts.
Why you’ll love this recipe
- One batch, four looks: a variety tray from a single recipe.
- Kid-friendly decorating: simple enough for little helpers.
- Spooky-cute: festive without being too scary.
- Make-ahead friendly: stays fresh for up to 2 days.
- Party-ready: bake sales, classroom trays, and Halloween dessert boards.
Make them homemade or store-bought
Homemade: Use my Rice Krispie Treats recipe. Press into a 9×13 pan, let set, then cut into 16 squares.
Store-bought: Unwrap 16 Rice Krispies Treats and decorate right away.
Ingredients you’ll need
Here’s what you’ll need to decorate all 16 squares (4 of each design):
- Rice Krispie treat base: homemade or store-bought squares.
- White candy melts: I like Ghirardelli Melting Wafers. They cover the mummies and spider webs, and you can tint them for the monster eyes.
- Black candy melts or black icing: for Frankenstein’s hair, the stitched smiles, and the spider webs and legs.
- Candy eyeballs: a mix of regular and mini sizes.
- Mini Oreo cookies: split them and use one wafer half for each spider body.
See the recipe card below for full measurements.
Substitutions and variations
- White or semisweet chocolate instead of candy melts. It works, but chocolate doesn’t set quite as firmly. Candy melts are my pick here: they melt smoothly, set firm, and come in every Halloween color you’d want.
- Store-brand crispy rice cereal. I always make these with Rice Krispies, so I haven’t tested a store brand, though I can’t think of a reason the base wouldn’t work the same way.
This recipe has not been tested with other substitutions or variations. If you replace or add any ingredients, please let me know how it turned out in the comments below!
Step-by-step instructions
The ingredient amounts listed are for decorating 4 squares of each design. To make all 16 squares in one style, multiply that design’s toppings by 4.
Before you start: Line a sheet pan with parchment and set out your squares. Work on one design at a time (each uses 1–2 colors). Melt wafers in a microwave-safe bowl in 20–30 second bursts, stirring between each, until smooth.
How to decorate rice krispie treats for Halloween
All four designs start from the same pan of treats, cut into 16 squares. Melt the candy melts, set out the candy eyes, and let everyone pick a design. The spiders take the longest, and the monster eyes take about a minute, so there is a design for every attention span at your table.
If you are building a whole party tray, add my Halloween brownies and Halloween pretzel rods.
Spider Rice Krispie Treats
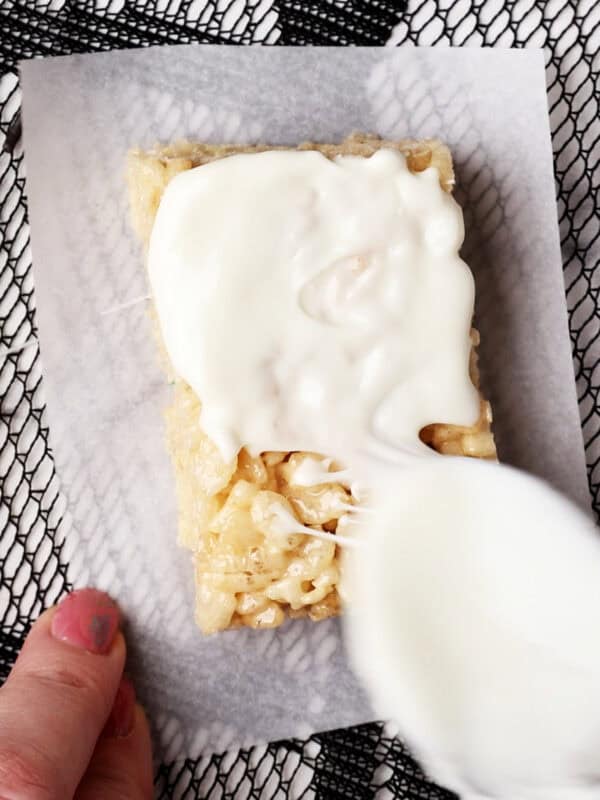
Step 1: Coat the tops of 4 squares with melted white candy melts.
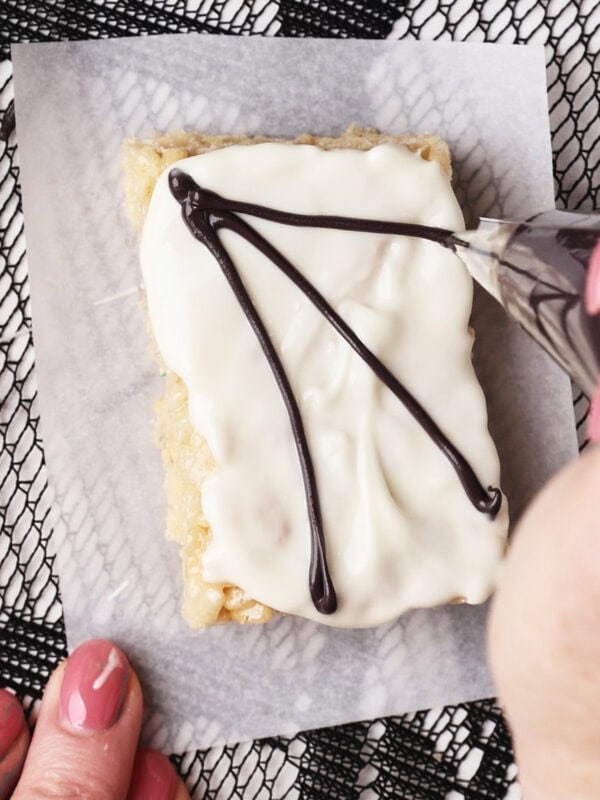
Step 2: Transfer the black melts to a piping bag fitted with a Wilton #3 tip (or a zip-top bag with a tiny corner snipped off). Pipe 3–4 straight lines down the treat.
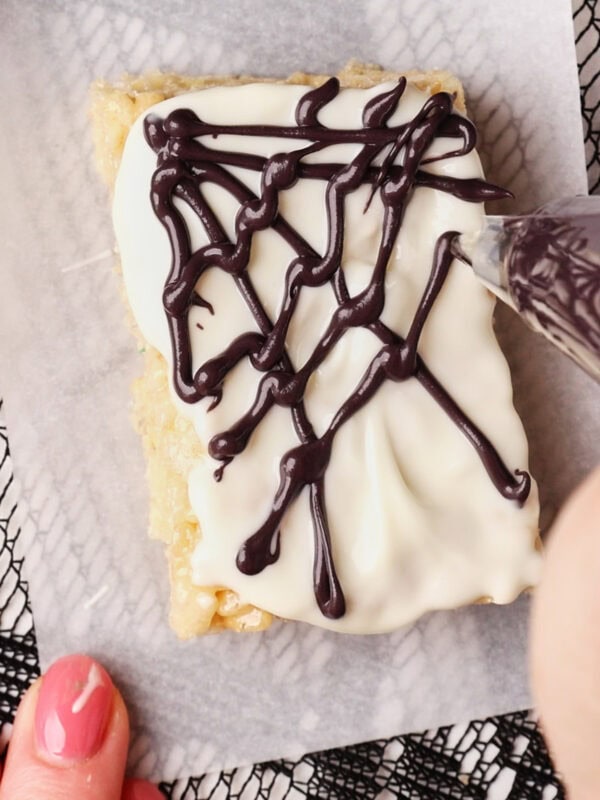
Step 3: Connect the sections with slightly curved lines to form a web.
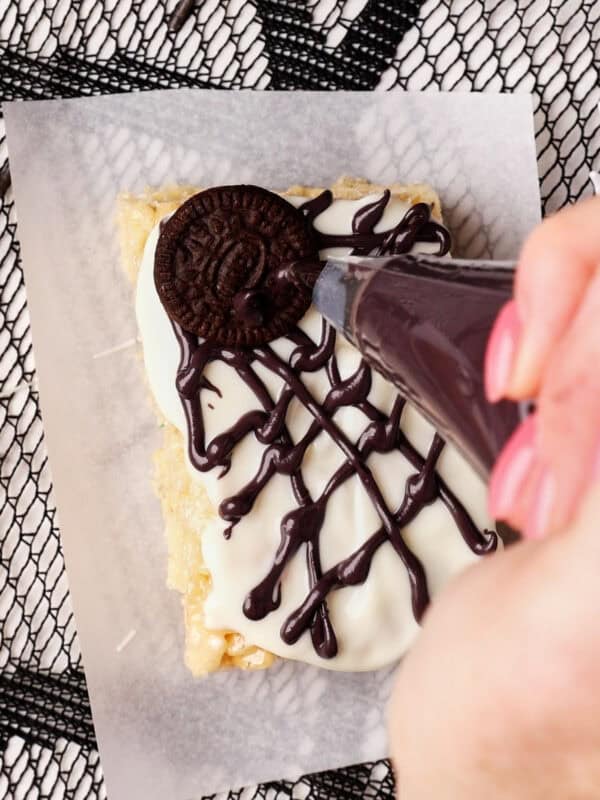
Step 4: Press a mini Oreo wafer half onto each web; pipe 2 tiny black icing dots.
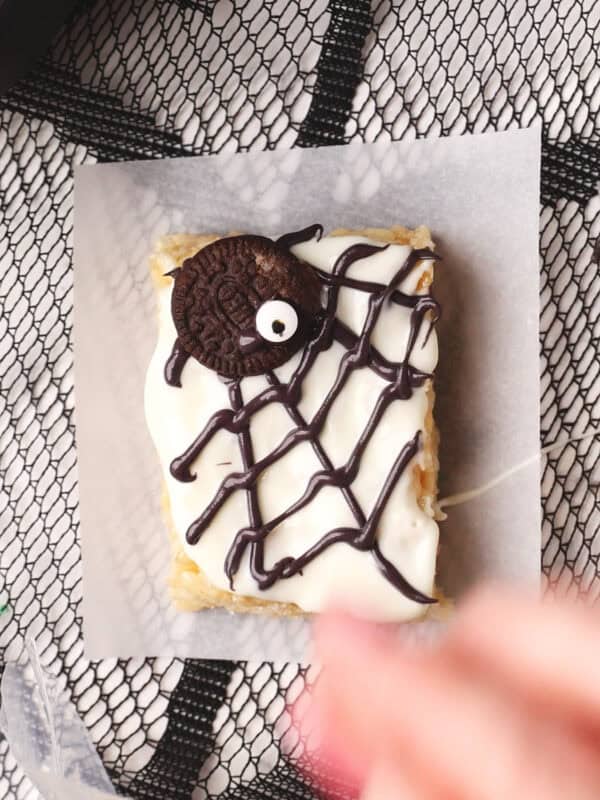
Step 5: Attach mini eyeballs.
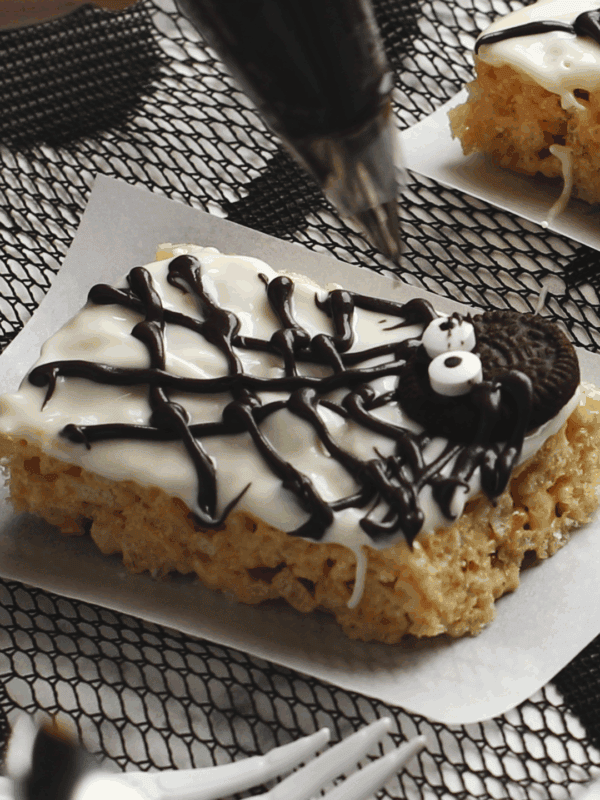
Step 6: Pipe 2–3 black legs on each side of the Oreo, dragging slightly onto the square.
Monster eye Rice Krispies treats
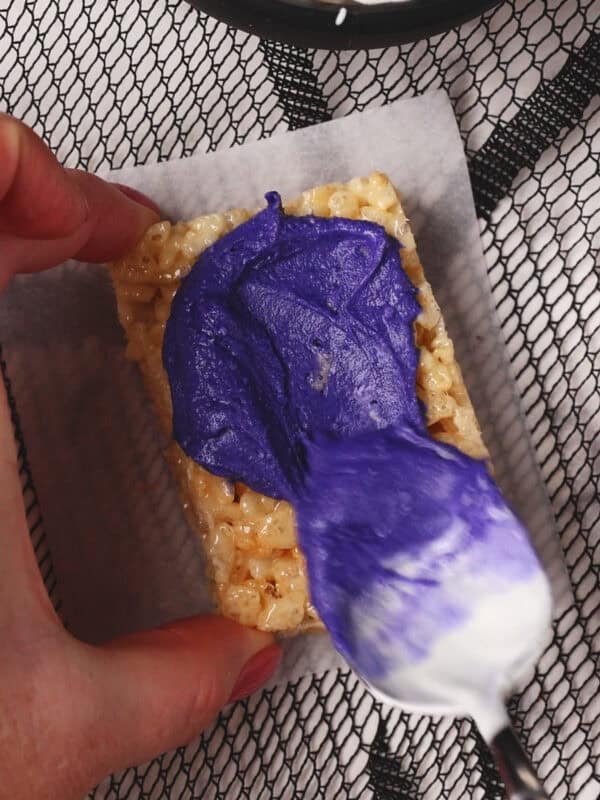
Step 1: Coat the tops of 4 squares with melted orange and purple melts.
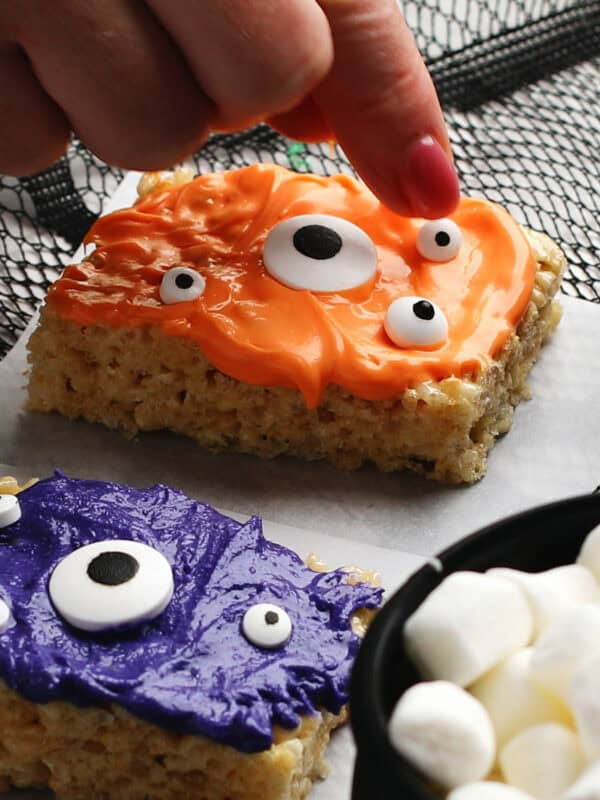
Step 2: Press on multiple candy eyeballs in random spots. Add sprinkles if desired.
Frankenstein Rice Krispies Treats
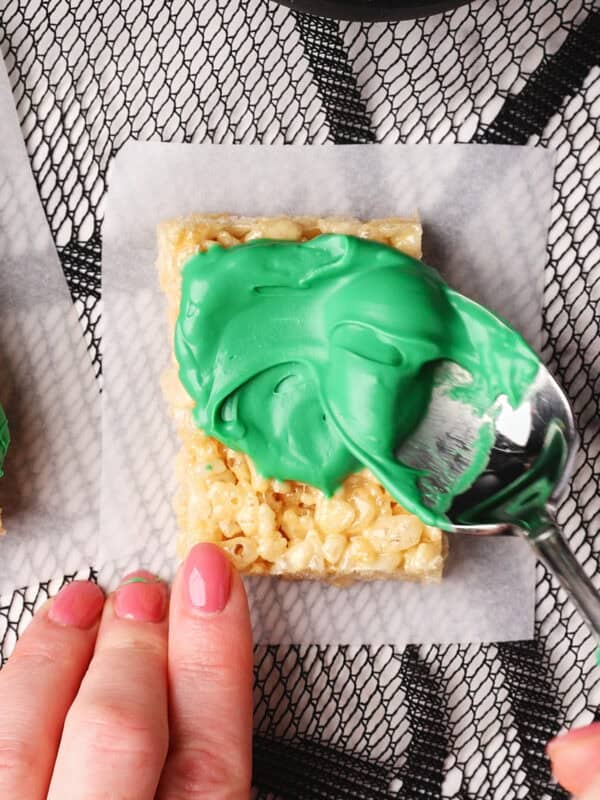
Step 1: Coat the tops of 4 squares with melted green candy melts.
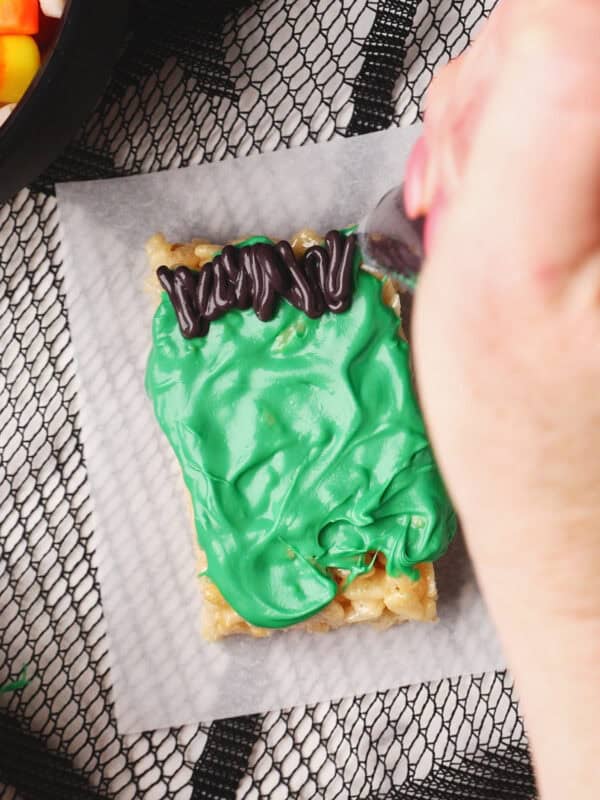
Step 2: Transfer some black melts to a piping bag. Pipe “hair” with melted black candy melts.
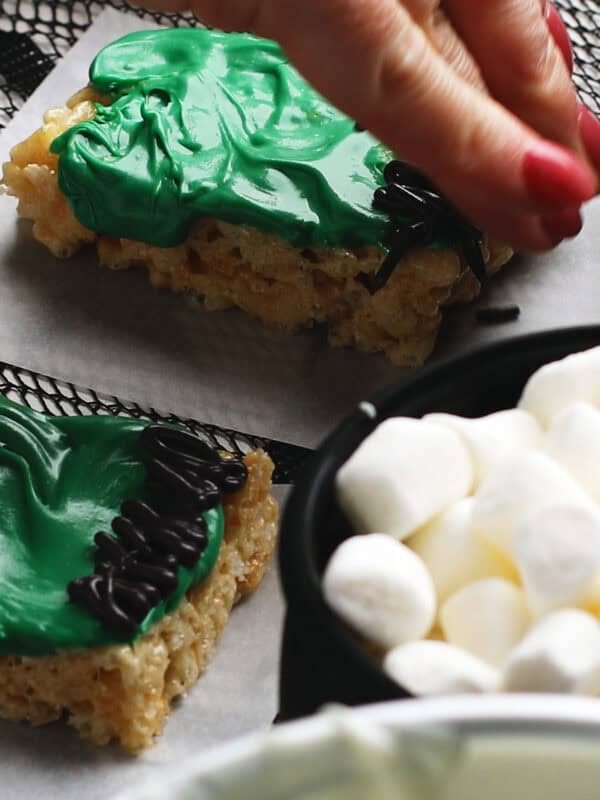
Step 3: Add black jimmies for added texture, if desired.
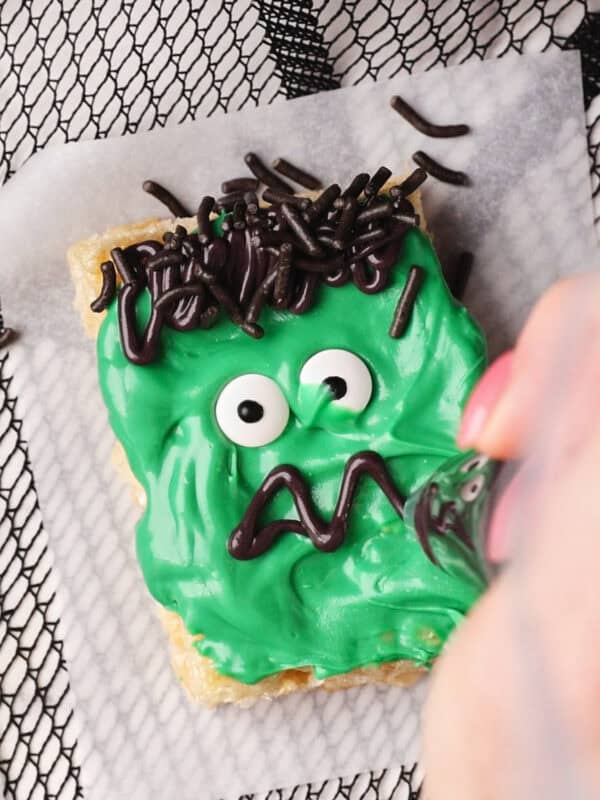
Step 4: Press on candy eyeballs and draw a stitched smile with black icing or black melts.
Mummy Rice Krispie treats
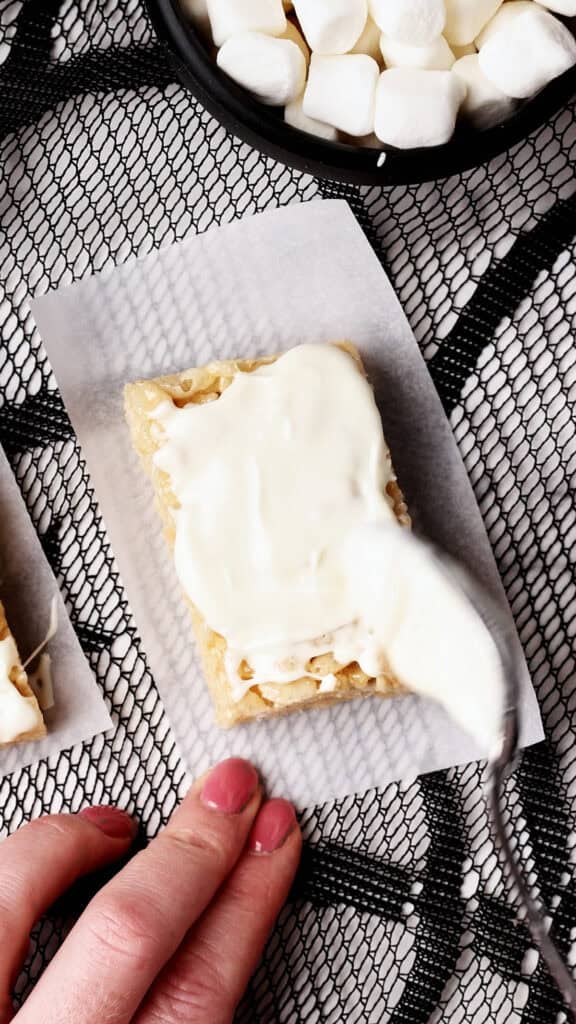
Step 1: Coat the tops of 4 squares with melted white candy melts; let set slightly.
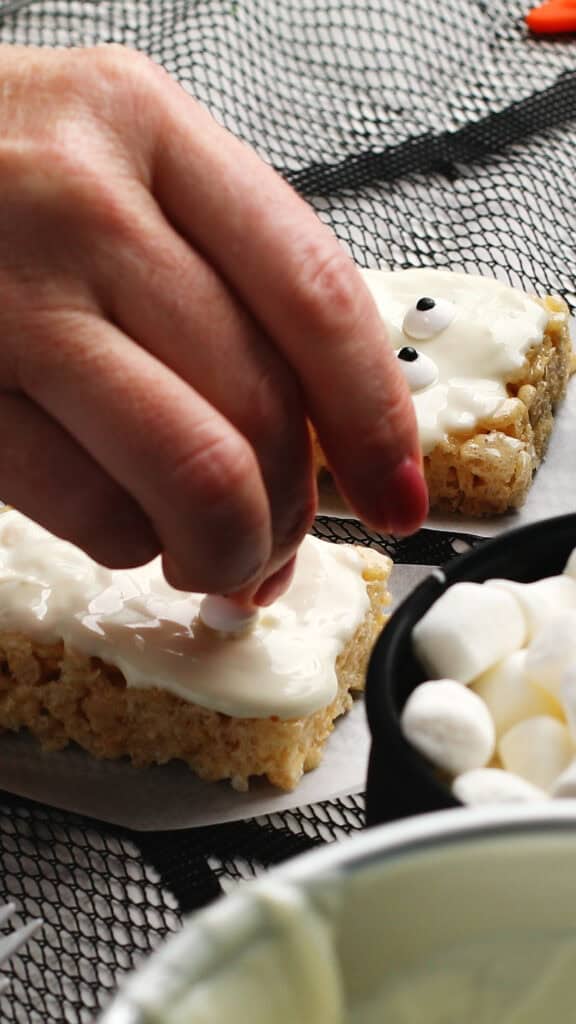
Step 2:Press 2 candy eyeballs onto each square.
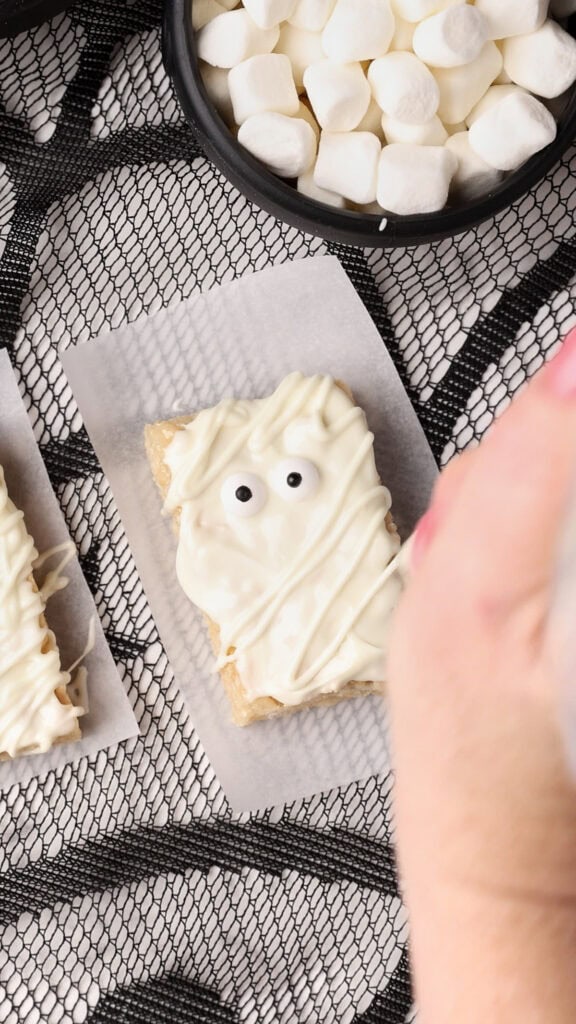
Step 3: Transfer some white melts to a piping bag. Pipe the first set of “bandages” across the treat, leaving gaps for the eyes.
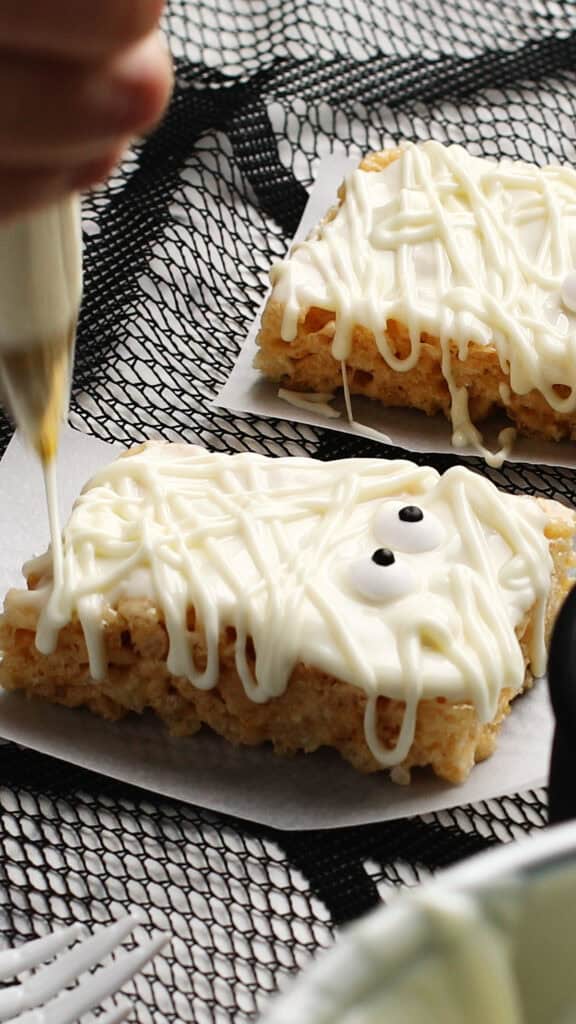
Step 4: Add more overlapping lines at different angles for a wrapped mummy look.
Sarah’s tips
- Work in batches. Candy melts set quickly, so decorate 3–4 squares at a time before moving on to the next design.
- Keep melts smooth. If they thicken or seize while you work (gel food coloring can do this), reheat in 10-second bursts or stir in about 1 teaspoon of coconut oil per cup of wafers.
- Use parchment or a silicone mat. Decorated squares lift off cleanly once set.
- Let them set before stacking. Wait until the candy melts are firm to the touch before stacking or packing them.
- No piping bags? Spoon melts into a zip-top bag, snip a tiny corner, and pipe away.
- Don’t stress about perfection. Uneven mummy bandages, silly monster eyes, and wiggly spider legs only make these cuter.
- For party trays, insert popsicle sticks before decorating to make spooky pops.
Recipe FAQs
Storage
- Room temperature: store decorated squares in an airtight container at room temperature for up to 2 days, with parchment between layers to prevent sticking. They’re safe past that; they just start drying out.
- Avoid the fridge: refrigeration makes them hard and dry, so skip it.
- Freezing: layer them with wax paper in an airtight container for up to 6 weeks, then let them thaw for 15 minutes at room temperature before serving.



Recipe
Easy Halloween Rice Krispie Treats
Equipment
Ingredients
- 1 batch Rice Krispie Treats cut into 16 squares
- 2 cups white candy melts melted, divided
- ½ cup green candy melts melted
- ½ cup black candy melts melted or black icing
- ½ cup orange candy melts melted, or white candy melts + orange gel food coloring
- ½ cup purple candy melts melted, or white candy melts + purple gel food coloring
- Candy eyeballs about 40 total, mix sizes
- 4 mini Oreo cookie halves use one wafer per spider
- Black jimmies optional

Instructions
- Cut Rice Krispie Treats into 16 squares. Place on parchment-lined tray.
- Melt the candy melts: Work on one design at a time, since each only needs 1–2 colors. Place wafers in a microwave-safe bowl and heat in 20–30 second bursts, stirring between each, until smooth. If the melts seize or thicken, stir in about 1 teaspoon of coconut oil per cup of wafers to thin them back out.
- Mummies (4): Spread melted white candy melts across the top of each Rice Krispies treat. Transfer some into a piping bag fitted with a Wilton #3 tip (or a zip-top bag with a tiny corner snipped). Pipe thin, uneven lines across each square to create bandages. Add 2 candy eyeballs before the melts set.
- Frankensteins (4): Spread melted green candy melts to cover the top of each Rice Krispies Treat. Transfer black melts into a piping bag with a Wilton #3 tip (or a zip-top bag with tiny corner snipped). Pipe jagged lines for hair. Add black jimmies for texture, if using. Press on candy eyeballs and draw a stitched smile with black icing or black melts
- Spiders (4): Spread melted white candy melts over the top of each Rice Krispies treat. Transfer melted black melts to a piping bag fitted with a Wilton #3 tip (or a zip-top bag with a tiny corner snipped). Pipe 3–4 straight lines down the treat. Connect with slightly curved lines between each section to form a web. Press on a mini Oreo wafer half, attach eyes with a dab of melts, then pipe 2-3 legs on each side extending onto the square.
- Monster Eyes (4): Spread melted orange or purple candy melts (or tinted white melts) across the top of each Rice Krispies treat. Add assorted eyeball candy.
Save this Recipe!
Video