
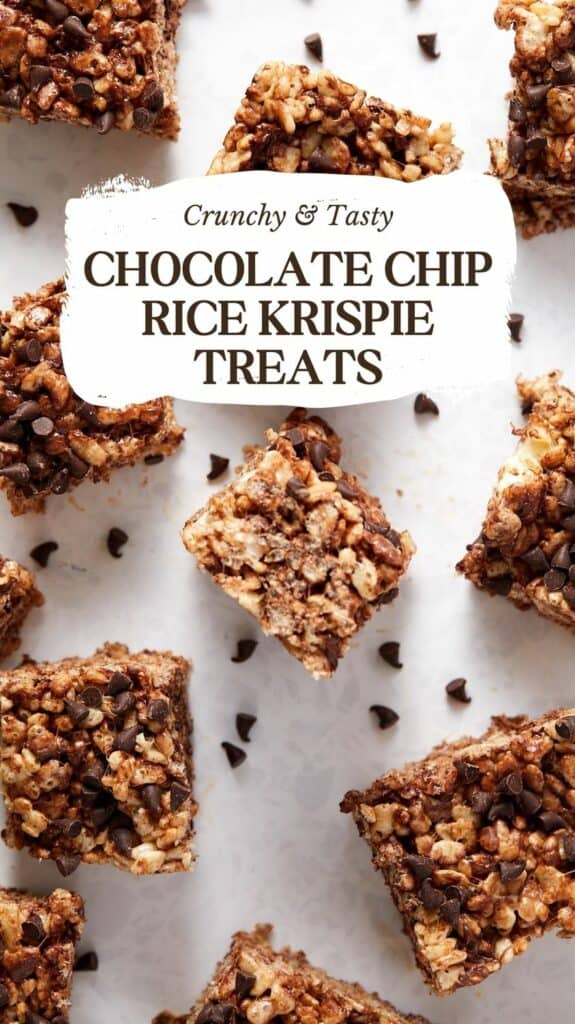

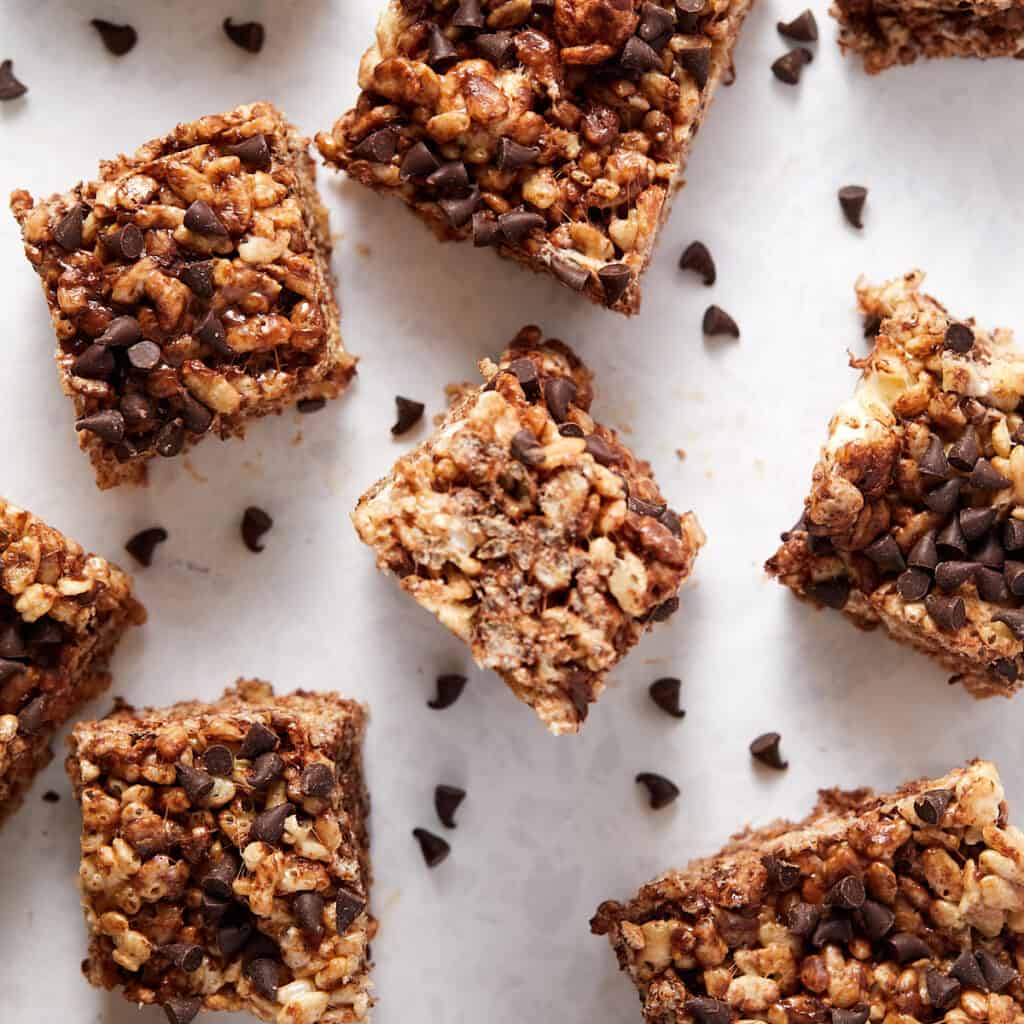
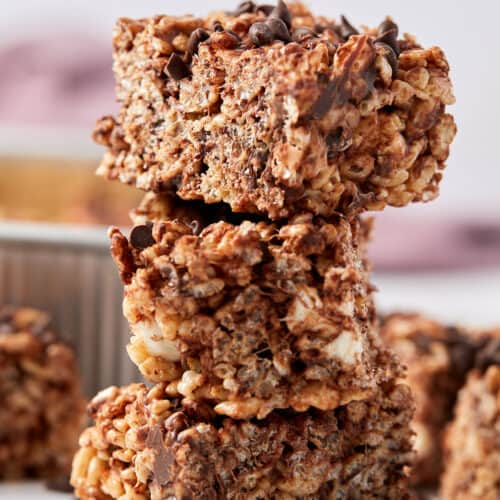
If you love a chocolate-chip-anything dessert, this is the version of Rice Krispies treats for you. Same butter-and-marshmallow technique as my classic Rice Krispies treats, with semi-sweet chocolate chips for chewy chocolate pockets in every bite. Ready in 10 minutes of active work, no oven needed.
Save this Recipe!
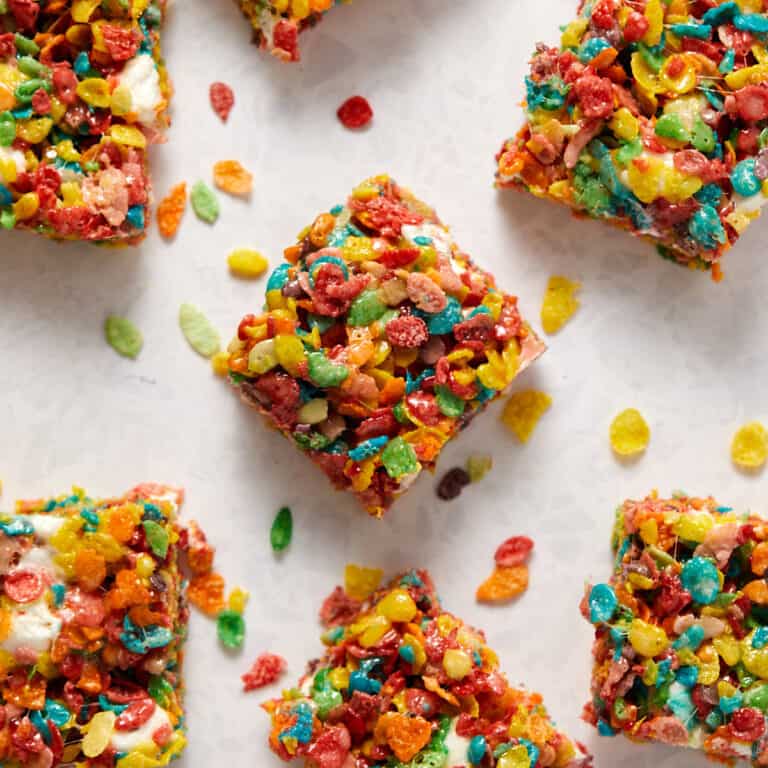
If you love a no-bake cereal treat, you’ll also want to try my Captain Crunch marshmallow treats, Cinnamon Toast Crunch marshmallow treats, and Fruity Pebbles marshmallow treats. Same butter-and-marshmallow base, four completely different flavor lanes.
Why You’ll Love This Recipe
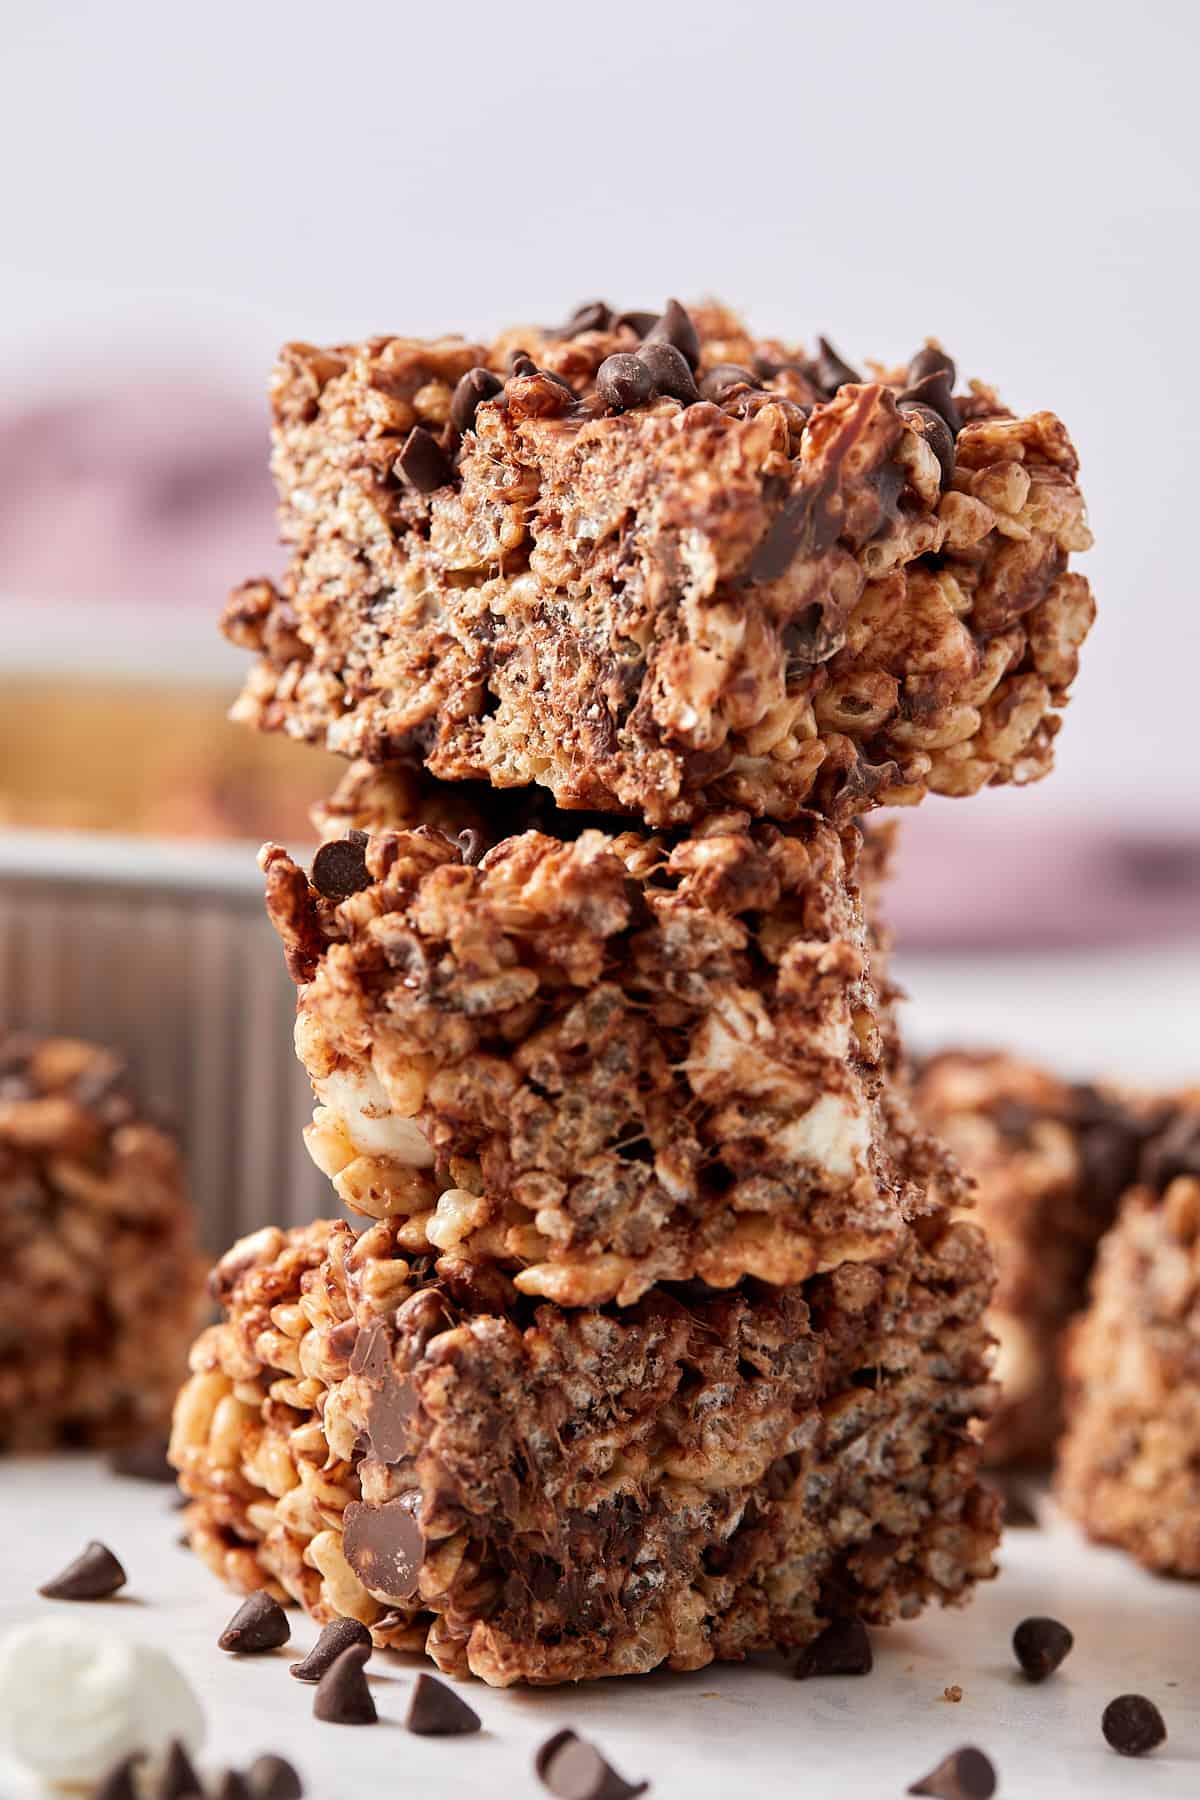
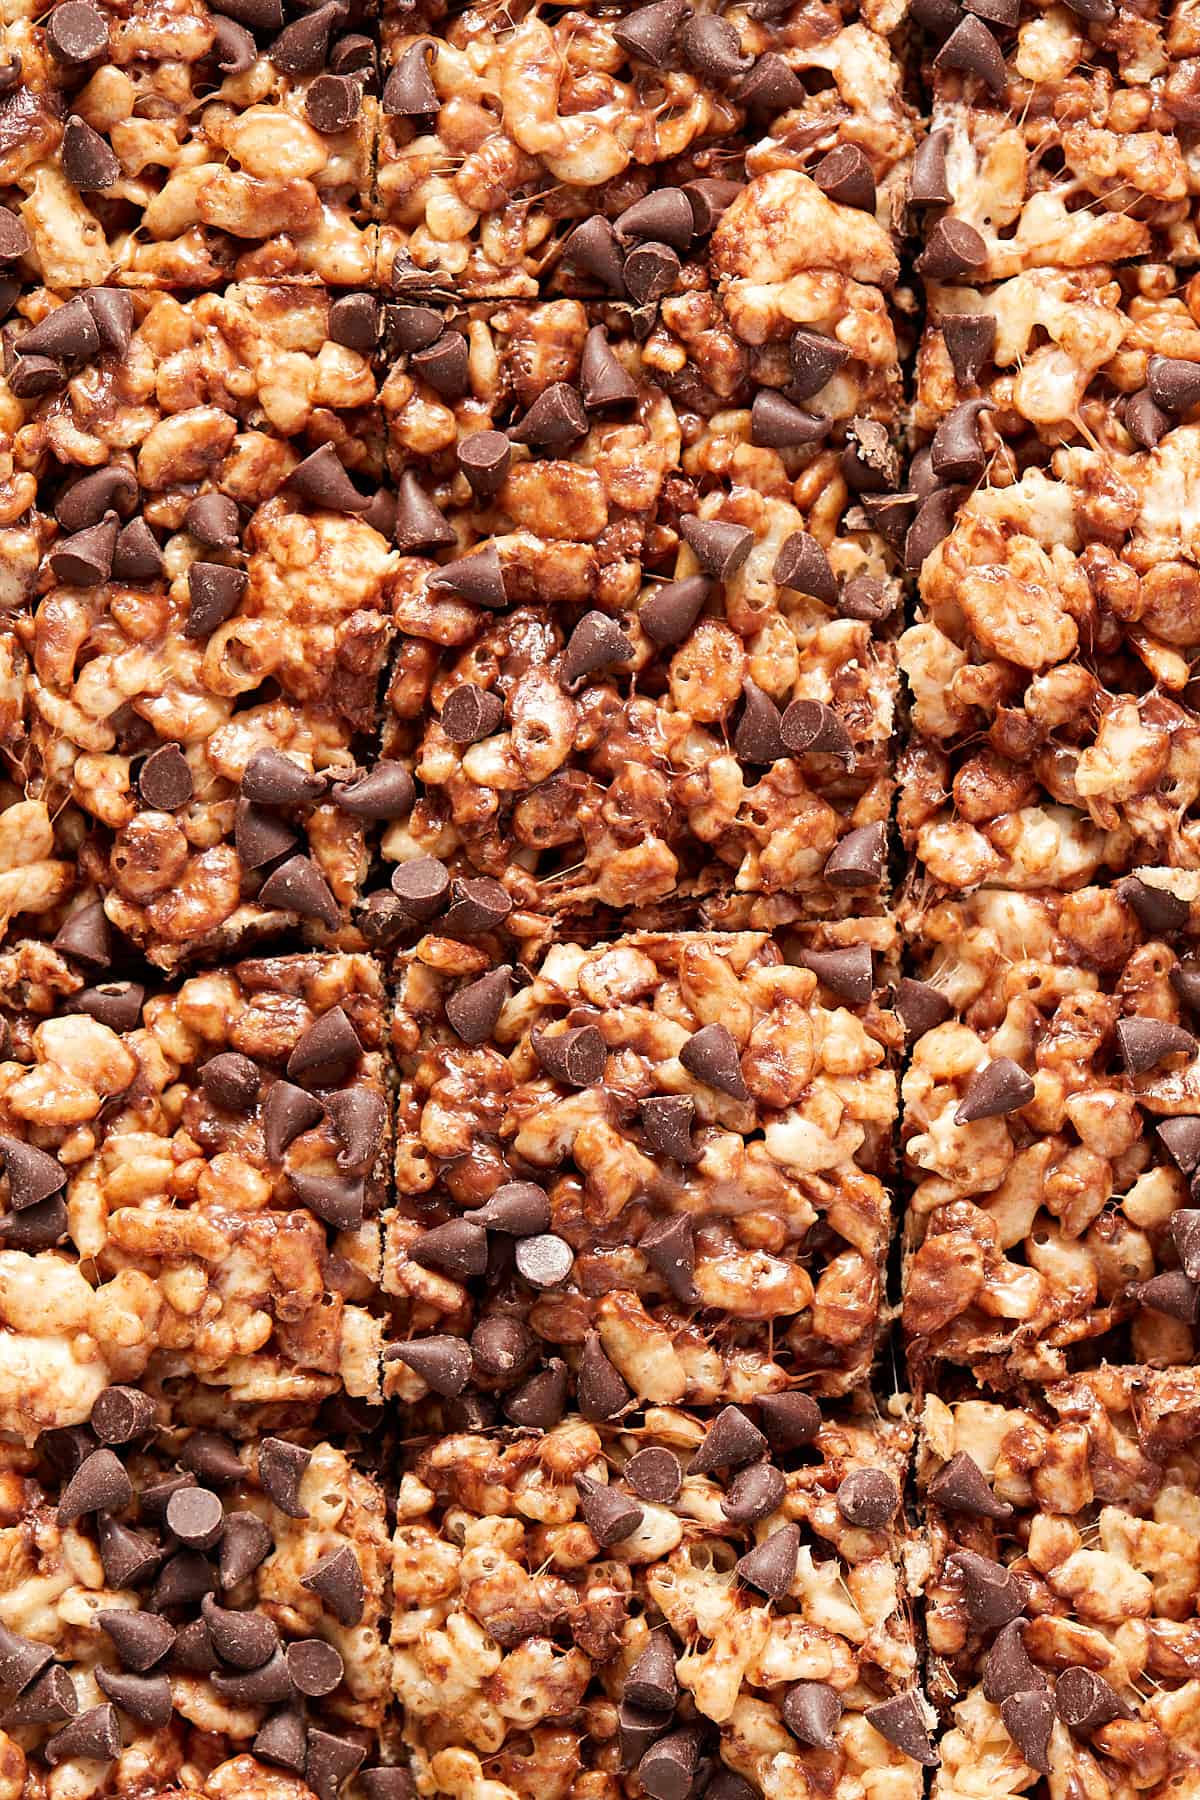
- The chocolate-pocket trick. Folding mini chocolate chips in at the end (not melting them in with the marshmallows) means you get soft chocolate pockets distributed through every square instead of one uniform chocolate-tinted bar.
- 5 ingredients, no oven. Butter, marshmallows, vanilla, salt, Rice Krispies cereal, and mini chocolate chips. One pot, 10 minutes on the stove.
- Soft and chewy. A little extra butter and a pinch of salt take these from the bare-bones 3-ingredient version to bars with actual texture and flavor.
- Lunchbox and bake-sale friendly. Cuts cleanly into squares, holds up in a Tupperware, and travels well to school events without melting.
Ingredients
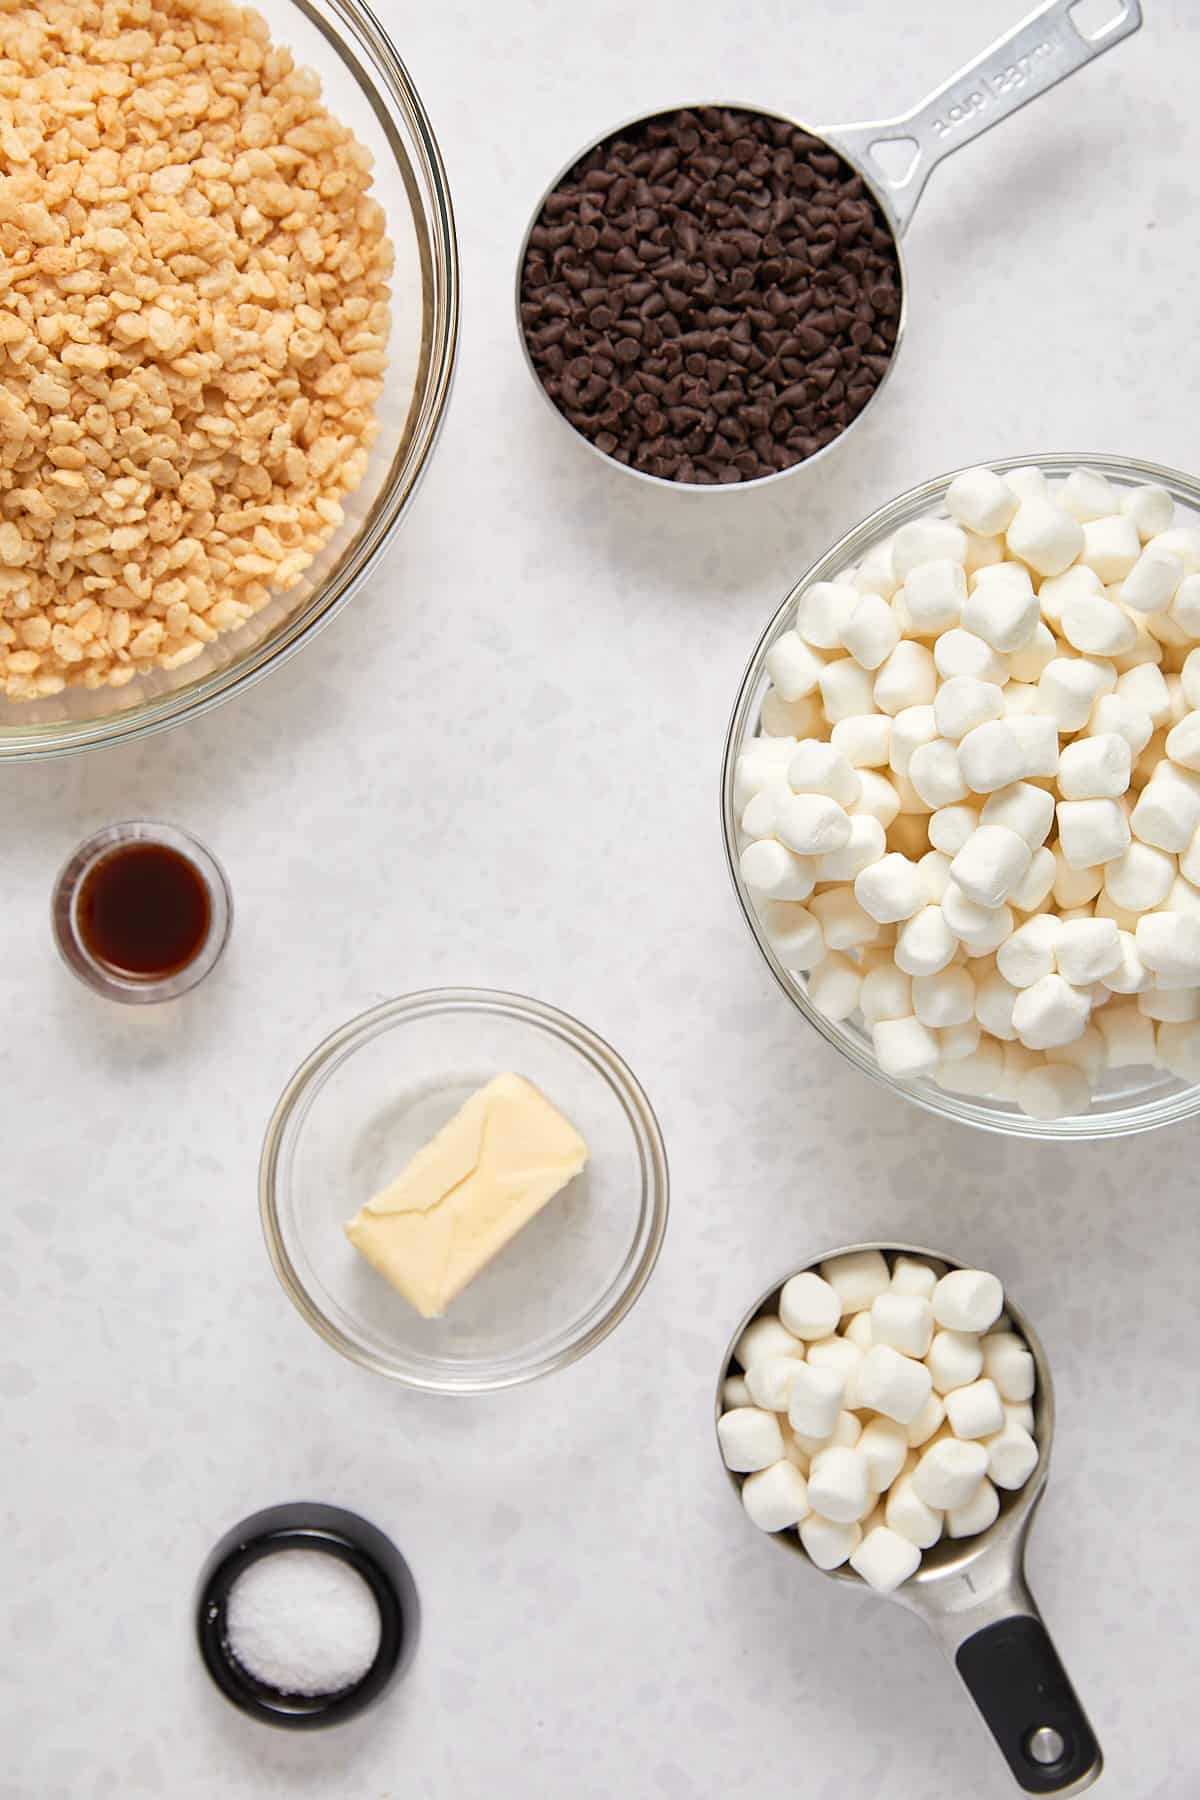
- Unsalted butter. Unsalted gives you control over the salt level.
- Mini marshmallows. One 10-ounce bag for melting, plus 1 extra cup reserved to fold in at the end. The reserved cup stays partially intact, giving you soft marshmallow pockets alongside the chocolate pockets. Fresh marshmallows give the best texture. Stale ones from a bag open for weeks will set up firm.
- Pure vanilla extract. Real vanilla, not imitation. Adds depth so the bars don’t taste flat.
- Kosher salt. Diamond Crystal kosher salt is my go-to. Salt in a sweet treat may sound counterintuitive, but it balances the sweetness, letting the chocolate flavor stand out.
- Rice Krispies cereal. Use a fresh, unopened box for the best crunch. Store-brand crispy rice cereal works the same way.
- Mini semi-sweet chocolate chips. Mini chips are the move here. They distribute more evenly than standard-size chips and soften without fully melting when folded in at the end.
See recipe card below for exact measurements.
How to make chocolate chip Rice Krispies treats
Total time: 10 minutes active + 30 minutes to cool and set.
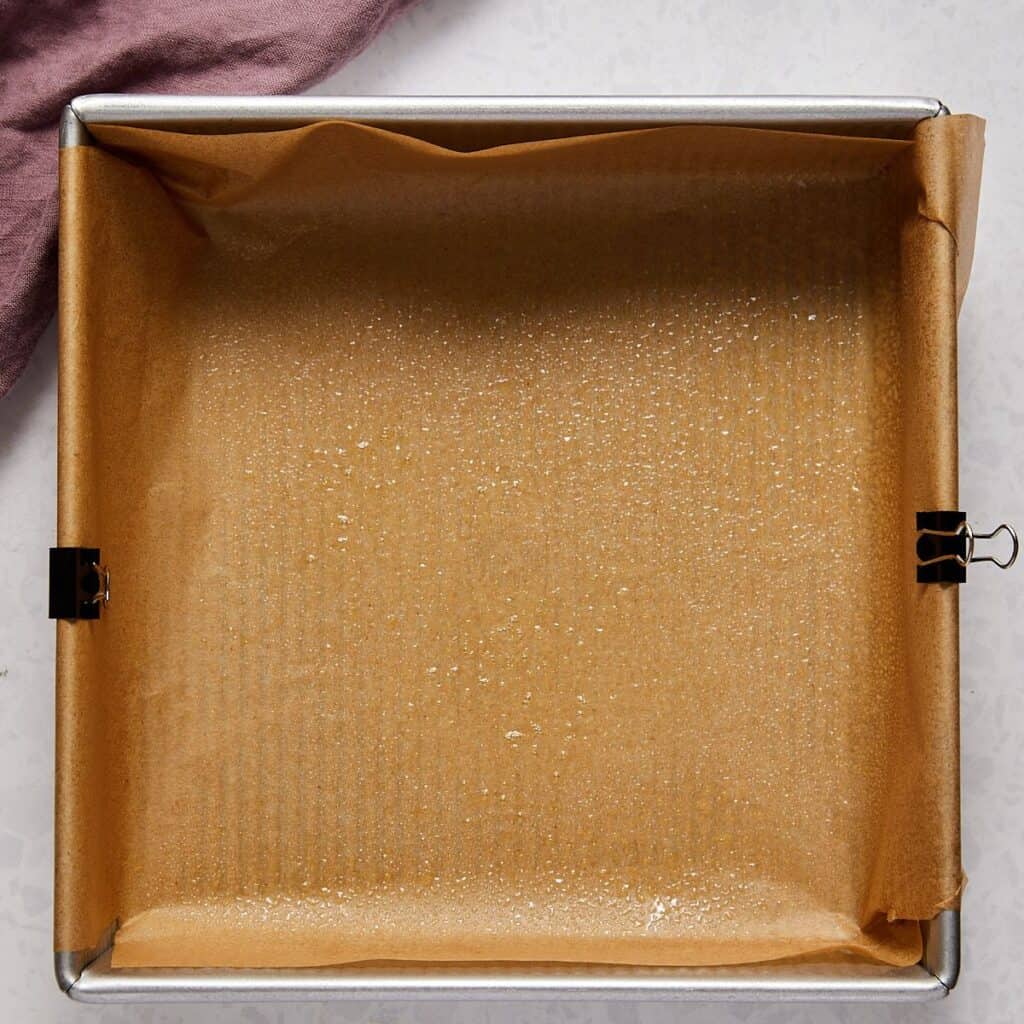
Line an 8×8 or 9×9 baking pan with parchment paper. Lightly grease with cooking spray.
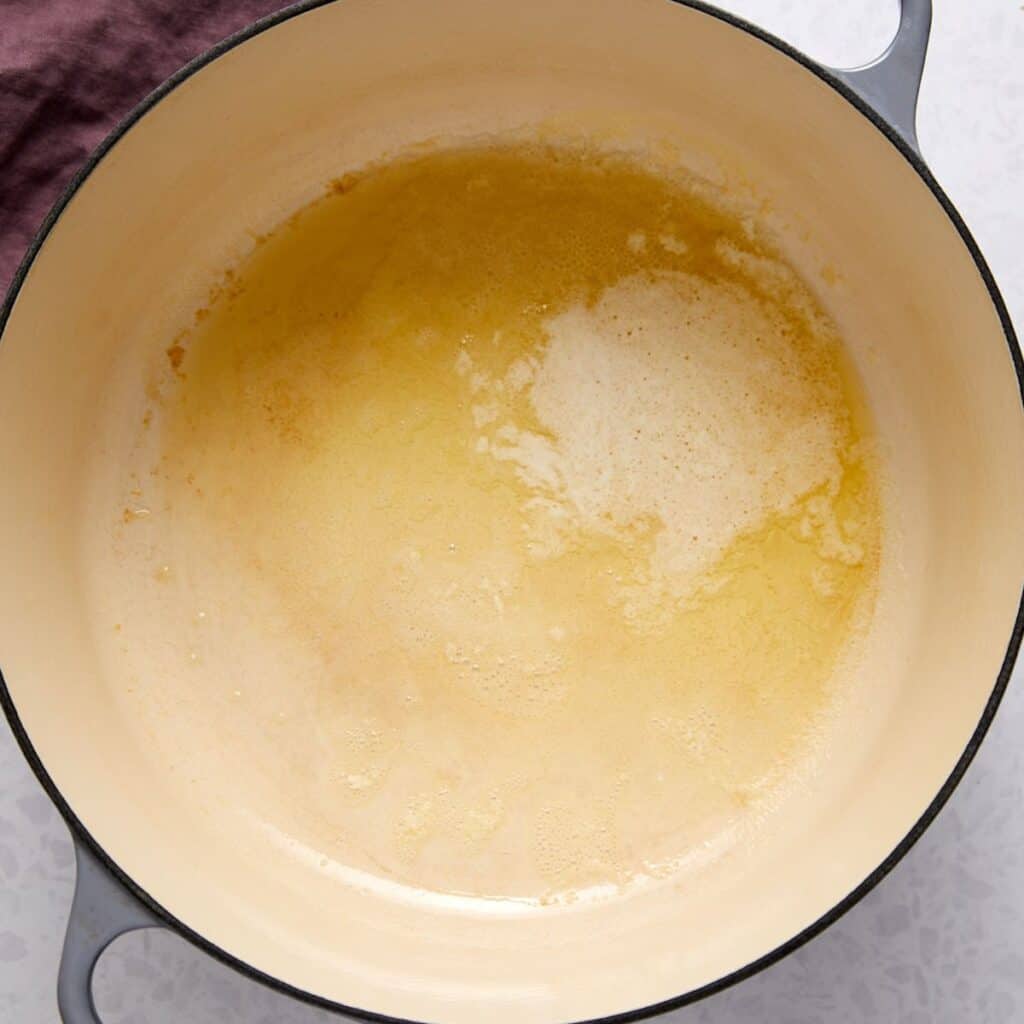
In a large pot or Dutch oven over medium-low heat, melt the butter until smooth.
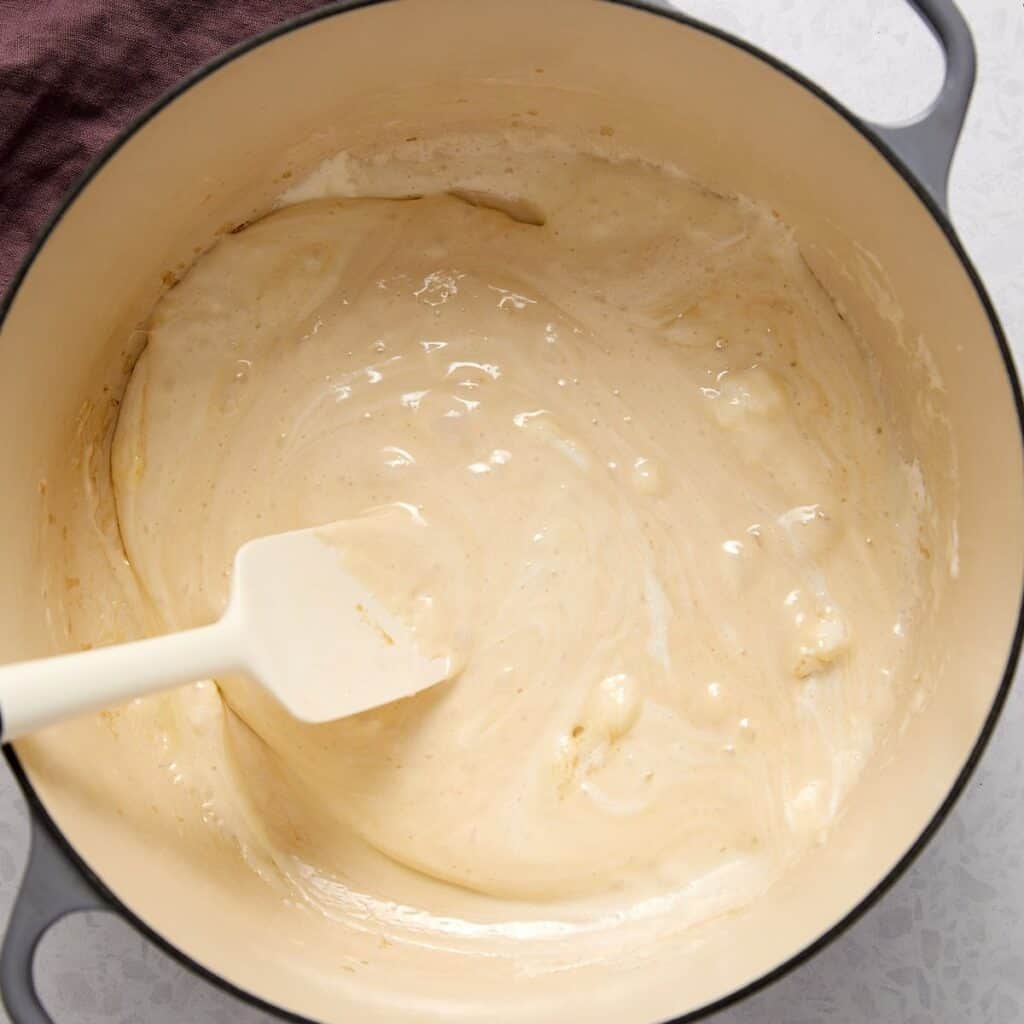
Add the mini marshmallows. Stir constantly until the marshmallows are smooth and just melted. Pull off the heat the second they’re combined.
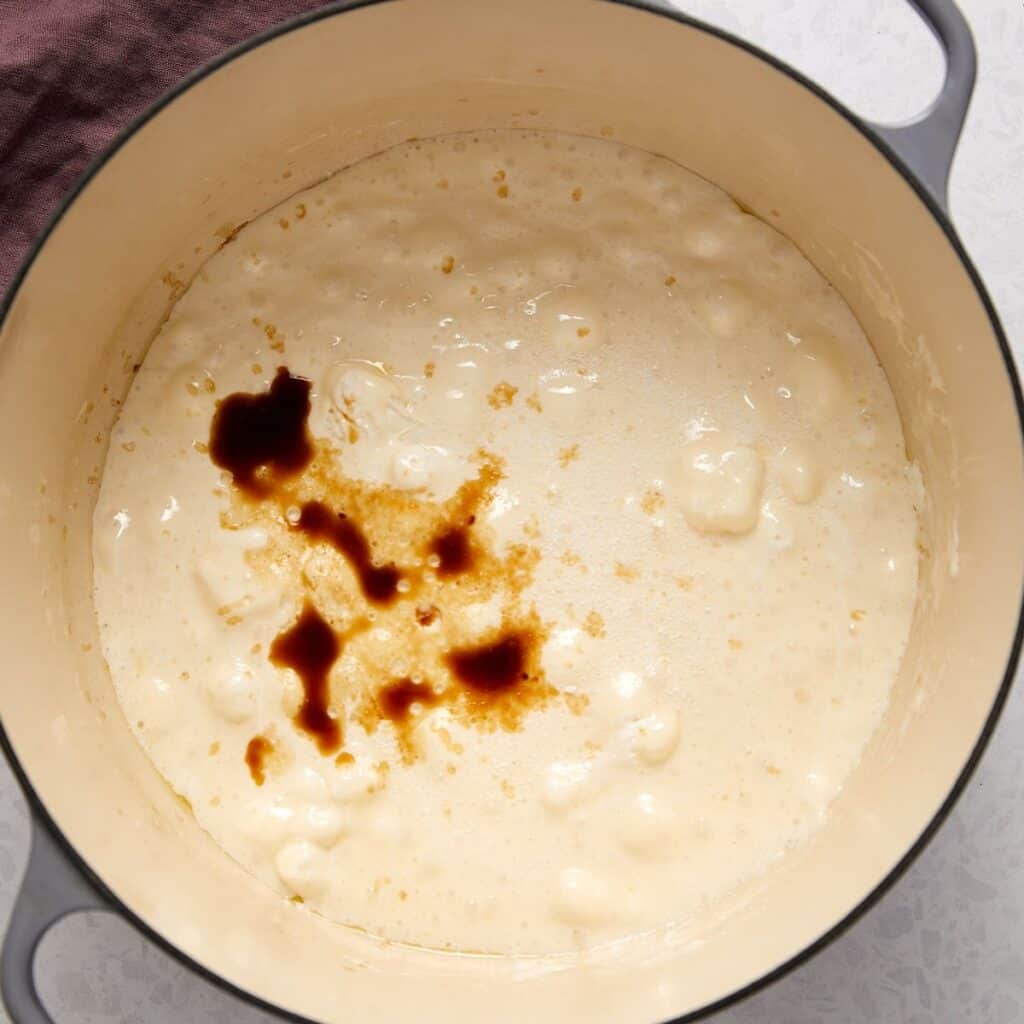
Stir in vanilla and salt off the heat.
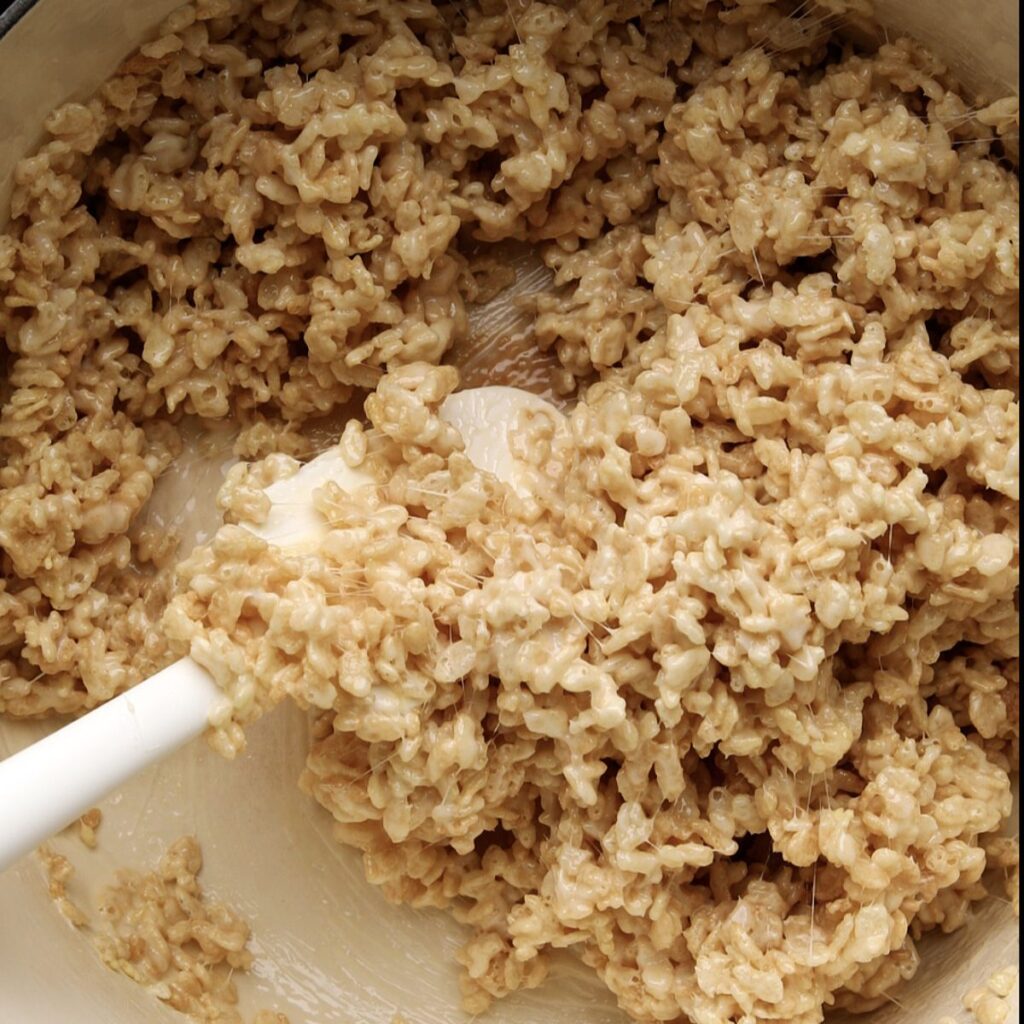
Add all the Rice Krispies and stir gently until every piece is coated in marshmallow.
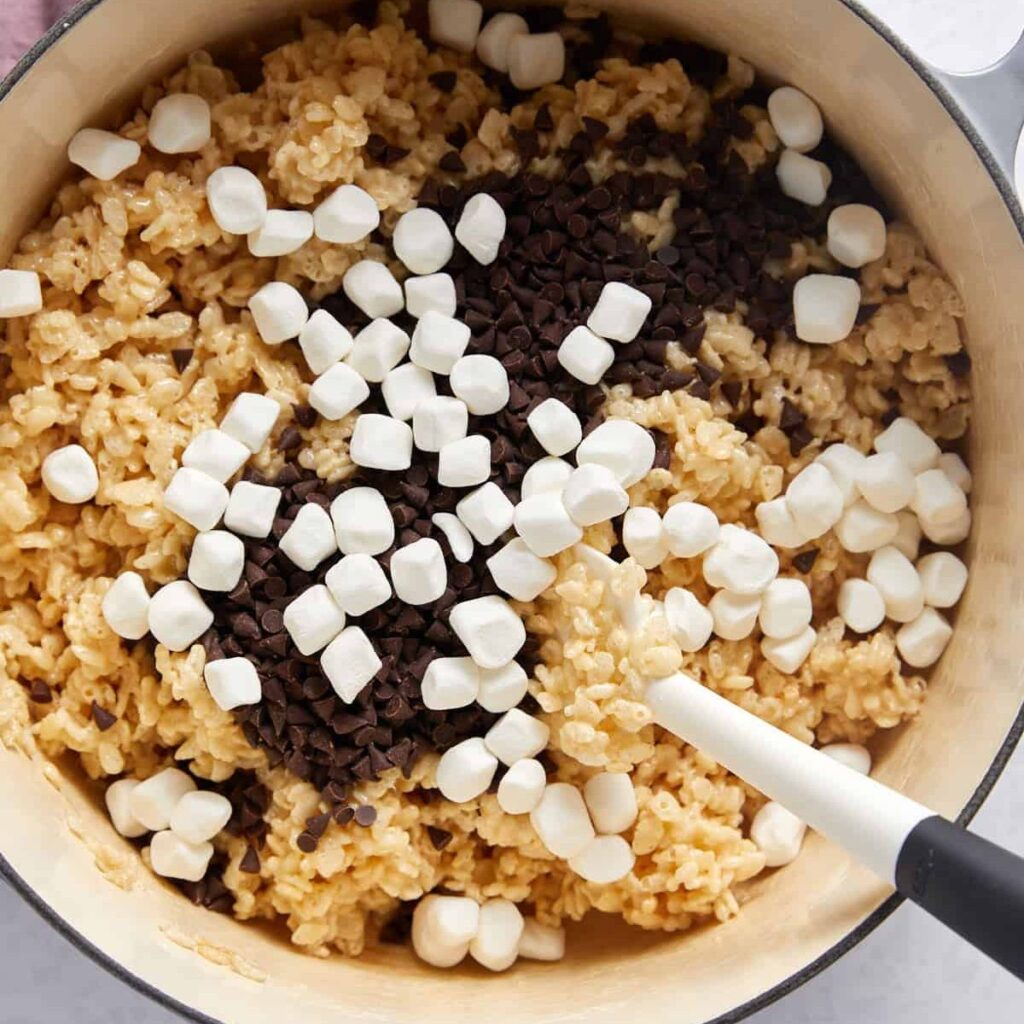
Fold in the mini chocolate chips and the extra one cup of marshmallows. The mixture is still warm but not hot enough to fully melt them. They’ll soften into chocolate pockets in the cooled bars.
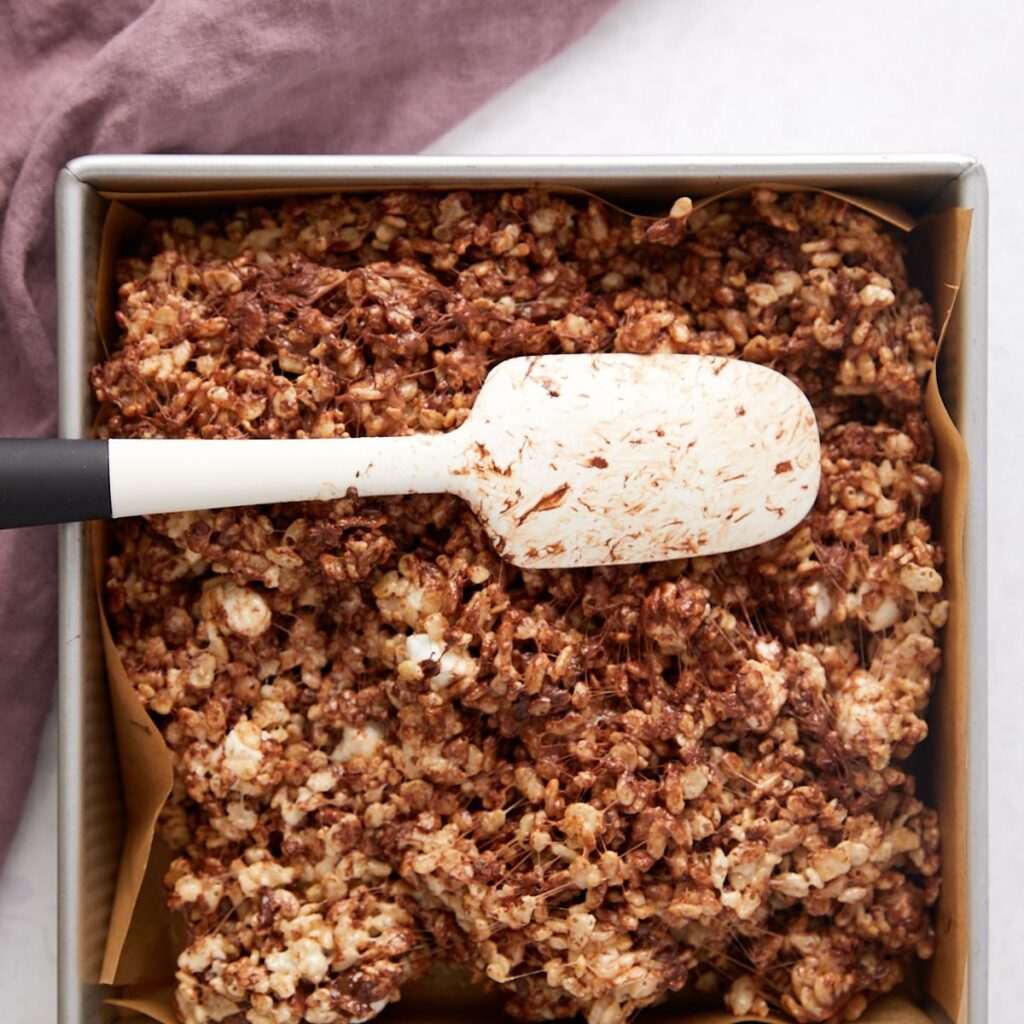
Transfer to your prepared pan and gently press into an even layer. Press just firmly enough to hold together. Don’t compact the cereal hard or the bars turn dense.
Let cool at room temperature for 30 minutes before lifting out of the pan and cutting into squares.
Substitutions and Variations
- Chocolate chunks instead of mini chips. Standard or chunk-size chocolate works; just chop them roughly so they distribute evenly. They take longer to soften, so the bars will have firmer chocolate bites instead of melty pockets.
- Dark chocolate, milk chocolate, or white chocolate. Sub the semi-sweet chips 1:1 for whatever chocolate you prefer. Dark chocolate gives a slightly less sweet bar; white chocolate makes it more dessert-leaning.
- Add sprinkles. Fold ¼ cup rainbow or seasonal sprinkles in along with the chocolate chips for a birthday-party version.
- Salted caramel drizzle. After cutting, drizzle the bars with my salted caramel sauce for a dessert-bar finish.
This recipe has not been tested with other substitutions or variations. If you replace or add any ingredients, please let us know how it turned out in the comments below!
FAQs
If you can’t get enough of these easy treats, you’re going to love my Halloween Brownies and Mini Egg Blondies too!
Storage
Room temperature: Store cut bars in an airtight container at room temperature for 3 to 4 days. They’re softest at days 1 to 3.
Refrigerator: Don’t refrigerate. Cold dries the marshmallow base out and makes the bars stiff.
Freezer: Wrap individual bars in plastic wrap and freeze in a zip-top bag for up to 1 month. Thaw at room temperature for 30 minutes before eating.

Thank you!
If you tried these, I want to hear about it, by leaving a comment below and ⭐⭐⭐⭐⭐. It makes my day to see your kitchen wins.
Tag me on Social!
Instagram | Facebook | Pinterest
See you next time! ♡ Sarah

Recipe
Best Chocolate Chip Rice Krispie Treats
Ingredients
- 6 tablespoons unsalted butter
- 10 ounce bag mini marshmallows, for melting (about 6 cups)
- 1 teaspoon vanilla extract
- 1/2 teaspoon (2g) Diamond Crystal kosher salt; for table salt, use about half as much by volume or the same weight
- 6 cups Rice Krispies cereal
- 1 cup mini marshmallows, reserved, for folding in at the end (you'll need to dip into a second bag)
- 1 cup mini chocolate chips, plus two tablespoons for topping
Instructions
- Line a 8×8 or 9×9 with parchment paper. Lightly grease the parchment. I always use a very light mist of nonstick spray. Set aside.
- Melt the butter over medium-low heat in a large pot or Dutch oven. Once melted, add the 10-ounce bag of marshmallows. Stir the mixture until the marshmallows are just melted. Stir in the salt and vanilla to combine.6 tablespoons unsalted butter, 10 ounce bag mini marshmallows,, 1 teaspoon vanilla extract, 1/2 teaspoon (2g) Diamond Crystal kosher salt; for table salt, use about half as much by volume or the same weight
- Remove the pan from the heat, add the Rice Krispies, and mix until coated with the marshmallow mixture.6 cups Rice Krispies cereal
- Immediately stir in an additional one cup of marshmallows and a cup of mini chocolate chips. The chocolate chips will melt throughout perfectly.1 cup mini chocolate chips, , 1 cup mini marshmallows,
- Turn the mixture out into the prepared pan and, using a wooden spoon or spatula that has been coated in non-stick cooking spray, lightly press the mixture into an even layer. Do not pack it down with force.
- Sprinkle the 2 tablespoons of mini chocolate chips on the top and lightly press them into the treats. This step will help them stay on top.
- Allow treats to set for at least 15 mins.
- Lift the treats as a whole out of the pan using the edges of the parchment paper. Cut into squares.
- Cover and store leftover treats at room temperature for up to 3 days. To store, place in an airtight container, with sheets of parchment or wax paper between layers.
Save this Recipe!
Notes
- Using a 9×9 pan: This size pan will provide the thick, bakery-style size of treats.
- Marshmallows: You will need 2 (10-ounce) bags of miniature marshmallows for this recipe. You will only need a cup of the 2nd bag, use the rest for hot chocolate!
- Omitting Extra Marshmallows: You can omit the extra marshmallows that get stirred in at the end if you wish. Don’t worry about altering the recipe – it’ll still be great.
- Storing + Shelf Life: These are best eaten the same day you make them. But if you’ve got leftovers, keep them in an airtight container at room temperature, and they should be good for about 3 days. Wrapping them individually in plastic wrap before storing them can help keep them fresh.
- Freezing: Wrap each in plastic wrap, put them in a freezer bag, and keep them for a few months. Or layer cut pieces in layers separated with parchment paper. When ready to eat them, let them thaw at room temperature if desired. I sometimes eat them right out of the freezer! I am not patient.