

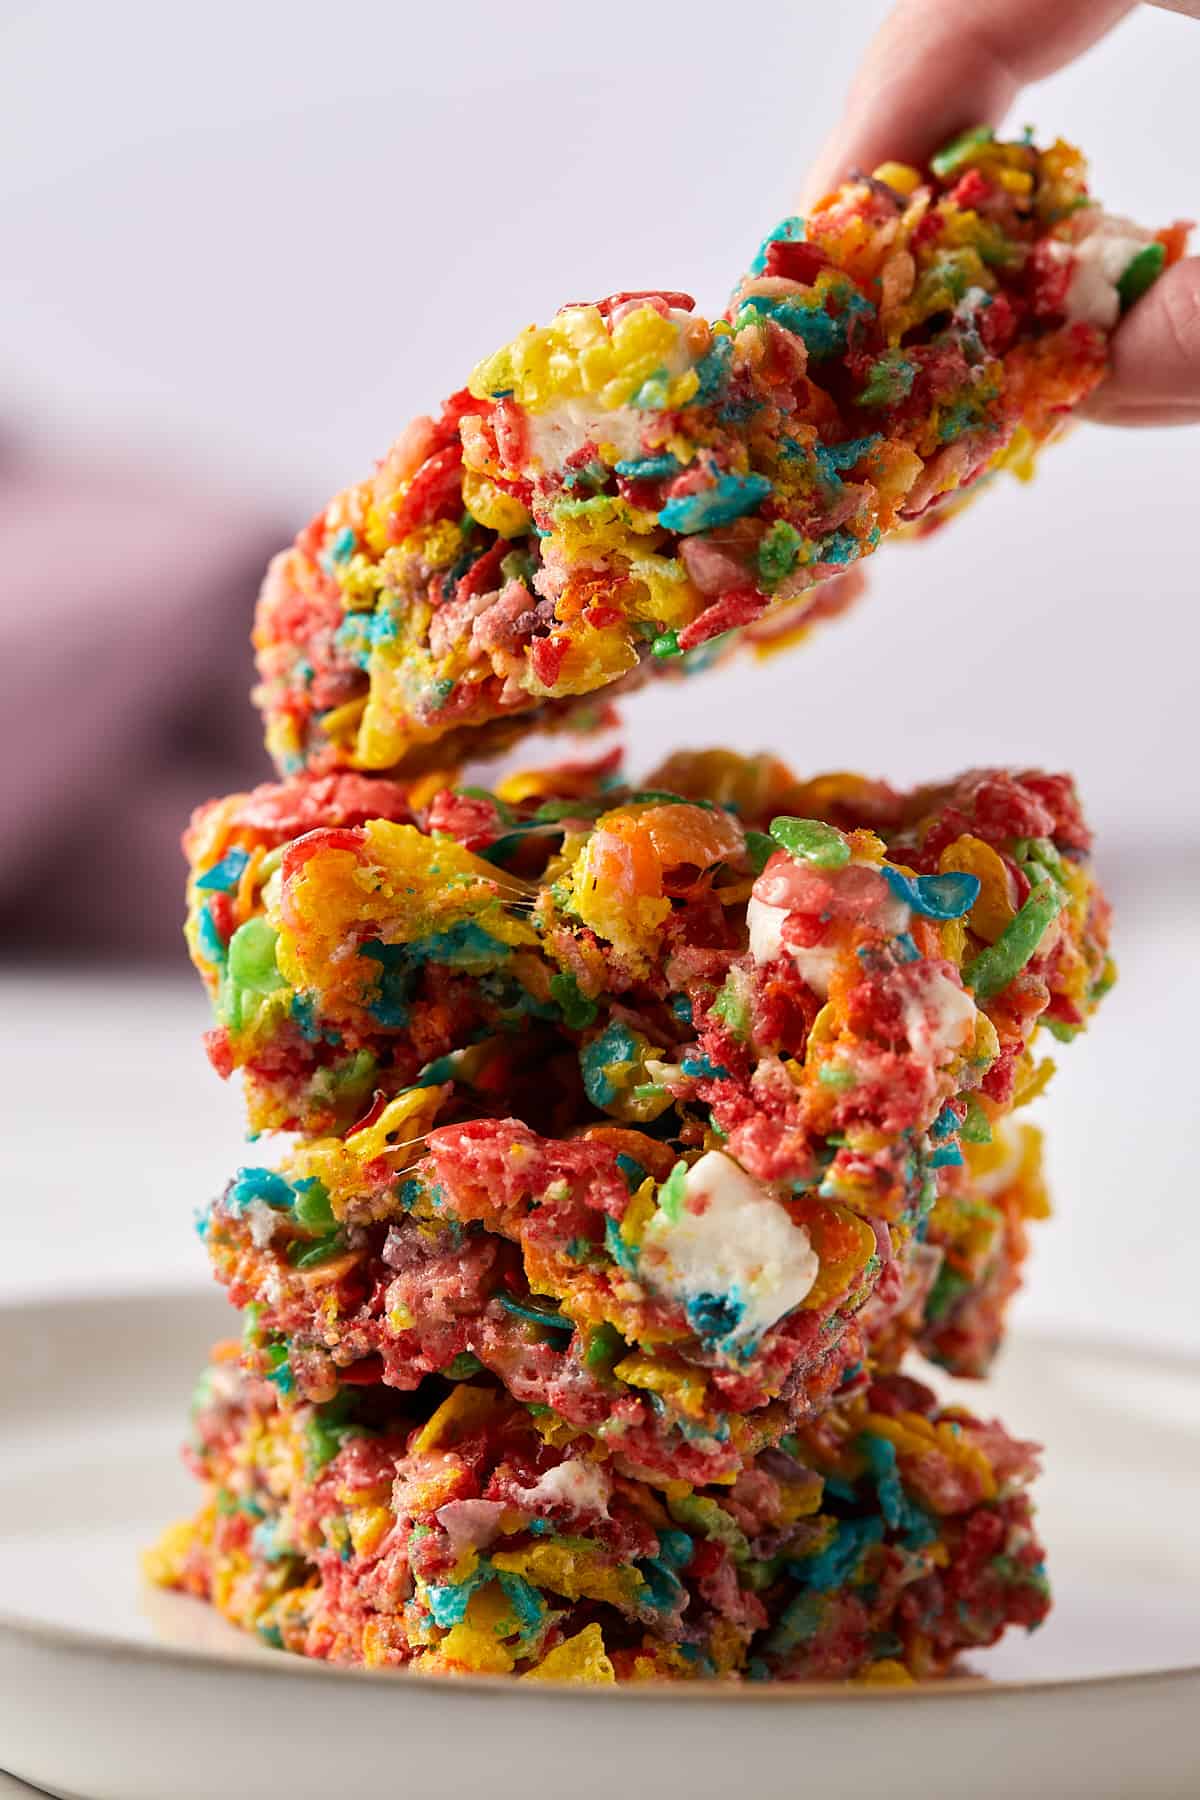
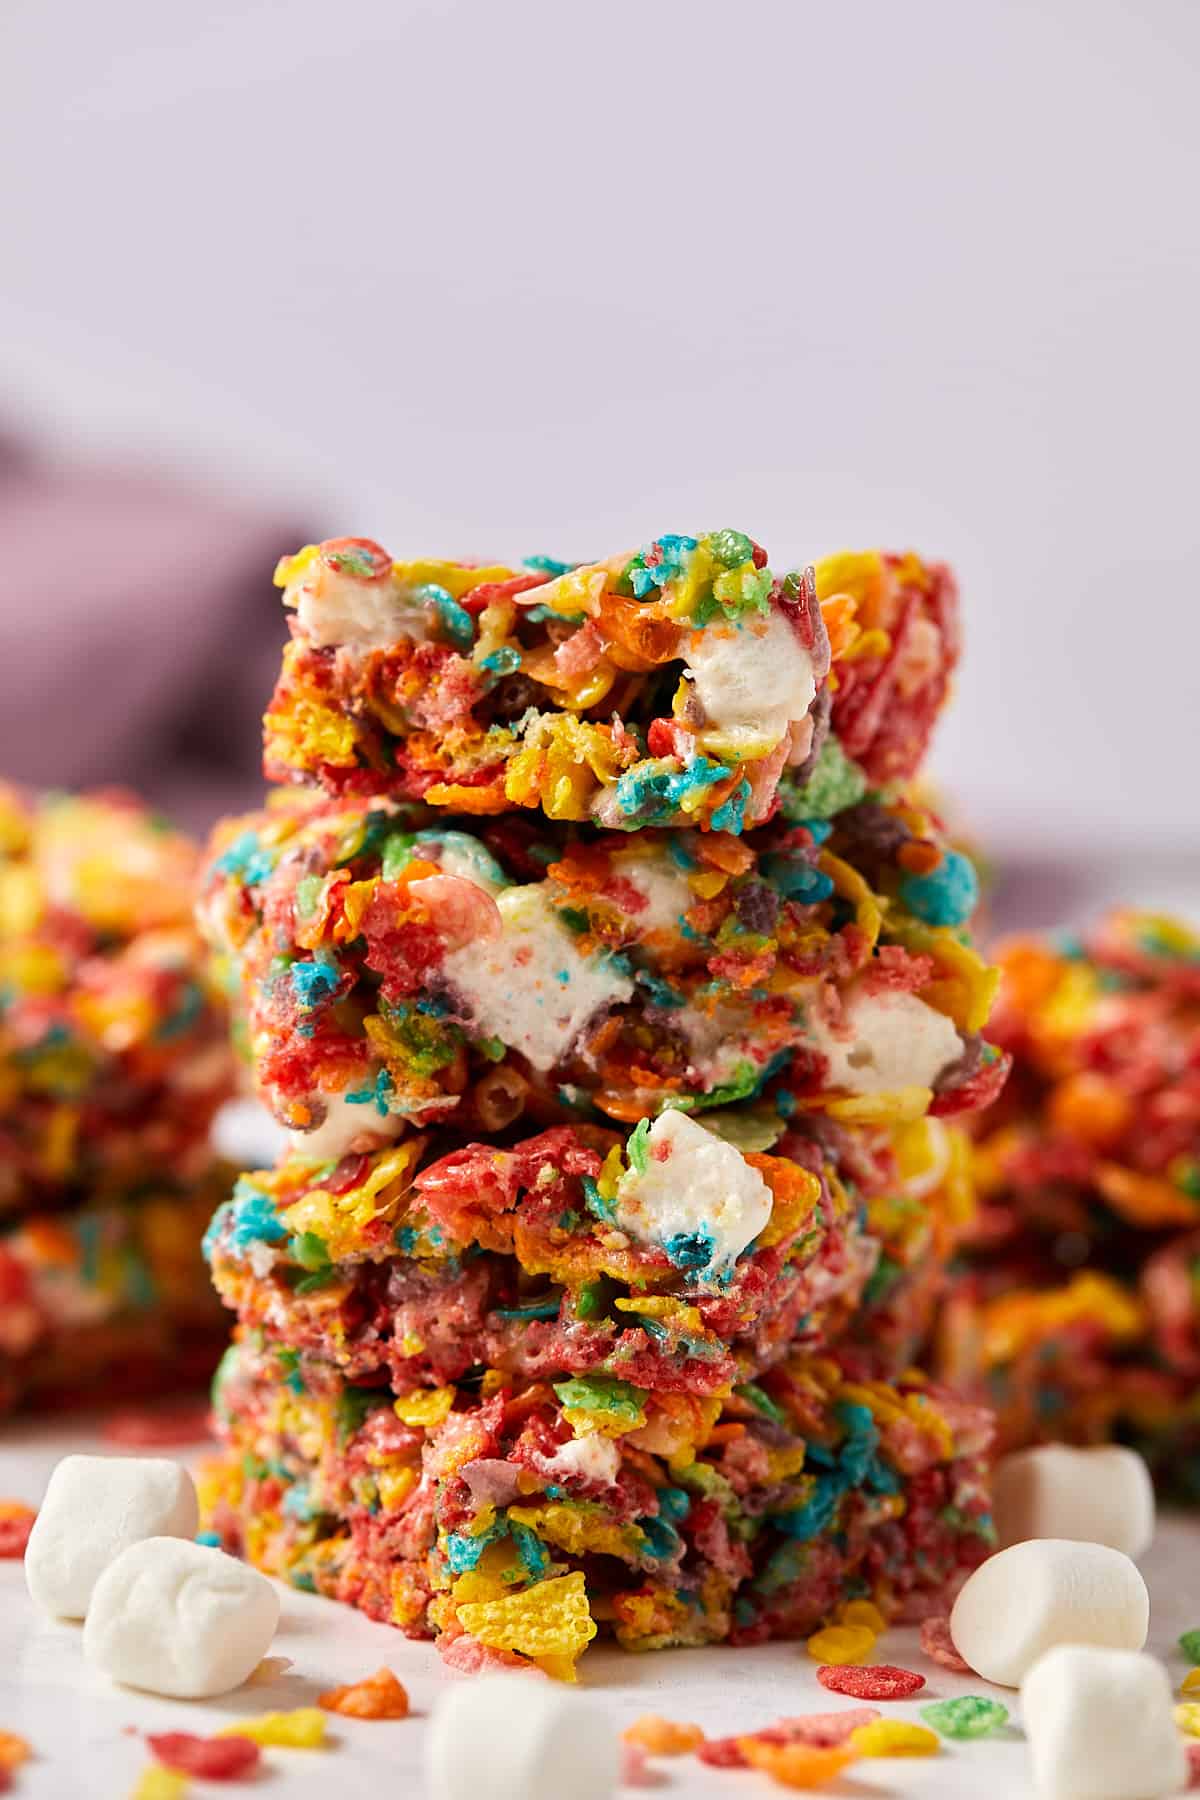
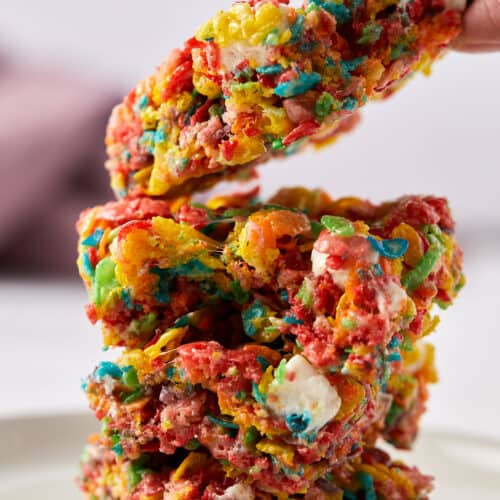
I have made fruity pebbles treats more times than I can count, for kids’ birthday parties, end-of-school treat days, and any summer table that needs something bright next to a plate of plain cookies. They are Rice Krispies treats with the color turned all the way up. Same butter-and-marshmallow base, but the red, yellow, blue, green, and orange are built right into the cereal, so the pan looks like confetti with no food coloring, sprinkles, or decorating.
Save this Recipe!
If you love a no-bake cereal treat, you will also want the same fruity flavor in Fruity Pebbles cupcakes and Fruity Pebbles ice cream. Same cereal, different lanes.
Why You’ll Love This Recipe
- 5 ingredients, no oven, 10 minutes of active work. Butter, marshmallows, vanilla, salt, and fruity pebbles cereal. One pot from the cabinet to the cooled tray in under an hour, faster than driving to a bakery and a fraction of the cost.
- It is just Rice Krispies treats with a fun cereal. If you have made Rice Krispies treats once, you already know how to make these. The only new skill is working a little faster.
- Fruity pebbles with marshmallows folded in at the end. Stirring an extra cup of mini marshmallows into the warm mix gives you soft pockets and a stickier, chewier bar instead of a dry one.
- Cuts cleanly for parties and lunchboxes. Press lightly, cool fully, then slice. They ride in a Tupperware to a birthday party and tuck into a lunchbox without crumbling.
- Make ahead 1 to 2 days. Best at days 1 to 3 at room temperature. Make them Friday for a Saturday party with no last-minute scramble.
Ingredients
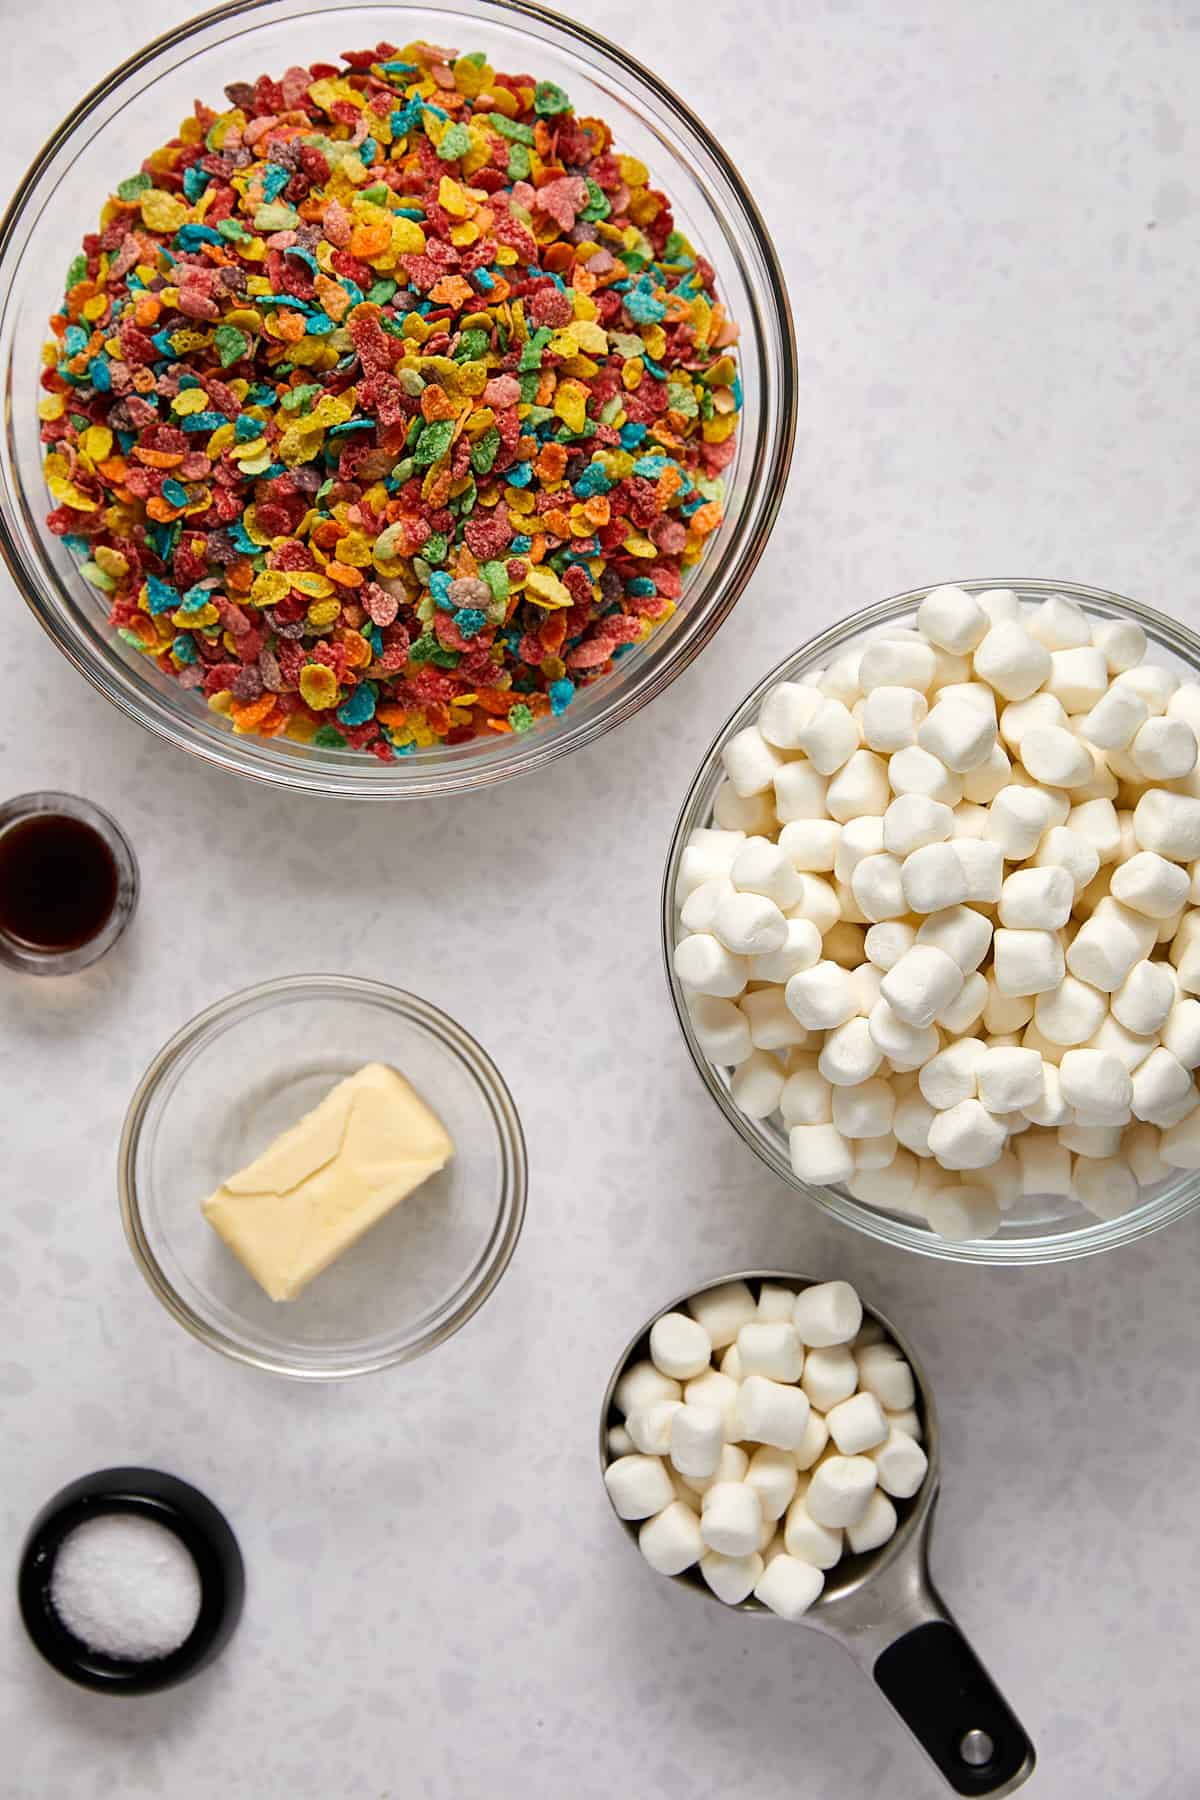
- Mini marshmallows. One 10-ounce bag plus an additional cup. That extra cup is the move for fruity pebbles with marshmallows folded through: it boosts the marshmallow-to-cereal ratio so the bars stay soft and sticky instead of dry. Fresh marshmallows melt smoothly. Stale ones from a bag open for weeks set up firm.
- Fruity pebbles cereal. Use a fresh, unopened box for the best crunch. The cereal does all the visual and flavor work here, just as it does in my Fruity Pebbles buttercream and Fruity Pebbles waffles.
- Unsalted butter. Unsalted lets you control the salt level. If you only have salted butter, it works; see the substitutions below for how to adjust the salt.
See recipe card below for exact measurements.
Substitutions and Variations
- Marshmallow fluff version. Swap some of the melted mini marshmallows for marshmallow fluff (also sold as marshmallow creme) for a softer, gooier bar that stays tacky longer. Fluff is already smooth, so it melts in fast and you skip some of the stirring.
- White chocolate drizzle. Drizzle melted white chocolate or candy melts over the cooled bars for a thicker, more dessert-leaning treat. White chocolate sets nearly clear, so the cereal colors still show through.
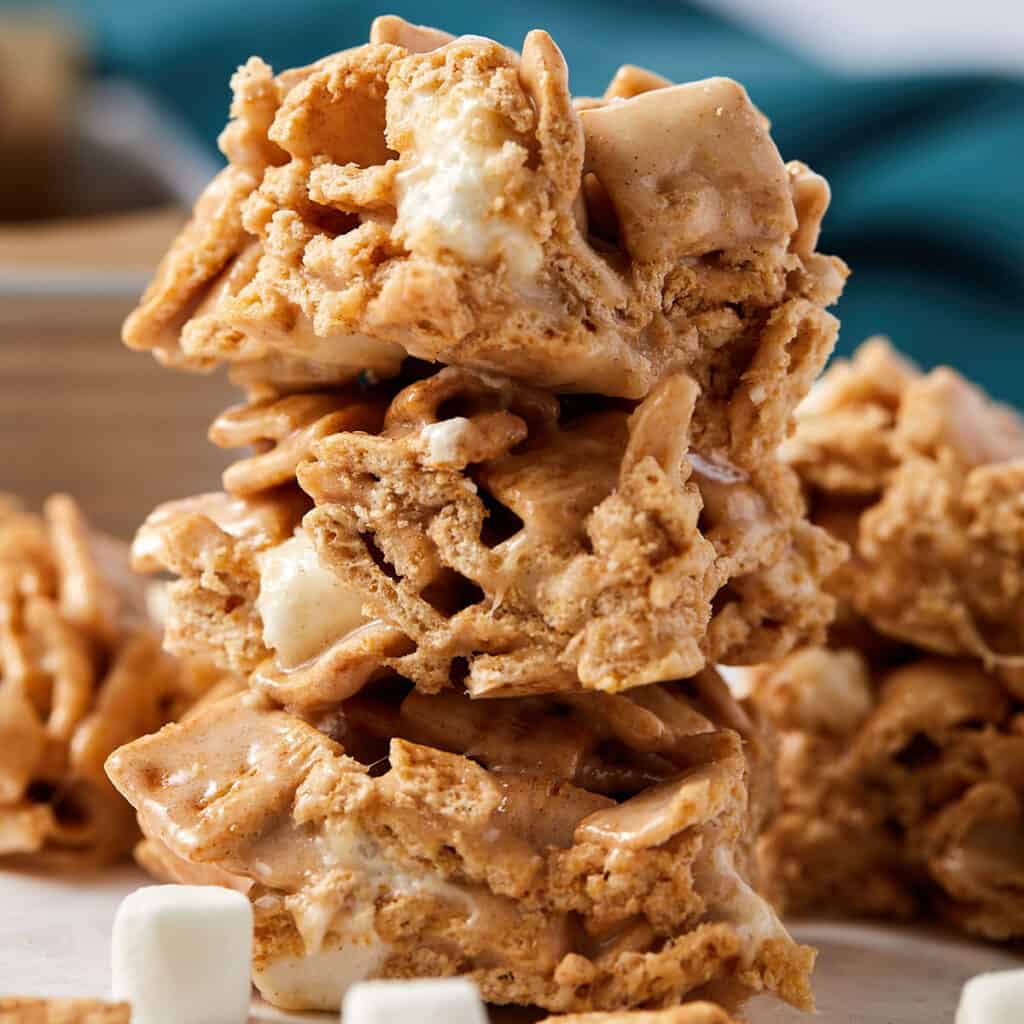
- Cocoa Pebbles version. Swap the cereal 1:1 for Cocoa Pebbles. The flavor changes completely: sweeter, less fruity, more like a chocolate cereal-milk bar.
- White chocolate chips folded in. Fold half a cup of white chocolate chips in with the cereal at the end (do not melt them with the marshmallows). They soften into pockets without dissolving, the same trick I use in my chocolate chip rice krispie treats.
- Salted butter. Works in a pinch. Cut the added kosher salt to a small pinch rather than skipping it, since salted butter brings only about ¼ teaspoon of salt per stick, and the amount varies by brand. Taste the melted butter-and-marshmallow mix before you fold in the cereal, and add a pinch if it tastes flat.
This recipe has not been tested with other substitutions or variations. If you replace or add any ingredients, please let us know how it turned out in the comments below!
How to Make Fruity Pebbles Rice Crispy Treats
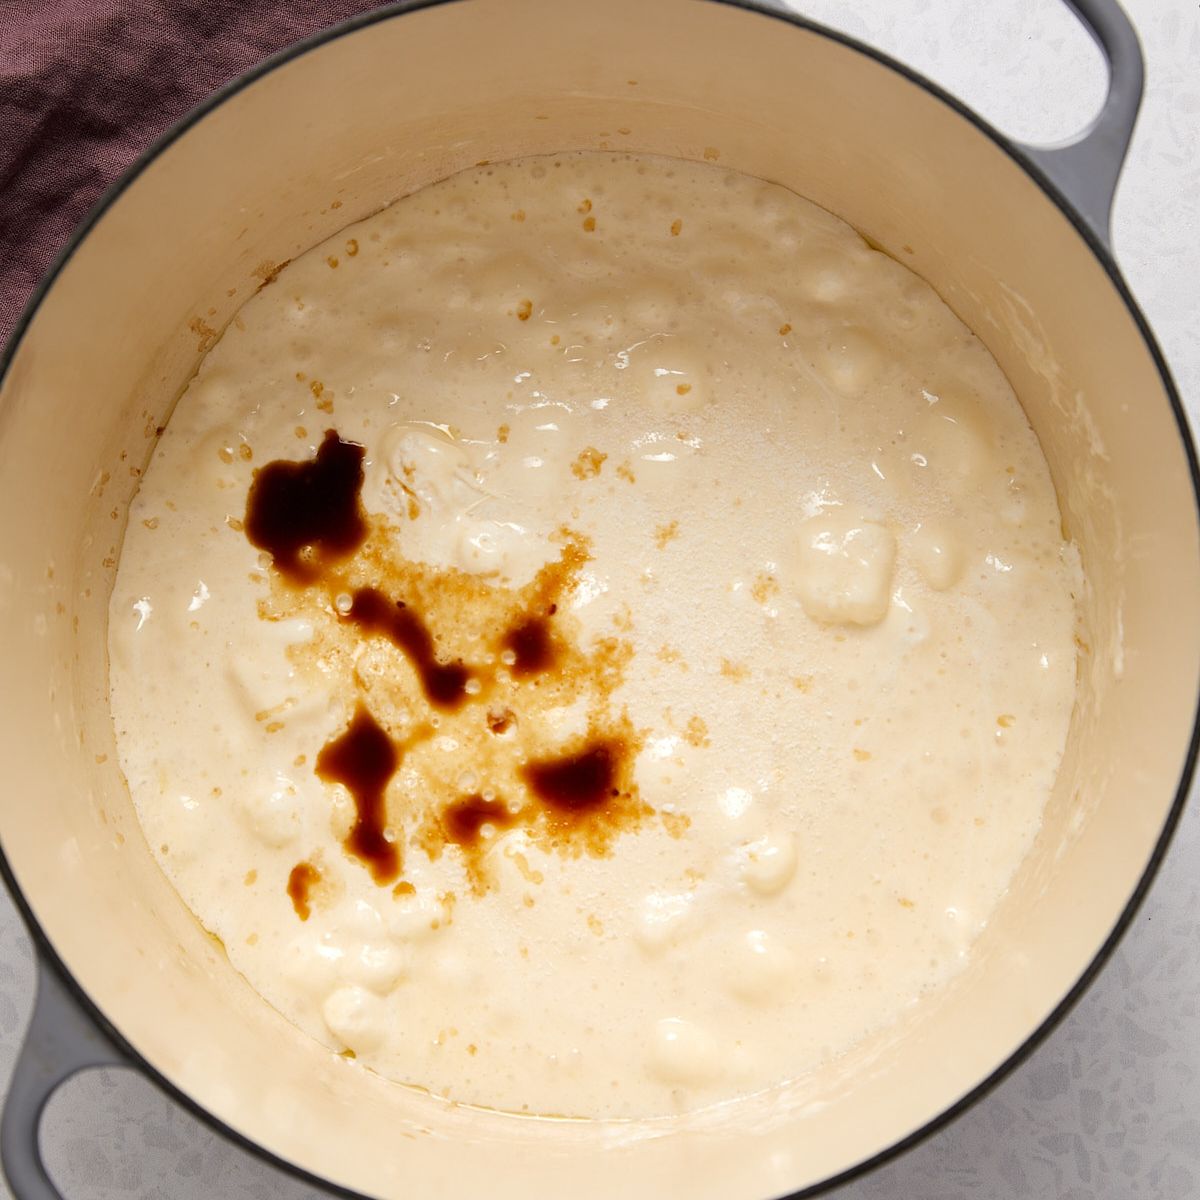
Melt the butter in a large pot or Dutch oven over low heat. Add the 10-ounce bag of mini marshmallows and stir until just melted and smooth. Off the heat, stir in the vanilla and salt.
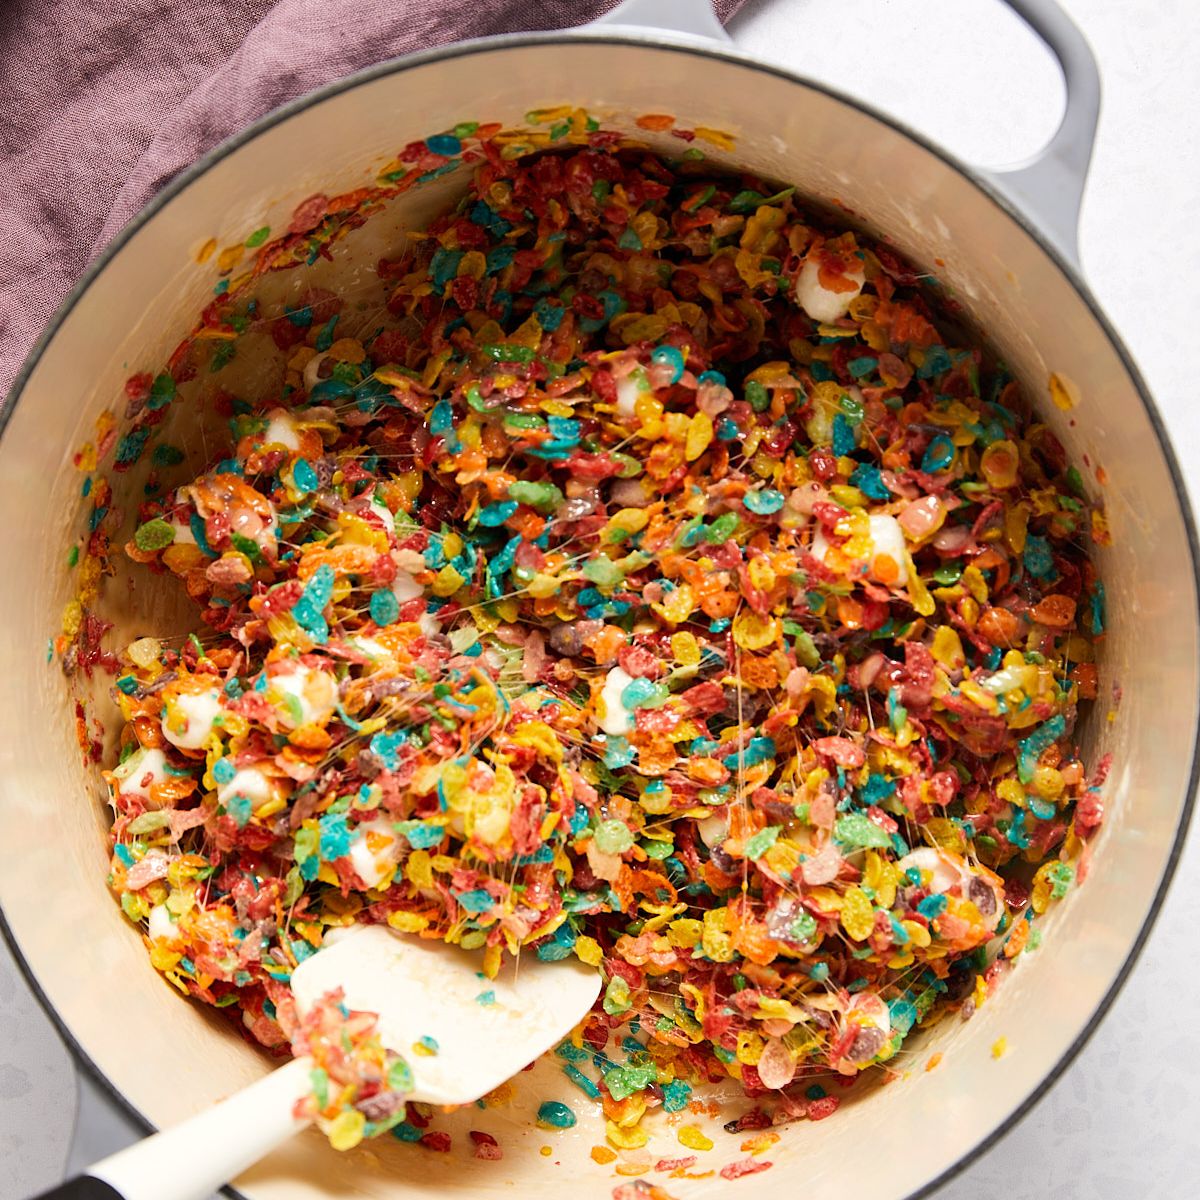
Fold in the cereal until every piece is coated, then fold in the extra cup of mini marshmallows for soft pockets.
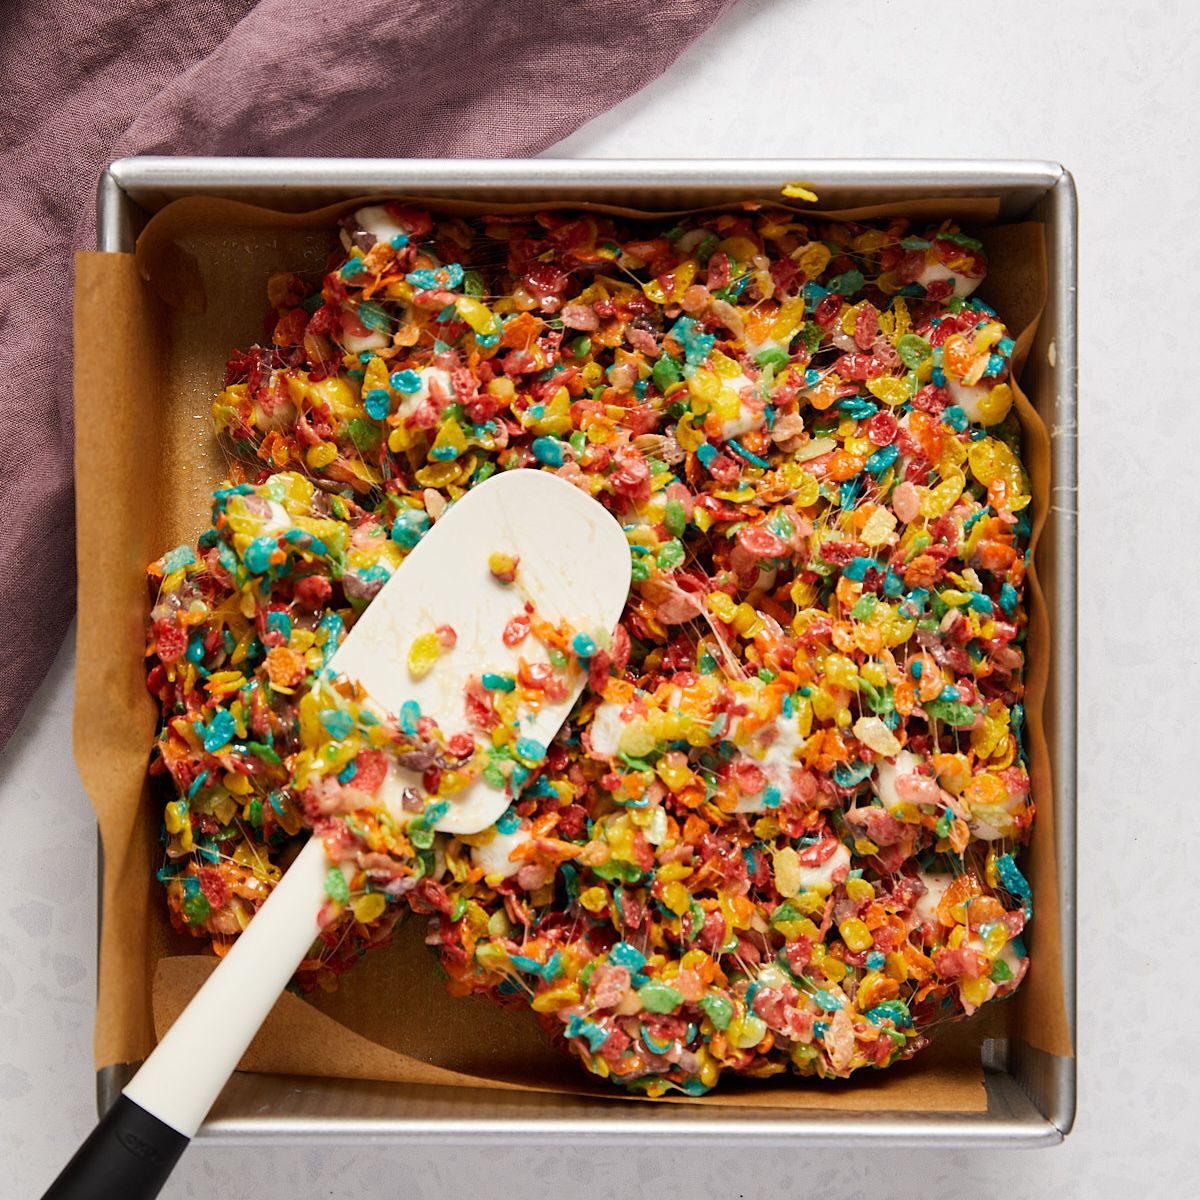
Press into a parchment-lined pan with a greased spatula into an even layer. Press lightly until secure; do not compact it.

Let it set for at least 30 minutes, or up to an hour for the cleanest cut. Lift out the parchment and cut into squares.
Are Fruity Pebbles treats gluten-free?
Yes. Original Fruity Pebbles cereal is made with rice flour, not wheat, and Post labels it gluten-free, so these treats are naturally gluten-free, no-bake desserts. The other four ingredients (butter, mini marshmallows, vanilla, and salt) are gluten-free too, which makes this one of the easiest gluten-free treats to bring to a party where you are not sure who can eat what.
Two honest caveats. First, if you are baking for someone with celiac disease, read every label yourself, because manufacturers reformulate without much warning, and marshmallow brands vary. Second, “gluten-free ingredients” is not the same as “made in a gluten-free kitchen.” If cross-contamination is a concern for you, wash the pot and use a clean pan.
Are Fruity Pebbles treats the same as Rice Krispies treats?
Pretty much, and that is the whole appeal. The technique is identical: melt the butter, melt the marshmallows, fold in the cereal, press, and cool. People search for these as fruity pebble rice crispy treats, fruity pebbles rice krispie treats, and plain fruity pebbles treats, and they all land on the same recipe. Rice Krispies and Rice Krispie are the trademarked Kellogg’s names; “crispy rice” or “crisped rice” is the generic, and you will see every spelling out there.
The only real difference is the cereal, and it changes two things. Flavor: classic Rice Krispies treats taste mostly of butter and vanilla with a clean cereal crunch, while Fruity Pebbles bring built-in fruity flavor and bright rainbow color.
Texture: Fruity pebbles are sweeter, sugar-coated flakes, and they are thinner than puffed crisped rice, so they pick up moisture from the warm marshmallow faster. In my batches, that means the bars turn a touch stickier and soften a little sooner, which is exactly why you work fast and press them in within a minute. Pick plain crisped rice when you want the neutral classic, fruity pebbles when you want color and a candy-like sweetness.
Sarah’s Tips
- Press lightly, do not compact. Pressing too hard squeezes out the chew and makes the bars dense. Use just enough pressure to hold them together in the pan.
- Fresh marshmallows matter. An unopened bag melts smooth and sets soft. Marshmallows from a bag that has been open for weeks set up firm and a little grainy.
- Grease your hands or spatula. A quick mist of nonstick spray on your hands or spoon keeps the sticky mixture from fighting you while you press.
- 8×8 vs. 9×9. An 8×8 pan gives you thicker, chewier squares; a 9×9 gives you thinner, more snackable bars.
FAQs
Storage
Room temperature: Store cut bars in an airtight container at room temperature for 3 to 4 days. They are softest at days 1 to 3. Cut them into squares before storing, since they slice cleanest while still soft, and stack with parchment or wax paper between layers so they do not stick.
Refrigerator: Do not refrigerate. Cold dries the marshmallow base out and stiffens the bars. If you have no choice (warm climate, no AC), let them come back to room temperature for 30 minutes before serving.
Freezer: Wrap individual bars in plastic and freeze in a zip-top bag for up to 1 month. Thaw at room temperature for about 30 minutes before eating.

Thank you!
If you tried these, I want to hear about it, by leaving a comment below and ⭐⭐⭐⭐⭐. It makes my day to see your kitchen wins.
Tag me on Social!
Instagram | Facebook | Pinterest
See you next time! ♡ Sarah


Recipe
Fruity Pebbles Treats
Ingredients
- 6 tablespoons unsalted butter
- 10 ounces mini marshmallows plus 1 cup
- 1 teaspoon vanilla extract
- 1/2 teaspoon (2g) Diamond Crystal kosher salt; for table salt, use about half as much by volume or the same weight
- 6 cups Fruity Pebbles cereal
Instructions
- Line a 8×8 or 9×9 with parchment paper. Lightly grease the parchment. I always use a very light mist of nonstick spray. Set aside.
- Melt the butter over low heat in a large pot or Dutch oven. Once melted, add the 10-ounce bag of marshmallows. Stir the mixture until the marshmallows are just melted. Stir in the salt and vanilla to combine.6 tablespoons unsalted butter, 10 ounces mini marshmallows, 1 teaspoon vanilla extract, 1/2 teaspoon (2g) Diamond Crystal kosher salt; for table salt, use about half as much by volume or the same weight
- Remove the pan from the heat, add the Fruity Pebbles cereal, and mix until evenly coated with the marshmallow mixture. Stir in the additional one cup of marshmallows.6 cups Fruity Pebbles cereal
- Turn the mixture out into the prepared pan and, using a wooden spoon or spatula that has been coated in non-stick cooking spray, press the mixture into a packed, even layer. Do not pack it down with force. Lightly press down until it is secure in the pan.
- Allow treats to set at room temperature for at least 30 minutes and up to 1 day. Cover tightly if leaving out for more than a few hours.
- Lift the treats as a whole out of the pan using the edges of the parchment paper. Cut into squares.
- Cover and store leftover treats at room temperature for up to 3 days. To store, place in an airtight container, with sheets of parchment or wax paper between layers.