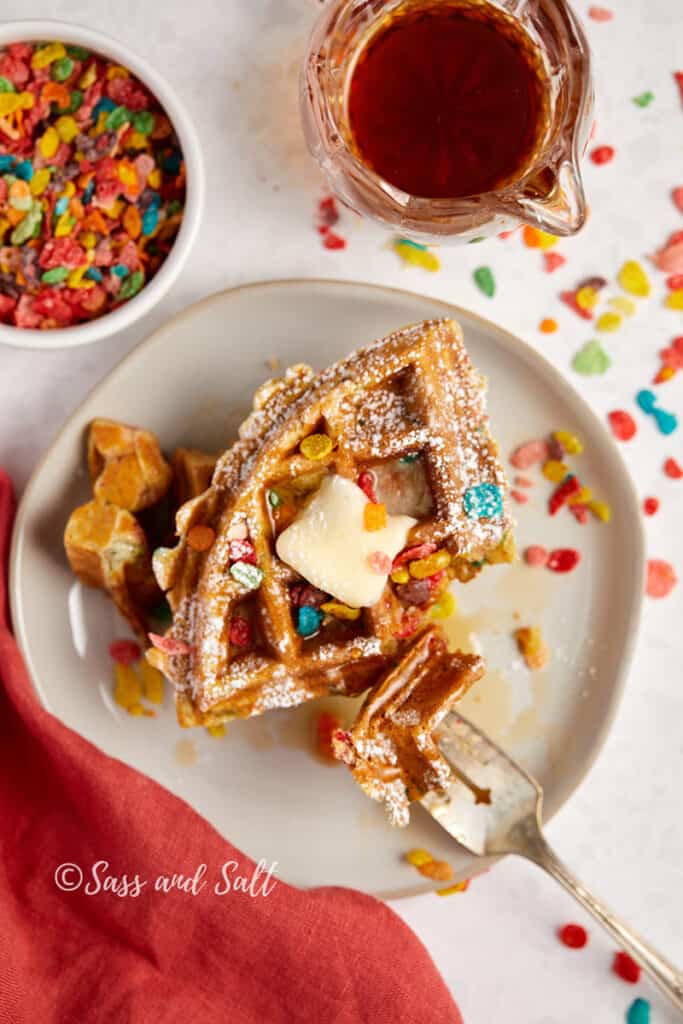
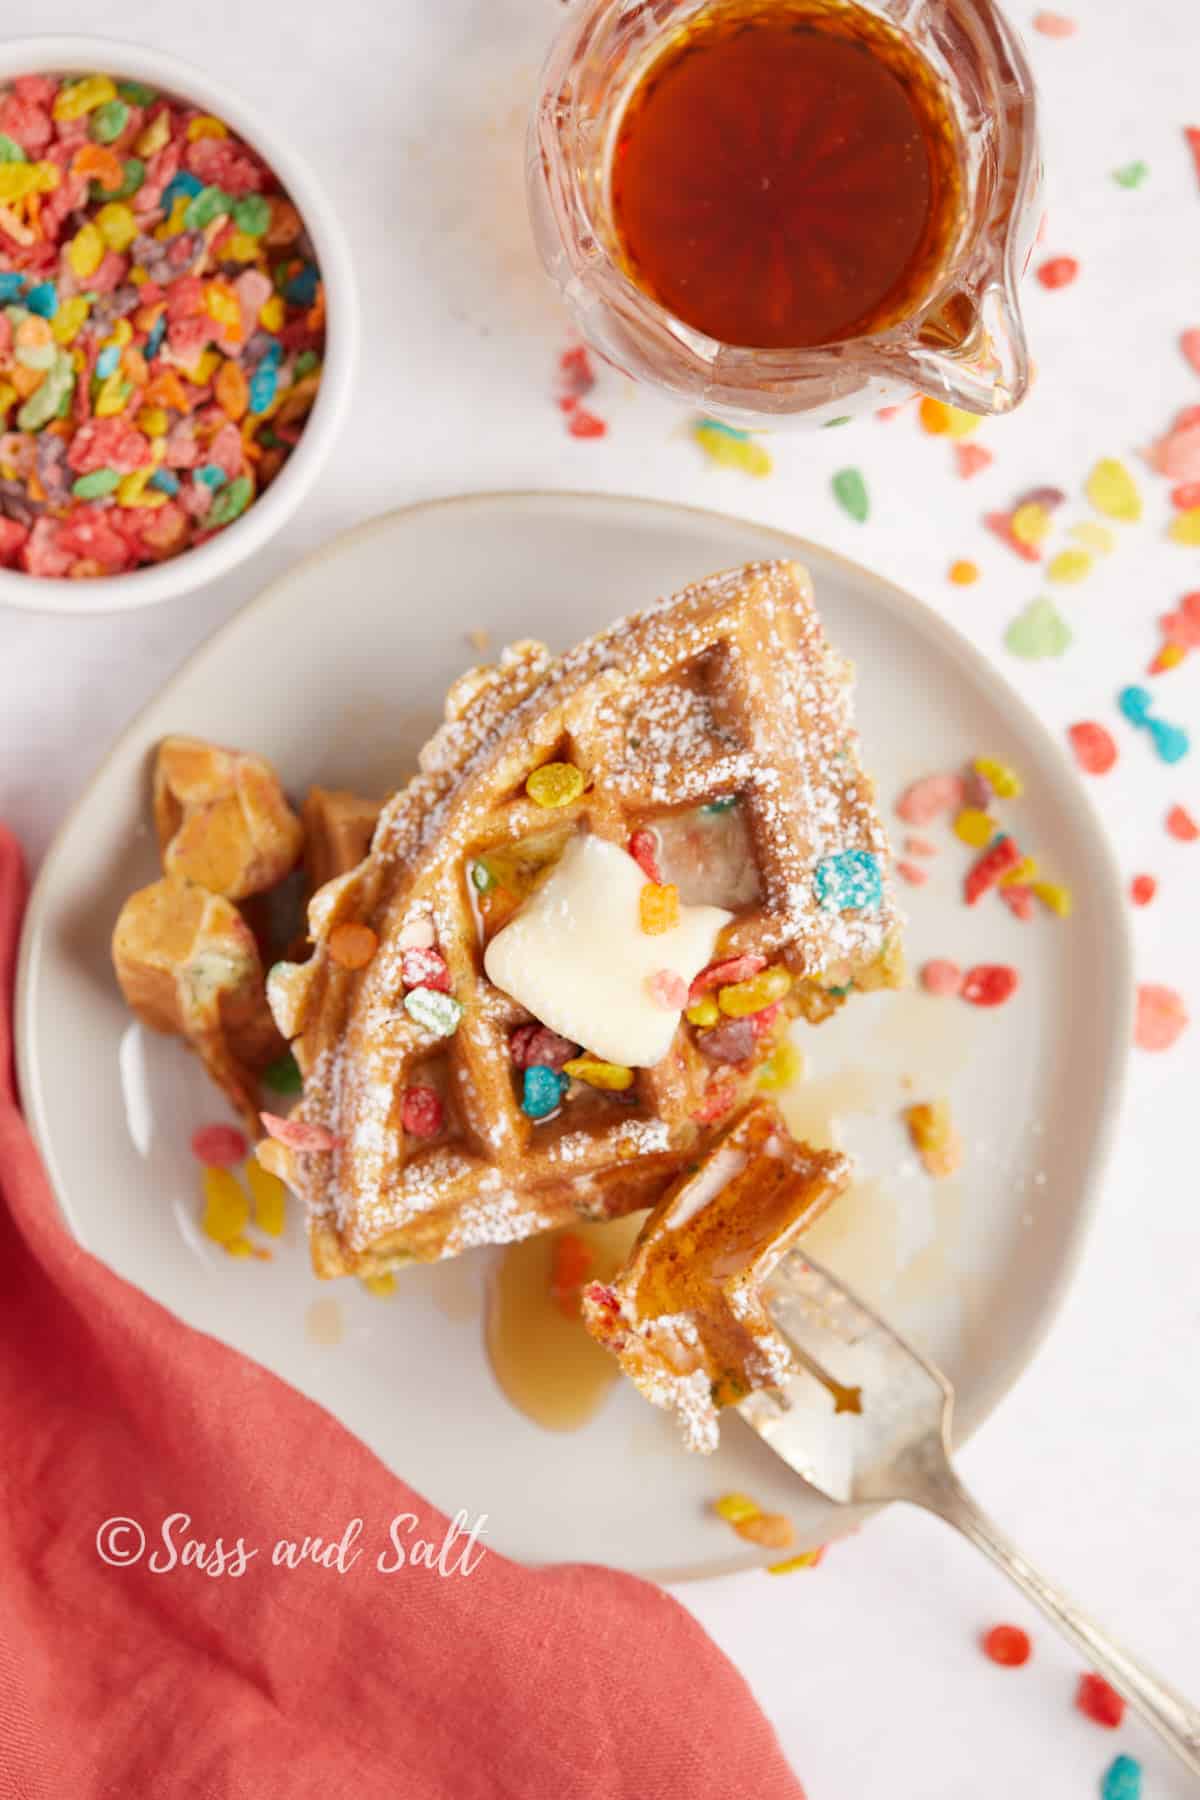
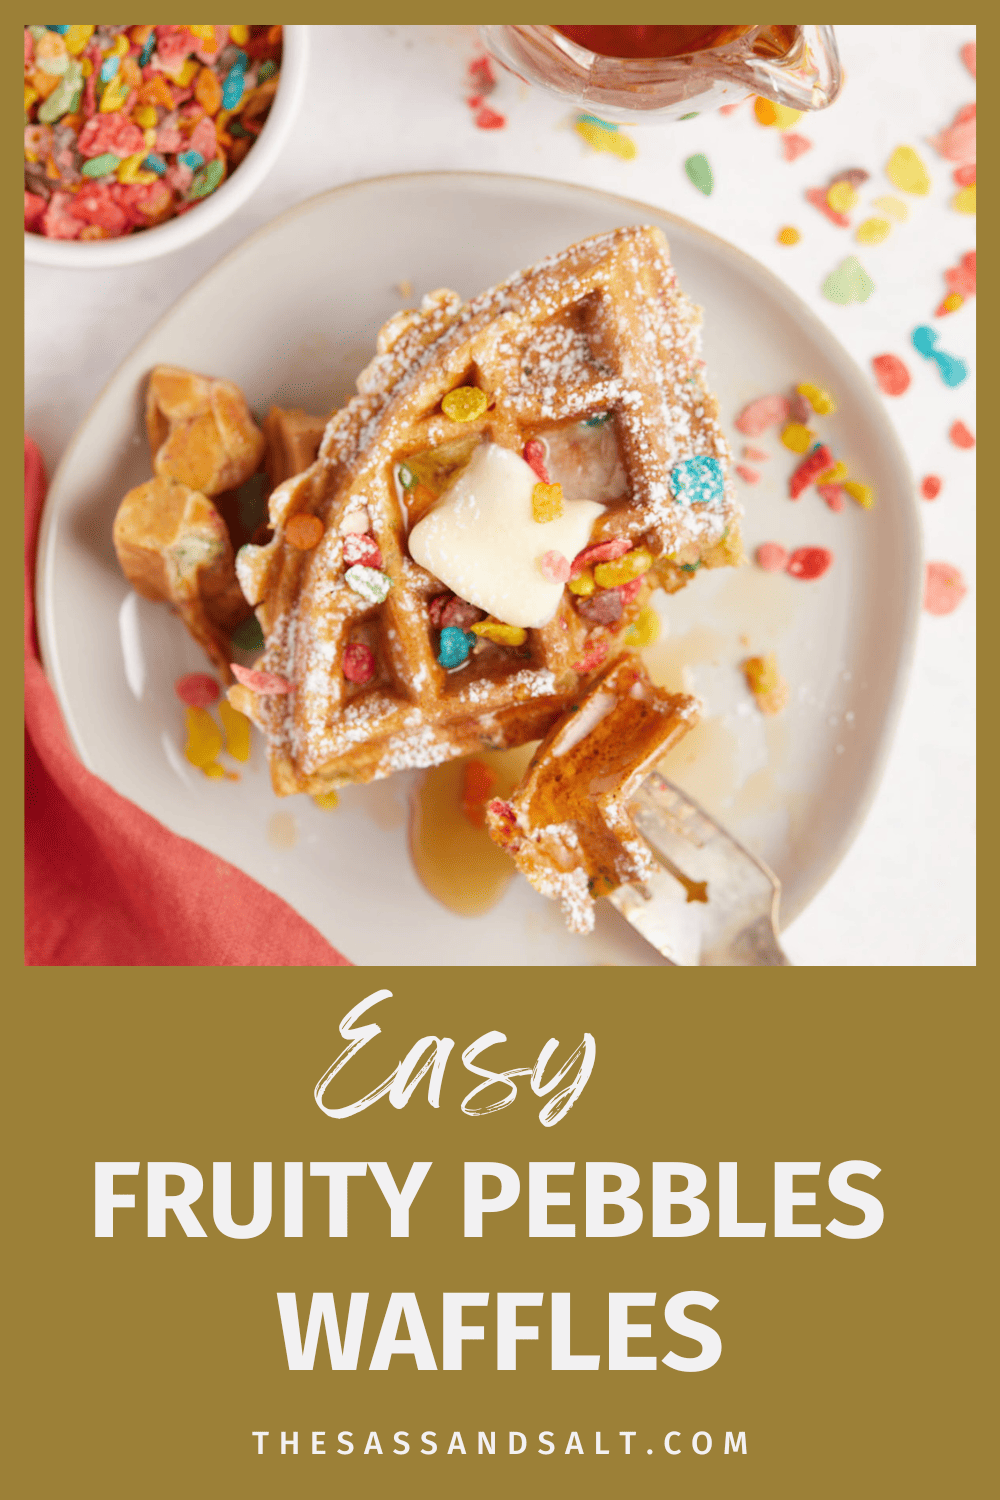
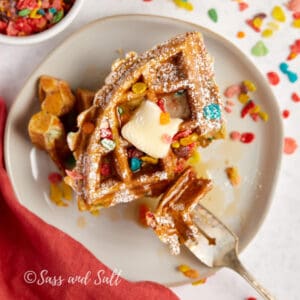
These Fruity Pebbles Waffles transforms an ordinary morning into a special occasion. Made with your favorite vibrant cereal, each bite delightfully crisp on the outside, and slightly fruity on the inside.
Save this Recipe!
Welcome to the vibrant world of Fruity Pebbles Waffles – where breakfast meets fun and flavors explode like a rainbow at dawn! These waffles are the perfect blend of fluffy and crisp, with every bite sending you on a nostalgic trip back to your childhood cereal bowl. But this isn’t just any cereal waffle; it’s an adventure in taste, color, and joy.
Whether you’re reviving the weekend breakfast tradition or looking for a whimsical breakfast-for-dinner idea, this recipe has got you covered. With Fruity Pebbles woven into the batter, every waffle is a masterpiece of cereal delight.
For more fun with Fruity Pebbles, check out these delicious recipes: Fruity Pebbles Treats, Fruity Pebbles Ice Cream, Fruity Pebble Marshmallow Cookies, and Fruity Pebbles Cupcakes. Or if you are looking for some chocolate in your breakfast check out these Nutella waffles. Your breakfast is about to get a whole lot more exciting!
What you’ll love about this recipe:
Ingredients you’ll need
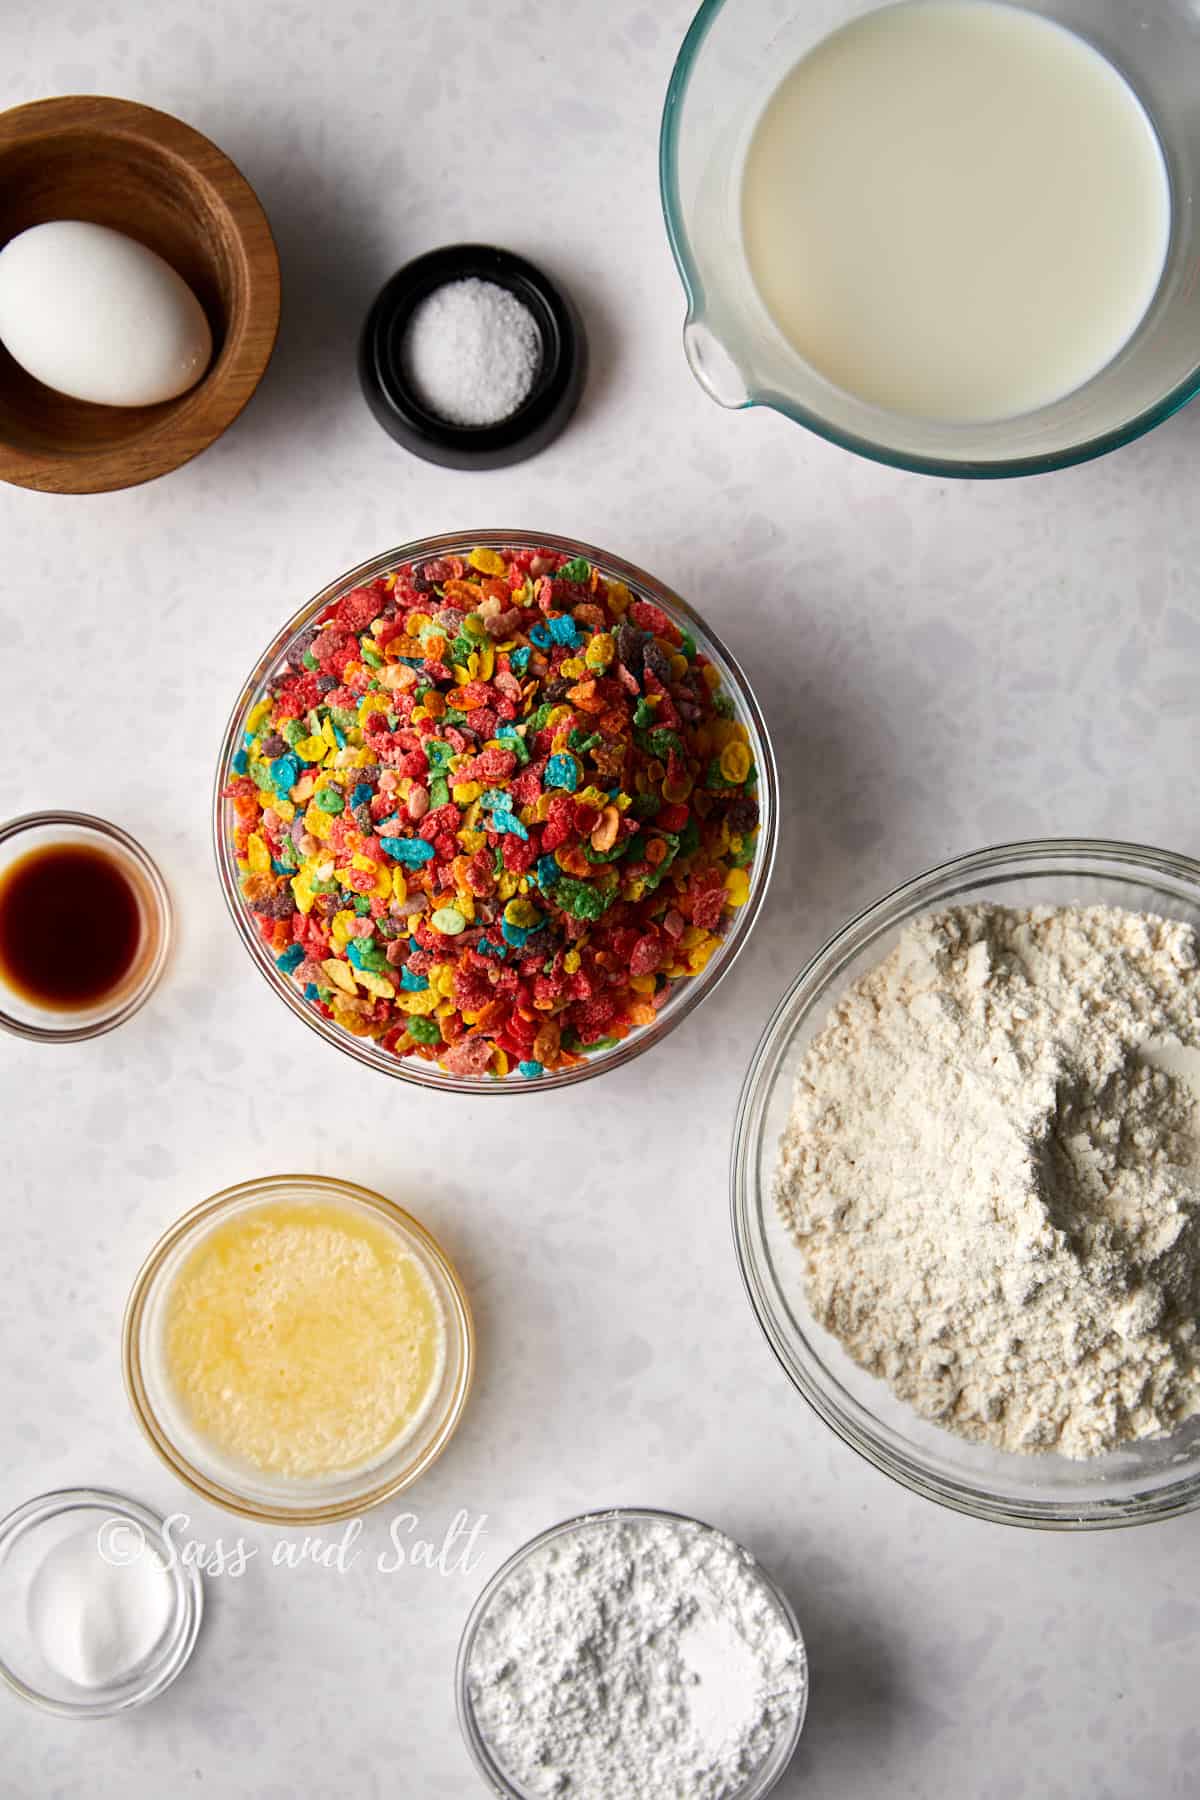
- All-purpose flour – the base of your waffle batter. Remember, no substitutions with self-rising flour since we control the rise with our own ingredients.
- Powdered sugar – for a touch of sweetness that melds seamlessly into the batter.
- Baking soda – our secret to perfectly fluffy waffles, so measure carefully!
- Kosher salt – just enough to balance the sweetness. If you opt for table salt, remember to halve the volume to keep it from overpowering.
- Unsalted butter – instead of vegetable oil, this brings a rich, buttery flavor and ensures our waffles have a deliciously crisp edge.
- Milk – it’s the liquid backbone of our batter, bringing all the ingredients into a harmonious blend.
- Egg – for structure and that irreplaceable tenderness in every waffle.
- Vanilla extract – a whisper of vanilla elevates the waffles from good to great.
- Fruity Pebbles – they’re the star, adding a playful crunch and a kaleidoscope of colors.
How to make Fruity Pebbles Waffles
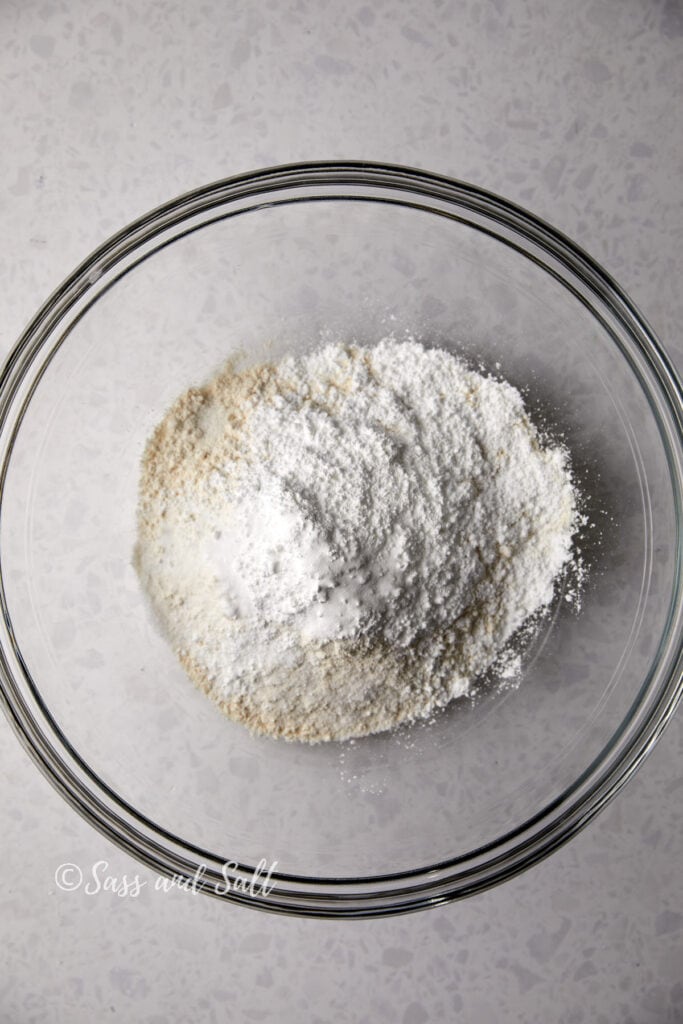
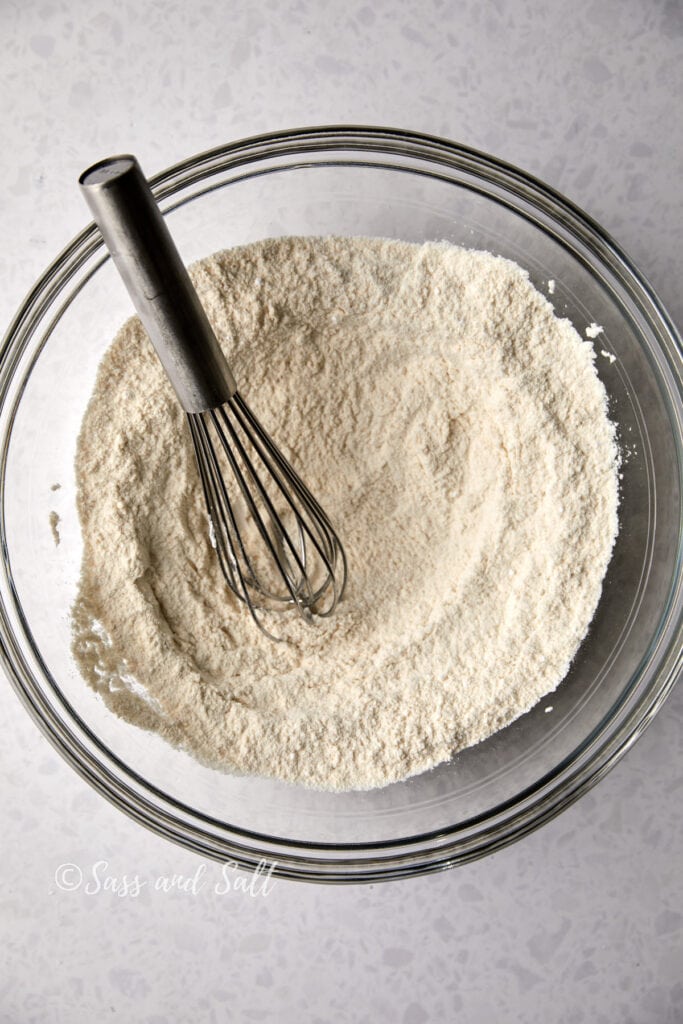
- Prep and mix dry ingredients: In a large bowl, whisk flour, baking soda, and salt; set aside.
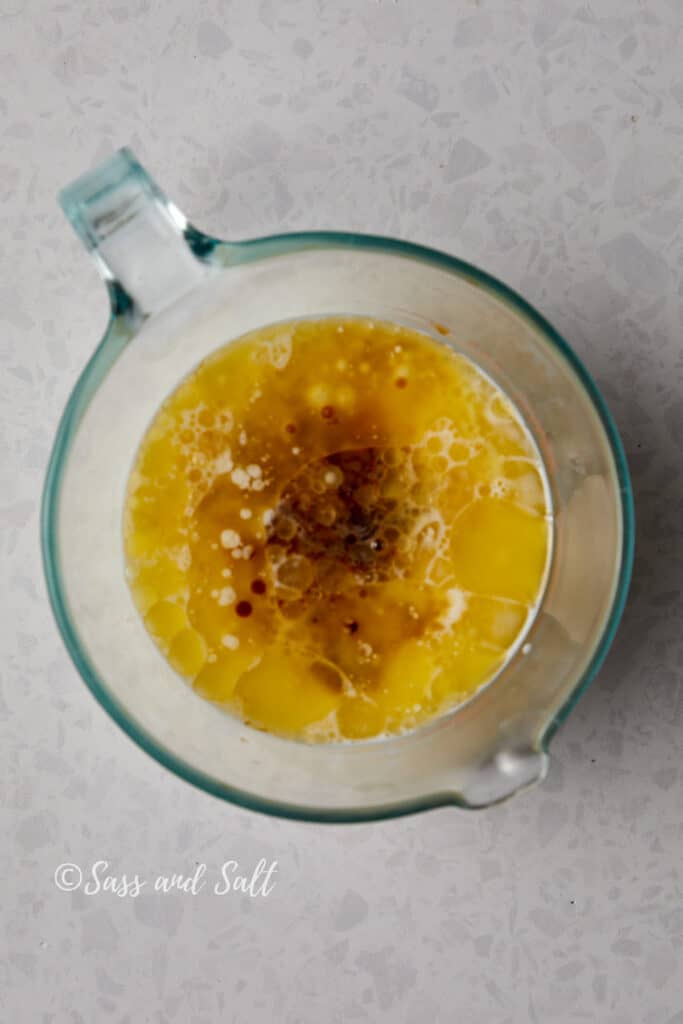
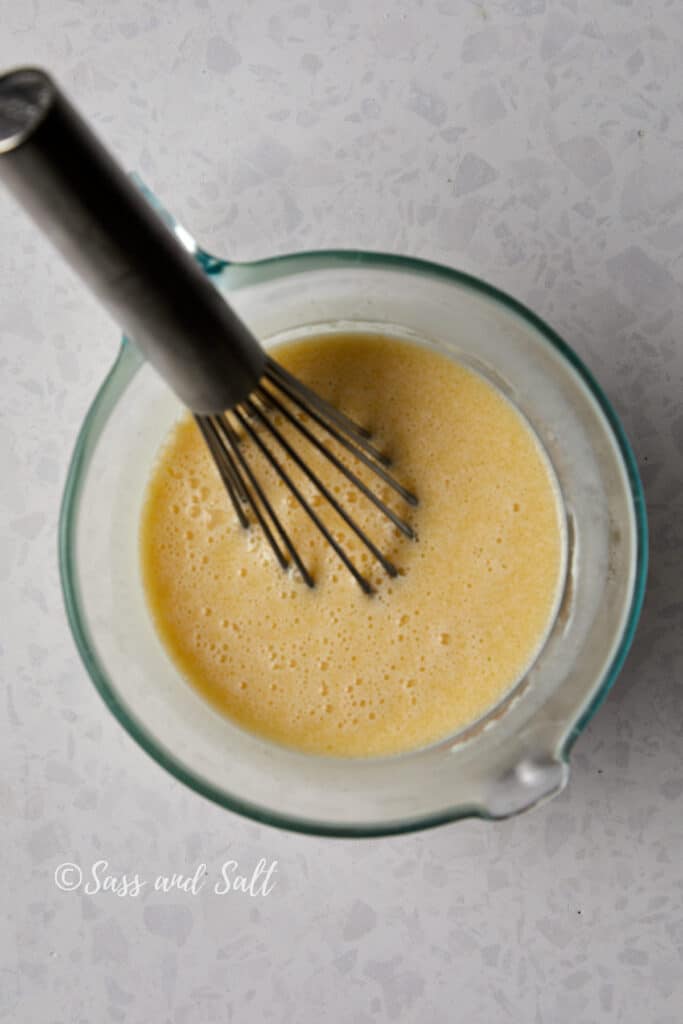
- Combine wet ingredients: Whisk egg, melted butter, milk, and vanilla in a medium-sized bowl or measuring cup.
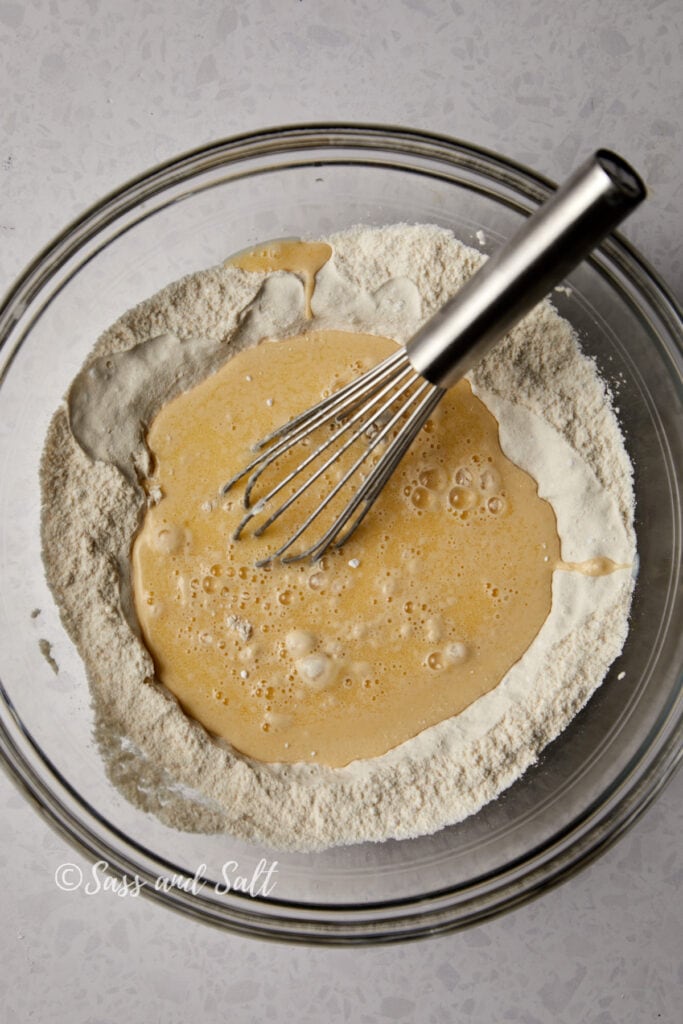
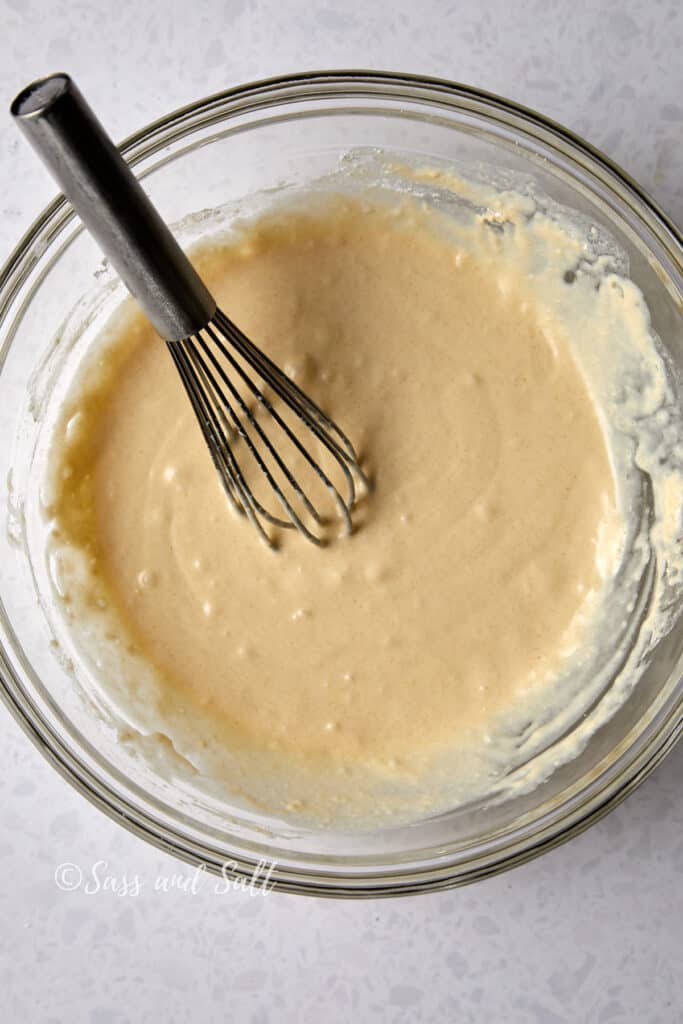
- Make the batter: Gently pour the wet mix into the dry, whisking to combine. A little lumpy is fine—don’t over-mix!
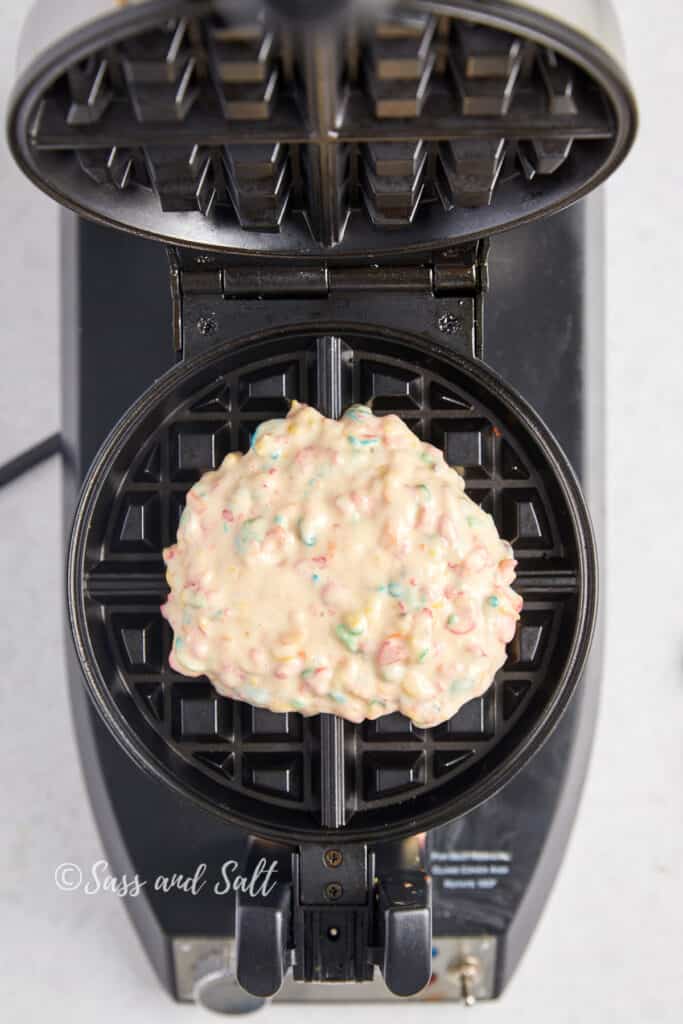
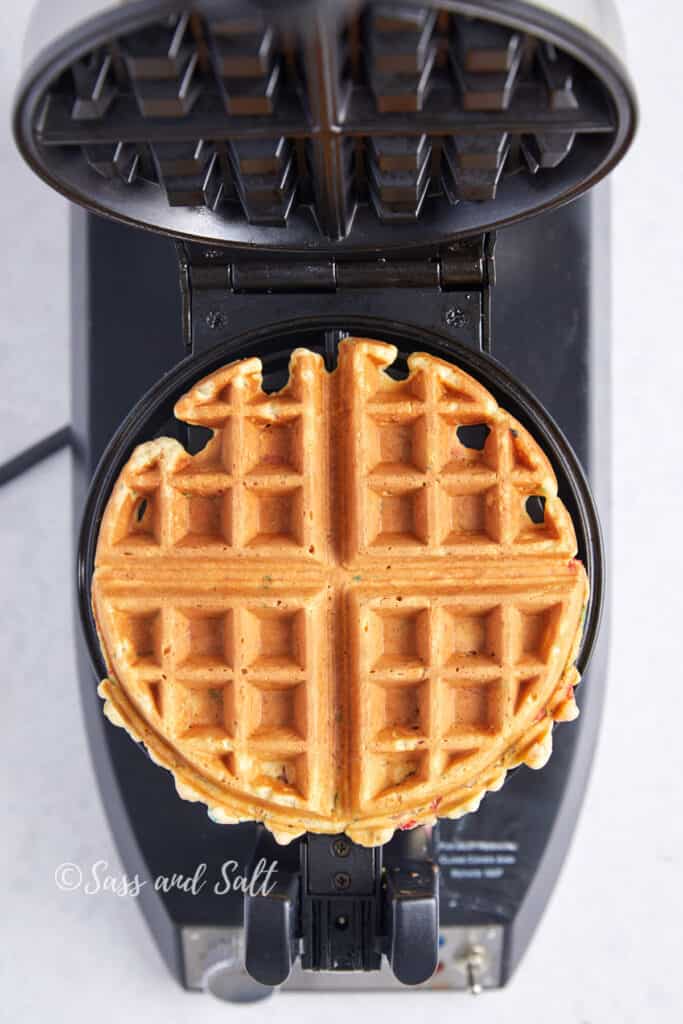
- Cook and serve: Grease waffle maker, add batter, and cook until crisp. Keep warm in oven, then serve with your favorite toppings!
Recipe Tips and Tricks
- Warm up the Waffle Iron: Start by heating your waffle iron to the desired setting to ensure your waffles come out with that desirable crispy shell and a soft, fluffy center.
- Grease for Ease: Before pouring in the batter, give the iron a quick spritz with non-stick spray or a brush of melted butter. This step is key for effortless waffle removal once they’re golden and ready.
- Batter Up, Not Over: When adding the batter to the iron, aim for the middle and leave a little room at the edges. This keeps things neat and allows the waffle to expand into that perfect shape. The amount of batter matters, so peek at your waffle maker’s manual for the best fill level.
- Stay Toasty: To keep those waffles warm and crisp, let them rest on a wire rack set over a baking sheet in an oven pre-heated to a low heat. As each waffle finishes, just move it to the rack to stay warm while you work on the rest.
Storage Tips
- Cool Before Storing: Allow the waffles to cool completely on a wire rack to prevent moisture from building up, which could make them soggy.
- Refrigeration: Store cooled waffles in an airtight container in the refrigerator for up to 3 days. Place a sheet of parchment paper between them to prevent sticking.
- Freezing: Freeze waffles in a single layer on a baking sheet, then transfer to a freezer-safe bag or container. They’ll last for up to 2 months. Again, use parchment paper between layers for easy separation.
- Reheating: Revive your waffles to their crispy glory by reheating them in a toaster, oven, or air fryer. This works for both refrigerated and frozen waffles. No need to thaw frozen waffles before reheating; they can go straight into the toaster or oven.
- Avoiding Sogginess: If reheating in a microwave, it’s best to first defrost them on a low setting and then finish with a toaster for crispness. However, the microwave is generally not recommended if you want to retain the waffles’ crispy texture.
FAQs about Fruity Pebbles waffles
Waffles may not be crispy if the waffle iron isn’t hot enough or if the batter is too dense. Also, overcrowding the waffle iron or opening it too early can prevent crispiness.
Your waffle is usually done when the steam stops escaping from the sides of the waffle maker, indicating that the moisture has cooked off. Additionally, many waffle makers have indicator lights or sounds that alert you when the waffle is thoroughly cooked. For a golden-brown crispness, wait until the waffle maker signals that the cooking cycle is complete before checking. If you prefer a softer or crisper waffle, you may adjust the cooking time accordingly. Always refer to your waffle maker’s manual for specific guidance.
Since the baking powder begins to react as soon as it’s moistened, it’s best not to prepare the waffle batter ahead of time. For optimal leavening, mix it right before you plan to cook the waffles.
Don’t forget to pin this for later!
Got a chance to make Fruity Pebbles Waffles? I’d love to see your creations! If your family found them as delightful as mine, a five-star ⭐️ rating would be awesome! For more tasty recipes delivered right to your inbox, sign up for our mailing list.
Fruity Pebbles Cereal Waffles
Ingredients
- 2 cups 250 grams all-purpose flour
- 1/4 cup plus 2 tablespoons powdered sugar
- 1 teaspoon baking soda
- ½ teaspoon 2 grams Diamond Crystal kosher salt; for table salt, use half as much by volume or use the same weight
- 1 3/4 cups milk room temperature
- 5 tablespoons unsalted butter melted and cooled slightly
- 1 large egg room temperature
- 1 teaspoon vanilla extract
- 2 cups Fruity Pebbles
Instructions
- Preheat the waffle maker to medium-high heat. Preheat oven to 200°F (93°C). Place a wire rack on a baking sheet; set aside.
- In a large bowl whisk the flour, baking powder, baking soda, and salt together. Set aside.
- In a medium-sized bowl, whisk the milk, melted butter, egg, and vanilla extract together. Pour the wet ingredients into the dry ingredients and then whisk gently until combined. Do not over-mix. Some small lumps are OK.
- Grease the preheated waffle maker (I use nonstick spray). Pour a heaping 1/2 cup of the batter into each well of the waffle maker (or less if your waffle maker is smaller) and close the lid. Cook the waffles until crisp, about 4–5 minutes. (Follow the cooking instructions for your waffle maker.) Transfer the cooked waffles to the wire rack and keep warm in the preheated oven as you cook the rest. Repeat to cook the remaining batter.
- Serve the waffles immediately with butter and maple syrup, or your choice of toppings.