

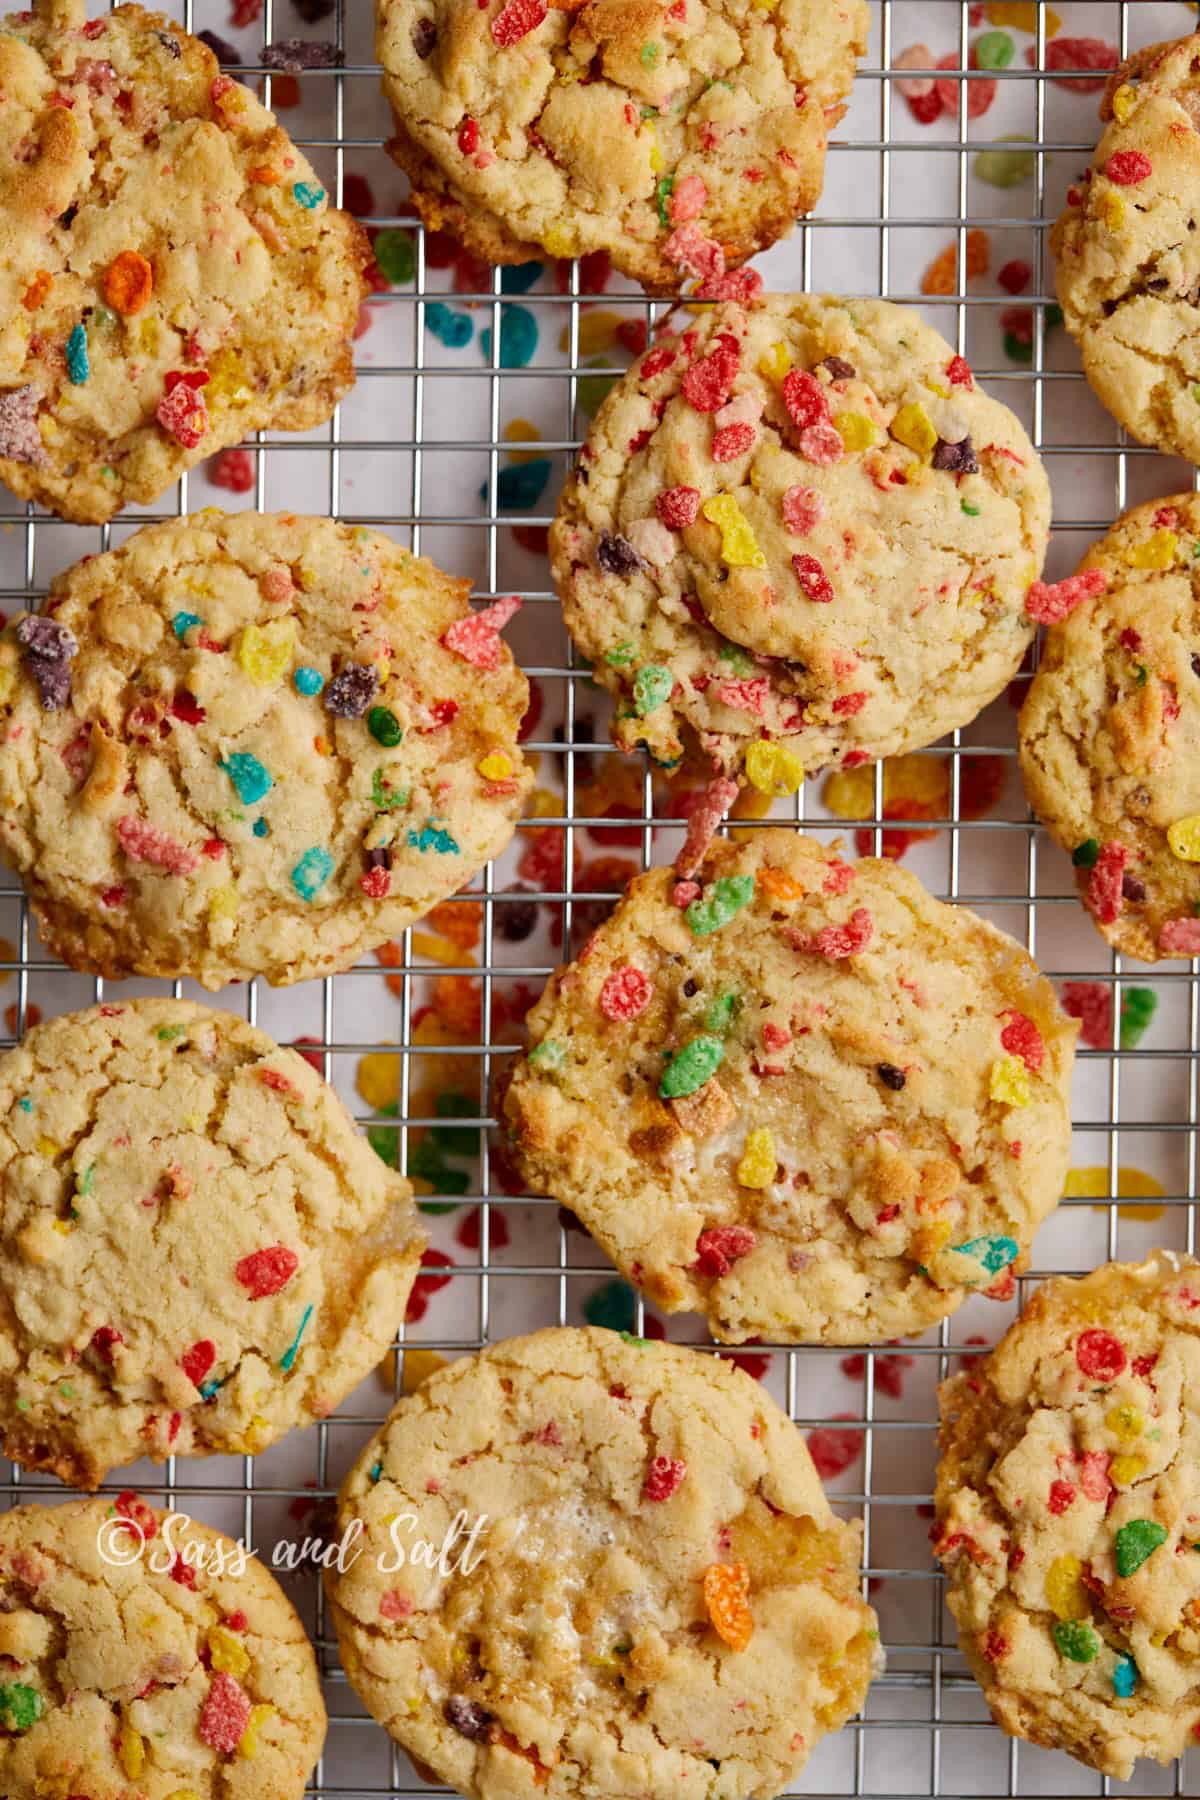
These fruity pebbles cookies are soft in the middle, chewy at the edges, and ready in about 30 minutes, with no chilling required. The batter comes together in one bowl, and every cookie is freckled with that rainbow cereal you remember from Saturday-morning cartoons.

Save this Recipe!
I have made these enough times in my Pennsylvania kitchen to know the one thing that trips people up: where the cereal goes in. Fold it in by hand at the very end so it stays crisp and colorful rather than bleeding into the dough.
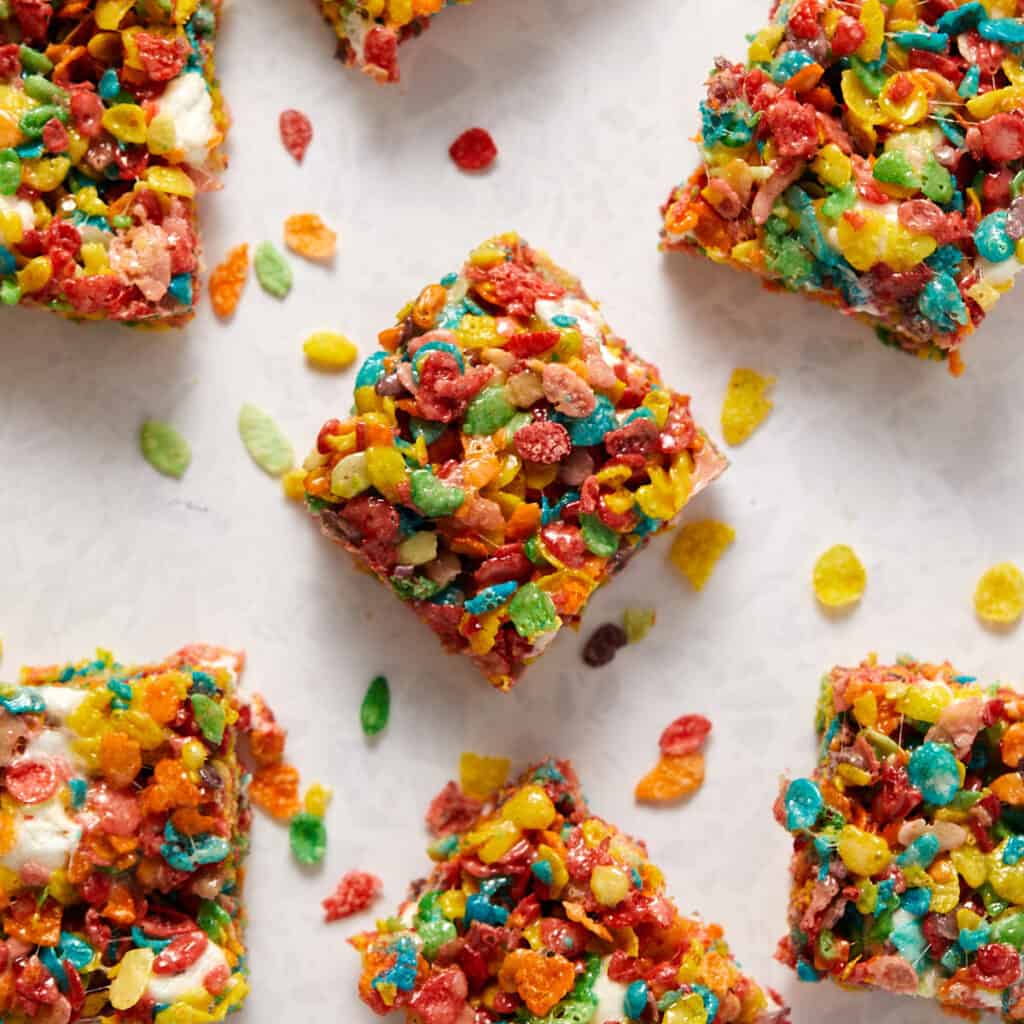
These bake up gooey, with the mini marshmallows melting into little soft pockets in every cookie. Want to change them up? There is a cake-mix shortcut and a thick Crumbl-style option below if that is what you came for. If you love this cereal, try my no-bake Fruity Pebbles treats next.
Hooked on this cereal in baked goods? I have a whole little family of them, including soft Fruity Pebbles cupcakes and crisp-edged Fruity Pebbles waffles for breakfast.
Why You’ll Love This Recipe
- No chilling, no fuss. Mix, scoop, bake. You go from craving to warm cookie in about 30 minutes.
- One bowl of pantry staples plus the cereal and marshmallows. Nothing fancy, nothing you have to track down.
- That cereal flavor actually comes through. The fruity pebbles give you a fruit-loop sweetness and a little crunch you do not get from a plain sugar cookie.
- Gooey marshmallow pockets in every bite. The mini marshmallows melt as the cookies bake, leaving soft, sticky spots throughout.
- Kid-approved in my house. My two very honest taste testers ask for these by name.
Ingredients
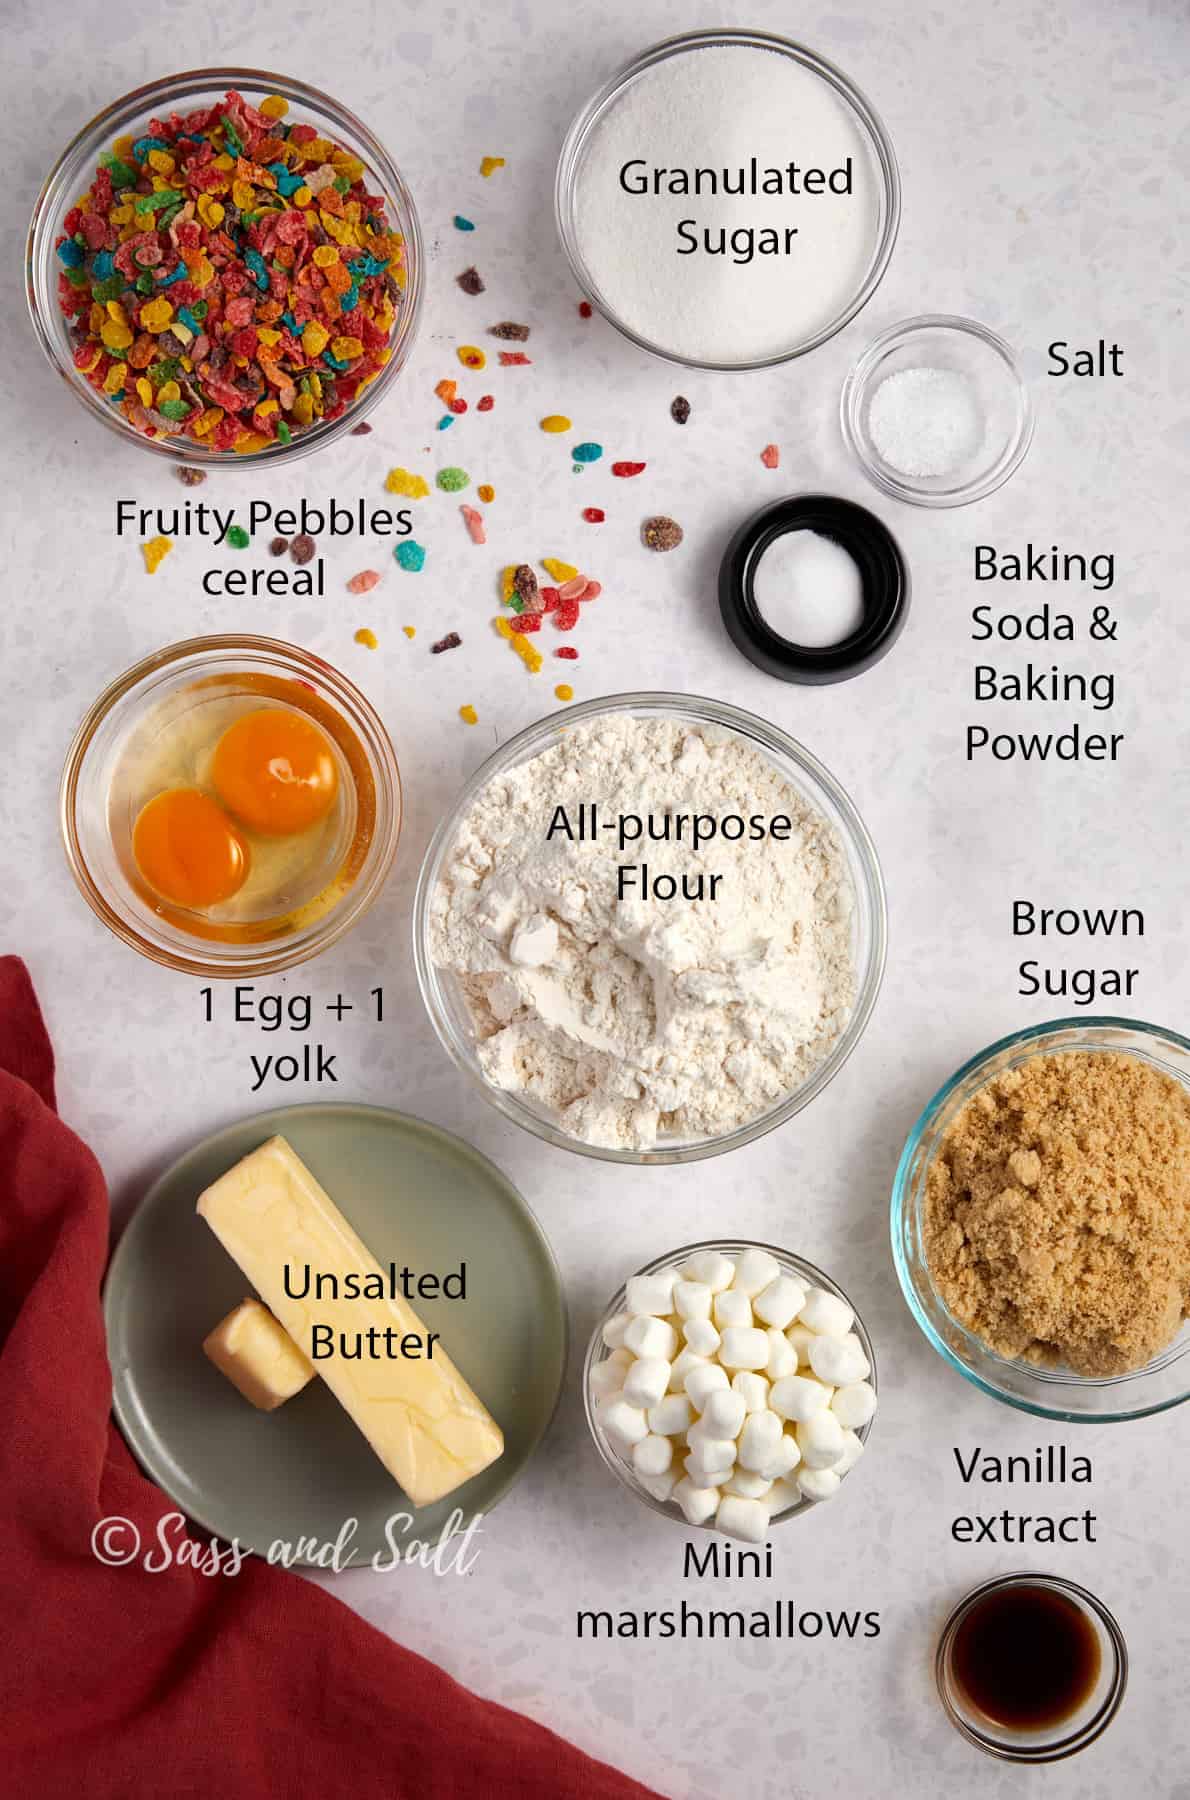
- Fruity Pebbles cereal – The star. It brings the color and the fruity flavor, so you don’t need anything else to make these pop.
- Mini marshmallows – Cut in half so they distribute evenly. They melt slightly as the cookies bake into soft pockets. Push any that land at the edge of a dough ball toward the center so they don’t run.
- Brown and white sugar – Brown sugar adds moisture and chew, and white sugar helps the edges set. Using both is what gives you that soft-but-structured texture.
- Egg plus an extra yolk – The extra yolk is the chew secret. The added fat makes the cookies richer and more tender than a single-egg cookie would be.
See recipe card below for quantities.
Substitutions and Variations
- Prefer them without marshmallows? Leave the mini marshmallows out for a simpler cookie made entirely with rainbow cereal. Everything else stays the same.
- Fruity pebbles cookies with cake mix (shortcut). A lot of people make a quick version of these on a boxed cake mix base, and I want to be straight with you: I have not tested that shortcut in my own kitchen yet, so I am not going to hand you exact amounts I cannot stand behind. The general approach folks use is a box of white or vanilla cake mix stirred with eggs and a little melted butter or oil into a dough, then fruity pebbles folded in at the end (and marshmallows if you want them gooey). Treat it as a starting point rather than a tested Sass and Salt recipe.
- Crumbl-style fruity pebbles cookies (thick and frosted). Want the bakery-style version, thick, soft in the middle, and frosted? I have not baked a true Crumbl-style batch of these yet, so I will not give you numbers I have not tested. The idea is to make the dough balls much bigger, pull them from the oven while the centers still look a little underbaked, and let them cool tall instead of spreading flat. Finish with a swirl of vanilla or my fruity pebbles buttercream and a pinch of extra cereal.
- Cereal swap. No fruity pebbles on hand? Cocoa Pebbles work one-for-one, or use another colorful crisp rice cereal.
The marshmallow version here is the one I make on repeat. The rest of these swaps are easy to play with, but I have not tested every one in this exact dough, so if you run with one, come tell me how it turned out in the comments!
How to make Fruity Pebbles cookies
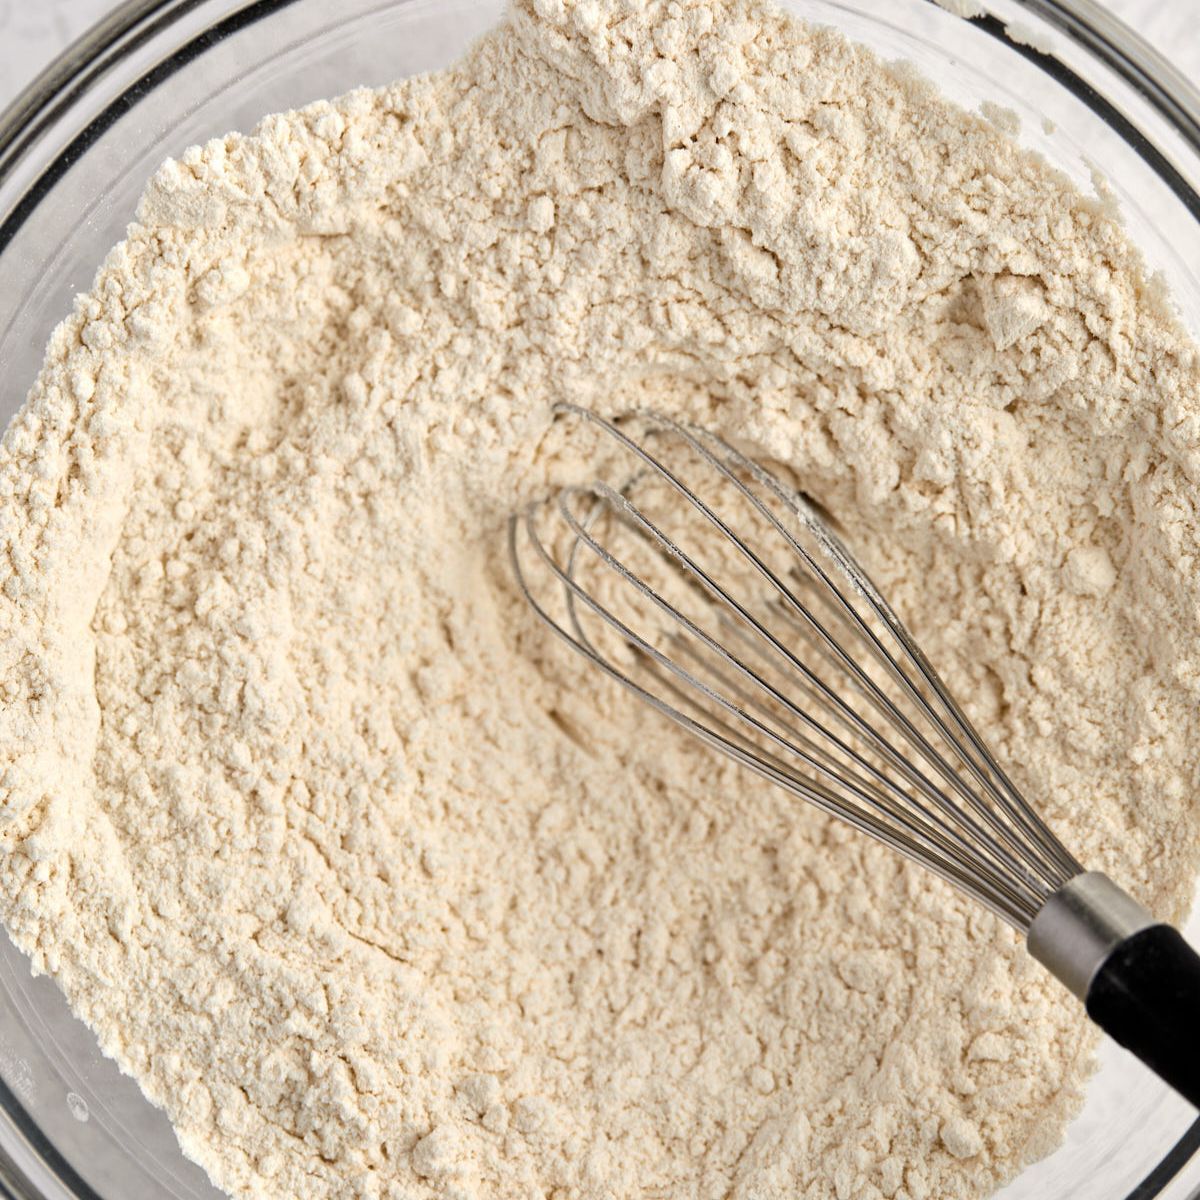
Mix the dry ingredients. Whisk the flour, baking powder, and baking soda in a medium bowl and set it aside.
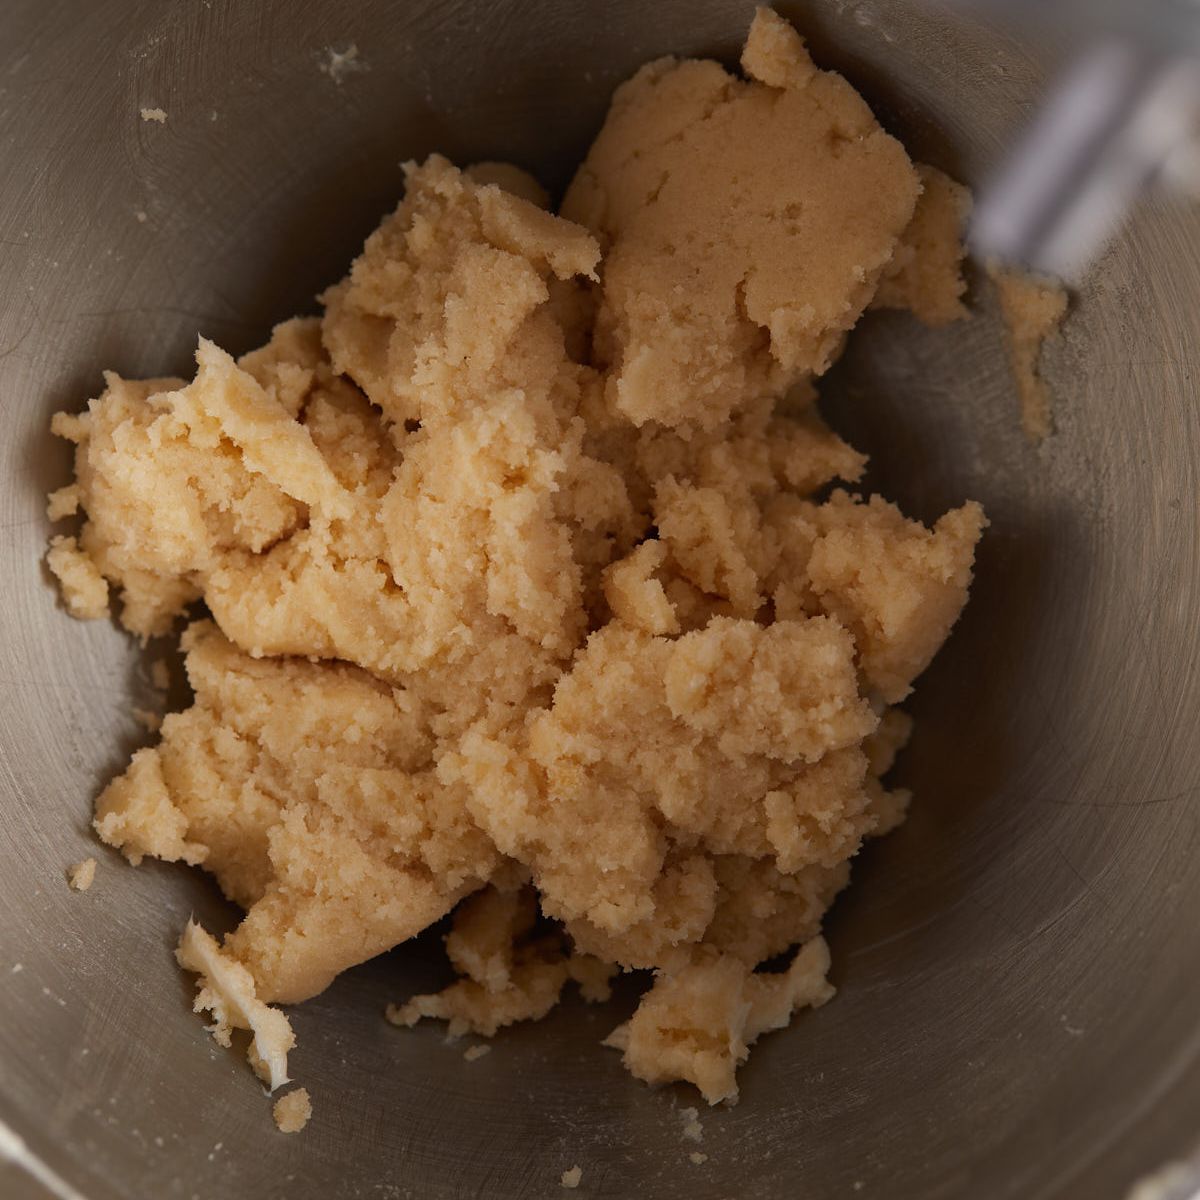
Cream the butter and sugars. Beat the butter until creamy, about 1 minute. Add both sugars and the salt, and beat for 2 more minutes, until light.
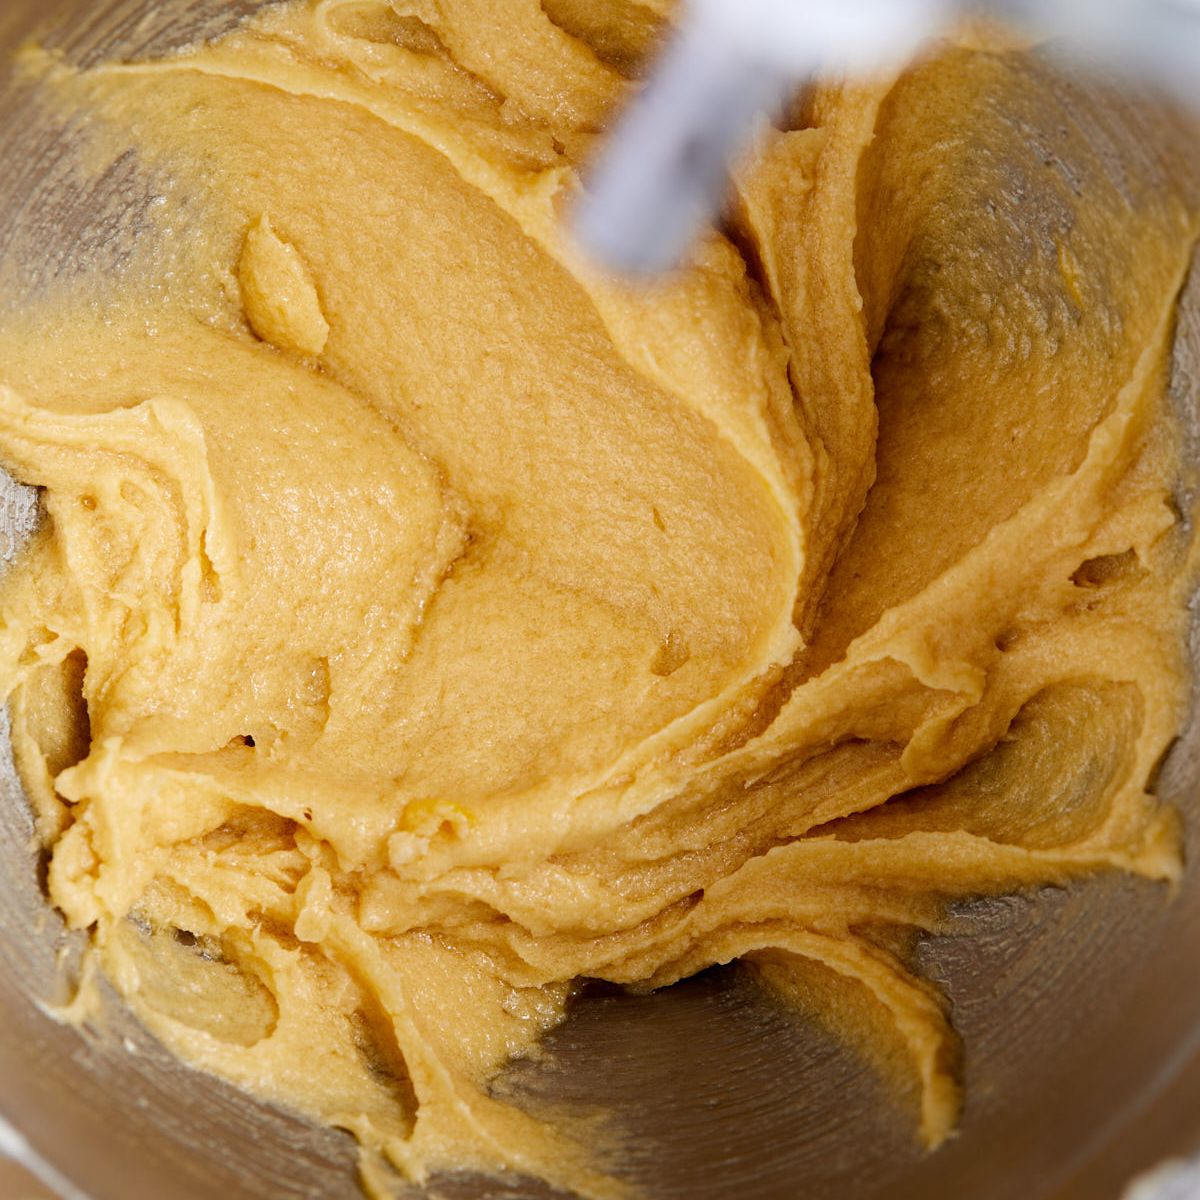
Add the egg, yolk, and vanilla. Scrape down the bowl, then beat in the egg, extra yolk, and vanilla until smooth.

Add the dry ingredients. On low speed, mix in the flour mixture just until combined. The dough will be thick.
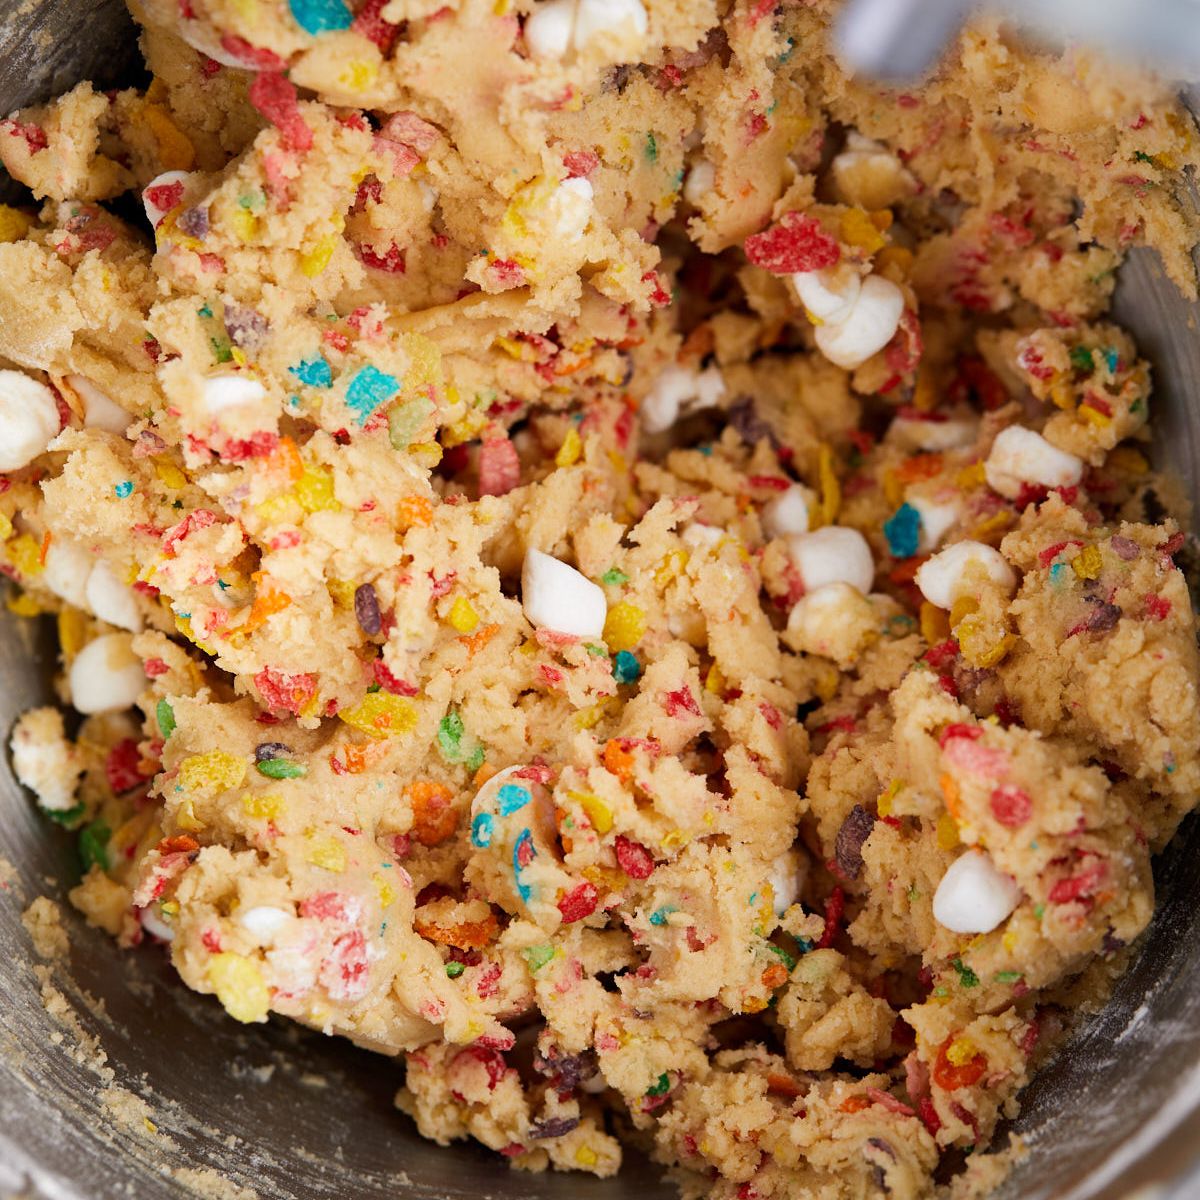
Fold in the cereal and marshmallows. Add the Fruity Pebbles and mini marshmallows on low, then finish folding by hand so they’re evenly distributed.
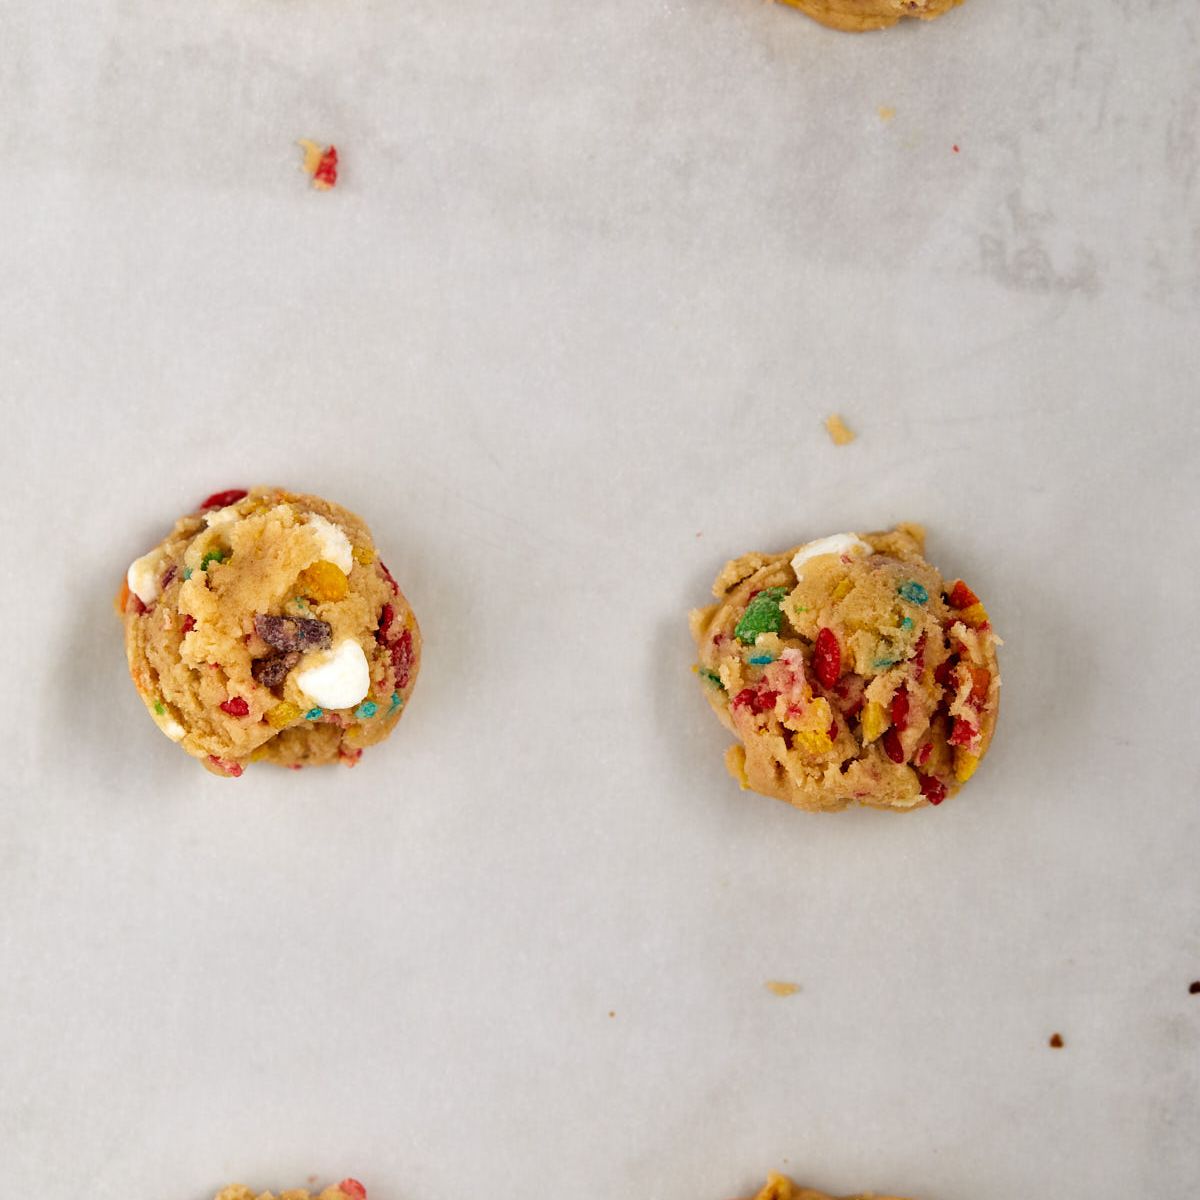
Scoop and bake. Roll into 2-tablespoon balls and place 8 per lined sheet, pushing any edge marshmallows toward the center. Bake one pan at a time at 400°F for 7 to 9 minutes, until golden and just starting to crinkle. Rest on the pan 5 minutes, then cool on a rack.
Sarah’s Tips
- Start with room-temperature ingredients. Butter and eggs around 60°F cream together smoothly and bake more evenly.
- Push the marshmallows in. Any marshmallow sitting at the edge of a dough ball will melt and spread. Tuck them into the center so they stay as soft pockets.
- Weigh your flour. Too much flour is the number one reason cookies don’t spread. A scale (or the spoon-and-level method) keeps them right.
- Space them out. These spread, so give them at least 2 inches. If one spreads thin, nudge the edges back toward the center with a spoon right out of the oven.
- Bake one pan at a time. It keeps the heat even and the cookies baking at the same rate.
FAQs
Storage
- Room temperature. Store in an airtight container at room temperature for up to 3 days.
- Refrigerator. For a chewier texture or longer storage, refrigerate in an airtight container for up to 1 week. Let them come to room temperature before serving.
- Freezer. Freeze-cooled cookies layered with wax paper in an airtight container for up to 3 months. Thaw at room temperature, or warm briefly for a fresh-baked feel.

Thank you!
If you tried these, I want to hear about it, by leaving a comment below and ⭐⭐⭐⭐⭐. It makes my day to see your kitchen wins.
Tag me on Social!
Instagram | Facebook | Pinterest
See you next time! ♡ Sarah

Recipe

Fruity Pebbles Cookies
Ingredients
- 2 cups (284 g) all-purpose flour
- 1 teaspoon baking powder
- ½ teaspoon baking soda
- 9 tablespoons (126 g) unsalted butter at room temperature
- 1 cup (200 g) granulated sugar
- 1/2 cup (100 g) brown sugar
- 3/4 teaspoon (3 g) Diamond Crystal Kosher salt; for table salt, use about half as much by volume or the same weight
- 1 large egg
- 1 large egg yolk
- 2 teaspoons vanilla
- 1 1/2 cup (74 g) fruity pebbles cereal
- 1 cup (50 g) mini marshmallows cut in half
Instructions
- Adjust an oven rack to the middle of the oven. Preheat the oven to 400°F (200°C)—line two sheet pans with parchment paper.
- In a medium bowl, whisk together the flour, baking powder, and baking soda.
- In the bowl of a stand mixer fitted with a paddle, beat the butter on medium speed until creamy, about 1 minute.
- Add the granulated and brown sugars and salt and beat on medium speed for 2 minutes.
- Scrape down the sides of the bowl with a spatula, add the egg, yolk, and vanilla, and mix until smooth.
- Add the flour mixture and beat it on low speed until combined. Scrape down the sides of the bowl with a spatula.
- Add fruity pebbles, mini marshmallows, and mix into the batter on low speed.
- Use a rubber spatula to give the dough a final mix and make sure it is completely combined.
- Form the dough into balls, about 2 tablespoons each (45 g), and place 8 cookies on each sheet pan.
- Bake one pan at a time, bake the cookies until the tops are golden brown and the cookies are slightly puffed and starting to crinkle, 7-9 minutes. Remove the baking sheet from the oven.
- Let the cookies rest on the sheet pan for at least 5 minutes, then transfer them to a wire rack to finish cooling.
- Cookies are best slightly warm but can be stored in an airtight container at room temperature for up to three days.