
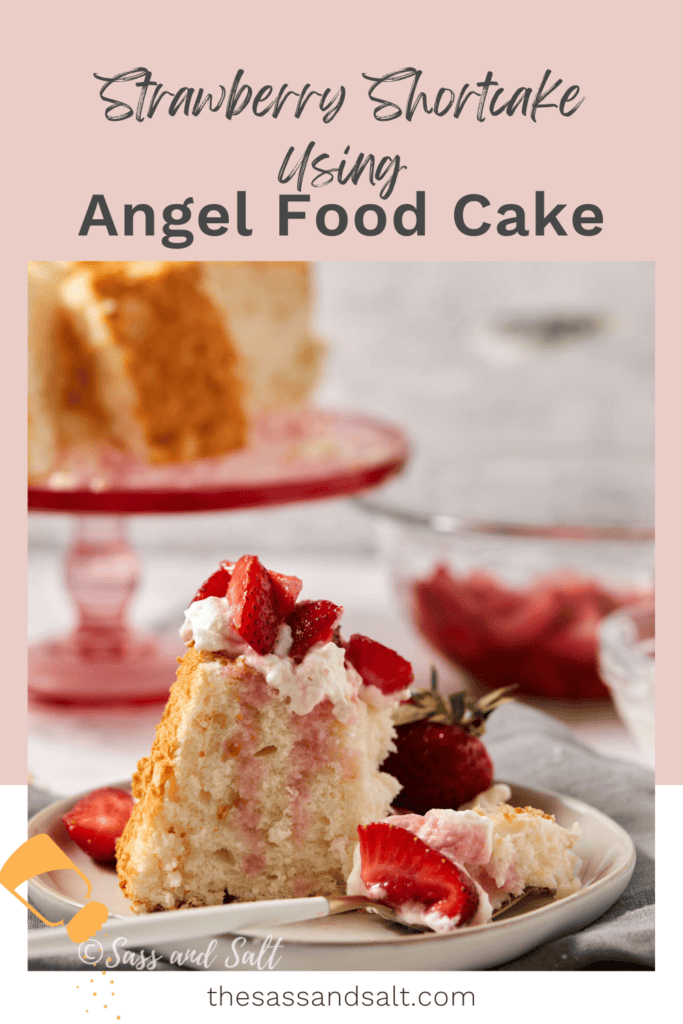
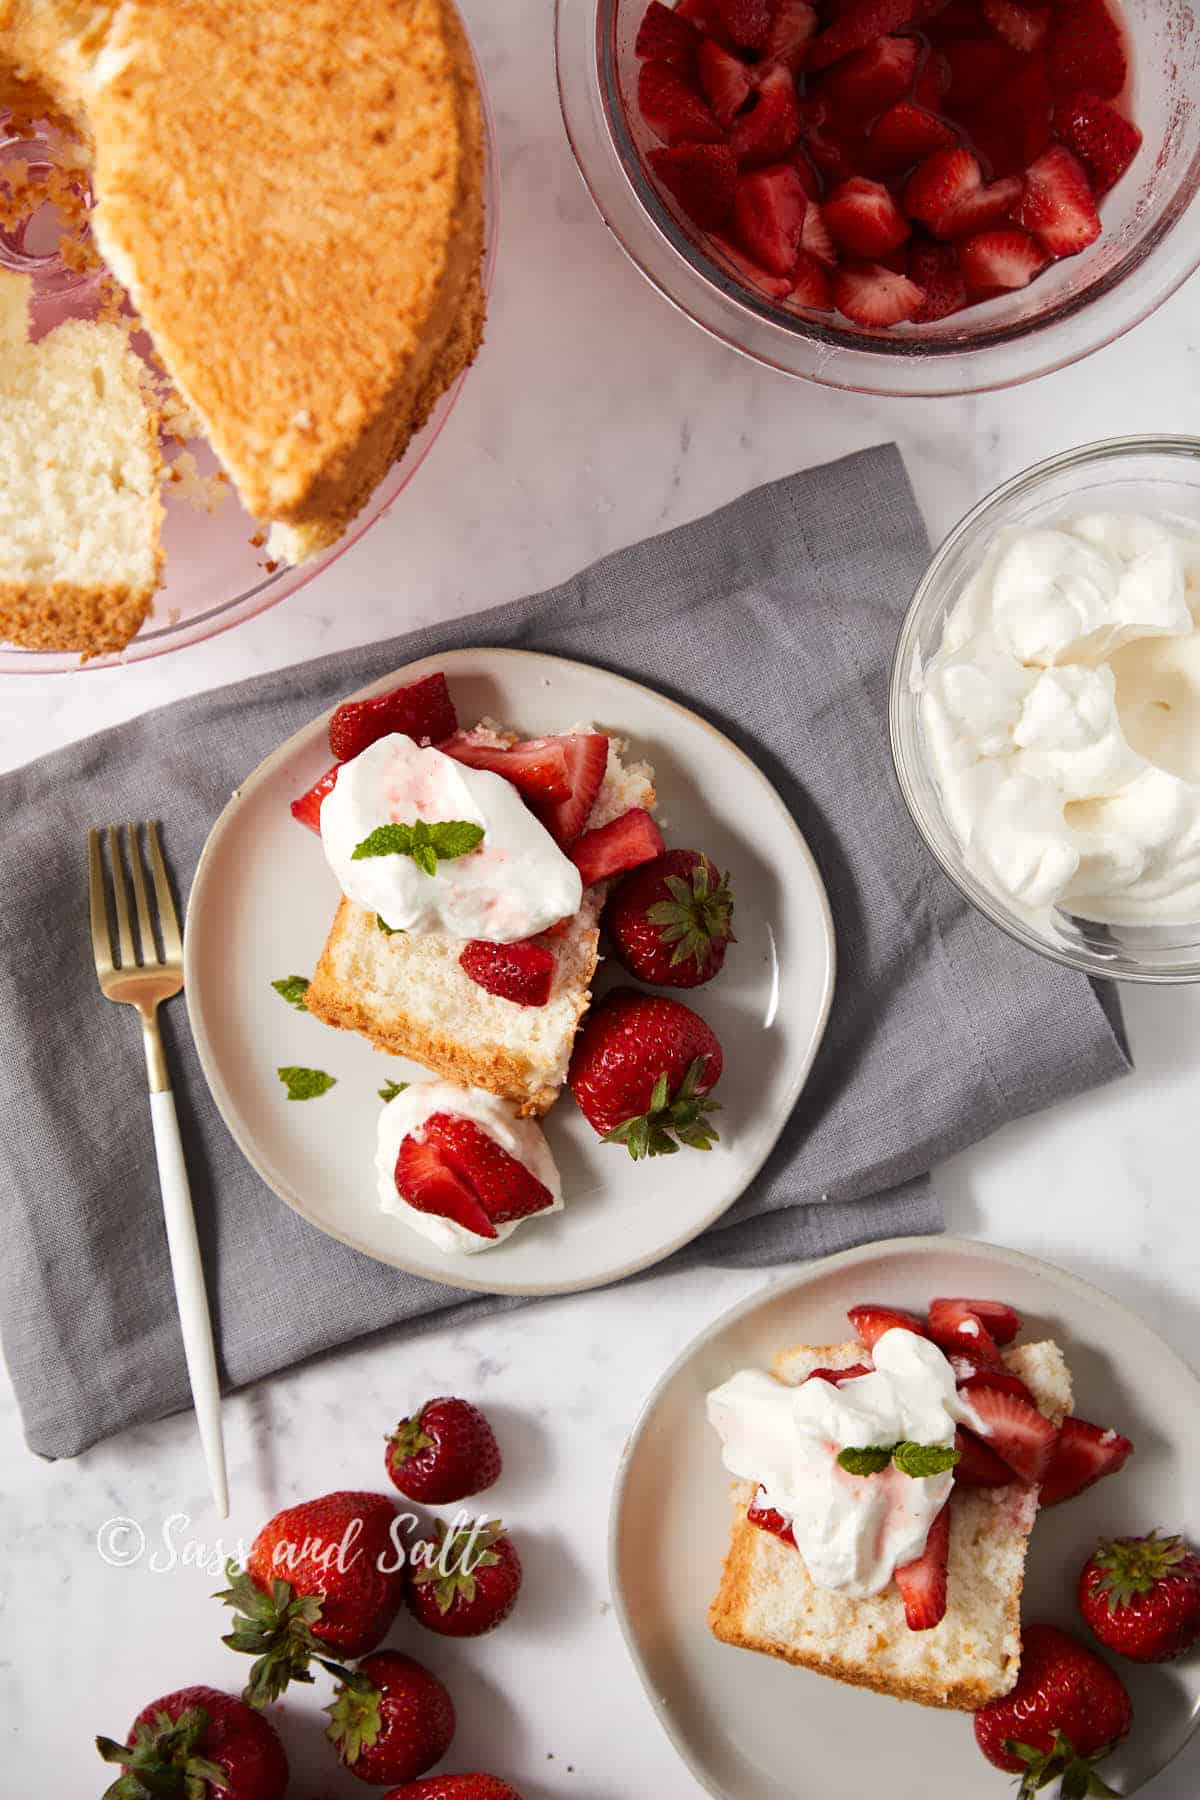
Growing up, strawberry shortcake with angel food cake was a staple in my mom’s kitchen. She’d slice up a store-bought angel food cake, mix frozen sweetened strawberries with a few fresh ones, and top it all with Cool Whip, and honestly, it was perfect. This recipe keeps the spirit of Mom’s version while giving you the option to make every component from scratch.
Save this Recipe!
We’ve made it every spring since the first year my kids were old enough to pick berries at our local farm, bowls in hand, half the strawberries eaten before we got to the car.
The trick isn’t the cake, it’s the macerated berries. A short rest with a spoonful of sugar pulls out a glossy syrup that soaks into the angel food just enough to make every bite saucy. Real whipped cream holds the whole thing together.
I keep a homemade angel food cake in rotation when I have the time, and a store-bought one on standby when I don’t. Both work.
Why You’ll Love This Recipe
- Three ingredients, no mixing. The cake is store-bought-friendly, the berries make their own syrup, the cream takes 3 minutes. That’s it.
- Built for peak-strawberry season. This is the recipe to make the day after you pick.
- Kid-tested for over a decade. My son rates dessert on a one-question scale: is there strawberry, cake, and whipped cream? This recipe is the only one that scores yes on all three.
- Make-ahead friendly. Macerate berries up to 2 hours ahead, whip cream up to 4 hours ahead, slice the cake when guests sit down. Assembly takes 30 seconds per plate.
Ingredients
Angel food cake (1 standard 10-inch tube cake). Homemade is the gold standard if you’ve got the time. My homemade angel food cake recipe is built for this exact use. Otherwise, pick a fresh one from the bakery section of your grocery store, not from the produce aisle display. (More on why in Expert Tips below.)
Fresh Strawberries. Peak season is Memorial Day through July 4th. Look for berries that are red all the way through to the stem, not pale-shouldered. If you can pick your own, it is well worth the effort.
Granulated sugar. This sits at the standard 1-tablespoon-per-pound maceration ratio. If your berries are at the very top of the season and almost sticky-sweet, drop to 2 tablespoons. If they’re pale and tart, push to 4.
Heavy whipping cream. Use the highest-fat cream you can find (36%+ if your grocery carries it). Pre-whipped tubs work in a pinch.
Powdered sugar and pure vanilla extract. For the cream. Powdered sugar dissolves cleanly.
See recipe card below for full quantities.
Store-Bought Shortcut
Don’t have time to bake the cake from scratch? Skip it. A bakery-section angel food cake plus the macerated strawberries and whipped cream gets you a real strawberry shortcake in about 10 minutes plus the 30-minute strawberry rest.
Here’s how to pick a good one:
- Buy from the bakery section, not the snack-cake aisle. I’ve found these almost always have a softer, fresher crumb than the packaged ones.
- Look for a golden-brown crust and an even, tall shape. Avoid any with visible compression marks or pale, dry-looking crumb through the packaging.
- Tube pan vs. loaf format: Either works for this recipe. The tube pan looks more traditional and slices into prettier servings.
Once you’ve got the cake, jump to the recipe card below; assembly is the same regardless of which path you took.
Substitutions and Variations
- Homemade vs. store-bought angel food cake. Both tested. Homemade is more tender; store-bought from the bakery is honestly 90% of the way there for 10% of the work.
- Pre-whipped topping (Cool Whip/store tub) instead of homemade whipped cream. Tested. Use a 16-oz tub. The texture is firmer and holds up longer for picnics, which is useful if you’re traveling with the dessert. Flavor is less rich; you give up some of the dairy depth.
- Pound cake instead of angel food cake. Different dessert. Heavier, denser, less of the cloud-vs-syrup contrast that makes this version sing. Fine if pound cake is what you have, but not the same recipe.
- Trifle Style. Cut the angel food cake into 1-inch cubes and layer it in a trifle bowl or individual mason jars with strawberries and whipped cream.
This recipe has not been tested with other substitutions or variations. If you replace or add any ingredients, please let us know how it turned out in the comments below!
What are macerated strawberries (and why do they make better shortcake)?
Maceration is a fancy word for a simple thing: tossing fruit with sugar and letting it sit. After about 30 minutes, the sugar draws liquid from the strawberries through osmosis and dissolves into a glossy, ruby-red syrup. That syrup is what makes this dessert.
Why macerated strawberries beat unsugared sliced berries:
- Concentrated flavor. As the sugar pulls liquid out, the berry tissue collapses slightly, and the remaining strawberry flavor concentrates. They taste more like strawberries than fresh-sliced ones do.
- Better texture. Macerated berries are jammy and saucy instead of crunchy and dry. They hold together as a topping and don’t roll off your fork.
- The syrup IS the sauce. That liquid is what soaks into the angel food cake just enough to make every bite saucy. No additional sauce required.
Macerated vs. frozen sweetened strawberries (the kind my mom used):
Frozen sweetened strawberries are pre-macerated by the freezing process and a sugar pack; they release a ton of liquid as they thaw, resulting in a softer, more broken-down texture. They work great in a pinch (and the nostalgia hits hard if you grew up on them), but fresh-macerated berries hold their shape better and give you a brighter, fresher flavor. Both are valid. Mom’s version is still in heavy rotation in my house when fresh strawberries aren’t in season.
How long to macerate:
- Minimum: 30 minutes. Less than that, and the syrup hasn’t fully formed.
- Sweet spot: 45 minutes to 1 hour. Best balance of intact berry texture and full syrup.
- Maximum: 2 hours at room temperature. After that, the berries start to break down and get mushy. If you need to hold them longer, move to the fridge; they’ll keep up to 2 days that way, and the syrup actually gets better overnight.
The maceration ratio:
1 tablespoon of granulated sugar per 1 pound of strawberries. Up to 4 tablespoons per pound for very tart berries; down to 2 tablespoons per pound for very sweet ones at peak season.
How to Make Strawberry Shortcake with Angel Food Cake
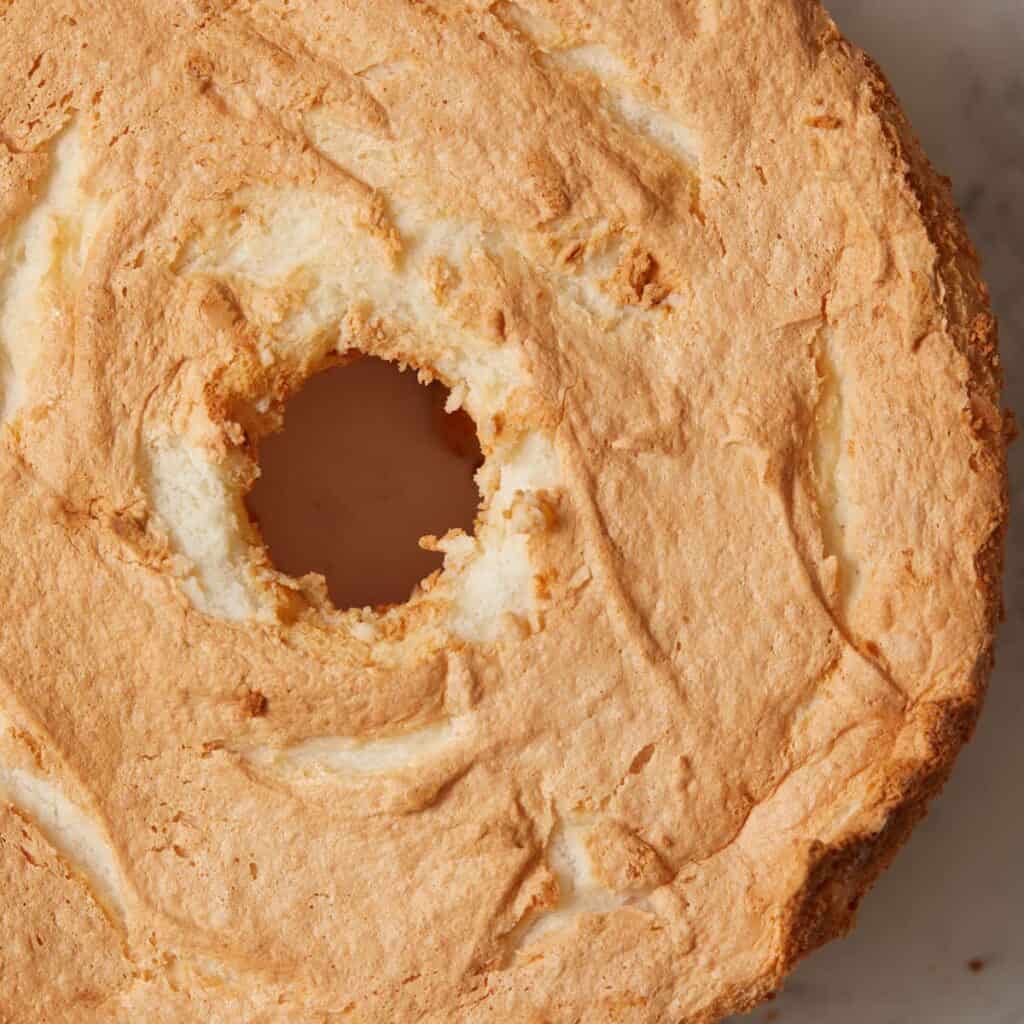
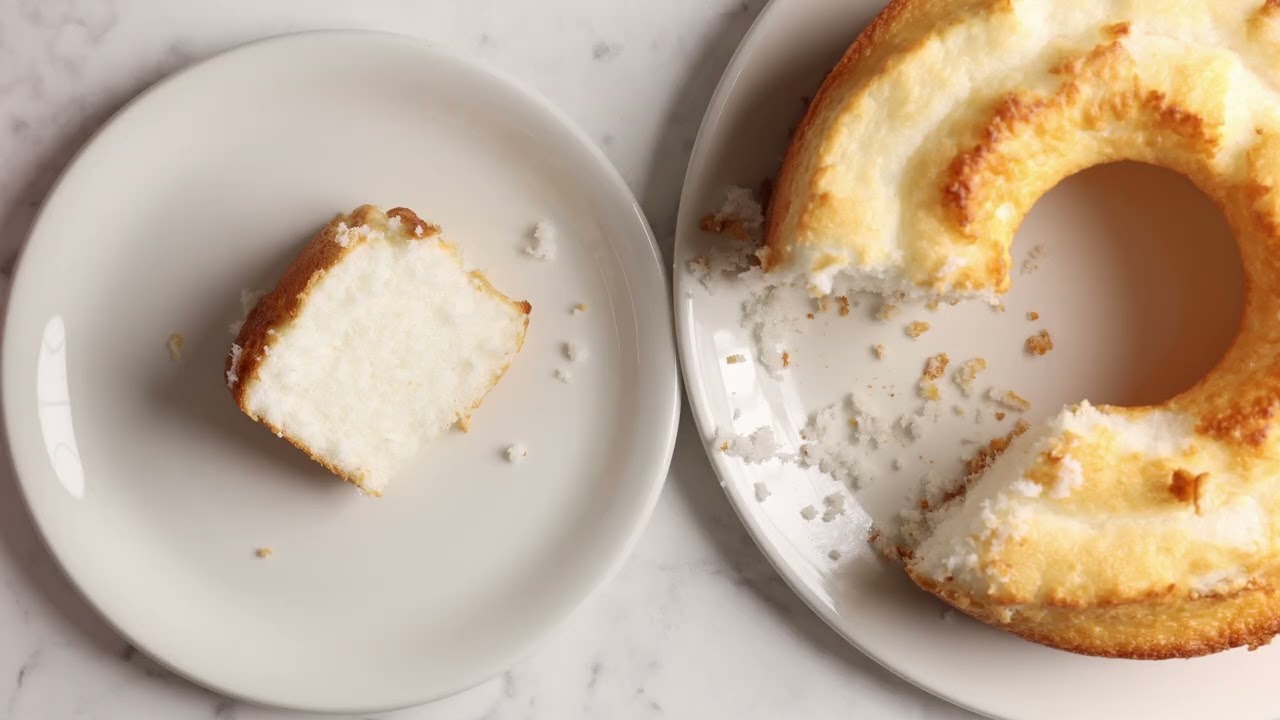
Start with a fully cooled angel food cake (see the ingredients note above for homemade vs. store-bought). If yours was just baked, let it cool completely before slicing; a warm cake will tear instead of slice cleanly.
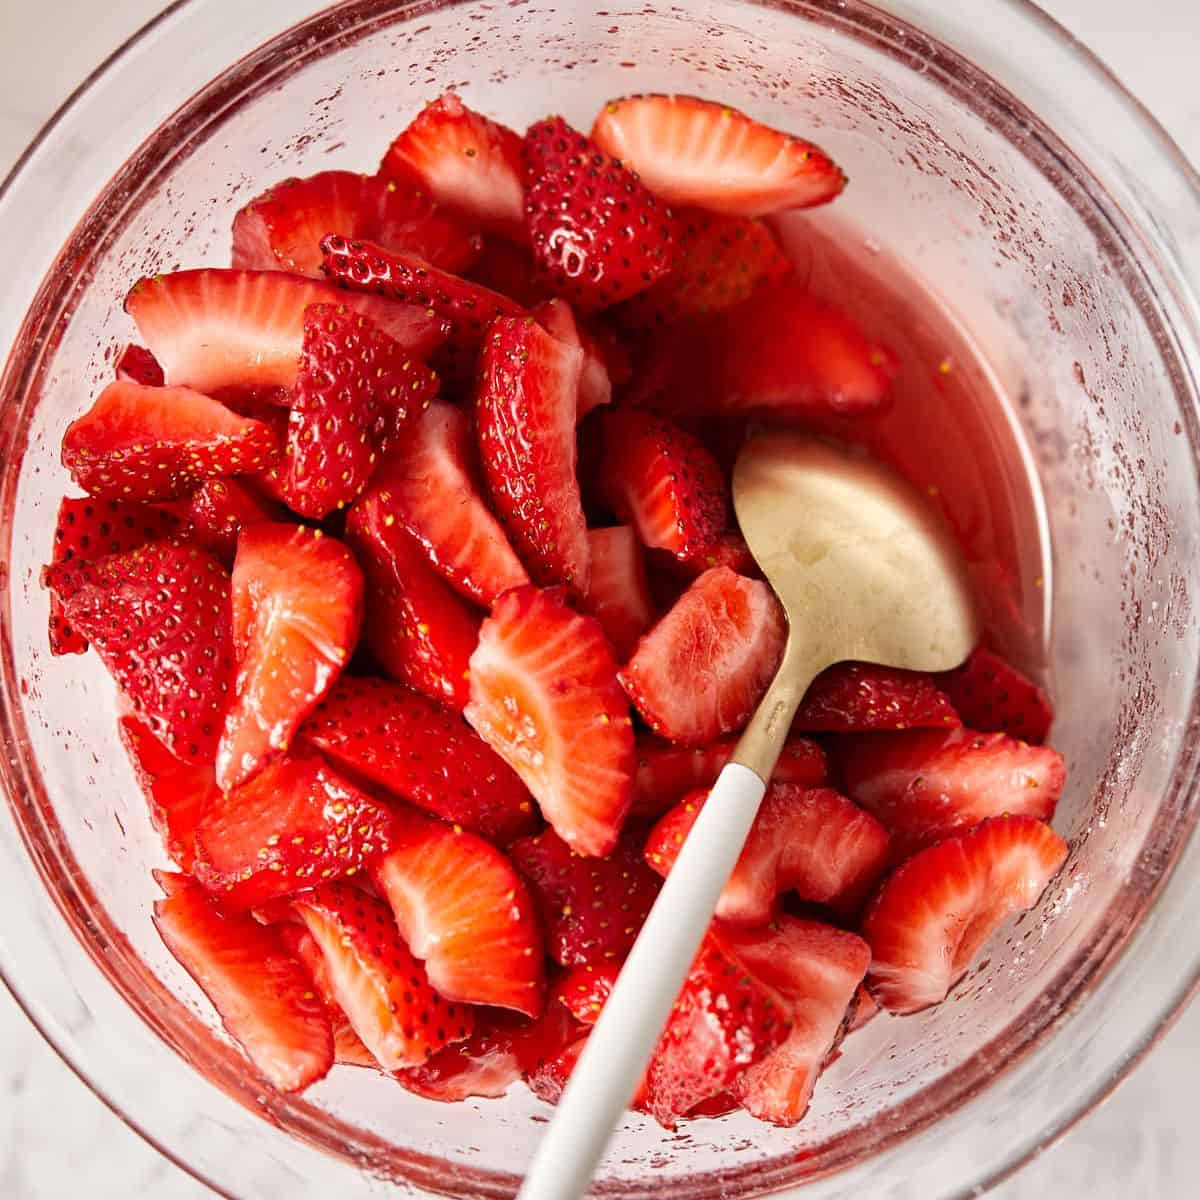
In a large bowl, toss quartered strawberries with granulated sugar. Let them sit at room temperature for at least 30 minutes (up to 2 hours). The sugar will pull out a glossy syrup. Don’t drain it.
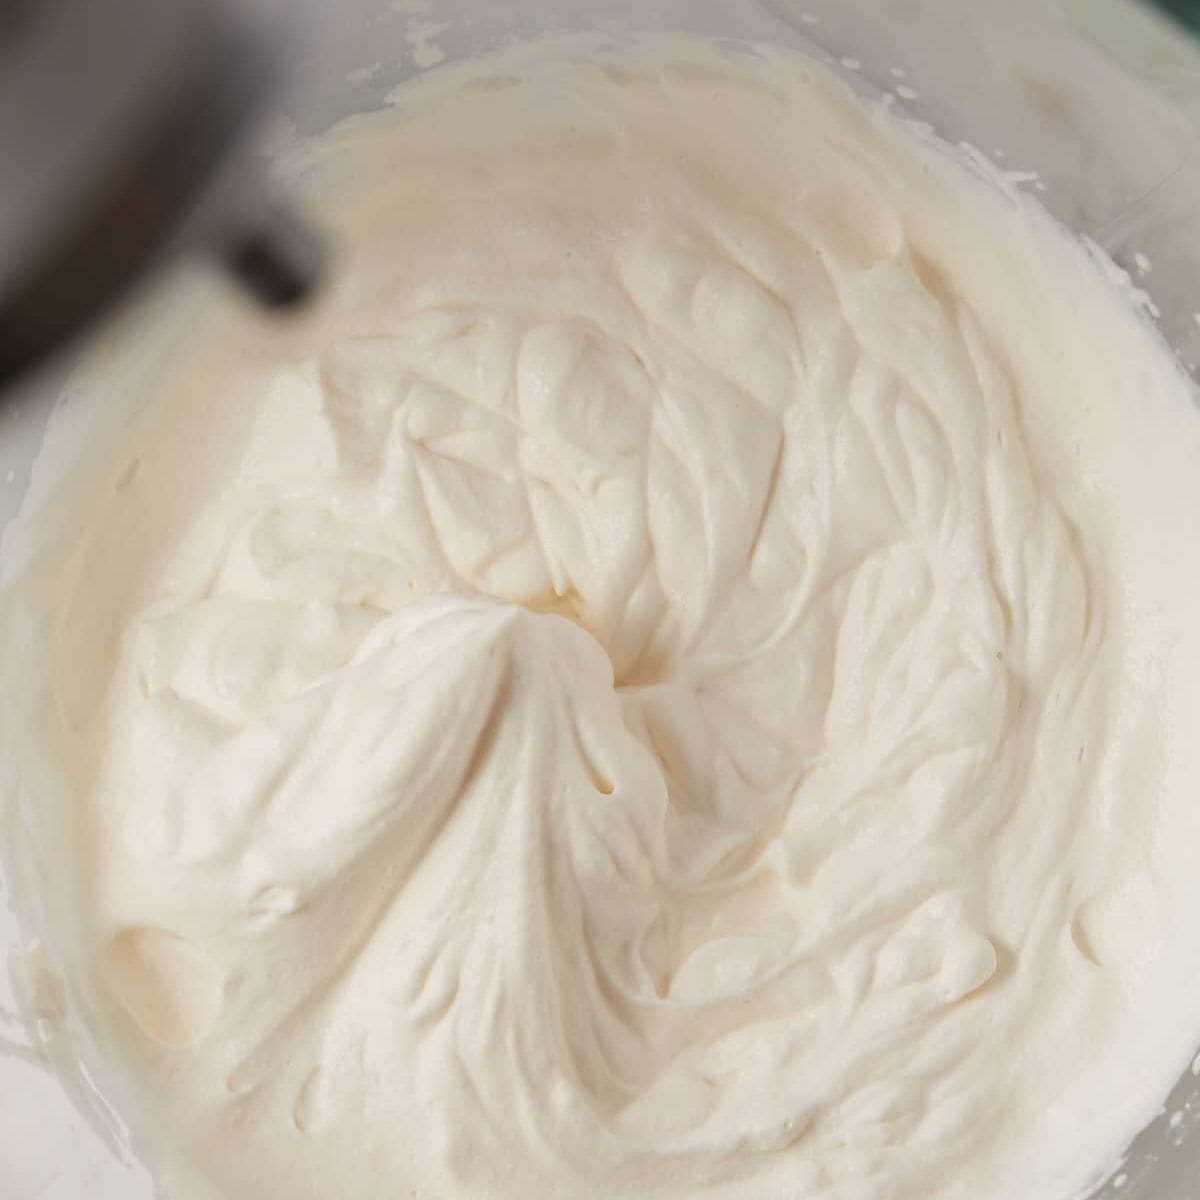
Beat cold heavy cream with powdered sugar and vanilla on medium-high until stiff peaks form, 2-3 minutes.
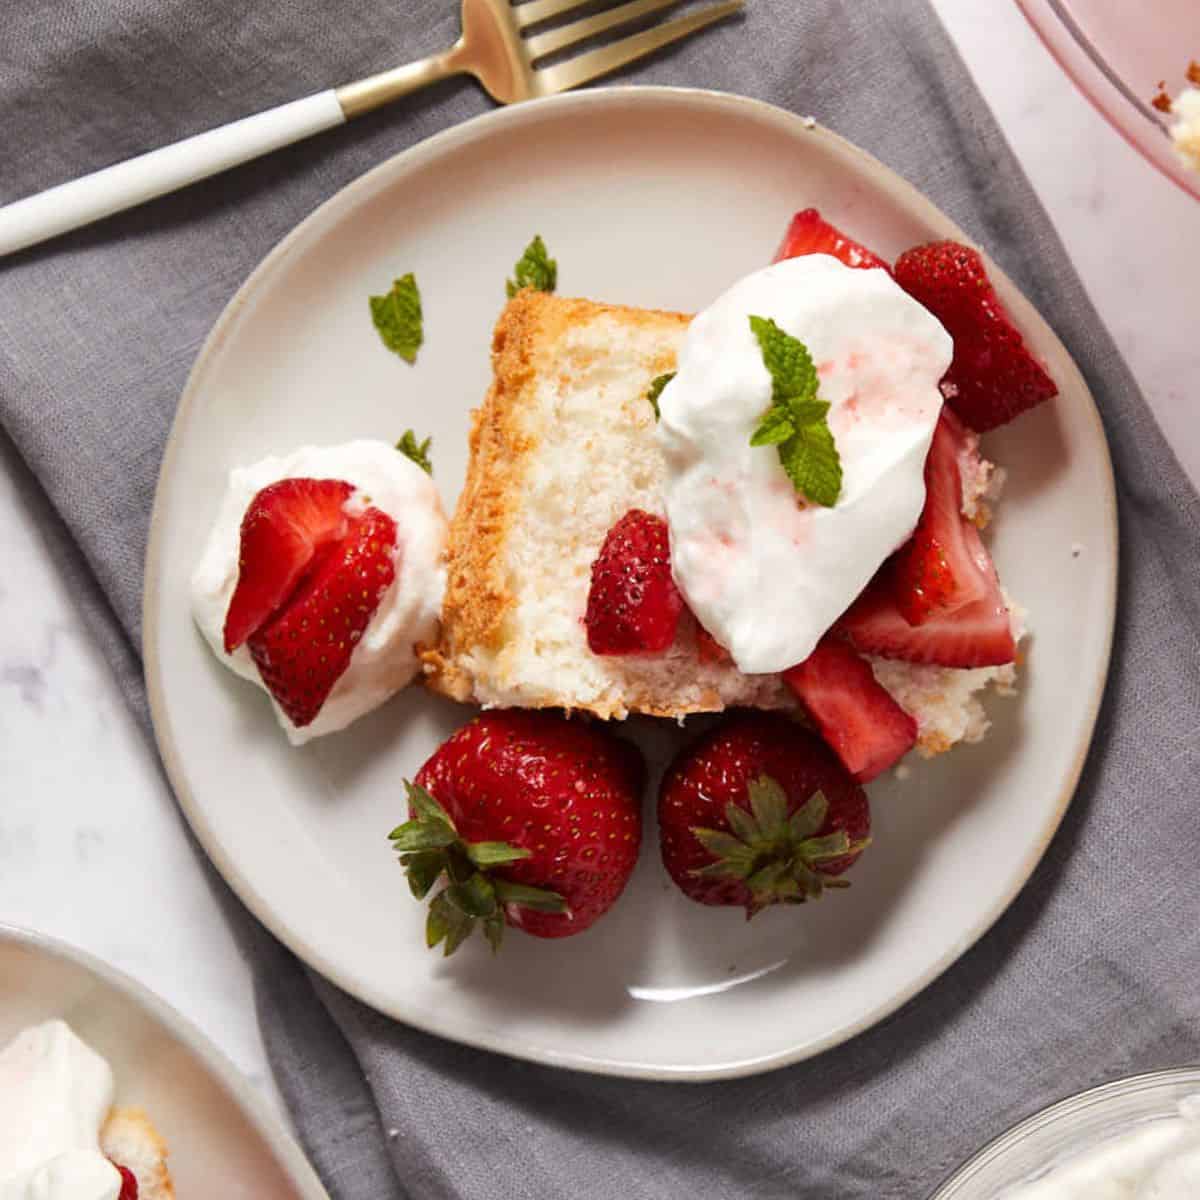
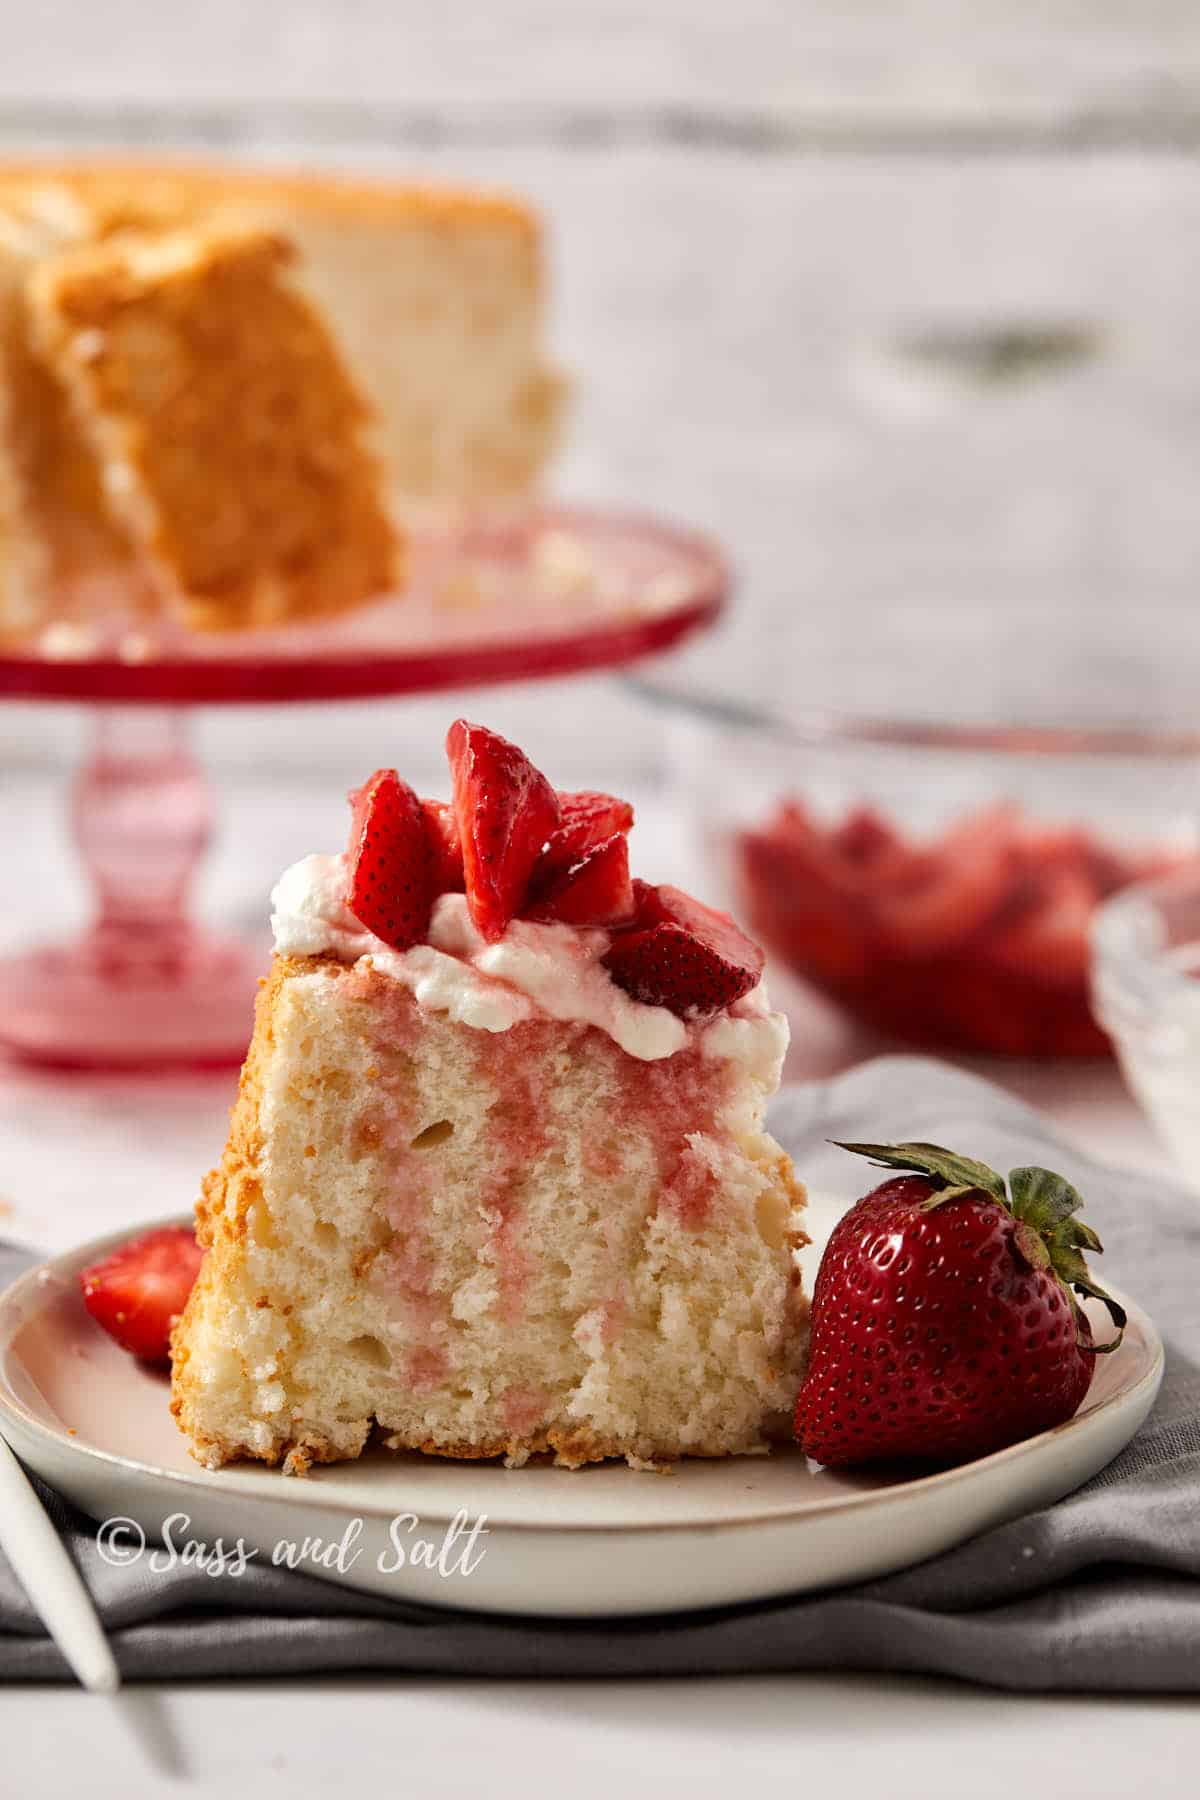
Use a serrated knife and a gentle sawing motion to cut the angel food cake into 12 slices. Place a slice on each plate, spoon a generous helping of macerated strawberries (with their syrup) over the top, and finish with a big dollop of whipped cream.
For tips on baking the angel food cake itself, selecting a pan, using the egg white technique, and troubleshooting, head over to my full angel food cake tutorial.
Sarah‘s Tips
- Slice with a serrated knife. This is the most important tip for assembly. A straight-edge knife compresses angel food cake and ruins the texture. Use a bread knife or an angel food cake comb with a gentle sawing motion for clean, fluffy slices.
- Buy your angel food cake from the bakery section. I’ve found bakery cakes are almost always softer and fresher than the packaged ones. The crumb has more spring, and the texture holds up better to the strawberry syrup. Look for one with a golden-brown crust, an even shape, and the freshest “best by” date you can find.
- Make the whipped cream last. Whipped cream is at its best freshly made, my easy homemade whipped cream comes together in under two minutes, so plan to whip it right before you’re ready to serve. If it does sit for a bit, a quick re-whip by hand perks it back up.
- Let the strawberries sit the full 30 minutes. It’s tempting to skip ahead, but the sugar needs time to draw out the juices and create that syrup.
- Don’t assemble until you’re ready to serve. The macerated strawberry juices will start softening the cake within 15-20 minutes. Keep everything separate until the last minute.
- Use ripe, in-season strawberries. Out-of-season strawberries tend to be pale and flavorless. If it’s not strawberry season, frozen strawberries (thawed and drained) work in a pinch, but fresh and ripe is always better.
Can you make strawberry shortcake with angel food cake ahead of time?
Yes — but only the components, never the assembled dessert.
- Macerate the strawberries up to 2 hours ahead at room temperature, or up to 2 days in the fridge. The syrup actually gets better overnight.
- Whip the cream up to 4 hours ahead and refrigerate. Re-whisk gently with a fork before serving to restore volume.
- The angel food cake holds at room temperature in an airtight container for up to 2 days. Don’t refrigerate — it dries out the crumb.
- Wait to slice and assemble until you’re ready to plate. Once the syrup hits the cake, the soak clock starts.
For a make-ahead strategy: macerate berries the morning of, whip cream right before guests arrive, and slice the cake at the table.
FAQs
Storage
Room temperature: Don’t store assembled portions at room temperature — the whipped cream needs to stay cold, and the strawberry syrup will continue softening the cake.
Refrigerator (component storage, recommended): Store the three components separately. Macerated strawberries keep up to 2 days in an airtight container in the fridge. Whipped cream keeps up to 24 hours in the fridge. Re-whisk to bring back the volume. The angel food cake stays good in an airtight container at room temperature for 2 days or in the fridge for up to 4 days.
Refrigerator (assembled, not recommended): The cake will continue to soak and turn soggy by the next morning.
Freezing: I haven’t tested freezing assembled shortcake (and I wouldn’t, the cream weeps when it thaws). The angel food cake itself freezes beautifully, wrapped tightly in plastic and foil for up to 2 months. Pull it out the morning of to thaw on the counter.

Recipe

Strawberry Shortcake with Angel Food Cake
Equipment
- Stand mixer or hand mixer with whisk attachment
- Large mixing bowl (4-quart or larger)
Ingredients
For the cake
- 1 10-inch angel food cake, homemade or fresh from the bakery section
Macerated strawberries
- 2½ lbs fresh strawberries, hulled and quartered
- 3 tablespoons granulated sugar use 2 tbsp if berries are very sweet, 4 tbsp if tart
For the whipped cream
- 2½ cups 590 ml cold heavy whipping cream
- 3 tablespoons powdered sugar
- 1 teaspoon pure vanilla extract
Or
- 1 16 oz tub store-bought whipped topping (substitute for the homemade whipped cream above)
Instructions
- In a large bowl, toss the quartered strawberries with the granulated sugar.2½ lbs fresh strawberries, hulled and quartered, 3 tablespoons granulated sugar
- Let it sit at room temperature for at least 30 minutes (up to 2 hours). The sugar will pull out a glossy syrup. Don't drain it.
Whip the cream
- In a large mixing bowl, beat the cold heavy cream, powdered sugar, and vanilla on medium-high until stiff peaks form, about 2–3 minutes.2½ cups 590 ml cold heavy whipping cream, 3 tablespoons powdered sugar, 1 teaspoon pure vanilla extract
Slice and assemble
- Use a serrated knife or an angel food cake comb, make gentle sawing motions to cut the angel food cake into 12 slices.1 10-inch angel food cake, homemade or fresh from the bakery section
- Place a slice on each plate. Spoon a generous helping of macerated strawberries (with their syrup) over the top, then finish with a big dollop of whipped cream. Serve immediately.
Save this Recipe!
Video