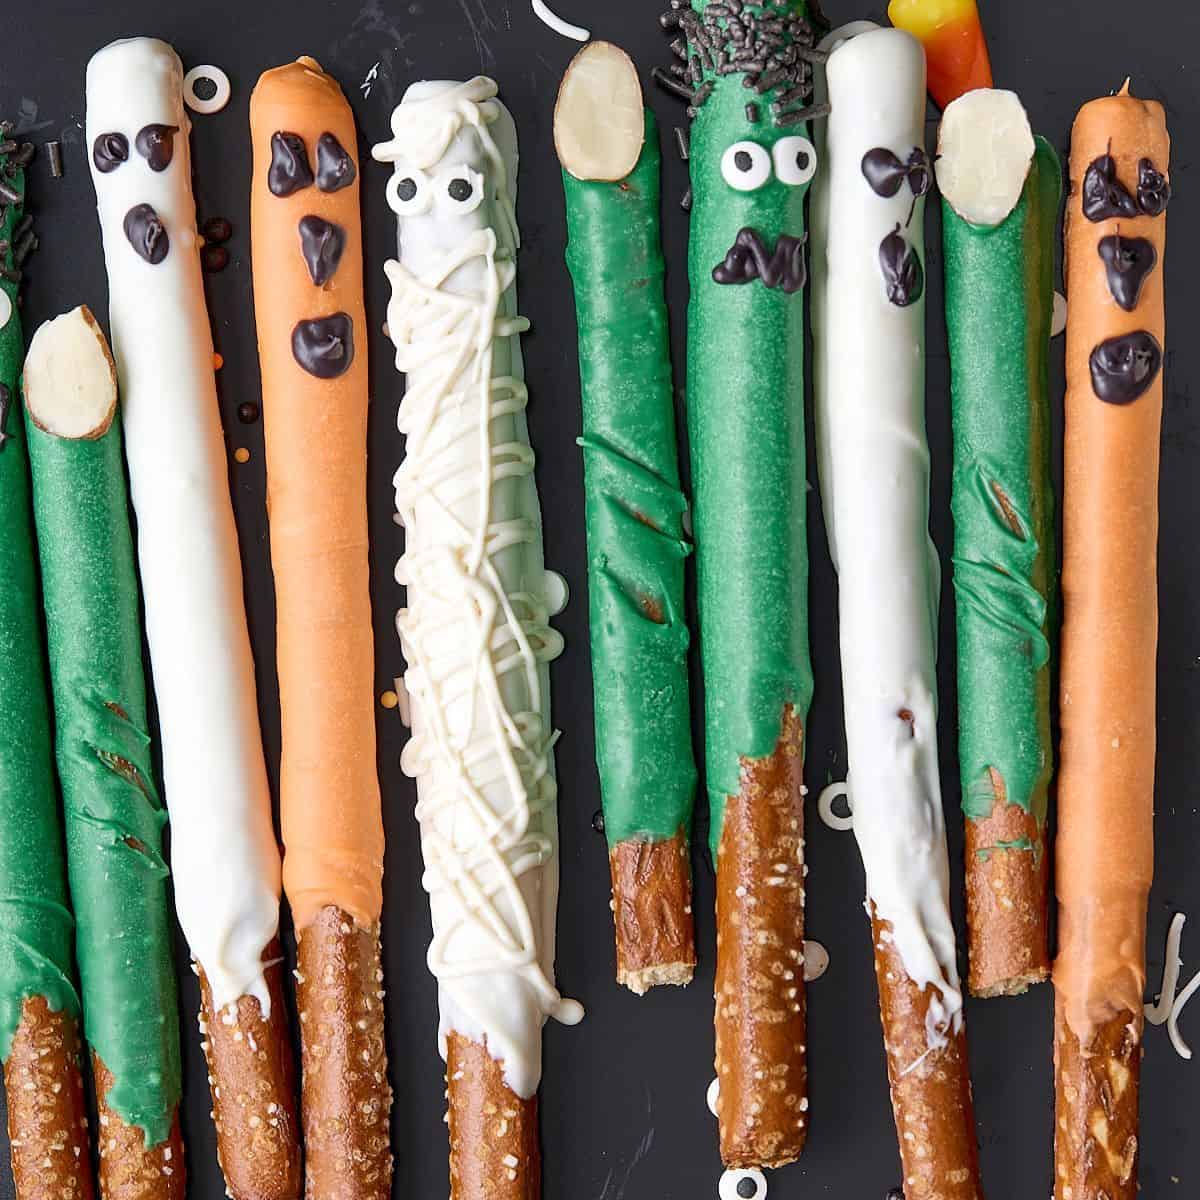
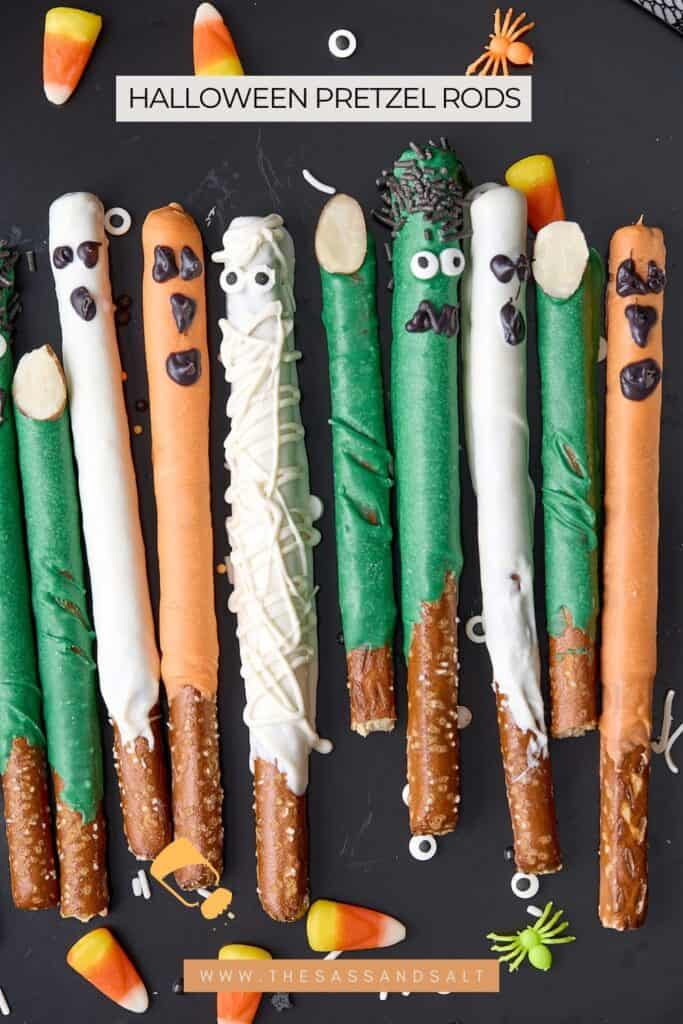
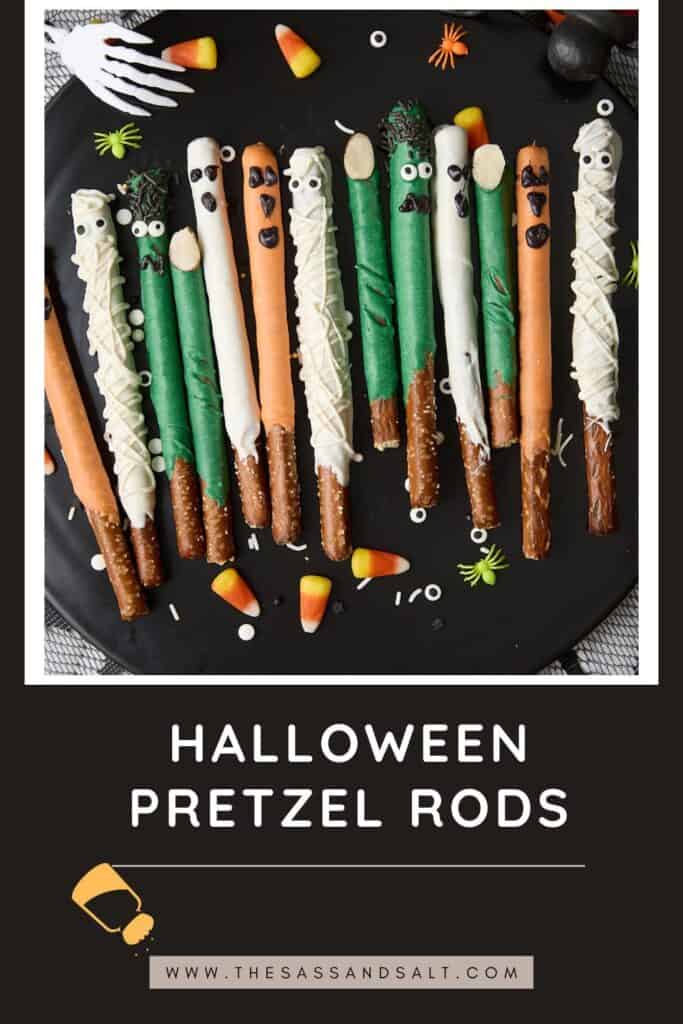
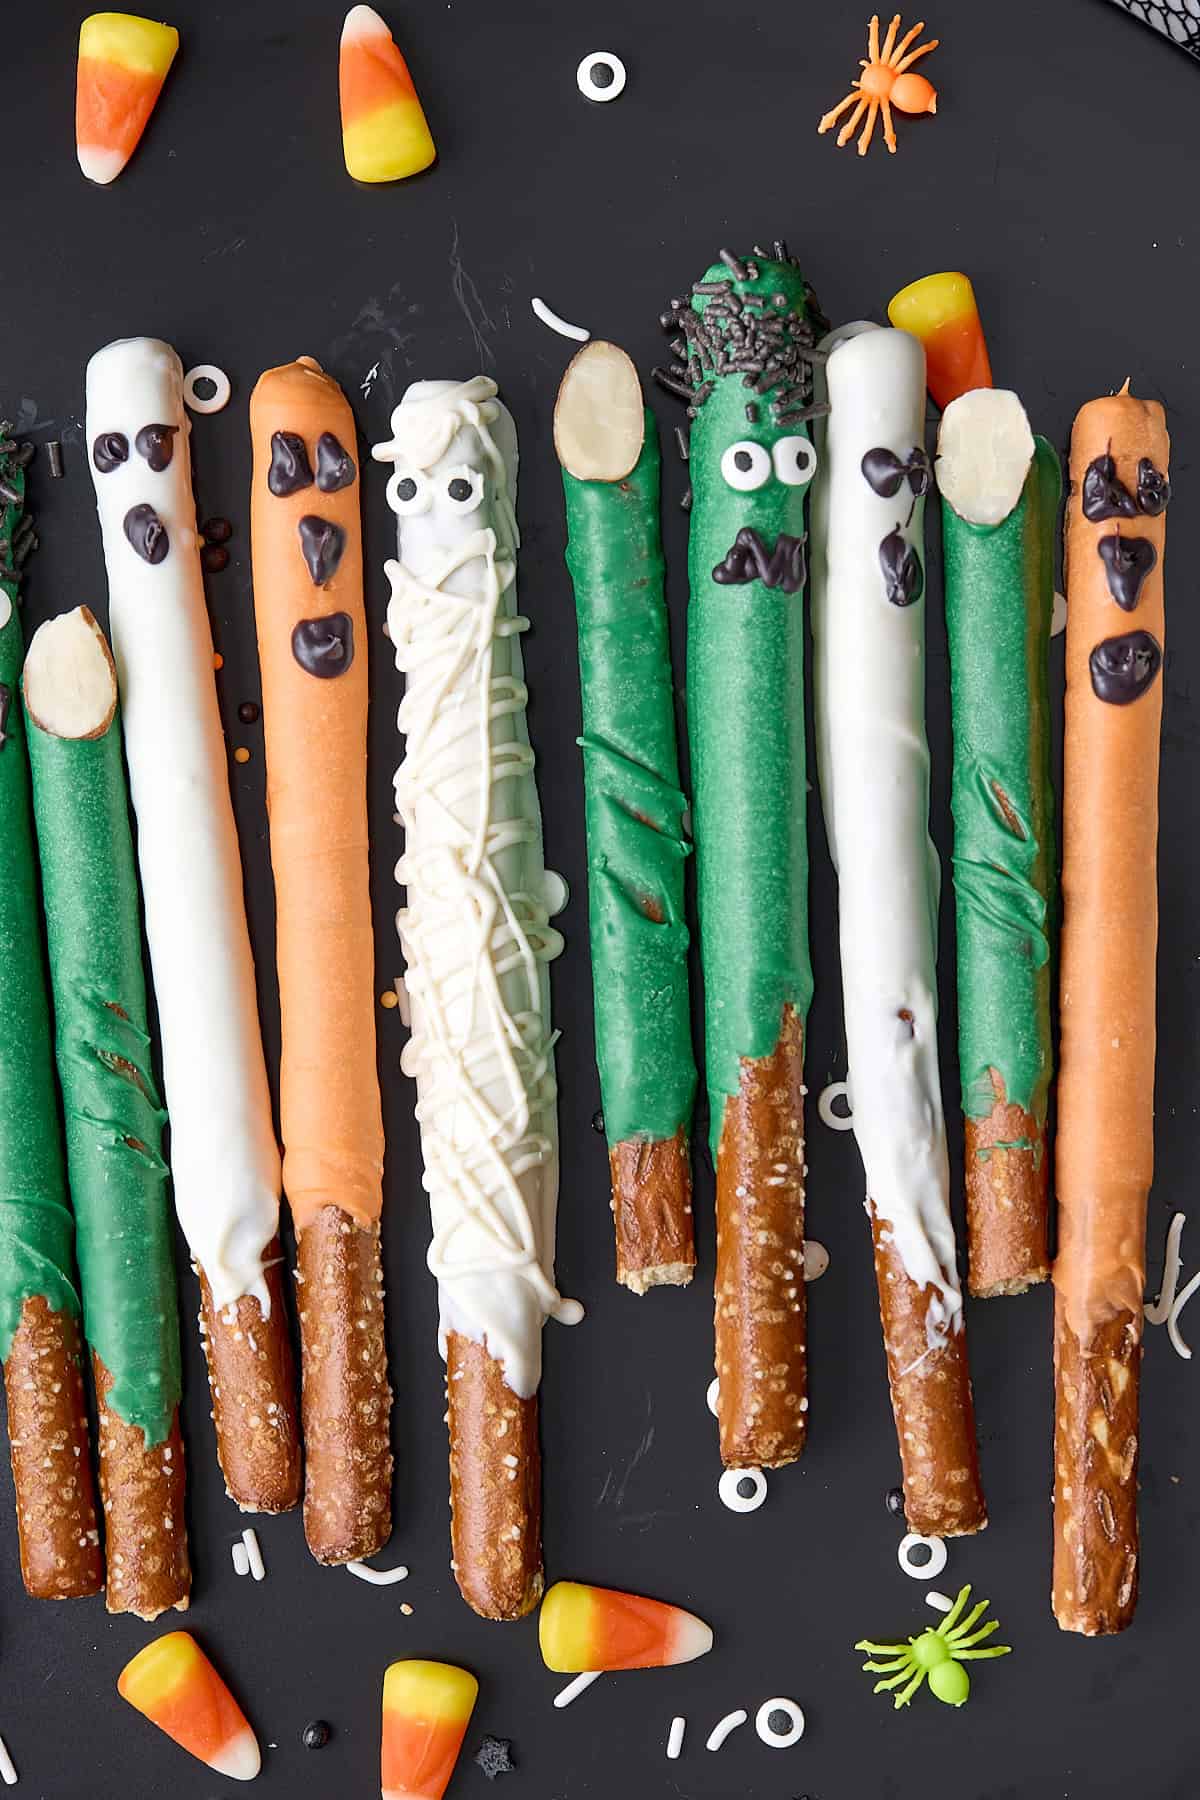
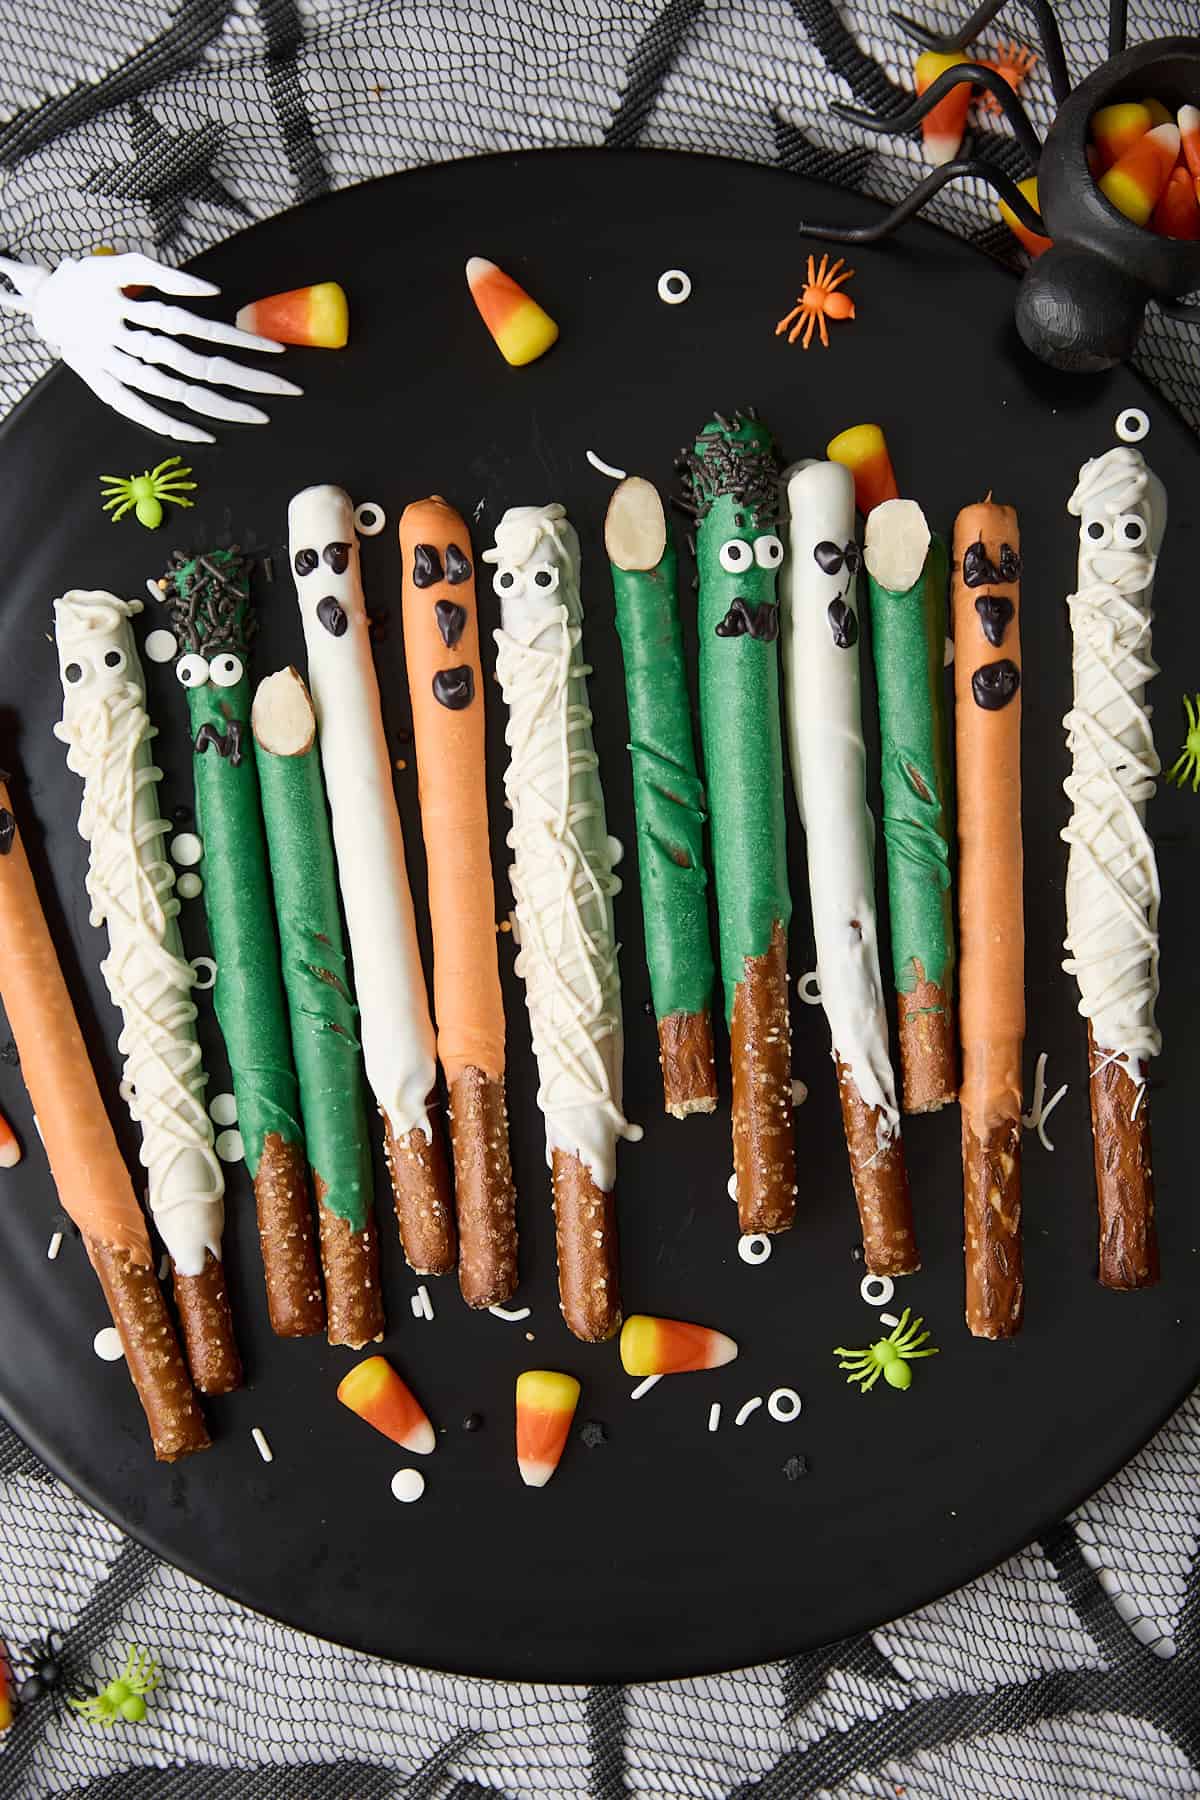
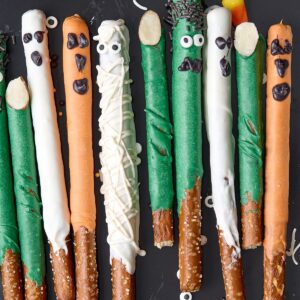
These Halloween Pretzel Rods are about to become your October go-to. Five easy designs, mummies, Frankenstein’s, ghosts, jack-o’-lanterns, and witch fingers that come together fast with just melted candy and a few toppings. Sweet, salty, fun to make, and even better to eat.
Save this Recipe!

The Easiest Way to Coat Pretzel Rods
Most recipes have you dip pretzel rods into a tall glass of melted candy, but I prefer pouring puddles directly onto the parchment paper. This makes it so much easier to coat each pretzel evenly, and when you’re switching between colors (white for ghosts, green for Frankensteins, orange for pumpkins), you don’t have to wash out containers or waste candy melts transferring between glasses.
Plus, if any candy hardens on the parchment while you’re working, you can easily peel it up and toss it back in the bowl to remelt, nothing goes to waste.
Why you’ll love this recipe
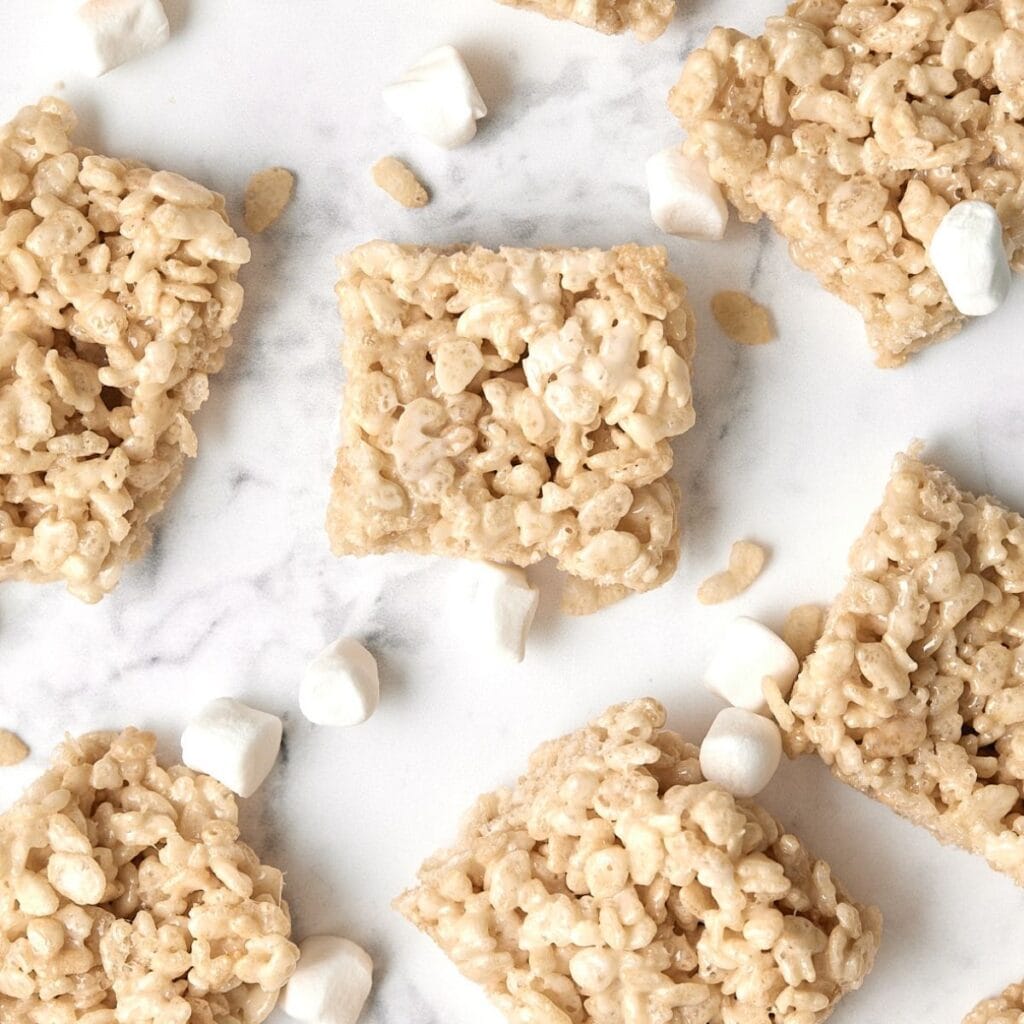
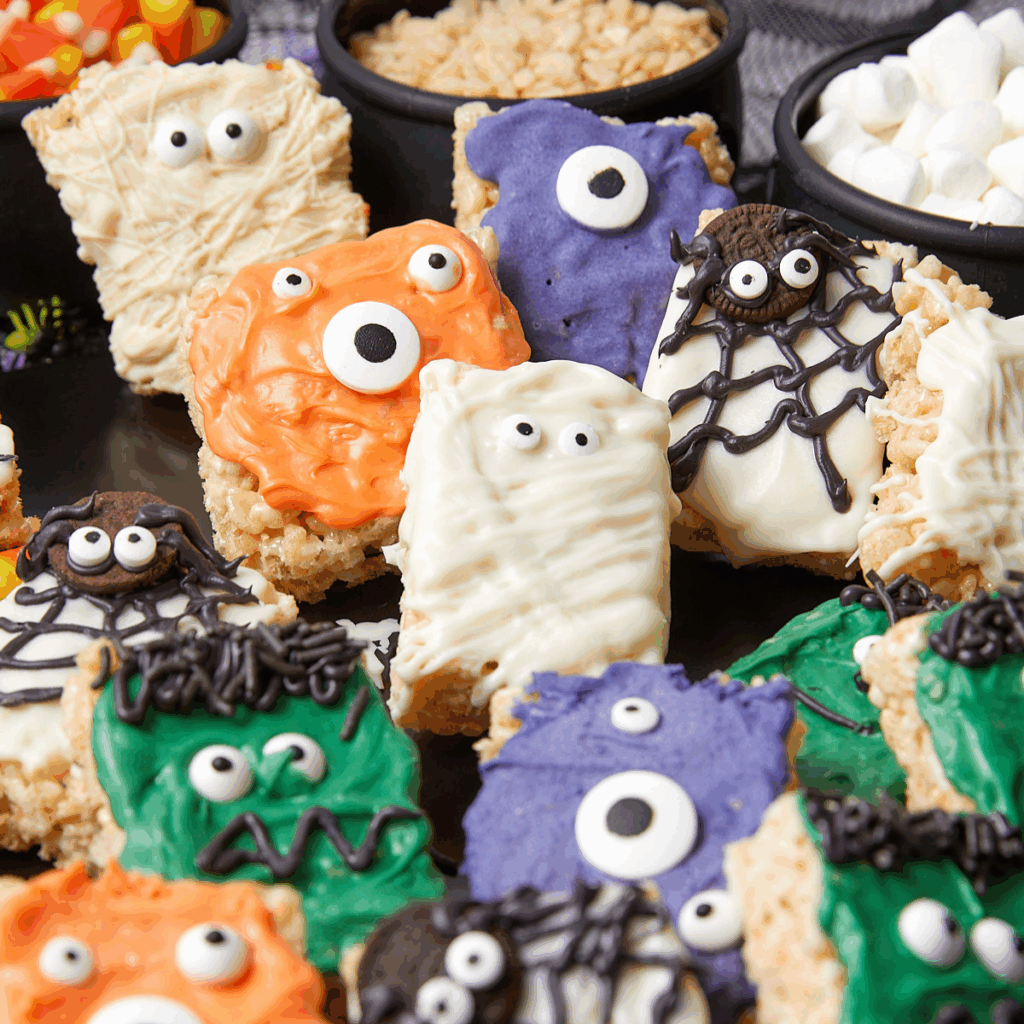
- Fast and kid-friendly – 15 minutes of active time, and kids can decorate! These join my collection of easy Halloween Rice Krispie Treats that come together in minutes and let kids get hands-on with the decorating.
- Perfect for Halloween gatherings – They hold up beautifully in treat bags and make great party favors
- Sweet and salty combo – The pretzel crunch with candy coating is addictive
- No baking required – Just melt, decorate, and let them set
- Customizable designs – Messy monster faces and wonky decorations only make them cuter
Ingredients
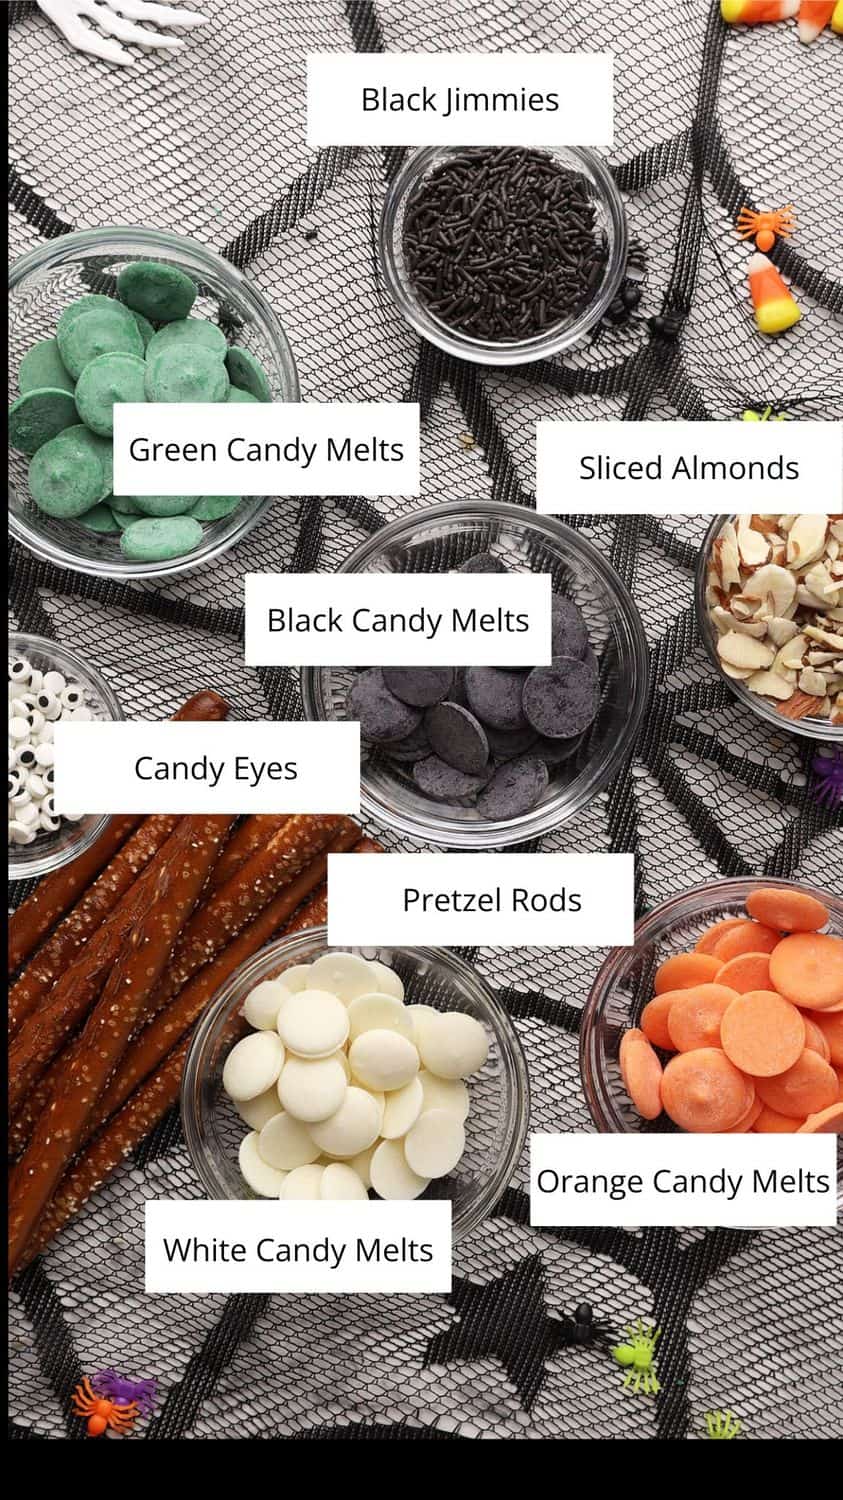
- Pretzel rods – The classic rod shape works best for decorating. I like using these Utz Pretzel rods.
- Candy melts or white chocolate – White, green, black, and orange. I like using Ghirardelli Melting Wafers or Wilton Candy Melts; they melt smoothly and set with a nice sheen. You can find them near the chocolate chips at most grocery stores.
- Candy eyeballs – The googly-eyed kind from the baking aisle
- Chocolate or black jimmies – For Frankenstein’s hair (or pipe black candy melts if you don’t have jimmies)
- Almond slices – These become creepy witch fingernails
How to Make Halloween Pretzel Rods
Step 1: Set Up Your Workspace
Line a baking sheet with parchment paper. This is where your decorated pretzel rods will rest while they set. No greasing is needed; they’ll peel right off when they’re ready.
Melt your candy melts or white chocolate in 30-second intervals in the microwave, stirring between each round until smooth. Don’t rush this part; if you overheat the chocolate, it can seize up and become unusable.
Pour the melted candy onto the parchment paper in puddles, one puddle per pretzel rod. Work on one design at a time.
Step 2: Dip and Decorate
Place each pretzel rod into a puddle of melted candy, twirling to coat about ⅔ to ¾ of the rod. Leave the bottom bare so little hands (or your hands) have a clean spot to hold while decorating.
Add decorations immediately while the candy is still wet. Candy melts set fast, so work quickly or decorate one at a time.
Don’t stress about perfection here. Crooked mummy bandages, wonky monster faces, and wobbly witch fingers? That’s the charm.
Mummy Pretzel Rods

Step 1: Pour white candy melts in a long puddle on parchment paper and twirl to coat pretzel rods.
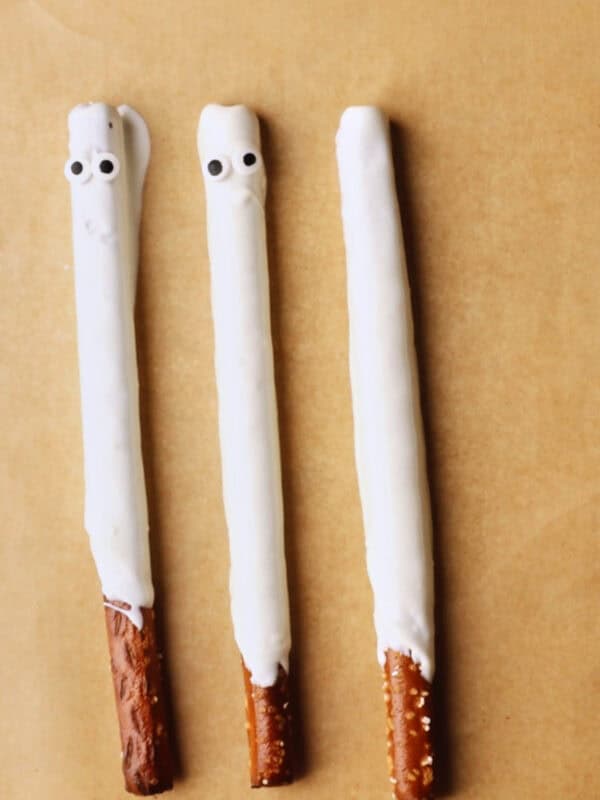
Step 2: Add two candy eyeballs near the top while the coating is still wet.
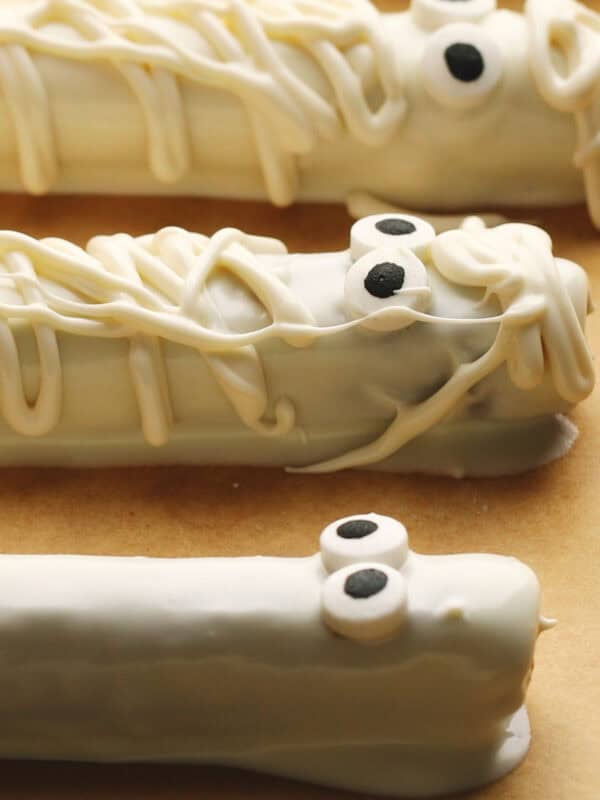
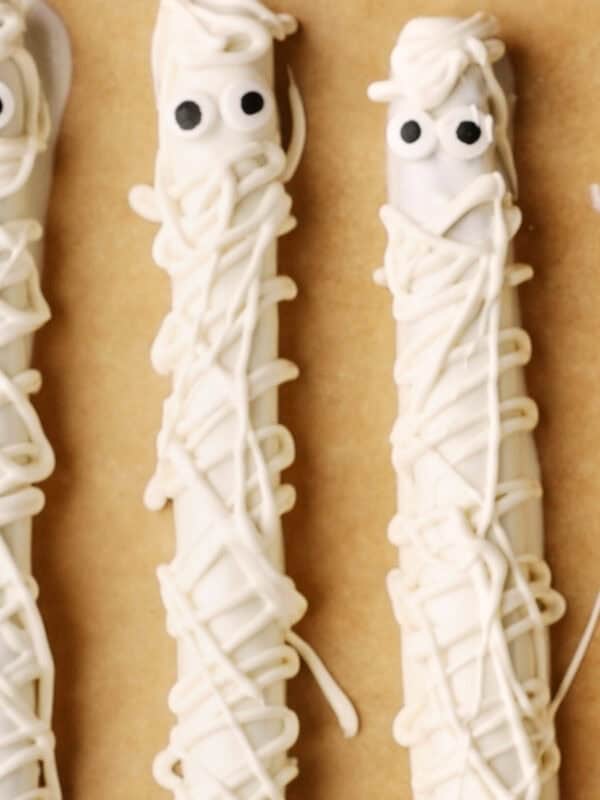
Step 3: Once the base layer has set (about 5 minutes), use a piping bag fitted with a #3 Wilton tip with melted white candy melts to pipe thin zigzag lines to create “bandages.”
Step 4: Let harden completely before handling.
Witch Finger Pretzel Rods
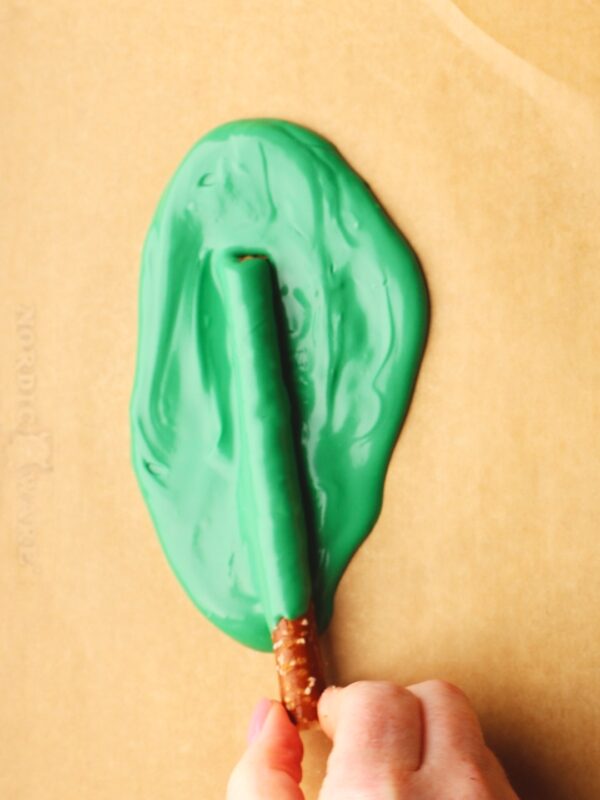
Step 1: Break a little piece of pretzel rods on the bottom to create shorter “fingers.” Pour green candy melts in puddles on parchment paper and twirl to coat the pretzel rod.
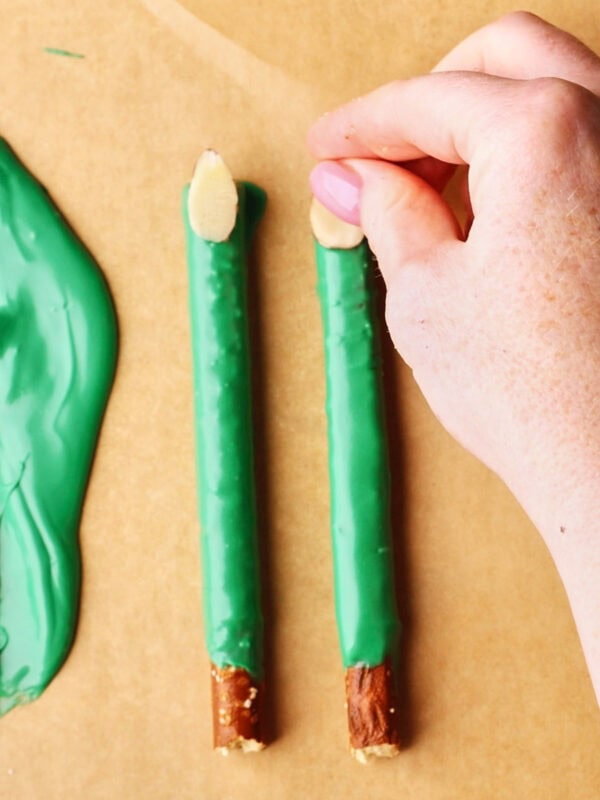
Step 2: While the coating is still wet, press an almond slice into the tip for a fingernail.
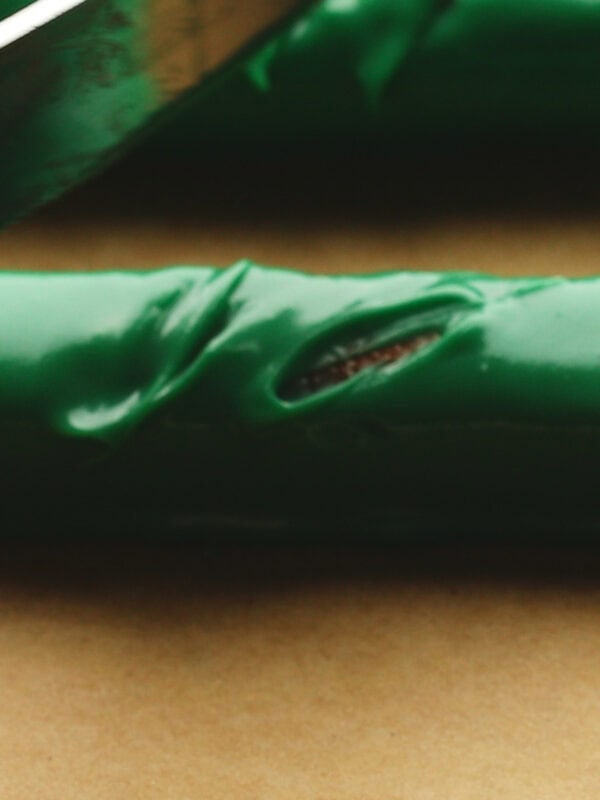
Step 3: Use a toothpick or the tip of a knife to gently score shallow lines across the pretzel to create “knuckles.”
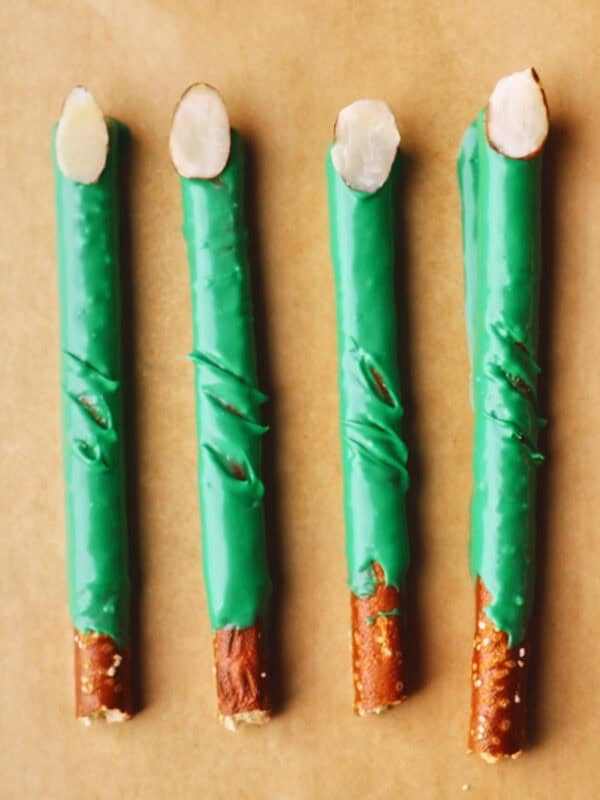
Step 4: Let harden completely before handling.
Ghost Pretzel Rods
Step 1: Pour white candy melts in puddles on parchment paper and twirl to coat pretzel rods.
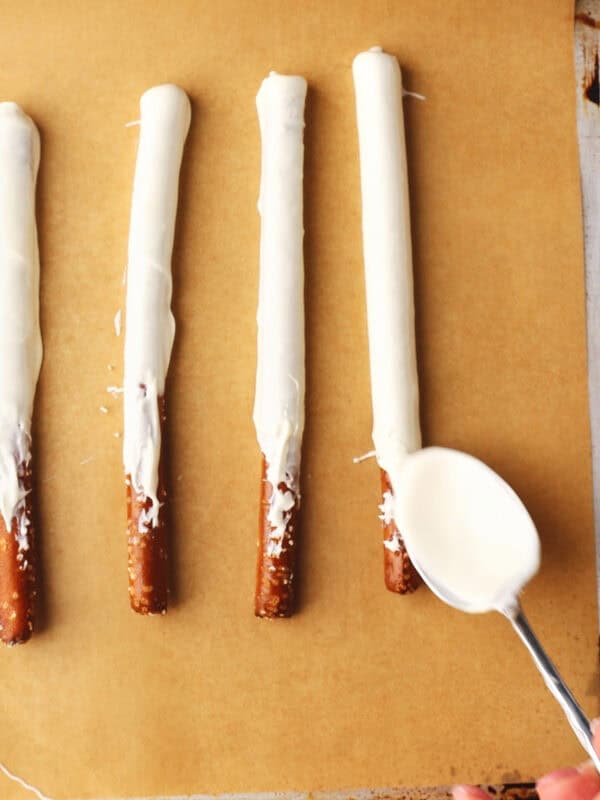
Step 2: With a spoon, move a little extra white candy at the bottom to create flowing “ghost tails.”
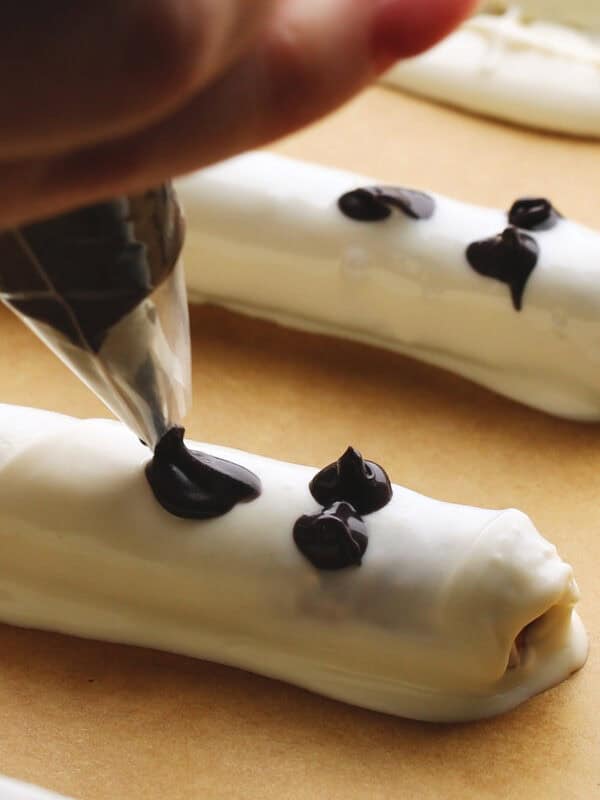
Step 3: Use a piping bag fitted with a #3 Wilton tip and melted black candy melts to pipe two eyes, then pipe a small “O” mouth for that classic ghost look.
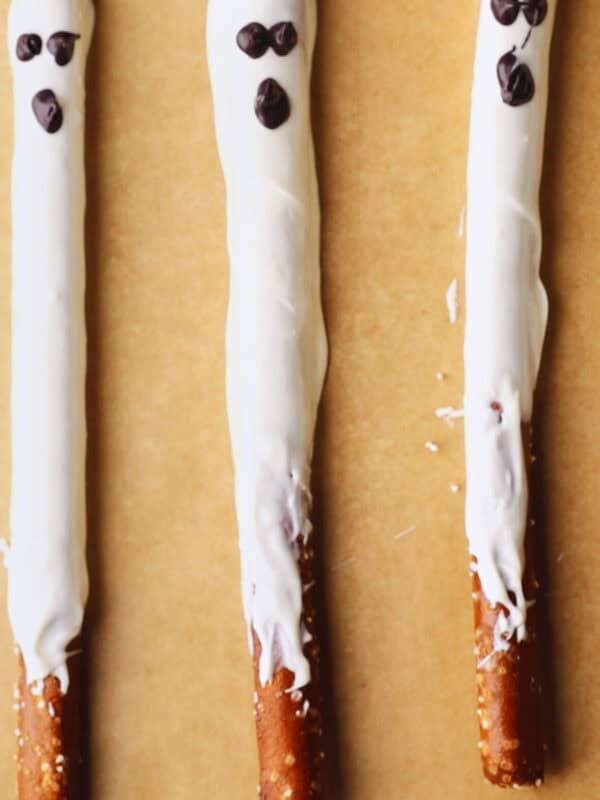
Step 4: Let harden completely before handling.
Jack-O’-Lantern Pretzel Rods
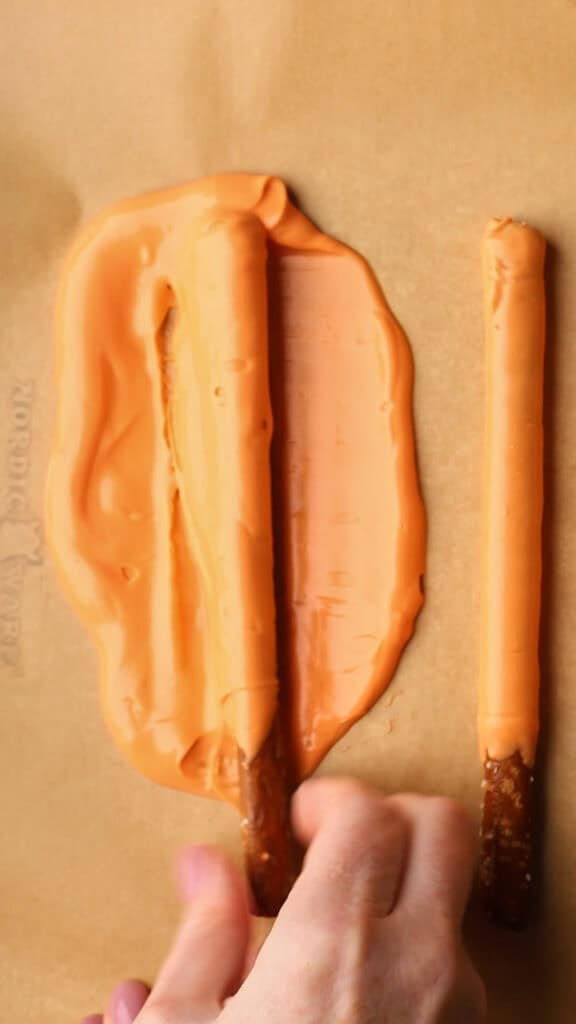
Step 1: Pour orange candy melts in puddles on parchment paper and twirl to coat pretzel rods.
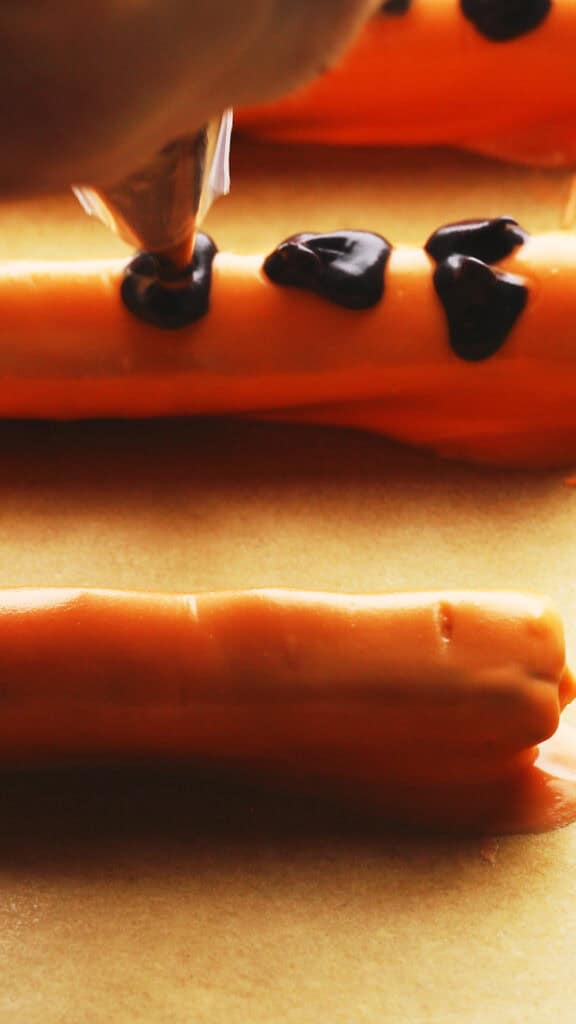
Step 2: Let the coating set. Use a piping bag fitted with the Wilton #3 tip filled with melted black candy melts to draw jack-o’-lantern faces, triangular eyes, a triangular nose, and silly grins
Frankenstein Pretzel Rods
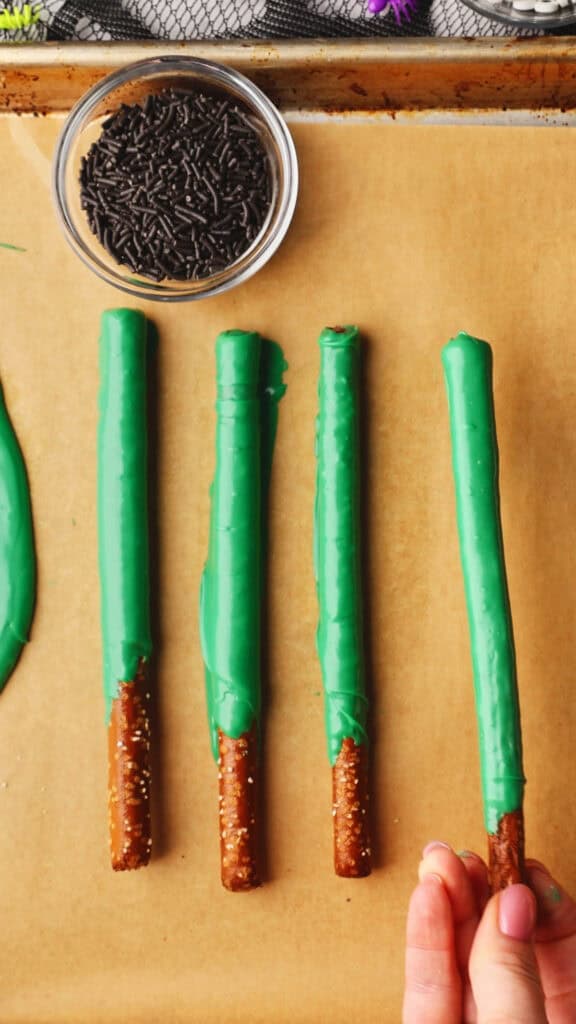
Step 1: Pour green candy melts in puddles on parchment paper and twirl to coat pretzel rods.
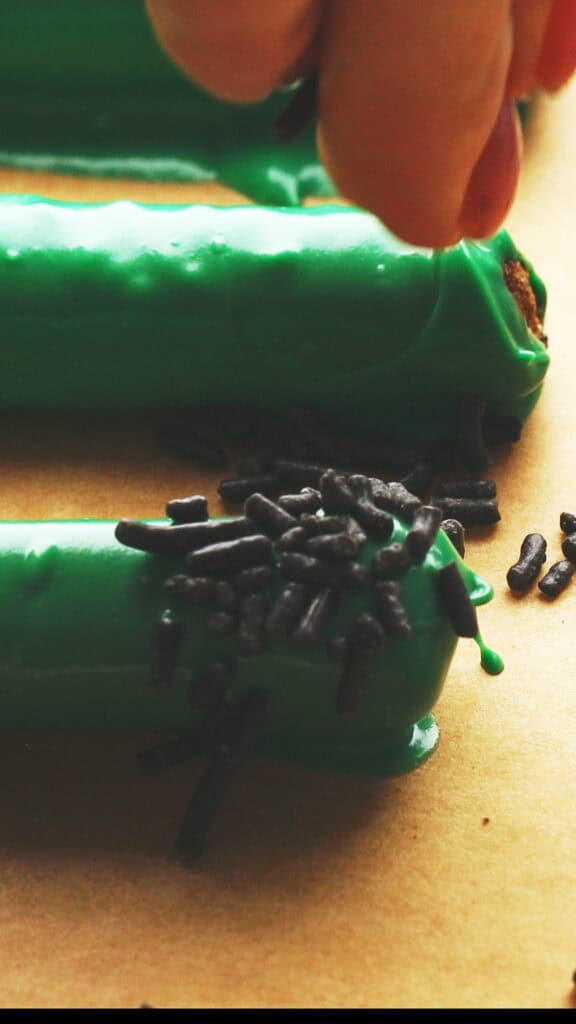
Step 2: While the coating is still wet, sprinkle chocolate jimmies at the top for messy “hair.”
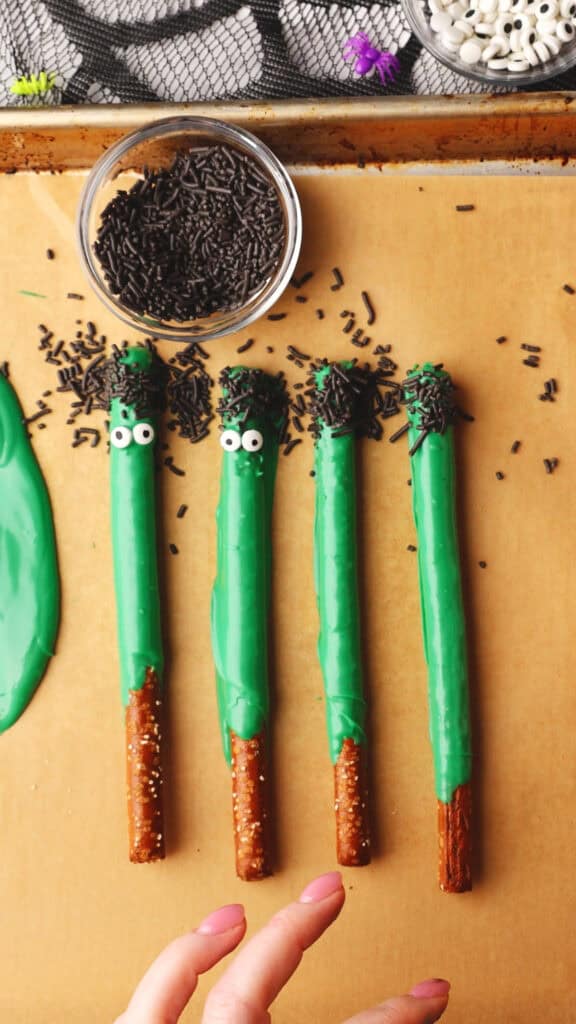
Step 3: Press in two candy eyes just below the hairline.
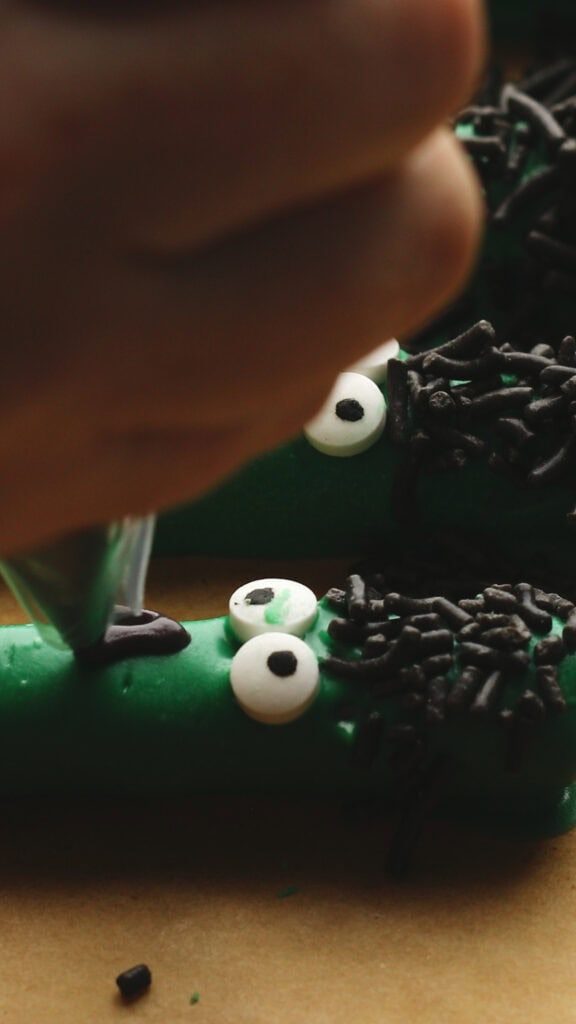
Step Four: Once everything has set, use a piping bag with melted black candy melts to draw stitches across the face and a crooked smile.
Expert Tips
- Decorate right away. Candy melts set within minutes, so add your toppings immediately after coating. If the coating starts to harden before you’re ready, pop it back in the microwave for 10 seconds to re-melt.
- Pour puddles of candy directly on parchment. This method keeps things simple and gives you control over how much coating goes on each pretzel.
- Work in small batches. Melt one color at a time and complete those designs before moving to the next. This keeps your candy at the perfect consistency and prevents it from cooling too much.
- Chill briefly if you’re in a hurry. Stick your decorated pretzel rods in the fridge for 10 minutes to speed up the setting process—just don’t leave them in too long or condensation can make them sticky.
- Turn it into a Halloween craft. Set up a decorating station with all the toppings in small bowls and let your kids create their own designs.
Recipe FAQ’s
I prefer pouring puddles of melted candy directly onto parchment paper and twirling the pretzel in the candy until coated. This makes it easier to switch between colors without washing containers, and if any candy hardens on the parchment, you can peel it up and remelt it nothing goes to waste.
These keep beautifully for up to a week in an airtight container at room temperature. I actually think they taste best after sitting for a day, the pretzel softens just slightly, and the candy coating firms up perfectly. If you’re making them for a party, I’d make them 2-3 days ahead so you’re not scrambling last minute.
A piping bag with a #3 Wilton tip gives you the cleanest lines, but a zip-top bag with a tiny corner snipped works in a pinch. Just cut the smallest corner possible you can always make it bigger, but you can’t make it smaller. The tip gives you more control for detailed faces, especially on the Frankensteins and jack-o’-lanterns.
If you want to use real chocolate, go with high-quality dipping chocolate like Ghirardelli, Guittard, or Callebaut. You’ll need to temper it properly (heat to 115°F, cool to 80°F, then warm to 88-90°F). Honestly though, candy melts are way easier for this recipe.
Storage & Make-Ahead
- Room Temperature: Store decorated pretzel rods in an airtight container at room temp for up to 1 week. They actually taste best after sitting for a day—the pretzel softens slightly and the candy coating firms up perfectly.
- Avoid the fridge: Refrigeration causes condensation, making the candy coating sticky and potentially leading to white “blooming.” Room temperature storage keeps them fresh and crunchy.
- Make Ahead: You can make these 2-3 days in advance for parties. Store them in an airtight container at room temperature until you’re ready to serve or gift them.
- Gifting: Wrap some pretzel rod in a clear cellophane bag and tie with Halloween ribbon—they travel well and make sweet little treats for trick-or-treaters or party favors.
Easy Halloween Pretzel Rods (5 Designs)
Equipment
- Spoon or offset spatula
- Piping bags (or zip-top bags with tiny corner snipped)
- knife or toothpick (for scoring witch finger knuckles)
Ingredients
- 40 pretzel rods
- 6 oz (170 g) white candy melts
- 6 oz (170 g) green candy melts
- 6 oz (170 g) orange candy melts
- 4 oz (113 g) black candy melts (for decorating details)
- 16 candy eyeballs
- 2 tablespoons chocolate jimmies
- 10 almond slices
Instructions
- Prep your workspace: Line a baking sheet with parchment paper.
- Melt candy melts or white chocolate in 30-second intervals in the microwave, stirring between each round until smooth.
- Spoon melted candy onto the parchment paper in a long puddle
- Place each pretzel rod into a puddle of melted candy, rolling the pretzel and coating about ⅔–¾ of the rod. Hold the pretzel up to drain excess melted candy.
- Add toppings while the coating is still wet so everything sticks before the candy sets.
- Allow pretzel rods to harden at room temperature for 10–15 minutes, or refrigerate for 10 minutes to speed up the process.
- Once the base coating is firm, melt black candy melts and pour into a piping bag fitted with a #3 Wilton tip to draw faces, stitches, or other details. Use the same piping method with white candy melts for mummy bandages.
Design-Specific Instructions:
- Mummy: Coat with white candy melts, add 2 candy eyeballs while wet. Once set, pipe white candy melt zigzag lines for bandages.
- Witch Fingers: Break the bottom of the pretzel rods off, or you can leave them whole if you prefer. Coat with green candy melts, press almond slice into tip while wet. Score shallow lines for knuckles.
- Frankenstein: Coat with green candy melts, sprinkle chocolate jimmies at top while wet for hair, press in 2 candy eyes. Once set, pipe black candy melts for stitches and smile.
- Ghost: Coat with white candy melts. Optional: spoon extra white candy at the bottom for "ghost tails." Once set, use a piping bag fitted with a #3 Wilton tip and melted black candy melts to pipe two eyes, then pipe a small "O" mouth.
- Jack-O'-Lantern: Coat with orange candy melts. Once set, pipe jack-o'-lantern faces with black candy melts.
Video
Notes

Did you try this recipe?
Let us know what you thought by leaving a comment below and sharing it on Instagram, Facebook, & Pinterest!
Thank you!
-Sarah