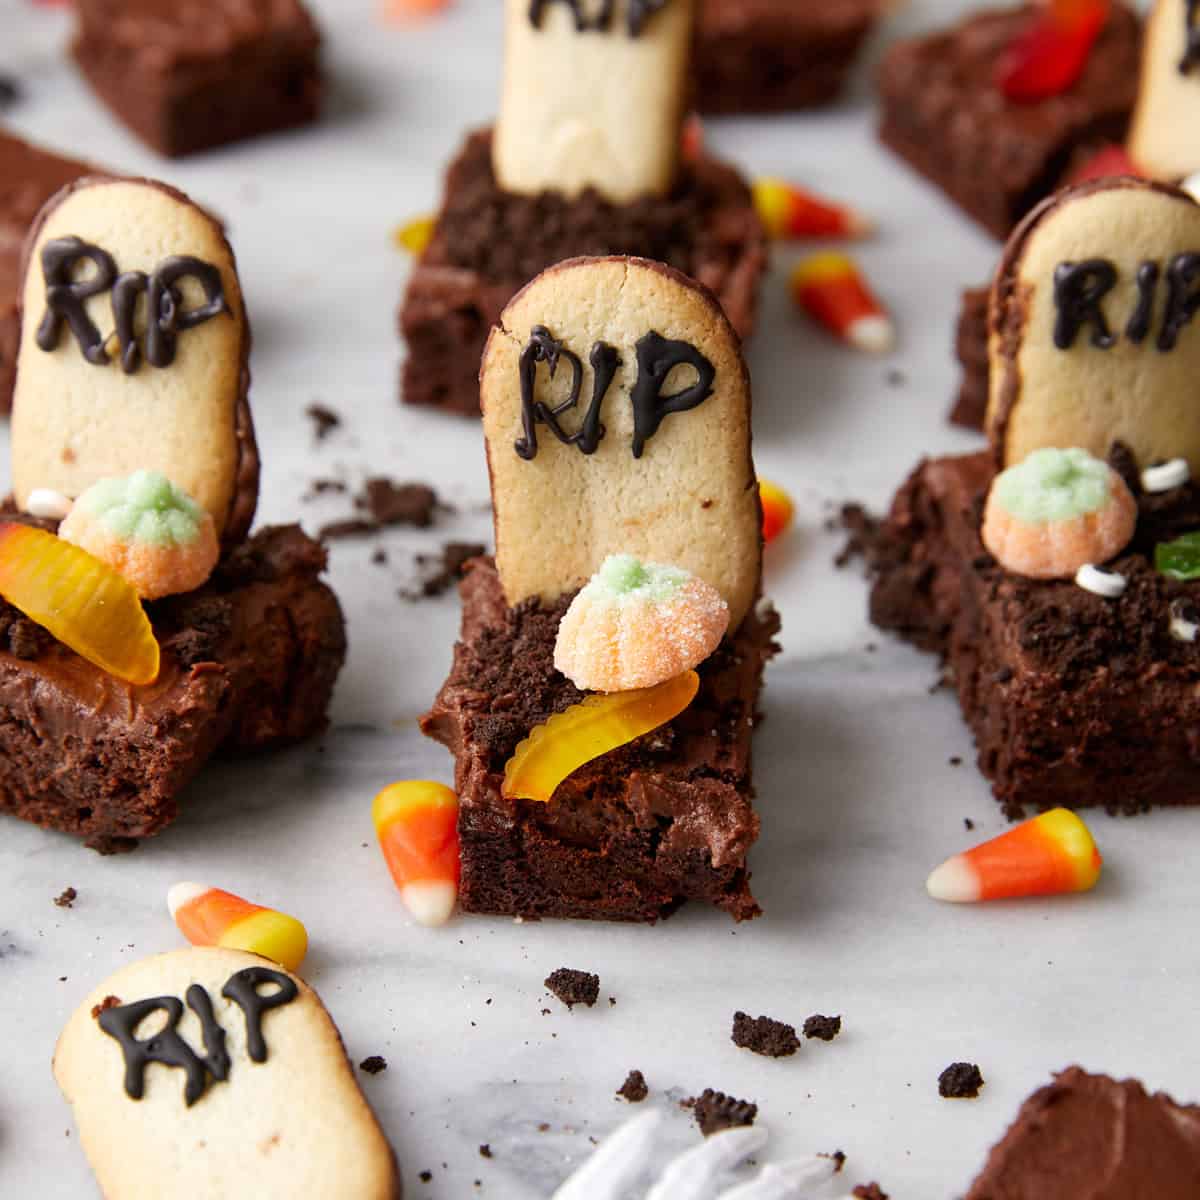


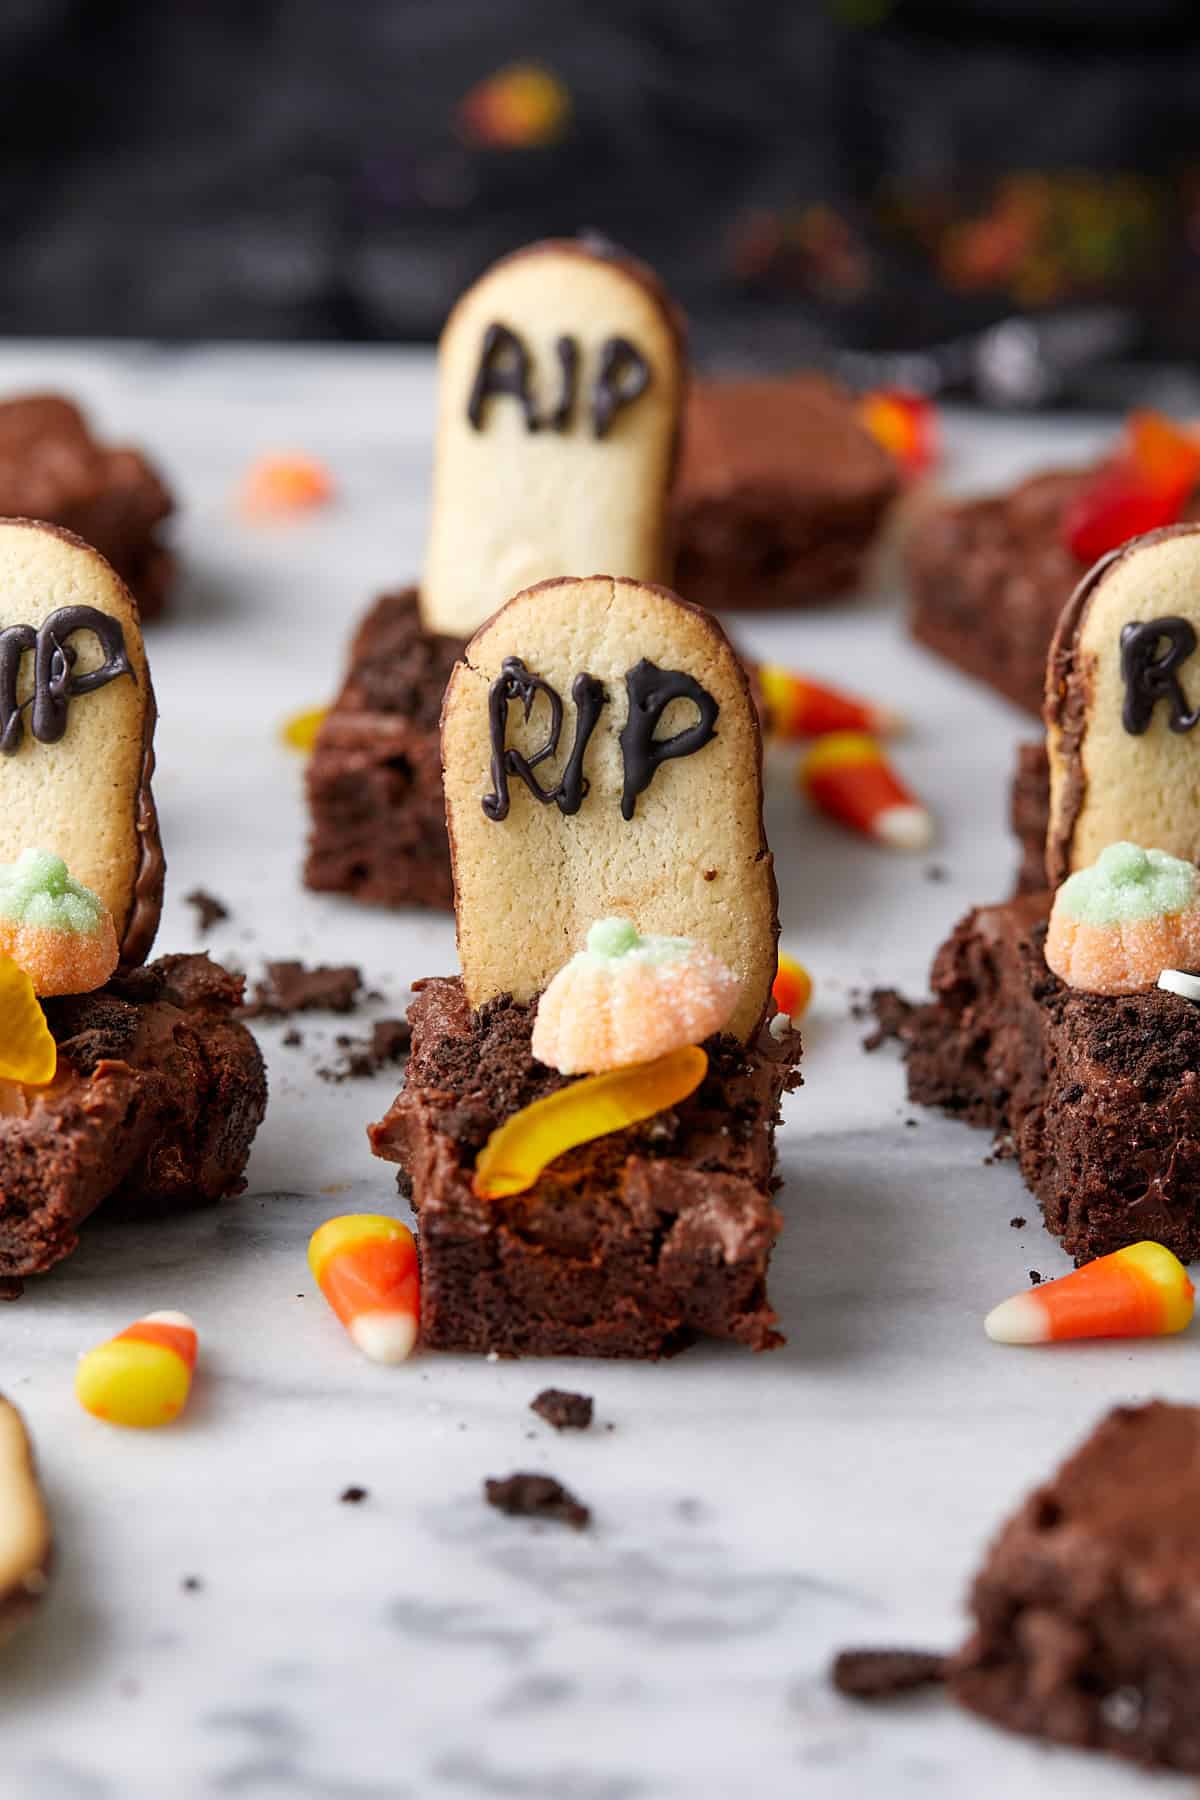
Transform a simple pan of brownies into a spooky graveyard scene with Milano cookie tombstones, crushed Oreo “dirt,” and your favorite Halloween candy. These Halloween brownies are the perfect combination of fun and delicious, impressive enough for parties but easy enough for busy weeknights with the kids.
Save this Recipe!

It’s that time of year when Halloween decorations are taking over the stores, costume planning is in full swing, and everyone’s craving something spooky-sweet. These Graveyard Brownies are exactly what you need: a fun, festive dessert that looks impressive but comes together surprisingly easily.
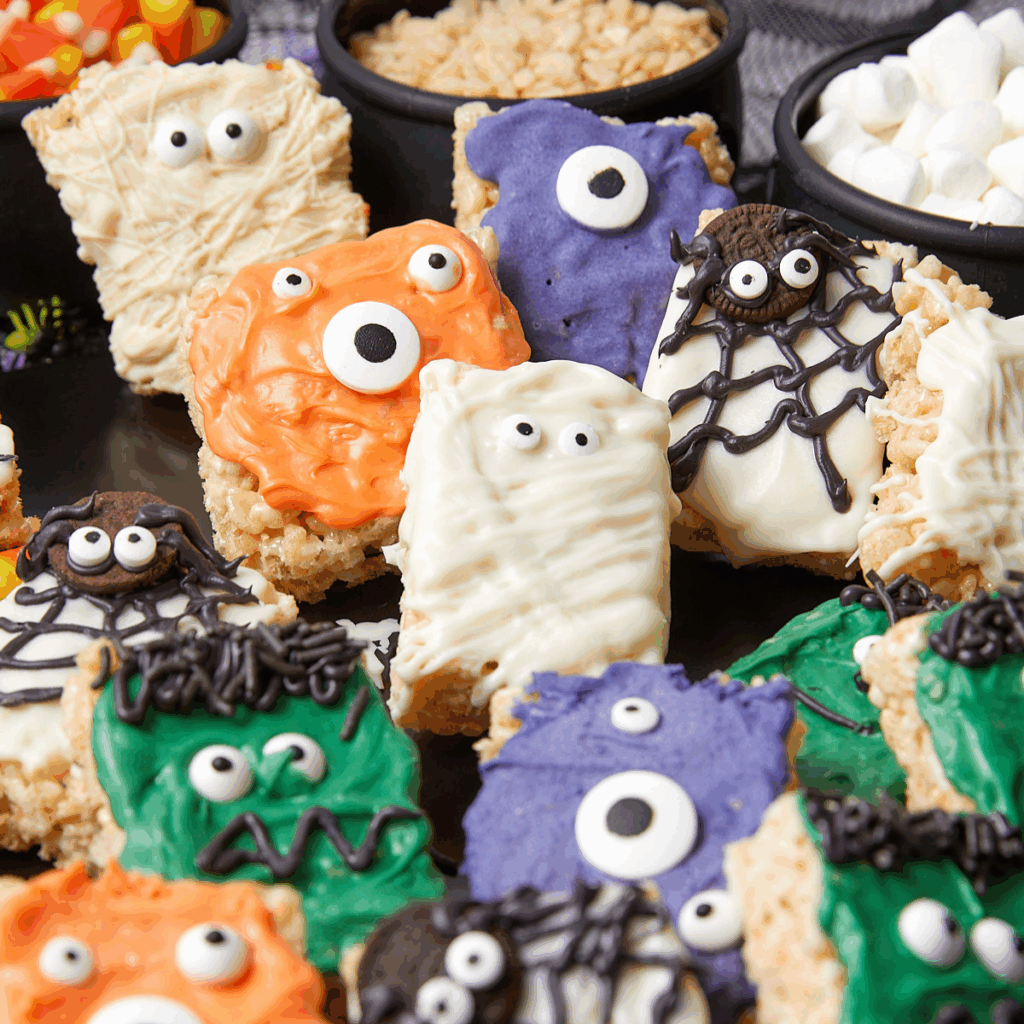
If you’re looking for more no-bake Halloween treats, try my Halloween Pretzel Rods (ready in 15 minutes!) or my Halloween Rice Krispie Treats with four adorable designs, both of which are perfect for kids to decorate!
Why you’ll love this recipe
- From-scratch brownies that taste incredible – These aren’t from a box, but they’re just as easy with way better flavor and that signature shiny, crackly top.
- Box mix works too! – Short on time? Use your favorite brownie mix for the base, the decorations are what make these special.
- Make-ahead friendly – Bake the brownies up to 3 days ahead and decorate whenever you’re ready.
- Customizable decorations – Use whatever Halloween candy you have on hand or love.
Ingredients
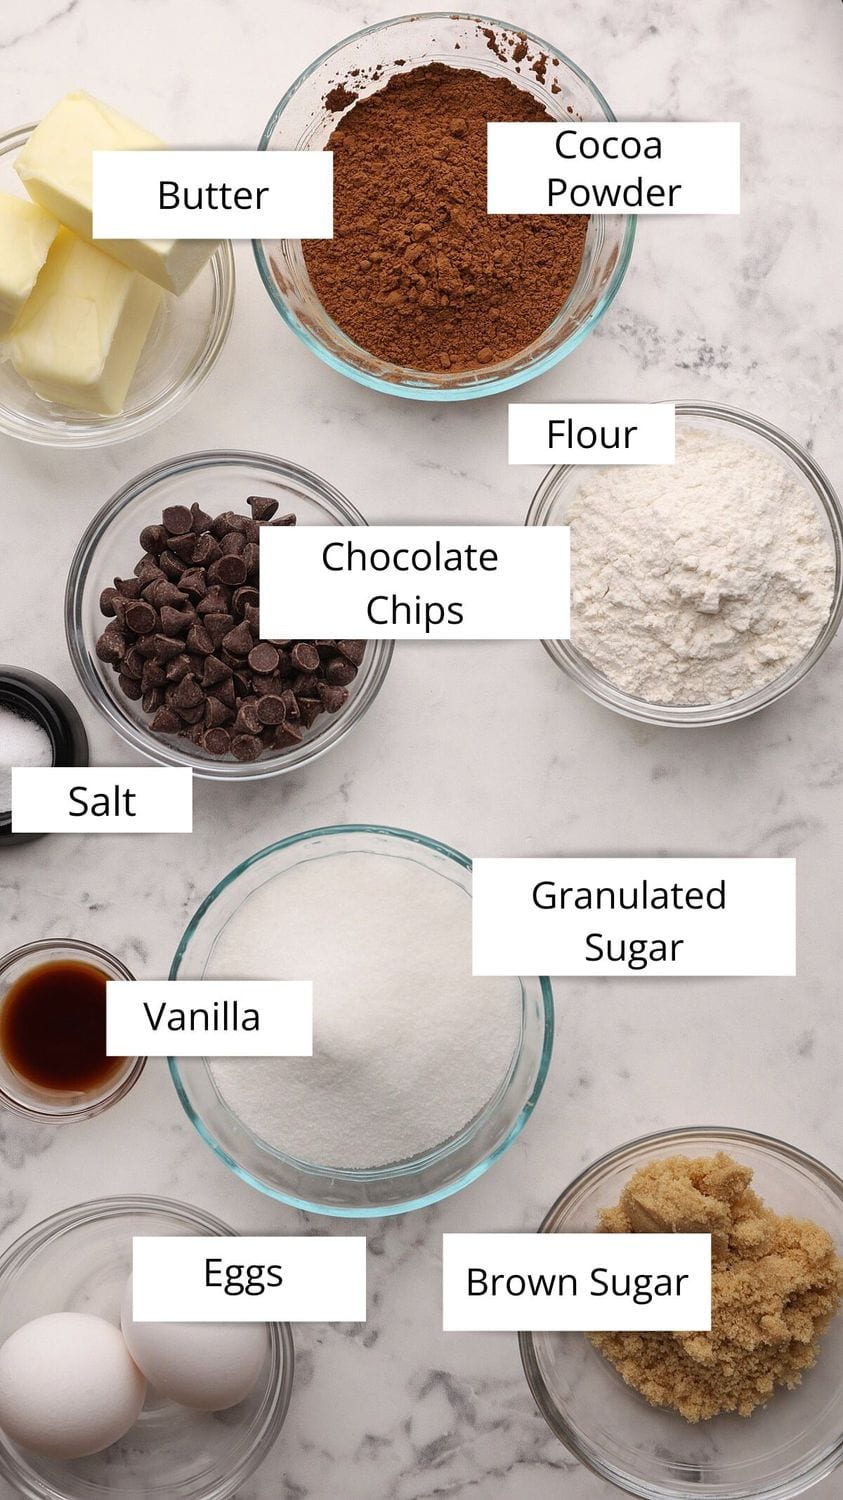
For the Brownies:
- Melted butter (not softened) creates that fudgy texture and helps achieve the signature crackly top.
- Brown sugar adds moisture and a subtle caramel flavor, making these brownies extra fudgy.
- Room temperature eggs incorporate more smoothly and create a better texture.
- Sifted cocoa powder prevents lumps and gives you a smoother batter.
- Chocolate chips (optional but highly recommended) – those melty chocolate pockets take these from “delicious brownies” to “the best brownies I’ve ever had.”
For the Decorations:
- Milano cookies are my go-to for tombstones because they’re sturdy, the right shape, and easy to find. Not a Milano fan? Nutter Butter cookies, Vienna Fingers, or cut graham crackers into tombstone shapes.
- Black writing icing is the easiest option for the tombstone lettering. Grab a tube from the baking aisle.
See recipe card below for a full list of ingredients and measurements.
Substitutions and Variations
Using a Box Mix:
- Short on time? Absolutely, use a box brownie mix! Follow the package directions for an 8×8-inch pan. The Ghirardelli brand brownies are my favorite!
- Pro tip: For fudgier box mix brownies that hold tombstones better, slightly underbake them by 2-3 minutes.
Cookie Alternatives:
- No Milano cookies? Use Nutter Butters (already tombstone-shaped!), Vienna Fingers, vanilla wafers, or cut graham crackers into tombstone shapes.
- Gingersnap tombstones – Use gingersnap cookies for a spiced twist.
This recipe has not been tested with other substitutions or variations. If you replace or add any ingredients, please let us know how it turned out in the comments below!
Step by Step Instructions
Note: These instructions are for the from-scratch brownies included in the recipe card. If you’re using a box mix, follow the package directions for an 8×8-inch pan, let them cool completely, then skip to Step 6 to make the frosting and decorate!
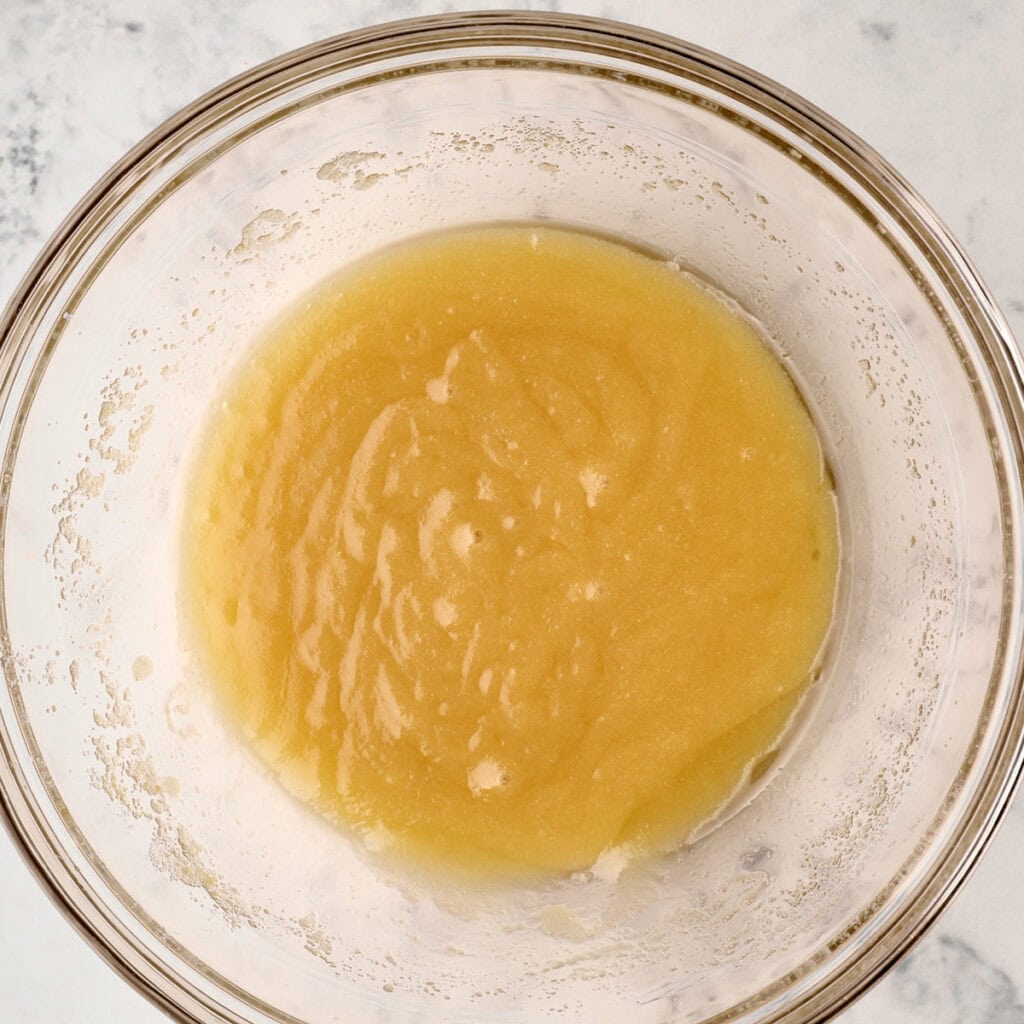
Step 1: In a medium saucepan or microwave-safe bowl, melt butter until fully liquid but not sizzling. Whisk in granulated sugar and brown sugar until glossy and thick.
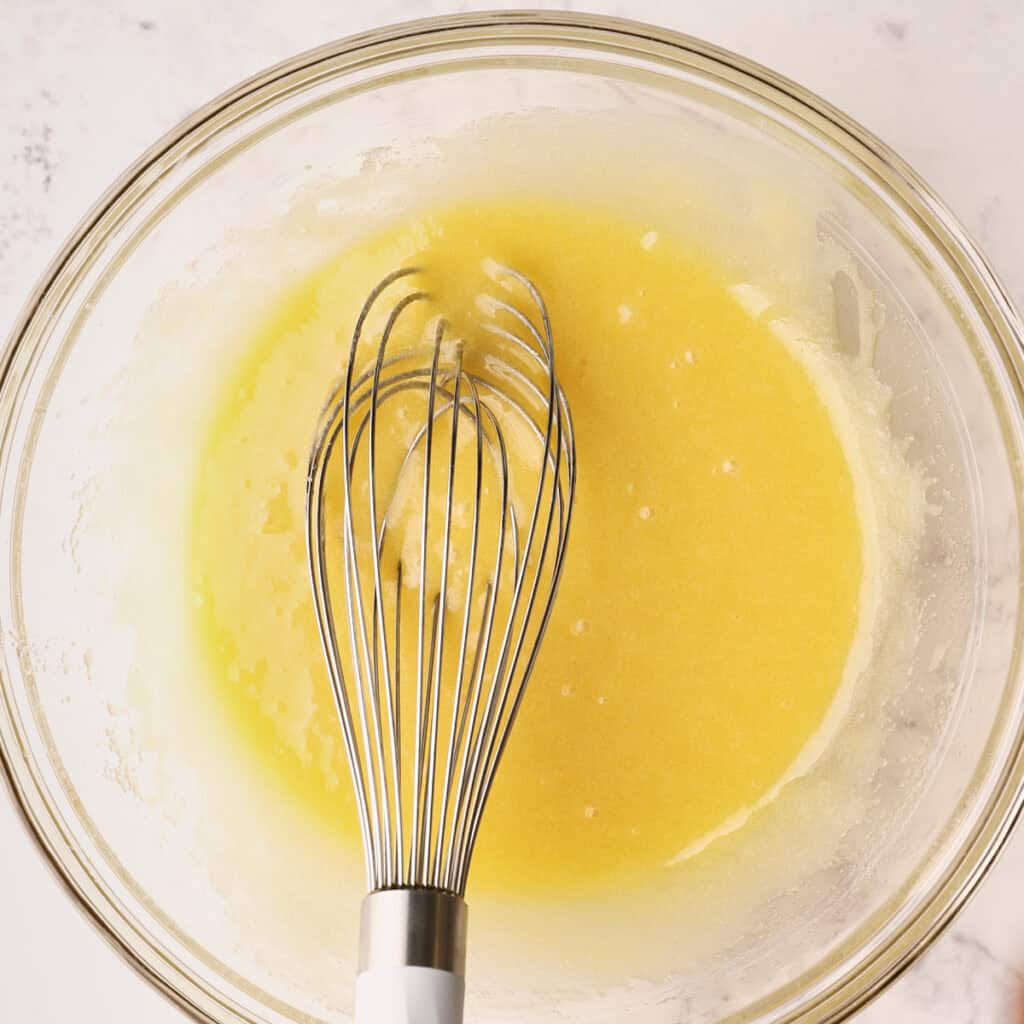
Step 2: Whisk in the egg, then vanilla extract. Whisk vigorously for 30–45 seconds until the mixture looks smooth and slightly lighter in color.
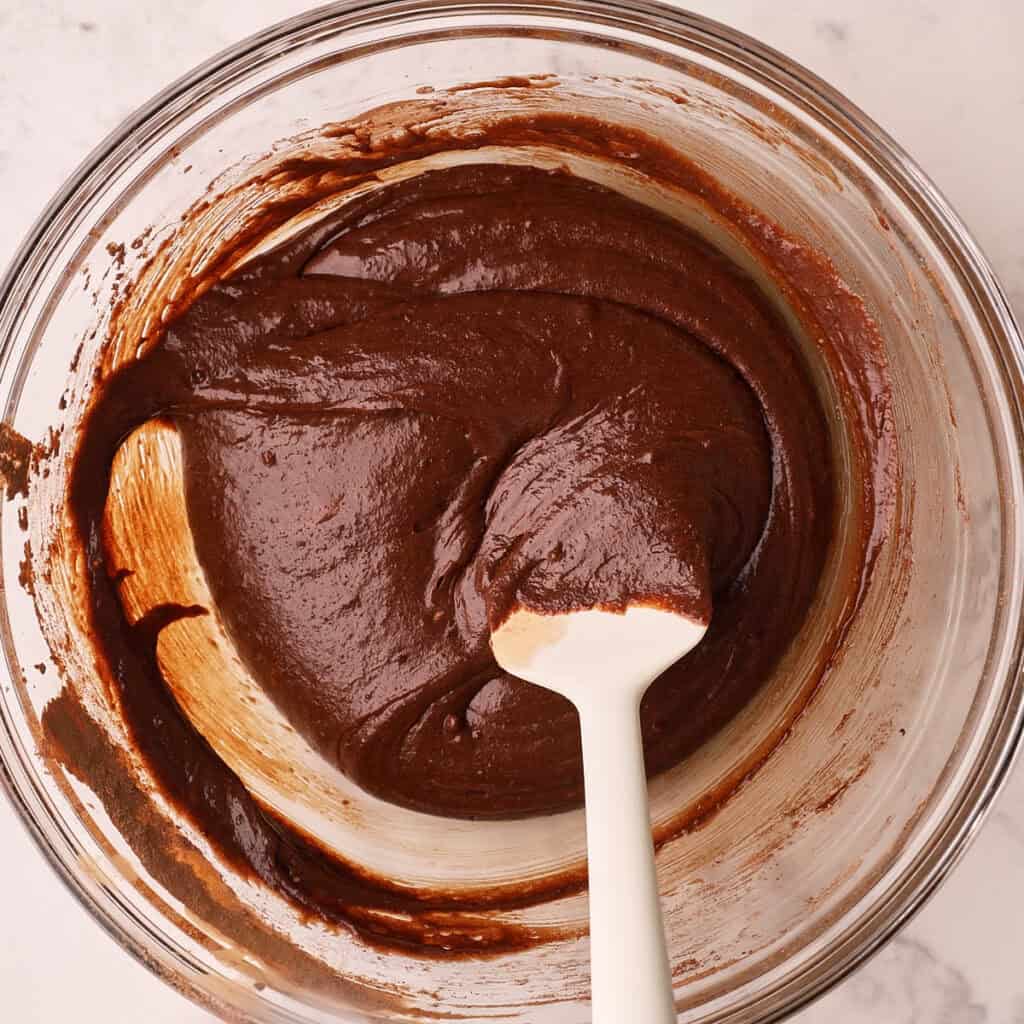
Step 3: In a separate bowl, whisk together flour, sifted cocoa powder, and salt. Gently fold into the wet mixture until just combined. No streaks of flour should remain, but don’t overmix.
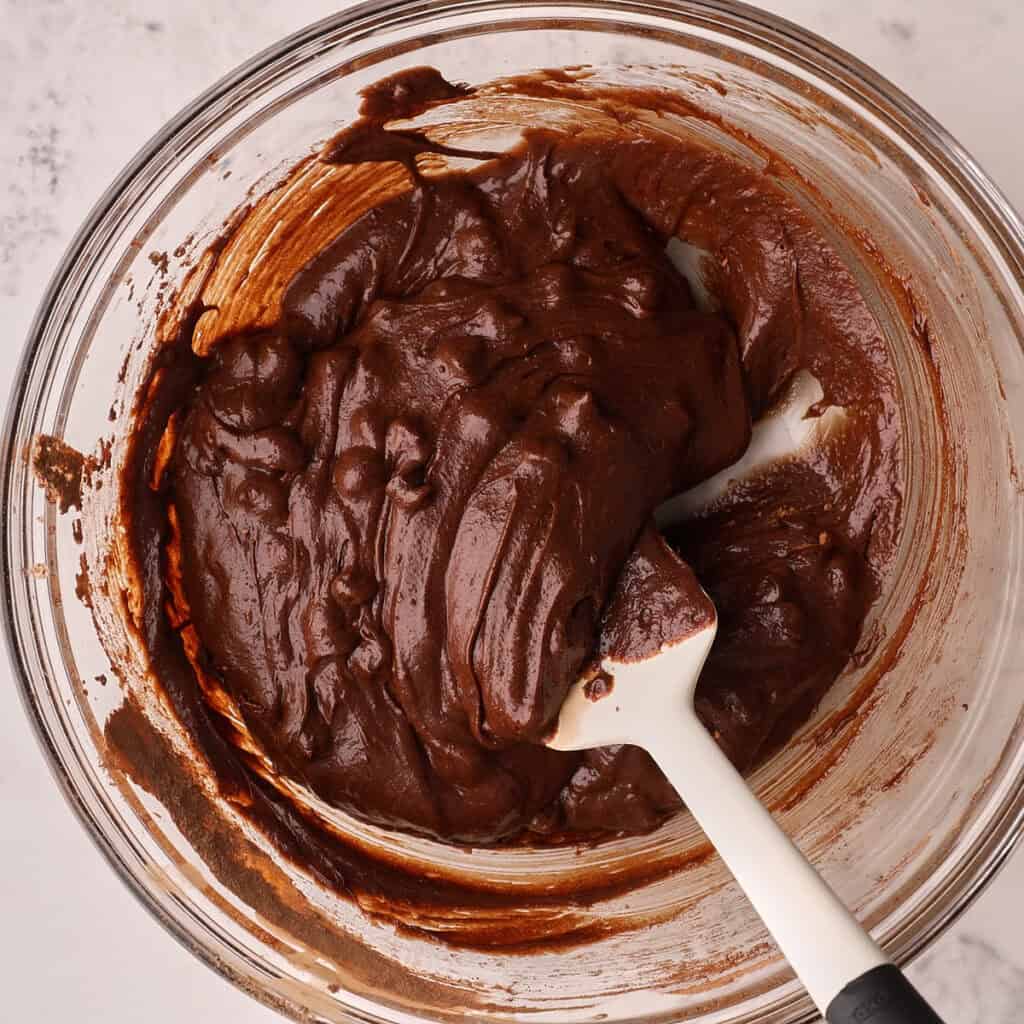
Step 4: Fold in chocolate chips.
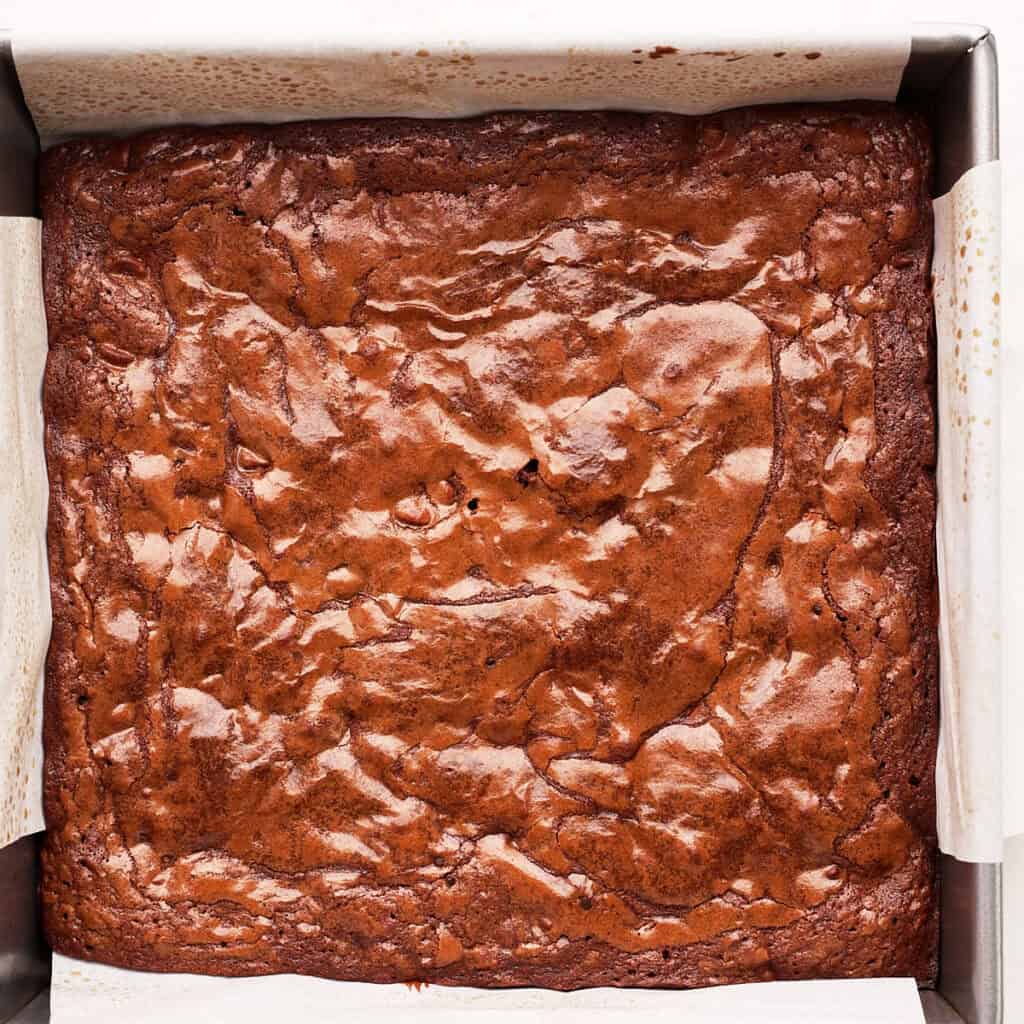
Step 5: Spread batter evenly in prepared pan. Bake 28-32 minutes, until edges are set and a toothpick inserted 2 inches from the edge comes out with moist crumbs (not wet batter). The center should look slightly soft and glossy, it will set as it cools. Cool completely in pan for at least 1 hour before frosting.

Step 6: Make the frosting: Beat softened butter until creamy (about 30 seconds). Add powdered sugar, cocoa powder, vanilla, and salt; mix on low until combined. Add milk or heavy cream 1 tablespoon at a time until smooth and spreadable (about 5 tablespoons total).
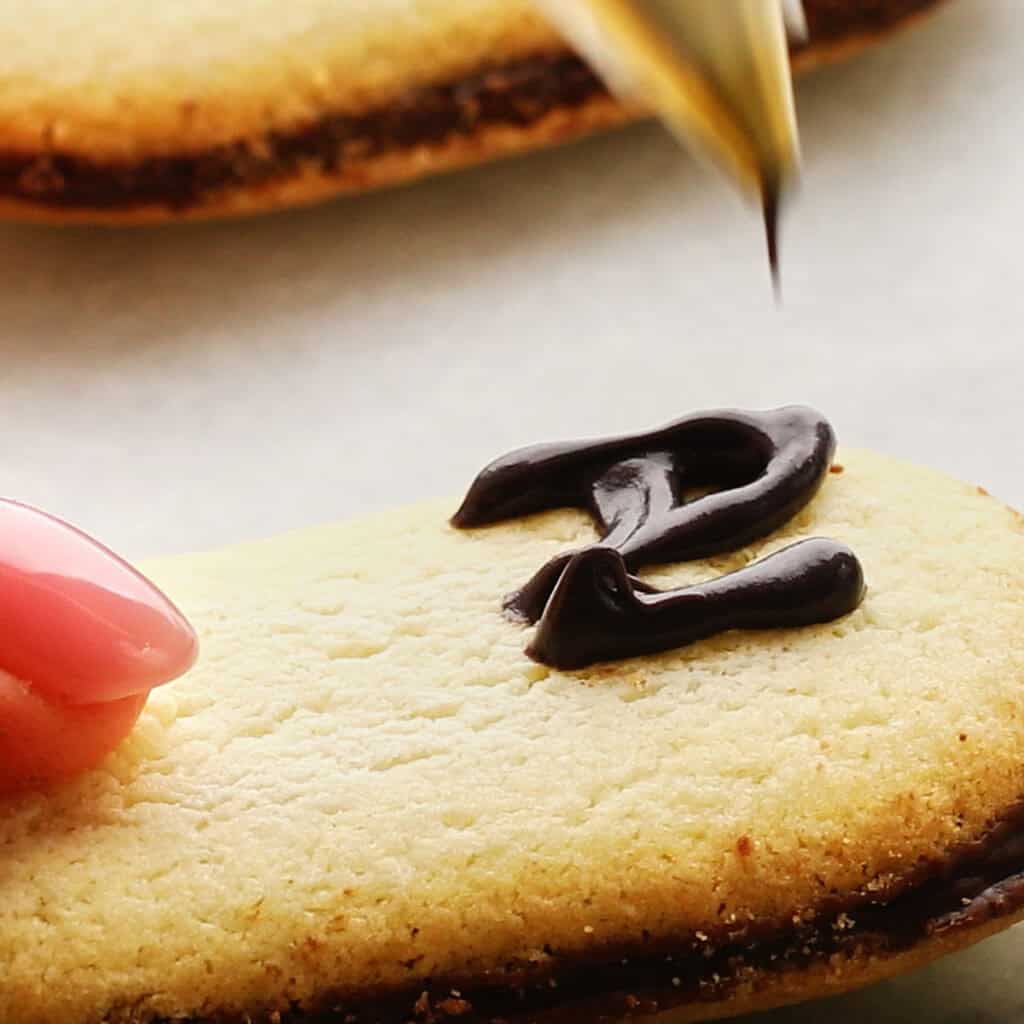
Step 7: Using black writing icing, write “RIP,” “BOO,” “EEK,” or spooky messages on Milano cookies.
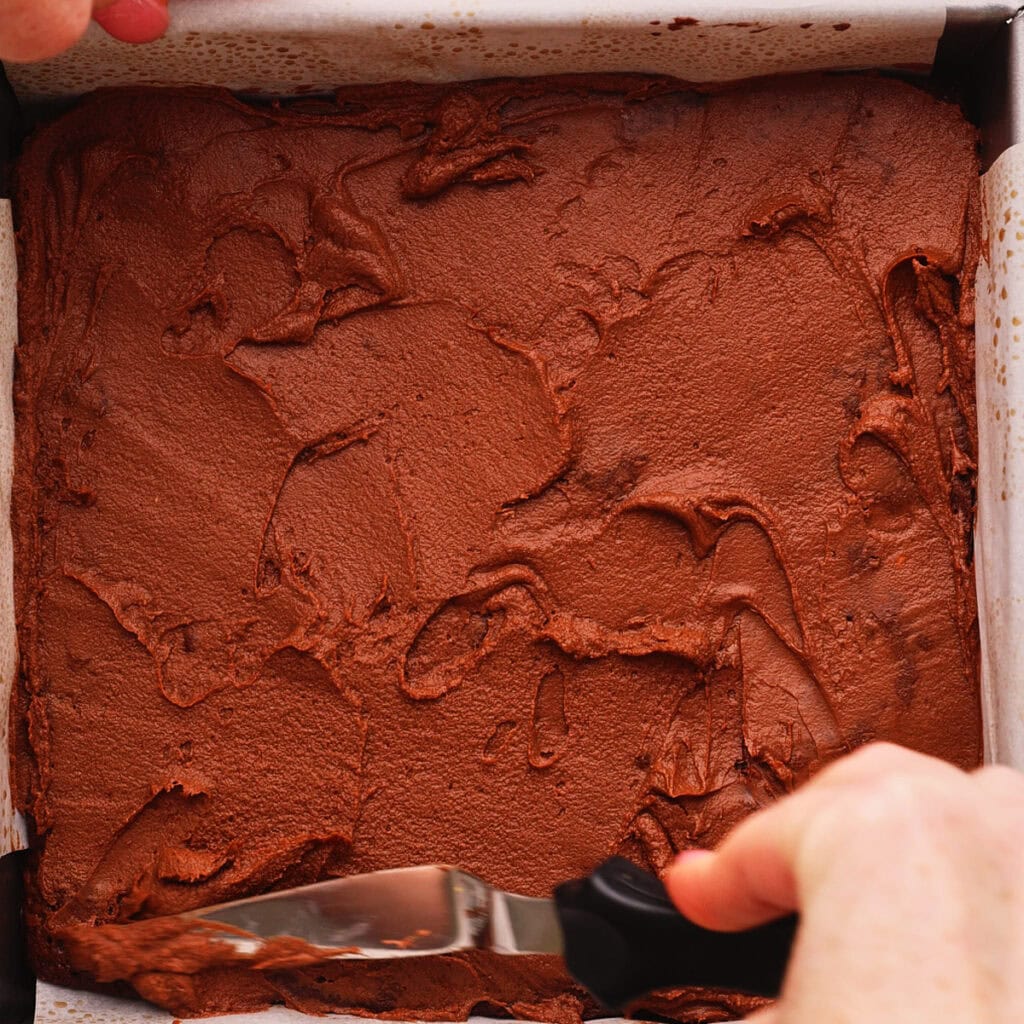
Step 8: Spread a thin layer of chocolate frosting over the cooled brownies. Pull up on the parchment paper and transfer the brownies to a flat surface. Cut the brownies into rectangles (I cut mine 4 x 3 to make 12 rectangular brownies).

Step 9: Crush chocolate sandwich cookies (like Oreos) into fine crumbs (food processor or zip-top bag with rolling pin).
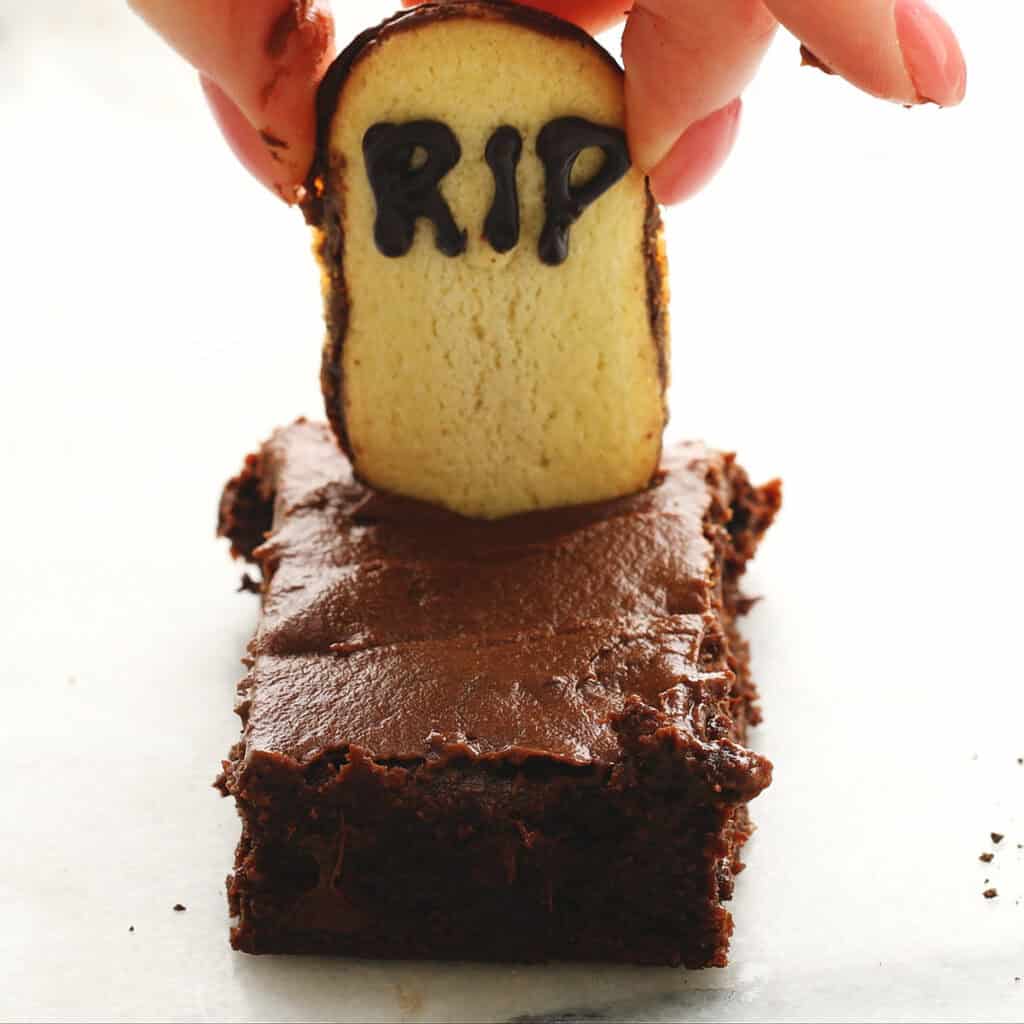
Step 10: Press Milano tombstones into brownies about one-third of the way down so they stand upright.
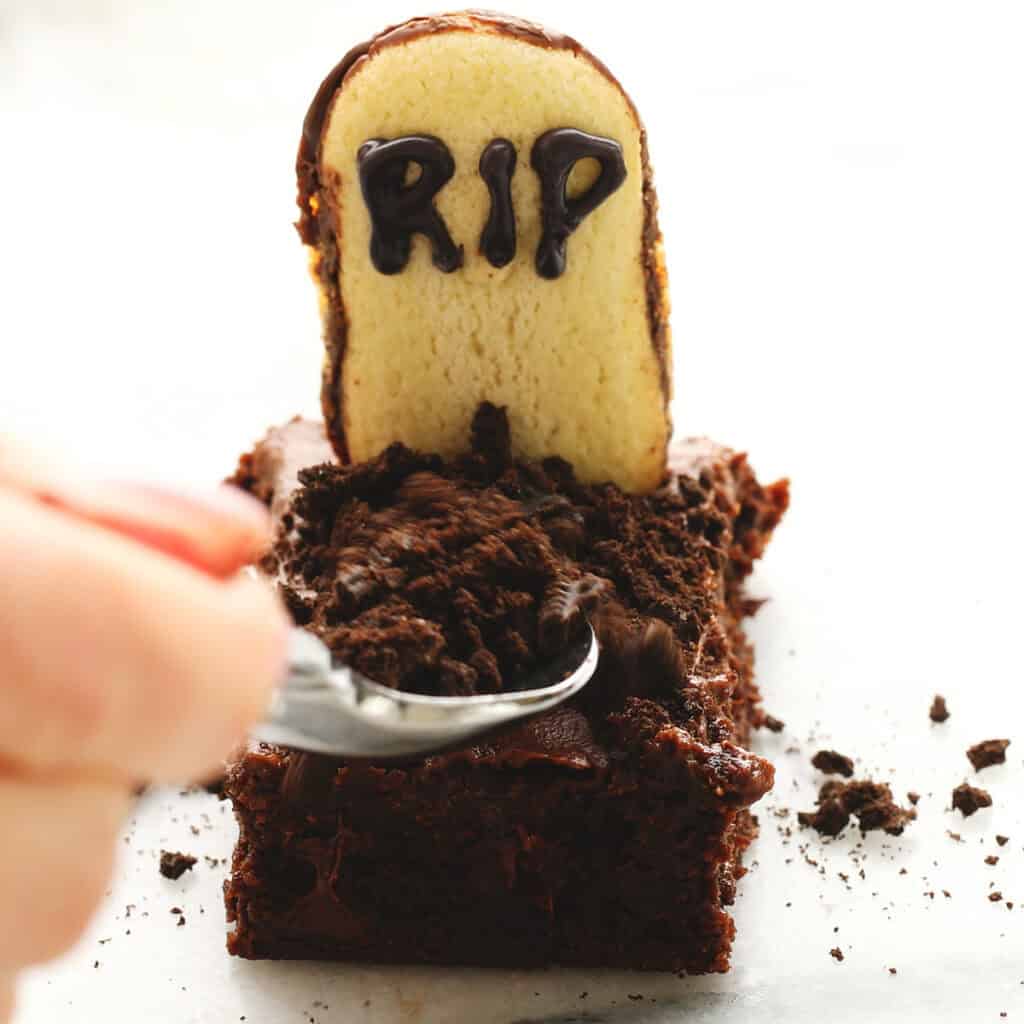
Step 11: Sprinkle Oreo crumbs evenly over frosting, pressing gently so they stick.
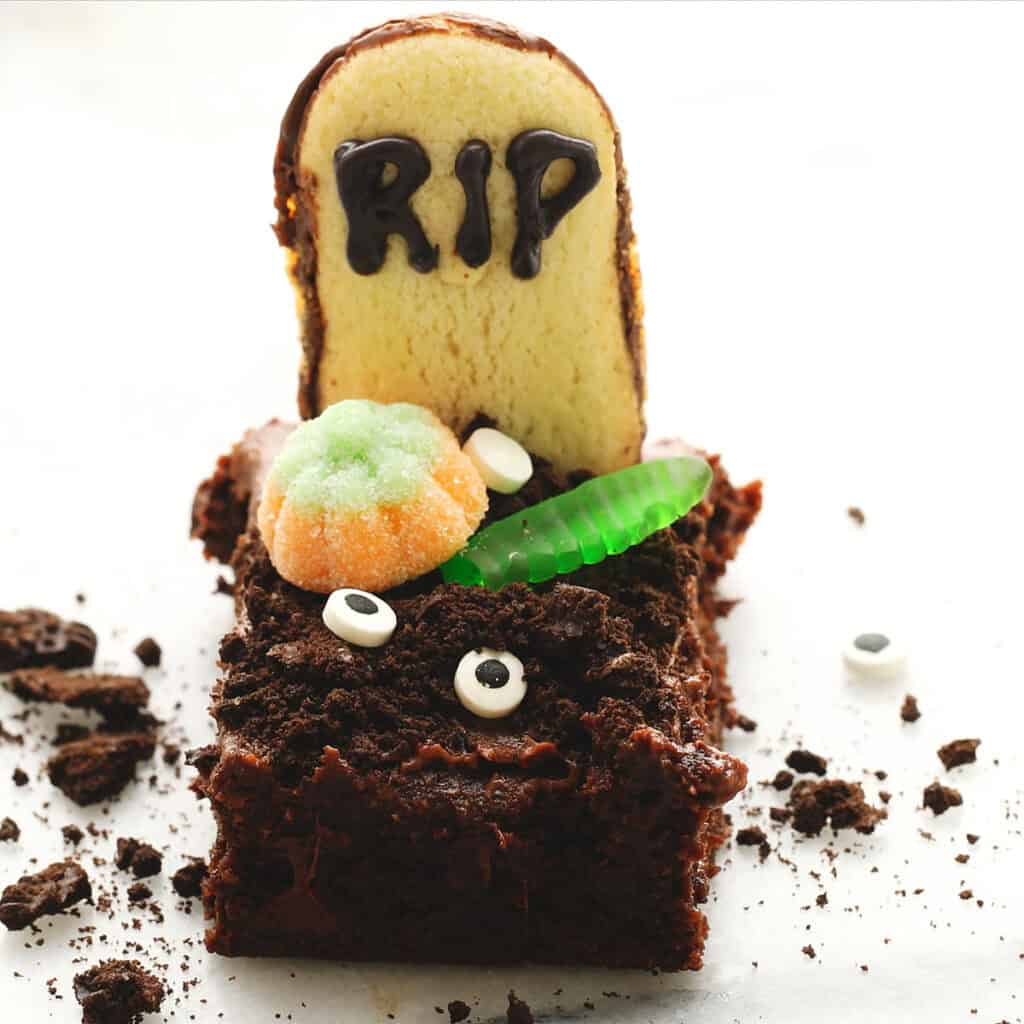
Step 12: Arrange candy pumpkins, gummy worms (cut in half so they look like they’re crawling out), candy eyeballs, and any other Halloween decorations around the tombstones.
Expert Tips
- Don’t overbake the brownies. The center should still look slightly soft and glossy when you pull them out. They’ll continue to set as they cool, giving you that perfect fudgy texture.
- Let the brownies cool completely before frosting. Warm brownies = melted frosting and decorations that slide right off. Give them at least an hour.
- Use the parchment overhang. Lining your pan with parchment and leaving some hanging over the edges makes it easy to lift the whole brownie slab out for clean cutting.
- Work quickly when decorating. Once you add the frosting, insert the tombstones right away while everything is still sticky.
FAQs
Make sure the brownies are completely cool and fudgy (not overbaked). Press each Milano cookie about one-third of the way into the brownie. If they won’t stay, add a small dab of frosting to the bottom of the cookie as “glue.”
Bake brownies up to 3 days ahead and store wrapped at room temperature. Make frosting up to 2 days ahead (refrigerate, then bring to room temp before using). Decorate 1-2 days before serving.
The secret is in the sugar! Whisk the granulated and brown sugar into the warm, melted butter until glossy and thick. Whisking the sugar into warm butter helps it migrate to the top of the batter as the brownies bake, creating that signature shiny, crackly top we all love!
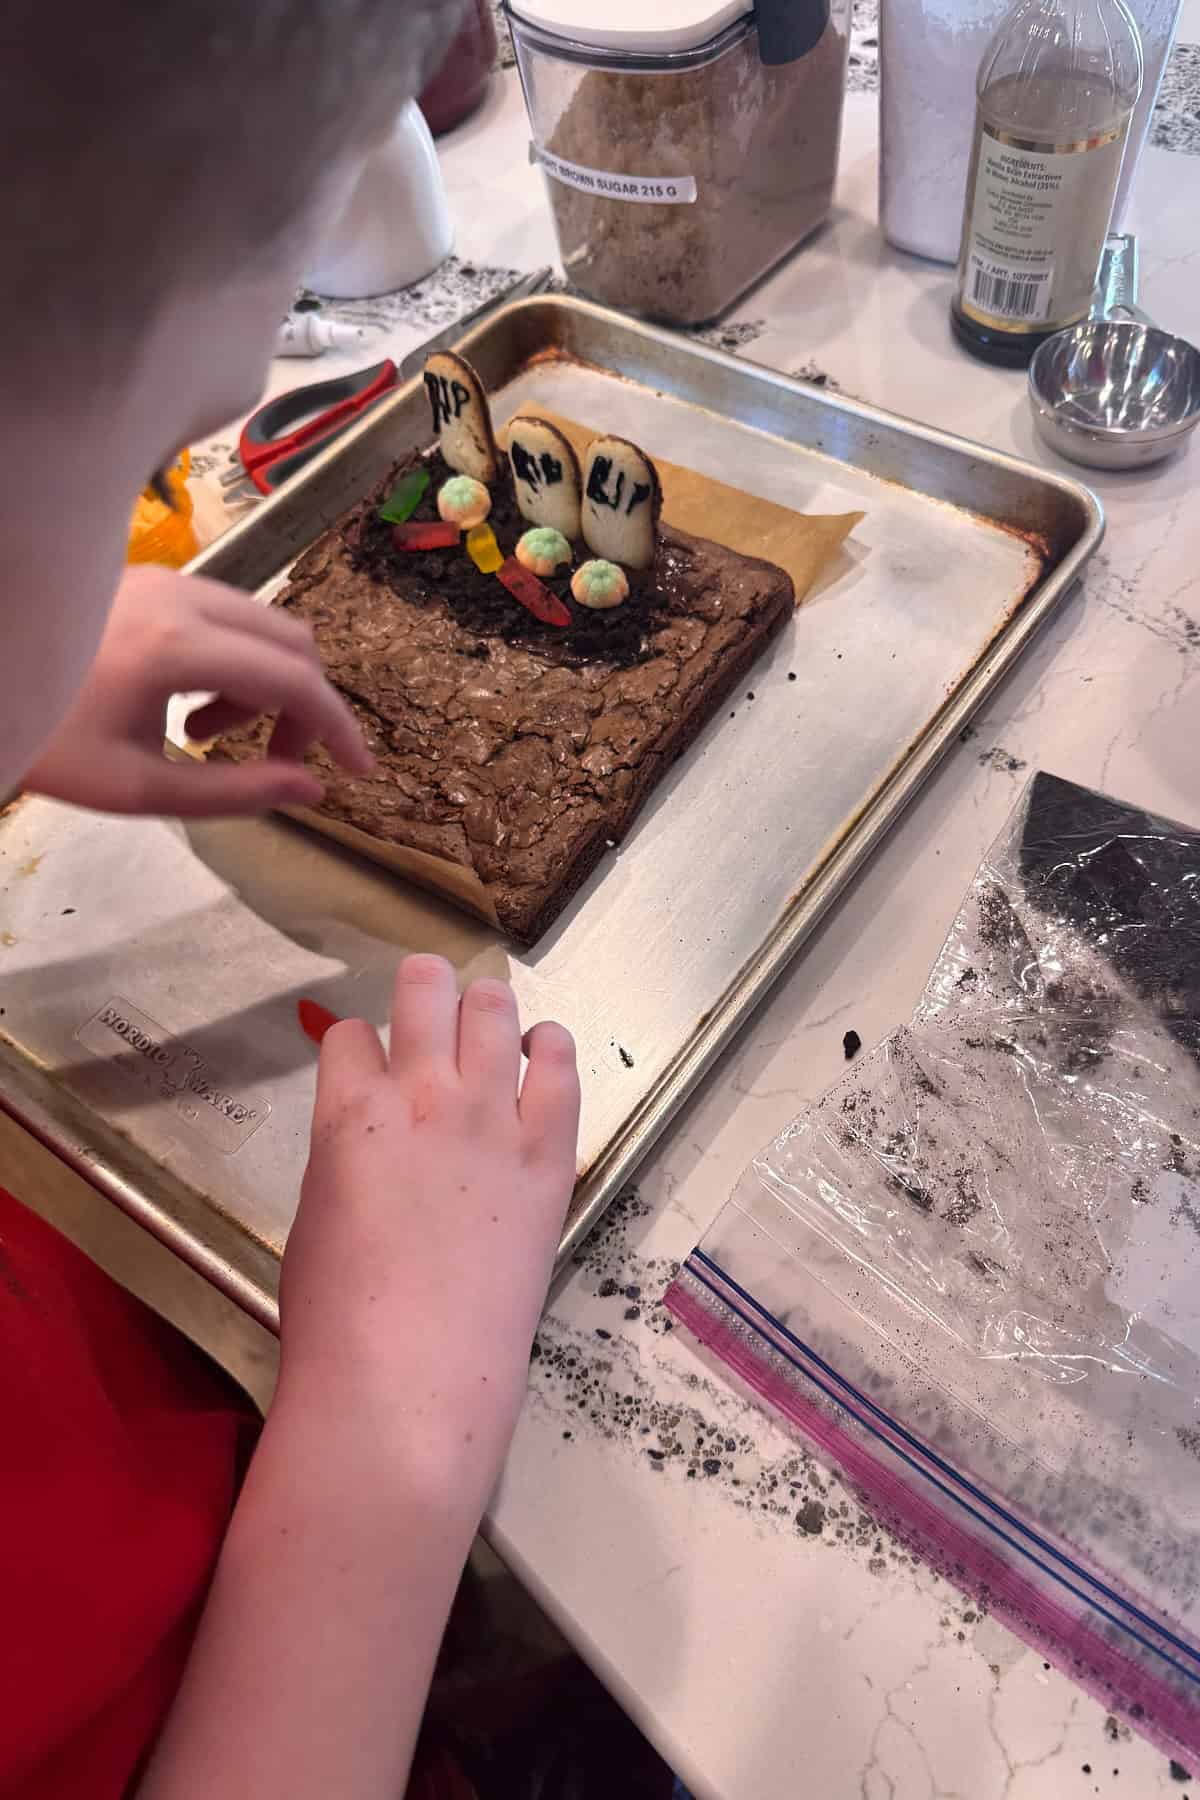
My son had fun decorating my test batches!
Storage
Room Temperature & Refrigerator
Undecorated brownies: Store in an airtight container at room temperature for up to 3 days, or refrigerate for up to 1 week.
Decorated brownies: Store in an airtight container at room temperature for 2-3 days. The Milano cookies will soften over time, so these are best enjoyed fresh. Avoid refrigerating decorated brownies as the cookies will get too soft.
Freezing Instructions
I recommend freezing the undecorated brownies wrapped tightly in plastic wrap and foil for up to 3 months. Thaw overnight in the refrigerator before decorating.


Did you try this recipe?
Let us know what you thought by leaving a comment below and sharing it on Instagram, Facebook, & Pinterest!
Thank you!
-Sarah
Recipe

Graveyard Brownies (Easy Halloween Treat!)
Equipment
- Medium saucepan or microwave-safe bowl
Ingredients
Brownies
- ½ cup 10 tablespoons / (142 g) unsalted butter, melted
- 1 cup (200g) granulated sugar
- ¼ cup (50g) light brown sugar, packed
- 1 large egg room temperature
- 1½ teaspoons pure vanilla extract
- ⅔ cup (75g) all-purpose flour
- ½ cup (50g) unsweetened cocoa powder, sifted
- ½ teaspoon Diamond Crystal kosher salt, for table salt, (or ¼ teaspoon table salt)
- 3.5 oz (100g) chocolate chips, optional, but highly recommended
Chocolate Frosting
- 4 tablespoons (57g) ½ stick unsalted butter, softened
- 1 cup (120g) powdered sugar
- 3 tablespoons unsweetened cocoa powder
- 1 teaspoon vanilla extract
- 5 tablespoons milk or heavy cream or as needed
- Pinch of salt
Graveyard decorations
- 8-10 chocolate sandwich cookies like Oreos, crushed
- 6-8 Milano cookies
- 1-2 tablespoons black writing icing or melted chocolate
- 6-8 candy pumpkins
- 4-5 gummy worms cut in half
- Candy eyeballs or Halloween sprinkles, optional
Instructions
- Preheat oven to 350°F (177°C). Lightly grease an 8×8-inch metal pan with non-stick spray and line it with parchment paper (folded over the sides).
- In a medium saucepan or microwave-safe bowl, melt butter until fully liquid. Whisk in granulated sugar and brown sugar until glossy and thick.
- Whisk in egg, then vanilla. Whisk vigorously for 30-45 seconds until smooth and lighter in color.
- In a medium-sized bowl, whisk together flour, sifted cocoa powder, and salt. Gently fold dry ingredients into wet mixture until just combined.
- Fold in the chocolate chips until evenly distributed.
- Spread batter evenly in prepared pan. Bake 28-32 minutes until edges are set and a toothpick inserted 2 inches from edge has moist crumbs. Center should look slightly soft and glossy.
- Cool completely in pan for at least 1 hour.
Frosting
- Beat softened butter until creamy (about 30 seconds).
- Add powdered sugar, cocoa powder, vanilla, and salt. Mix on low until combined.
- Add milk 1 tablespoon at a time until smooth and spreadable (about 5 tablespoons total).
Assembly
- Using black writing icing, write "RIP" or spooky messages on Milano cookies.
- Spread a thin layer of chocolate frosting over cooled brownies.
- To cut brownies: Pull up on the parchment paper and transfer the brownies to a flat surface. Cut the brownies into rectangles. (I cut mine 4 x 3 to make 12 rectangular brownies). I found it easier to decorate them after they were cut.
- Sprinkle Oreo "dirt" over each frosted brownie rectangle, pressing gently.
- Press Milano tombstones into brownies about one-third down so they stand upright.
- Arrange candy pumpkins, gummy worms, and decorations around tombstones.
Video
Notes
Texture: Rich, dense, fudgy center with a crisp, shiny top—not cakey
Don’t overbake: Center should look slightly soft when removed; it sets as it cools
Make-ahead: Bake brownies up to 3 days ahead; store wrapped at room temperature. Decorate 1-2 days before serving
Storage: Airtight container at room temperature for 3 days or refrigerate up to 1 week
Pan size: Recipe is for 8×8-inch pan. For 9×13-inch, multiply all brownie ingredients by 1.5x
Leave a comment below & tag @thesassandsalt on social!