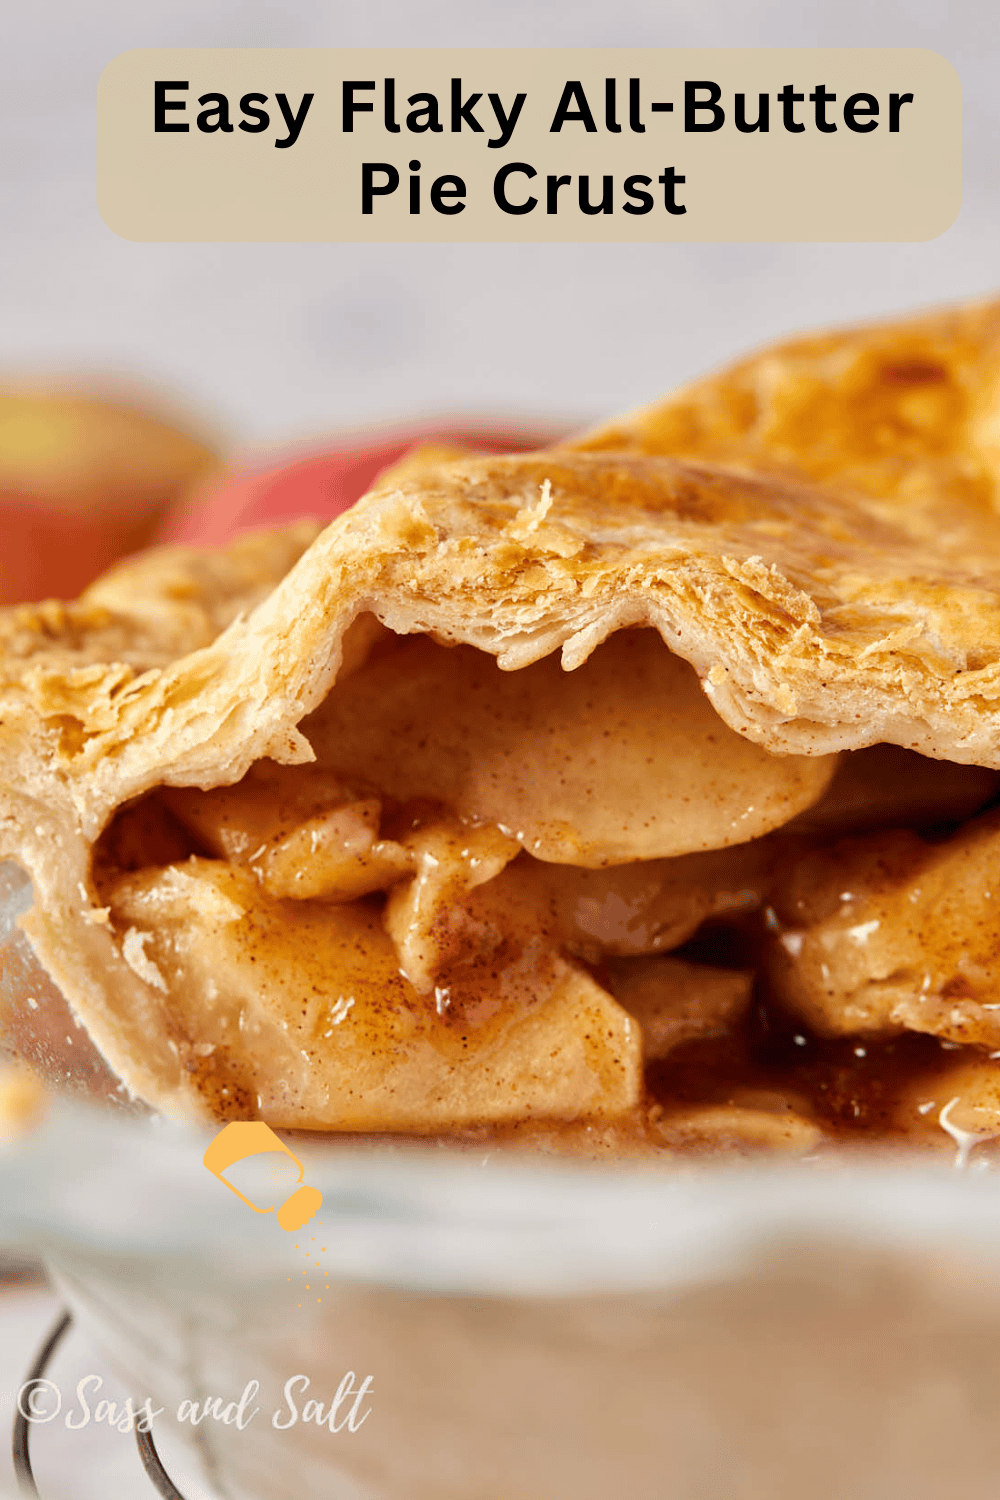
There’s nothing quite like the magic of a homemade butter pie crust. Flaky, buttery, and oh-so-tender—it’s the foundation for all your favorite pies. Whether you’re a seasoned baker or just starting your pastry journey, this butter pie crust recipe will have you making the perfect crust with ease.
Save this Recipe!
I would say that pie is my favorite dessert, especially apple pie. I used to ask my Mom for an apple pie for my birthday and not a cake. Growing up, my mom made her dough with all crisco and no butter. It was good, but I wanted better, so I researched and baked many pies over the years with many different variations of ratios of fat and flour. This, to me, is the perfect pie dough! The all-butter pie dough provides the most flavor and the flakiest crust.
What Makes a Pie Crust Flaky?
When it comes to achieving that perfect, flaky pie crust, keeping everything cold is the key—especially the butter. If your kitchen is warmer than 73°F, take a moment to chill all of your tools and ingredients. Yes, this means chilling the bowl, rolling pin, pie plate, and flour until they’re between 65-70°F. You can check the temperature with an instant-read thermometer for accuracy! So, for the flakiest pie crust, make sure everything stays cold—from the butter to the flour and beyond. Your pie will thank you!
Are pie crusts better with butter or shortening?
In my humble opinion, butter is better! Butter plays a huge role in creating those beautiful, flaky layers we all love. I have found that higher-fat butter (like European-style butter with 82% milk fat) makes a difference. The extra fat content not only enhances the flavor but also contributes to a more tender, melt-in-your-mouth texture. Here’s a more detailed comparison:
Butter
- Flavor: Butter has a rich, creamy taste that adds depth to your pie crust, making it much more flavorful compared to shortening.
- Flakiness: Butter contains about 15-18% water, which turns to steam during baking. This steam creates air pockets in the dough, leading to those light, flaky layers we all crave.
- Texture: Butter coats the flour, stopping it from absorbing too much liquid and forming gluten. Too much gluten leads to a dense and chewy crust—exactly what we want to avoid. Butter’s fat content also melts during baking, creating those delicate, flaky layers.
Shortening
- Ease of Use: Shortening has a higher melting point, making it easier to work with, especially for beginner bakers. It stays solid for longer, which helps keep the dough from becoming too soft while you work.
- Texture: While shortening helps create a tender crust, it lacks the steam-producing quality of butter, which means it doesn’t make the crust as flaky. Instead, you get a more uniform, slightly crumbly texture.
- Stability: Shortening is more stable than butter and doesn’t melt as quickly, which can make it easier to handle in warmer kitchens.
Butter + Shortening Combination
Some bakers prefer a combination of butter and shortening. The butter provides a rich flavor and flakiness, while the shortening offers stability and makes the dough easier to work with. If you’re looking for a balance between flavor and ease, you might consider experimenting with both.
Should you use salted butter for the pie crust?
It’s best to use unsalted butter for pie crust. This allows you to control the amount of salt in the recipe more precisely, leading to a better-tasting crust. Salted butter can vary in salt content, which could affect the final flavor and texture of your pie dough. Stick with unsalted butter and add salt separately for consistent results every time.
Start With These 6 Ingredients
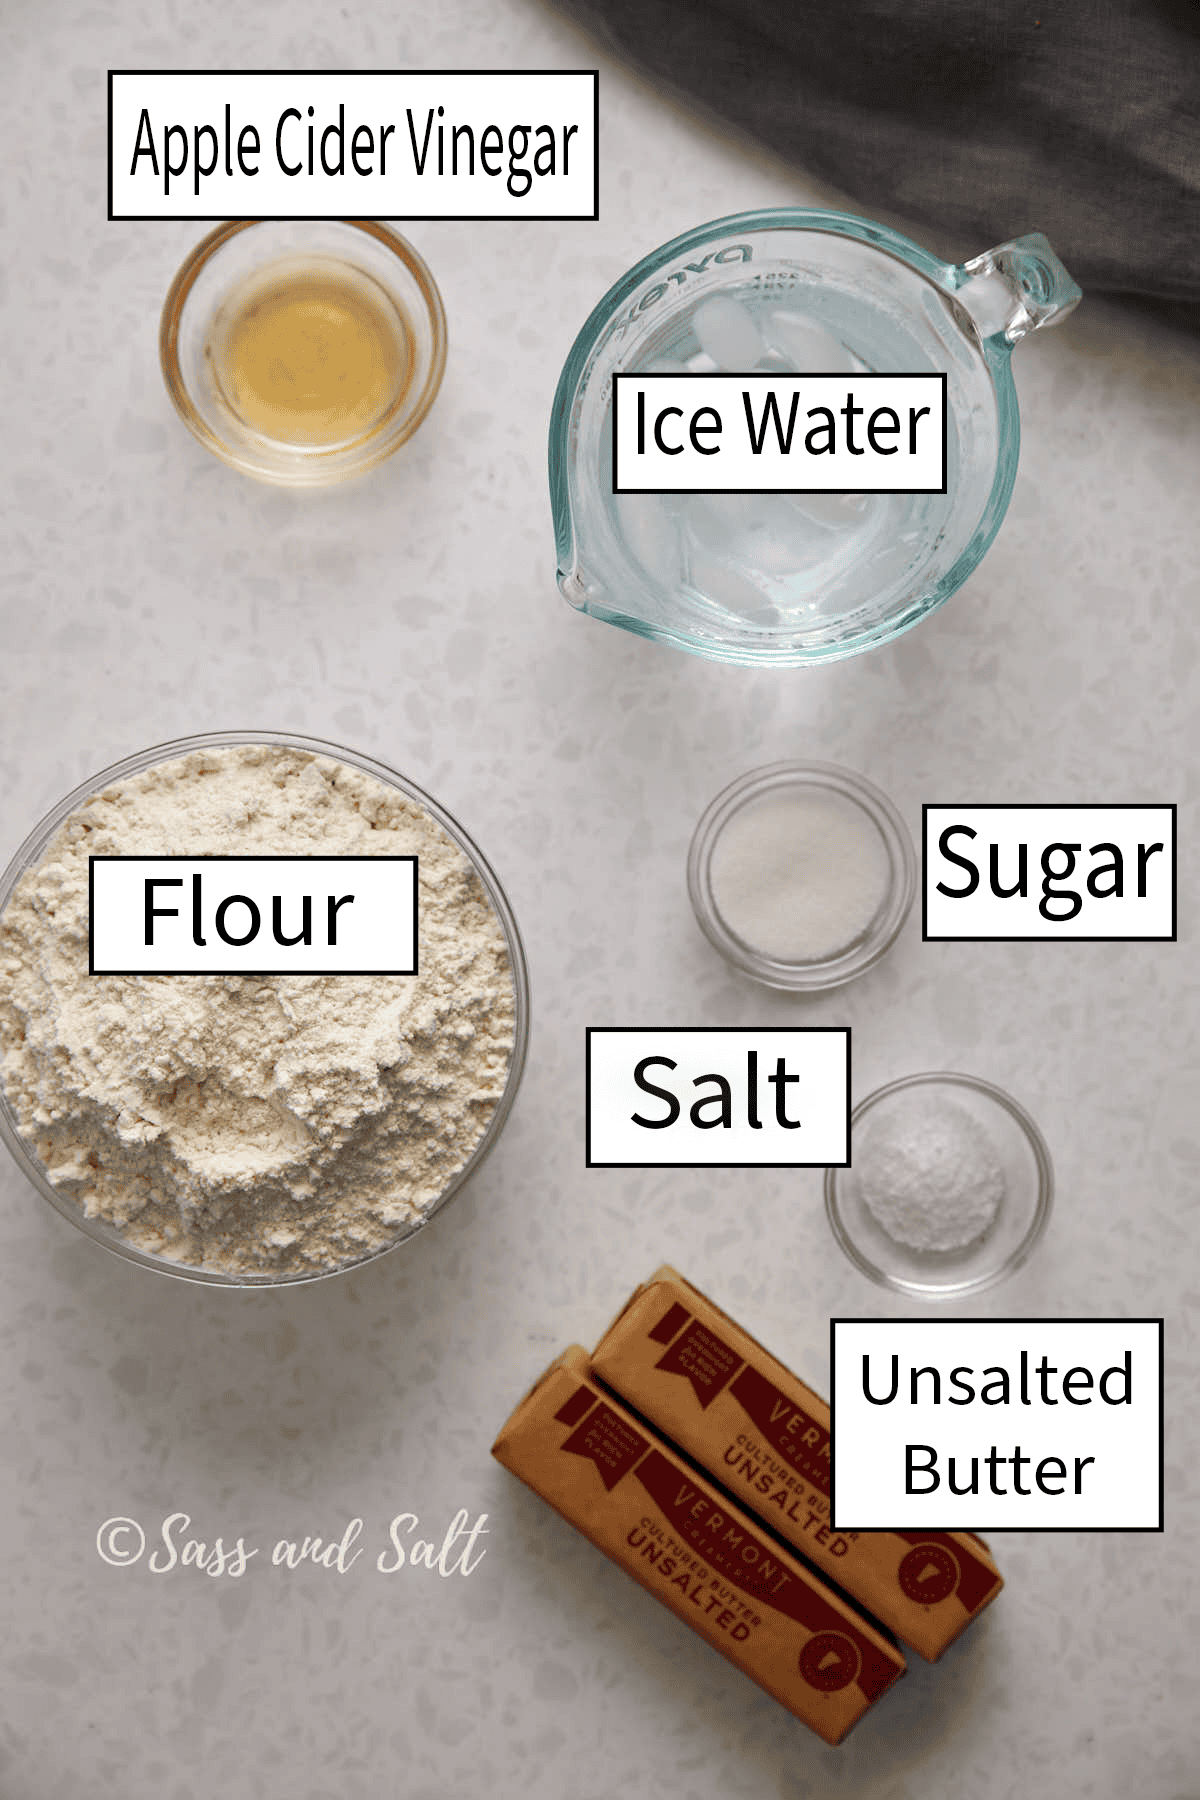
- Flour – All-purpose flour works best. I use the Gold Medal brand because it has the perfect balance between protein and starch, making the dough sturdy and easy to work with, while baking up flaky, tender, and light.
- Unsalted Butter – Cold unsalted butter is essential for a flaky texture. Make sure to cut it into small pieces before mixing. I use a higher-fat butter like Vermont Creamery or European butter, which has 82 percent milk fat, compared to other American butter with 80 percent milk fat.
- Ice Water – Ice-cold water binds the dough together. Use just enough to keep the dough moist but not sticky.
- Apple Cider Vinegar – This is optional, it adds a subtle tang.
- Salt—Salt adds flavor. I always use Diamond Crystal kosher salt, which dissolves nicely and has great flavor. If using table salt or another type of salt, use half the amount.
- Sugar – Granulated sugar is ideal for adding a touch of sweetness and aids in browning.
Step-by-step instructions
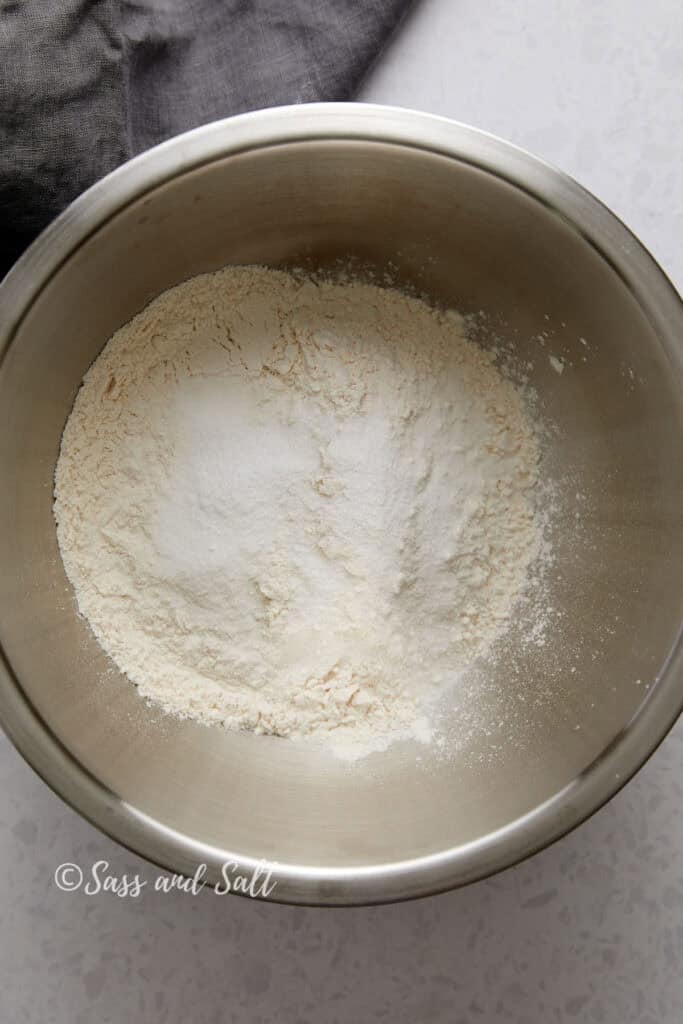
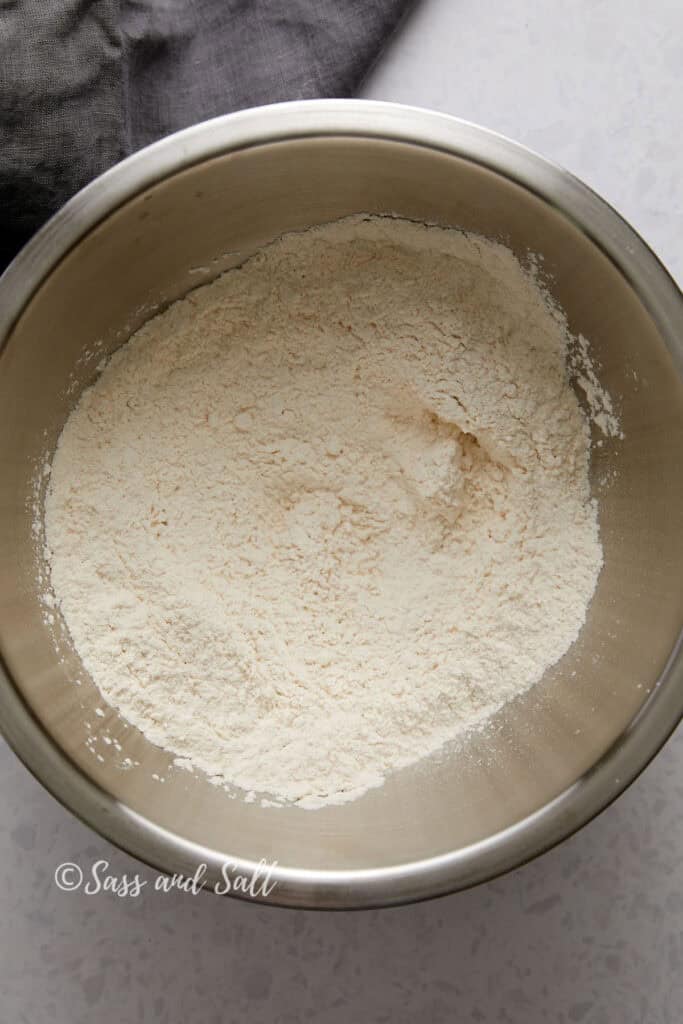
Step 1 – Combine the dry ingredients. Mix flour, sugar, and salt in a large bowl until well combined.
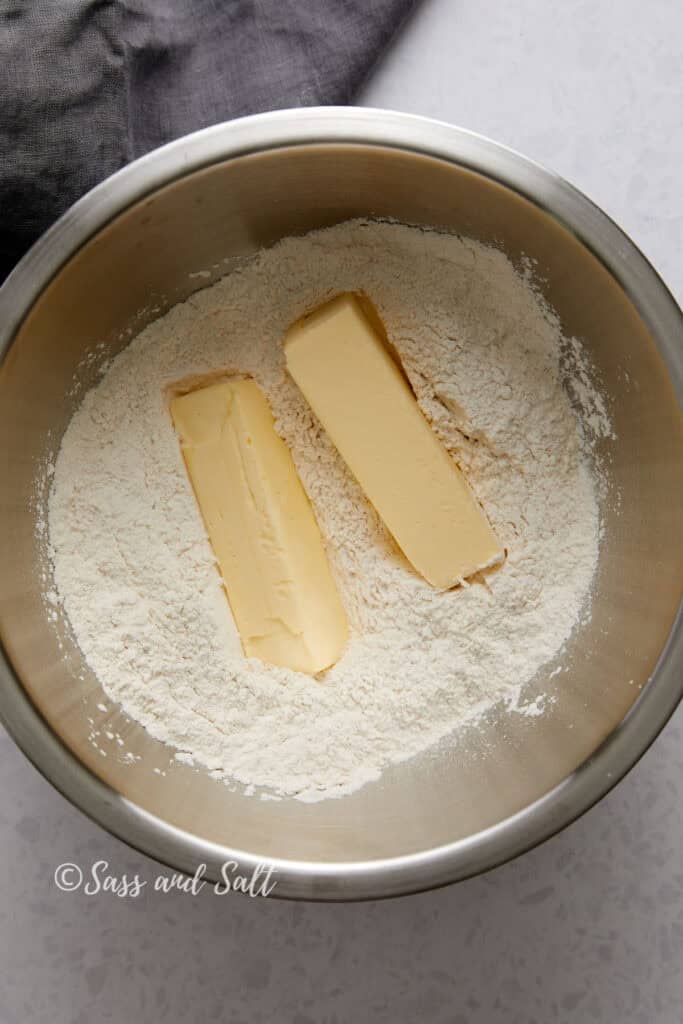
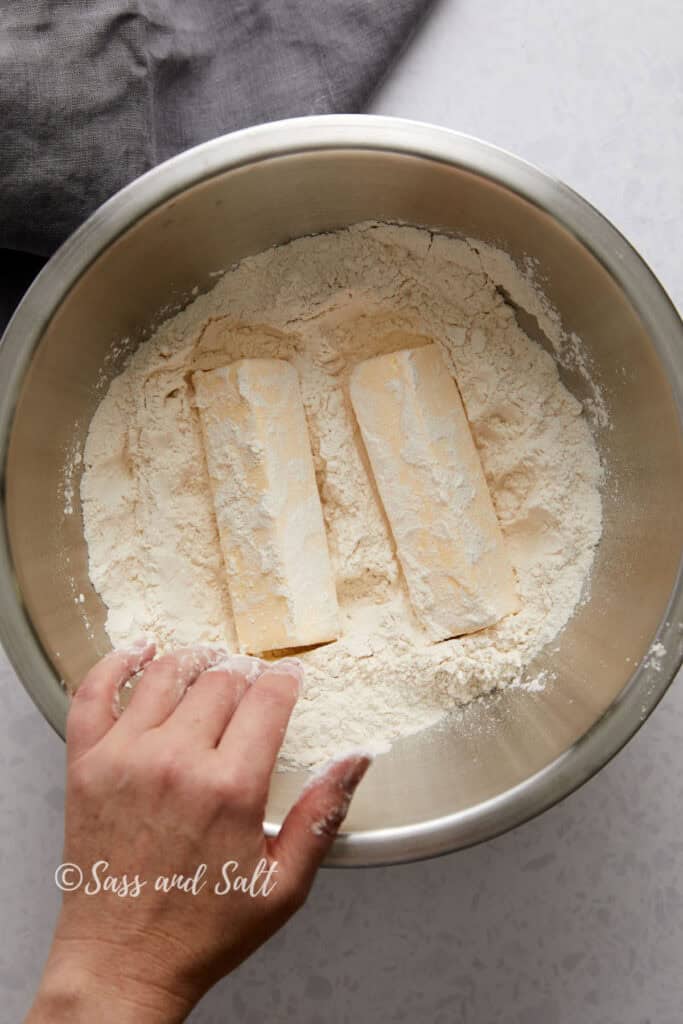
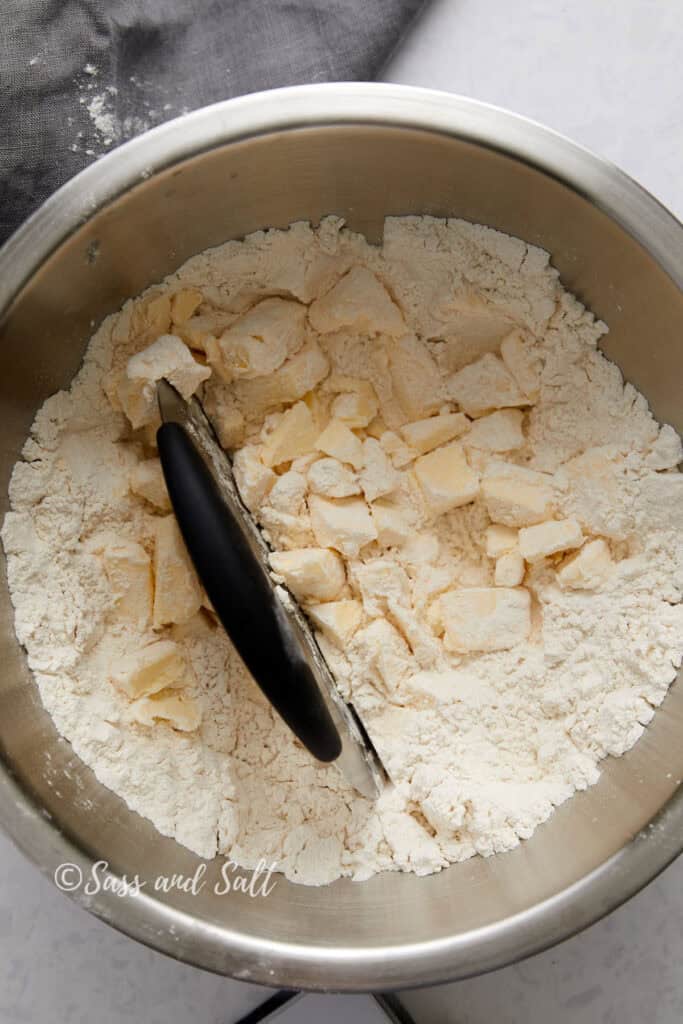
Step 2 – Coat the butter. Place the sticks of butter in the bowl and coat on all sides with the flour mixture.
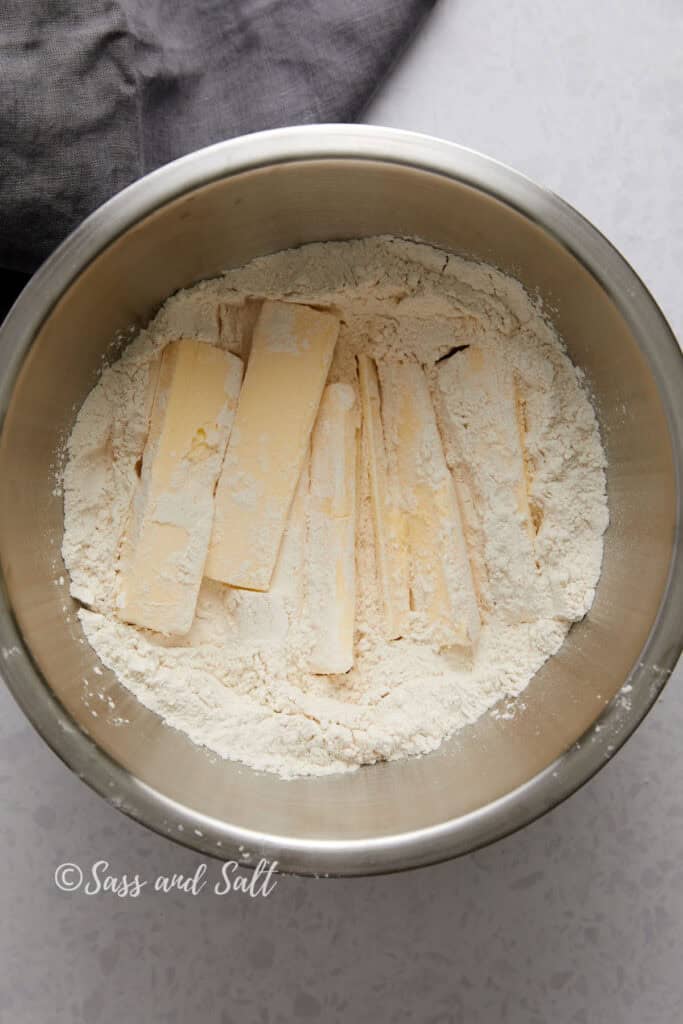
Step 3 –Using a bench scraper, cut the butter into strips. Then, cut the butter into 1/2-inch cubes. Work quickly to separate the cubes with your hands until lightly coated with flour. The cubes don’t have to be perfect.
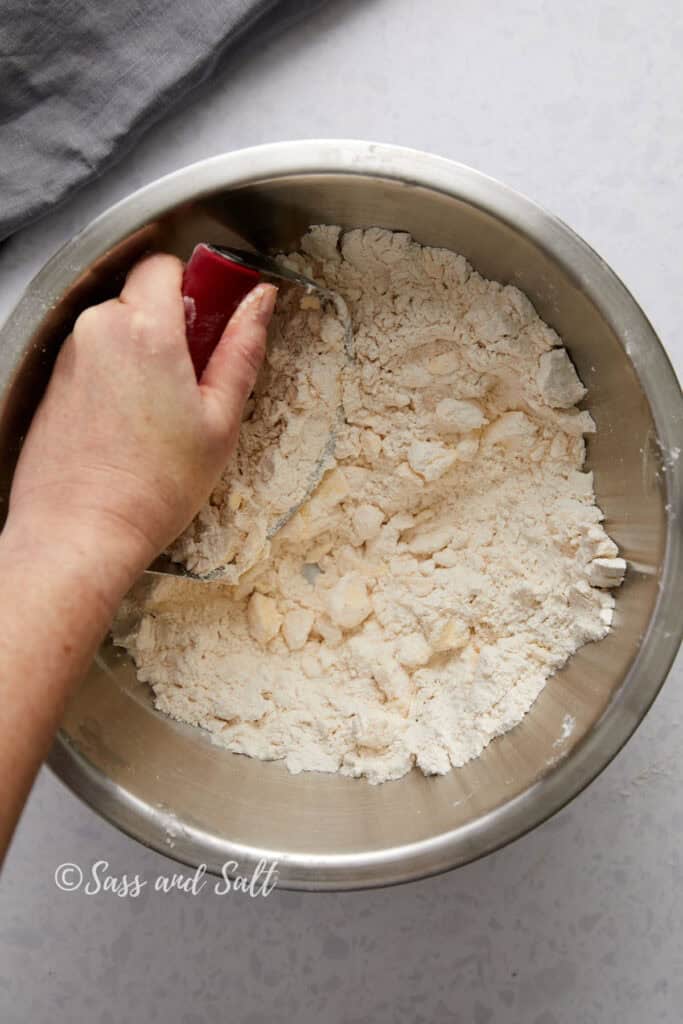
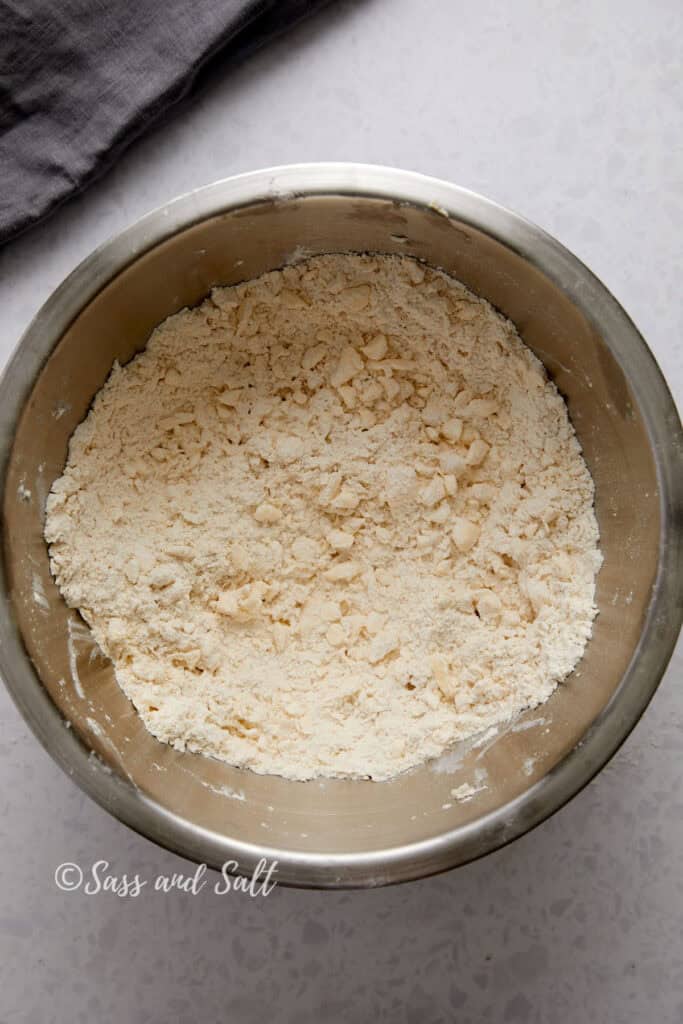
Step 4—Blend butter into flour. Switch to the pastry blender and begin to cut the butter with one hand while turning the bowl with the other. To maximize efficiency, it’s important not to aim for the same spot at the bottom of the bowl with each stroke of the pastry blender but to slice through butter every time. Continue to blend and turn until the largest pieces are the size and shape of peas, and the rest of the mixture feels and looks like Parmesan cheese.
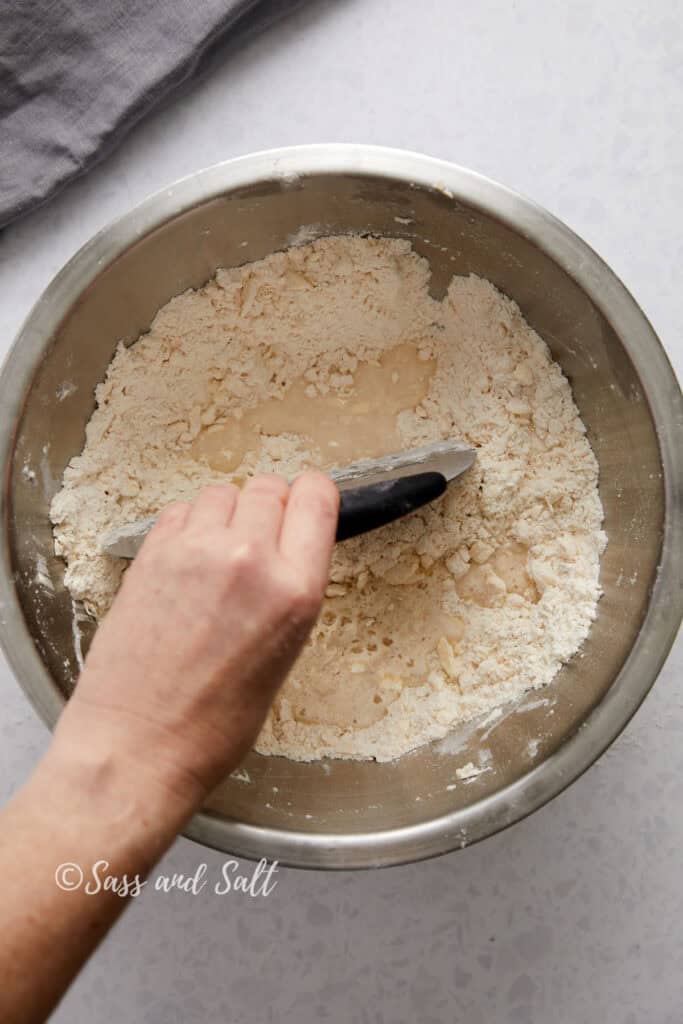
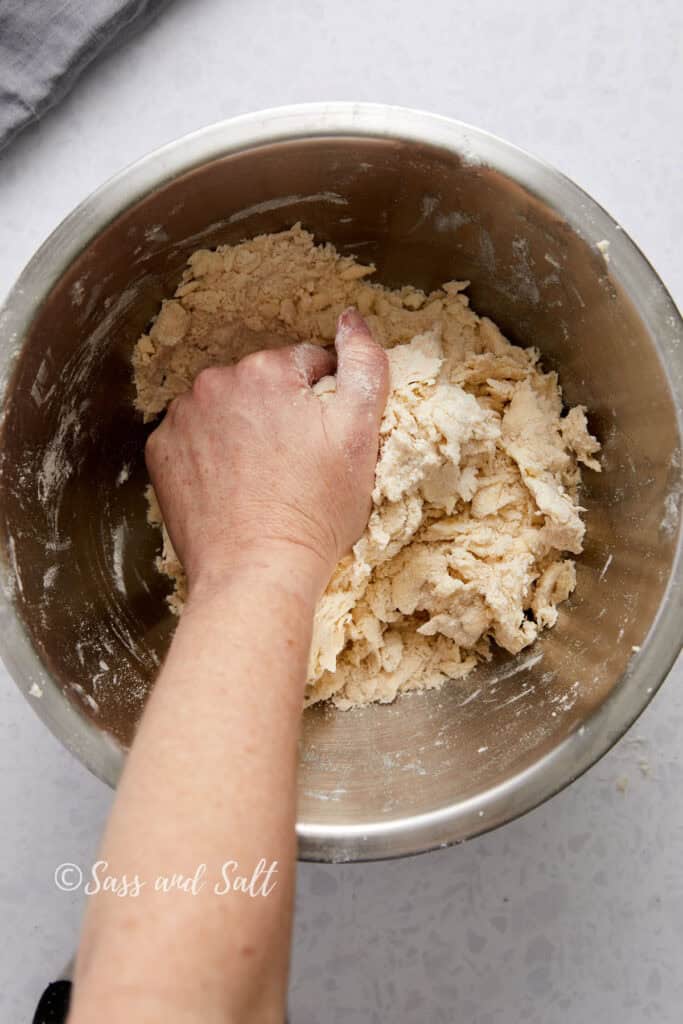
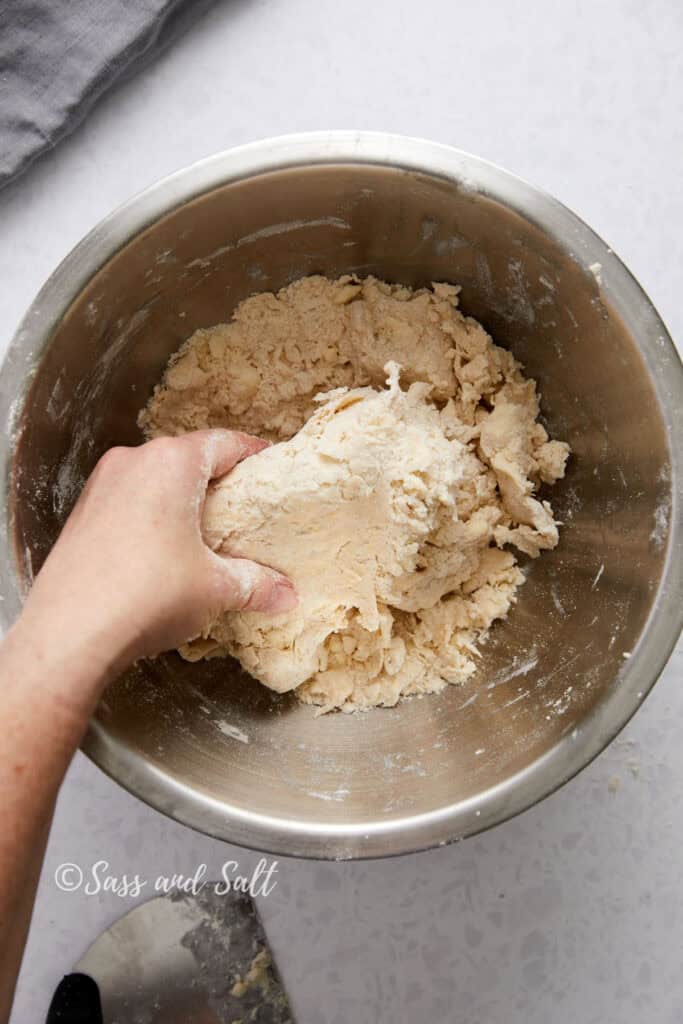
Step 4—Add the water-vinegar mixture all at once, and switch back to the bench scraper. Scrap as much of the mix as you can from one side of the bowl to the other until you can’t see visible pools of liquid anymore. Now, scoop up as much of the mixture as you can, and use your hands (and a lot of pressure) to press it back down onto the rest of the ingredients. Rotate the bowl a quarter-turn and repeat. Scoop, press, and turn. With each fold, your intention is to quickly form the mixture into one cohesive mass.
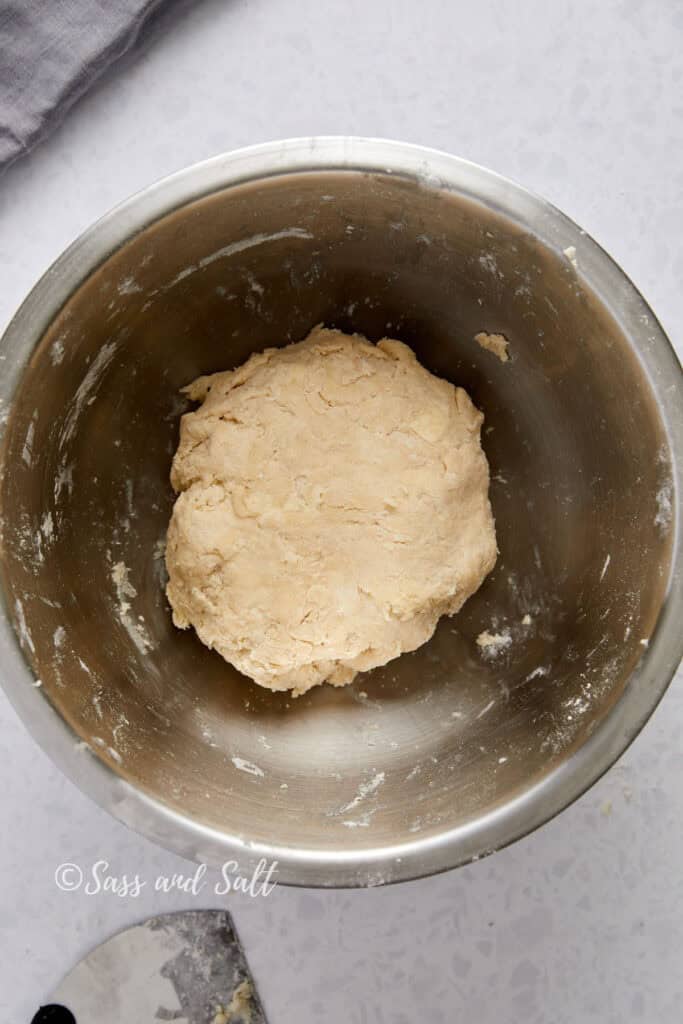
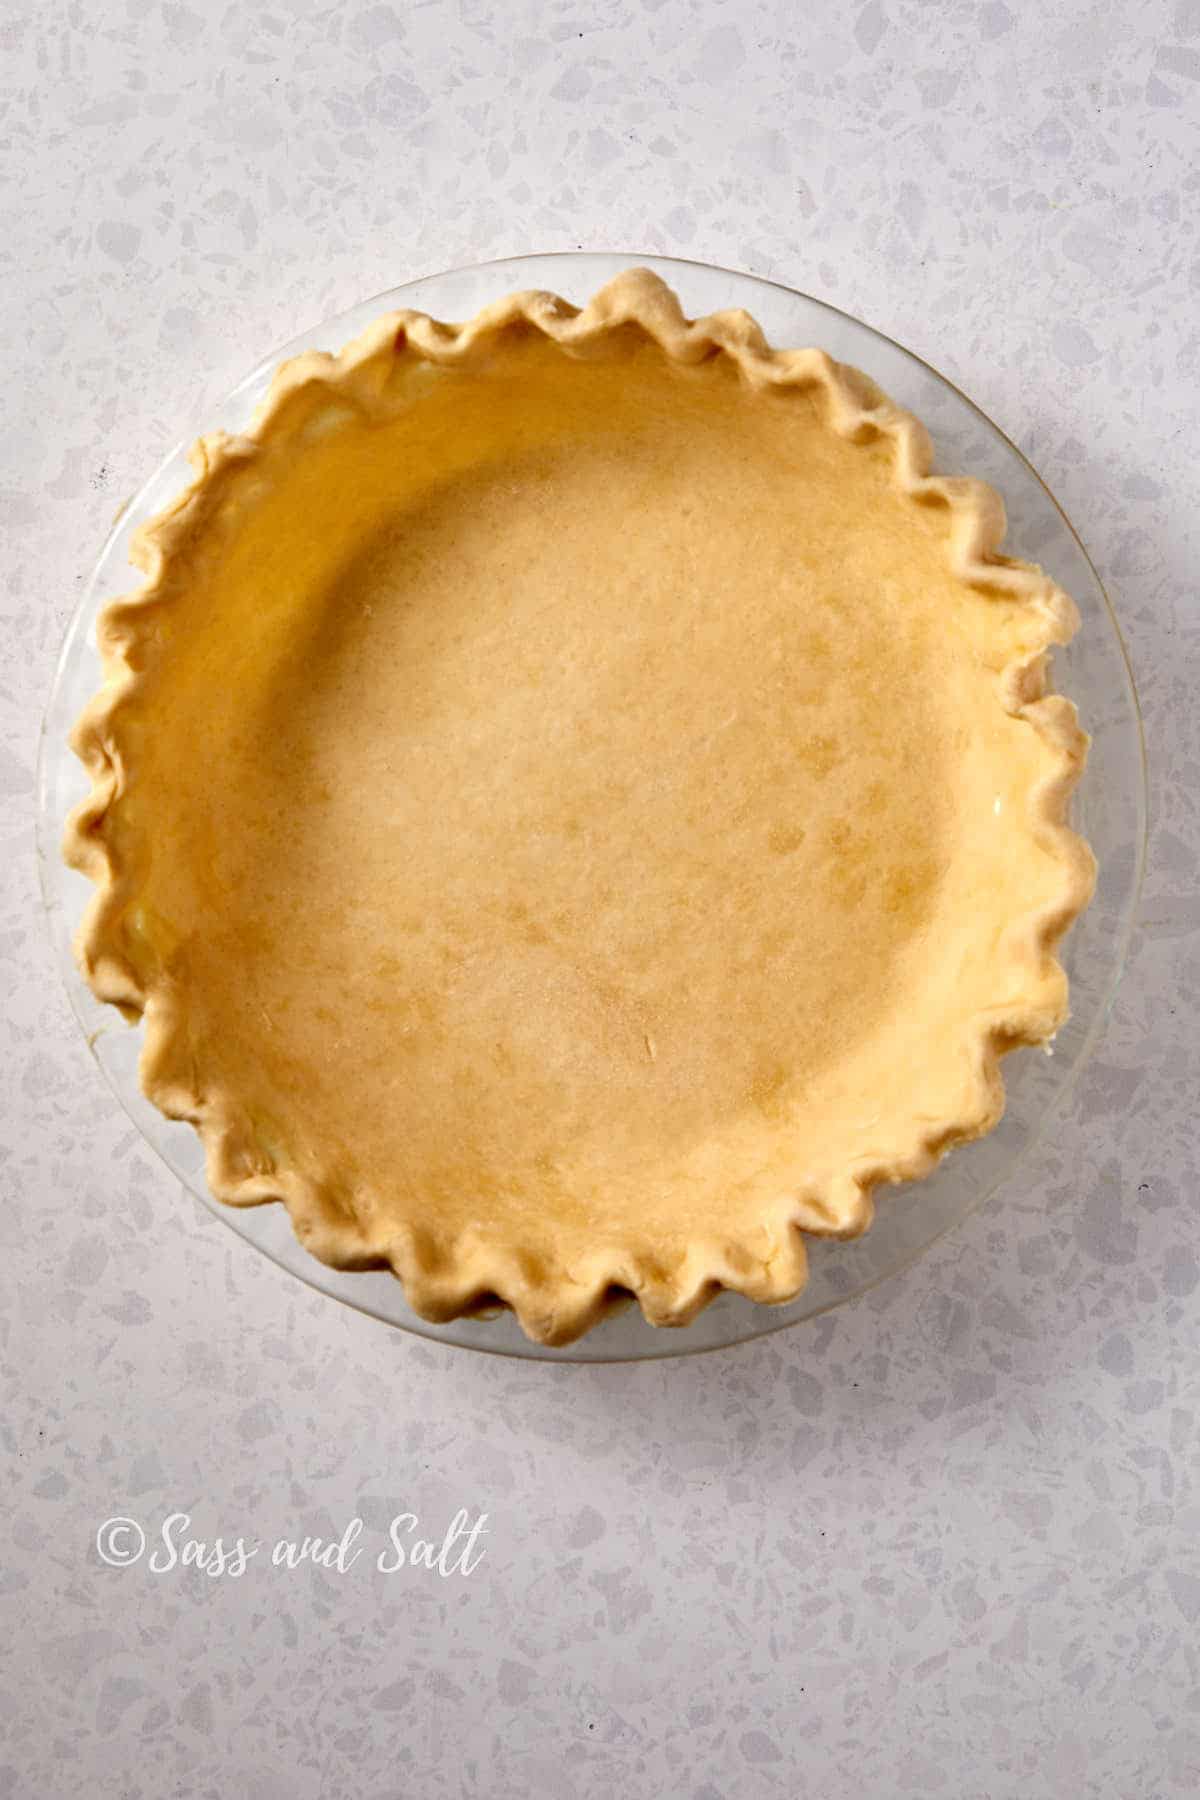
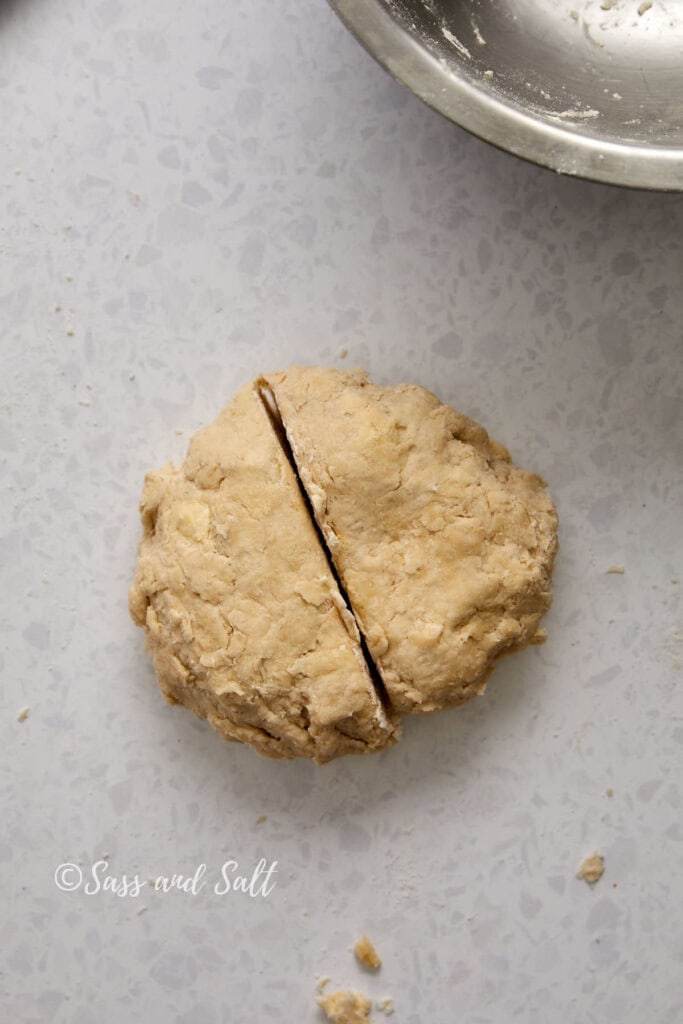
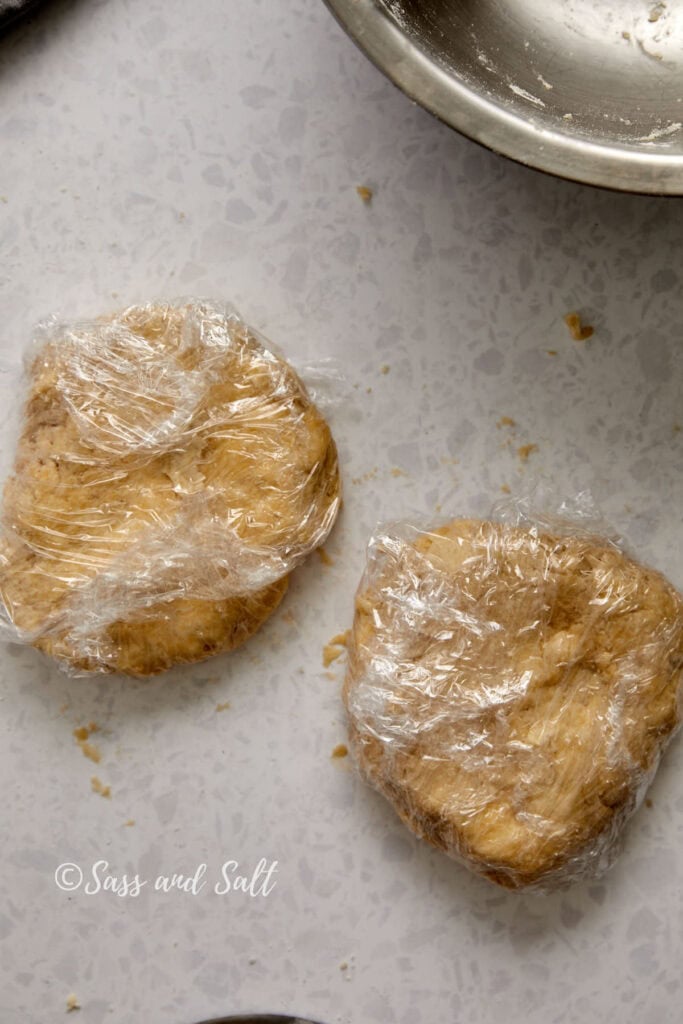
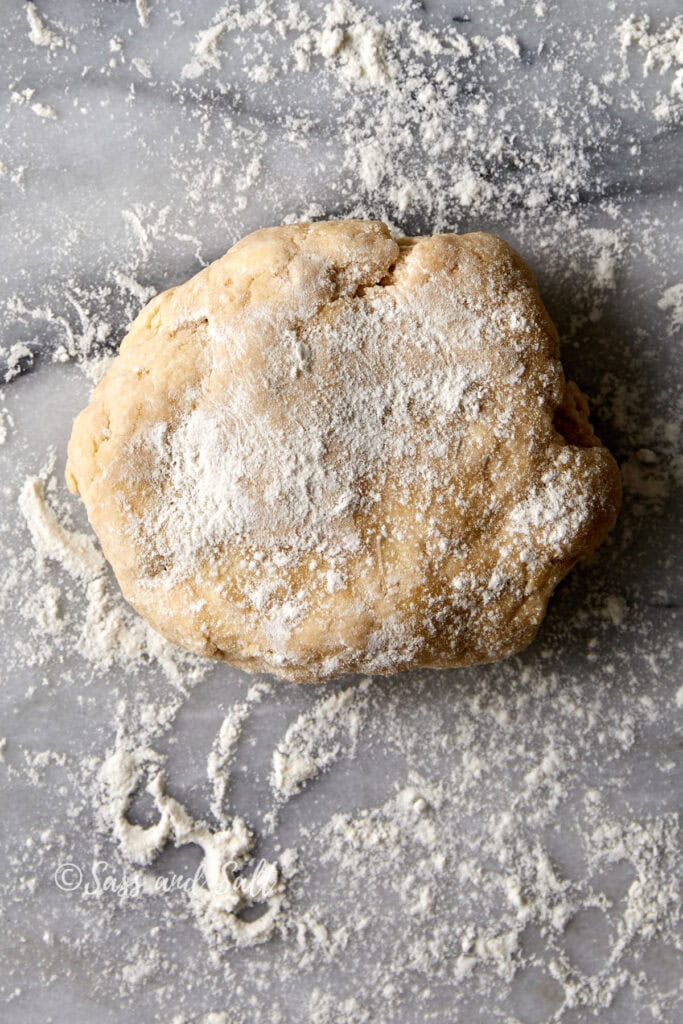
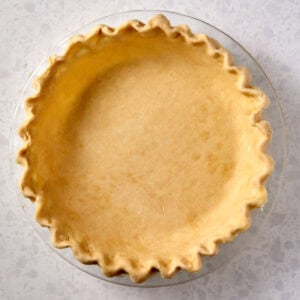
Step 5—Remove the dough from the bowl, place it on a lightly floured counter, and use your bench scraper to divide it into two equal pieces. Gently pat each into a 2-inch-thick disc, working quickly to seal any broken edges before wrapping them tightly in a double layer of plastic wrap and chill in the fridge for at least 2 hours.
How to roll out Pie Dough
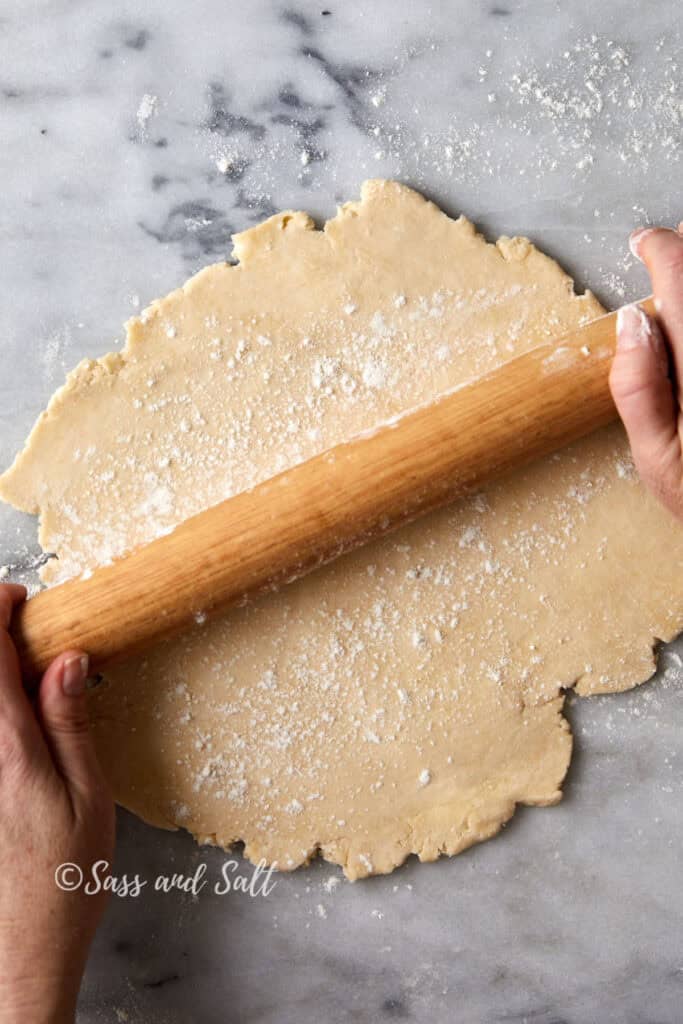
After the dough has chilled, it’s time to roll it out. Keep a small bowl of flour nearby to lightly dust your surface, rolling pin, and hands—this helps prevent sticking. Always roll the dough from the center outward, turning it as you go. If the dough gets too warm or the butter starts to melt, pause. Place it on a baking sheet and chill in the fridge for at least 10 minutes before continuing.
After rolling it out, let the dough rest in the fridge once it’s placed in the pie dish or after assembly. Avoid stretching the dough to fit the tin, as it will shrink back during baking like a rubber band. Avoid overworking the dough as you roll it out. Keep the dough moving on a lightly floured surface so you don’t roll over the same areas repeatedly, making it tough.
Butter Pie Crust Tips
- Cold butter is key: For the best pie crust, use cold unsalted butter cut into small cubes. Cold butter ensures flaky layers when baked.
- Chill the dough: After making the dough, chill it for at least 2 hours before rolling it out. I prefer to chill overnight. Chilled dough makes for a sturdier bottom crust and prevents shrinking.
- Roll the dough evenly: Roll the dough from the center out, turning it frequently to prevent sticking. This ensures a smooth, even pie crust.
- Use pie weights: When blind baking for pies like pumpkin pie or chicken pot pie, line the crust with parchment and fill with pie weights or dried beans. This keeps the crust from puffing up.
- Don’t overwork the dough: Overworking the dough can make it tough. The less you handle it, the flakier the crust will be.
Common Mistakes to Avoid
Making a butter pie crust can seem tricky, but avoiding these common mistakes will help you nail it every time!
- Rolling the dough too thin or too thick—Striking the right balance is important. Too thin, and the crust will tear; too thick, and it won’t bake through properly. Aim for about 1/8-inch thickness.
- Forgetting to dock or weight the crust – If you’re blind-baking your crust, don’t forget to dock (poke holes) or use pie weights. This prevents puffing and ensures an even, crisp bottom.
- Not preheating the oven properly – A hot oven (usually around 375-400°F) is essential for a flaky, golden crust. Starting in a cold oven can cause the butter to melt before the dough sets, leading to a greasy crust.
Recommended Pie Crust Tools
- Pastry Cutter – While a food processor works, I recommend using a pastry cutter. It helps avoid over-mixing, which can lead to a tough crust.
- Pastry Scraper – A pastry scraper is a super handy tool when making pie crust. We use it to cut the cold butter. It’s also great for dividing the dough into discs and cleaning up flour from your work surface.
- Pastry Mat – I enjoy rolling pie dough on a lightly floured countertop or wood cutting board. However, a floured pastry mat works well, too.
- Rolling Pin – A must-have for pie dough! I use a tapered wood rolling pin.
- Glass Pie Dish – My go-to for pie baking! Glass pie dishes, conduct heat evenly, ensuring the bottom crust bakes thoroughly. It is the best option for consistent, well-baked pies.
- Pastry Brush – An egg wash is just a mix of egg and water. Lightly brush it onto the pie dough with a pastry brush for a golden, shiny, and crisp crust. Without it, the crust can look dull and pale.
How to Freeze and Store Pie Crust
Freezing your pie crust is a total game-changer for busy days when you want homemade pie without all the prep. Here’s how to freeze and store your pie crust to keep it fresh and ready when you need it!
- Shape the Dough – After making your dough, form it into a disk (or divide it into two disks if making a double crust). Wrap each one tightly in plastic wrap or place it in a resealable freezer bag. Make sure it’s airtight to prevent freezer burn.
- Label and Freeze – Don’t forget to label the dough with the date! Pie dough can last up to 3 months in the freezer, so knowing when you made it is key.
- Thaw Before Use – When you’re ready to use your frozen pie dough, simply transfer it to the fridge. Let it thaw overnight before rolling it out. Trying to work with frozen or partially thawed dough can lead to cracks and a tougher crust.
- Freezing Pre-Rolled Crusts – If you want to freeze a fully rolled-out crust, place it in your pie plate, cover it tightly with plastic wrap, and freeze it that way. You can also roll it out between sheets of parchment paper, roll it up like a log, and freeze it in a resealable bag.
- Blind-Baking from Frozen – If you’re blind-baking, you can bake the crust straight from frozen. Just add a few extra minutes to the baking time to account for the frozen dough.
If you’re planning to use the dough within a few days, store it in the refrigerator wrapped tightly in plastic wrap, and it will stay fresh for up to 3 days.
Using Your Flaky Pie Crust
Now that you’ve mastered the art of creating a buttery, flaky pie crust, it’s time to put it to good use! This versatile crust is the perfect base for both sweet and savory pies. Here are some delicious ways to use your flaky pie crust:
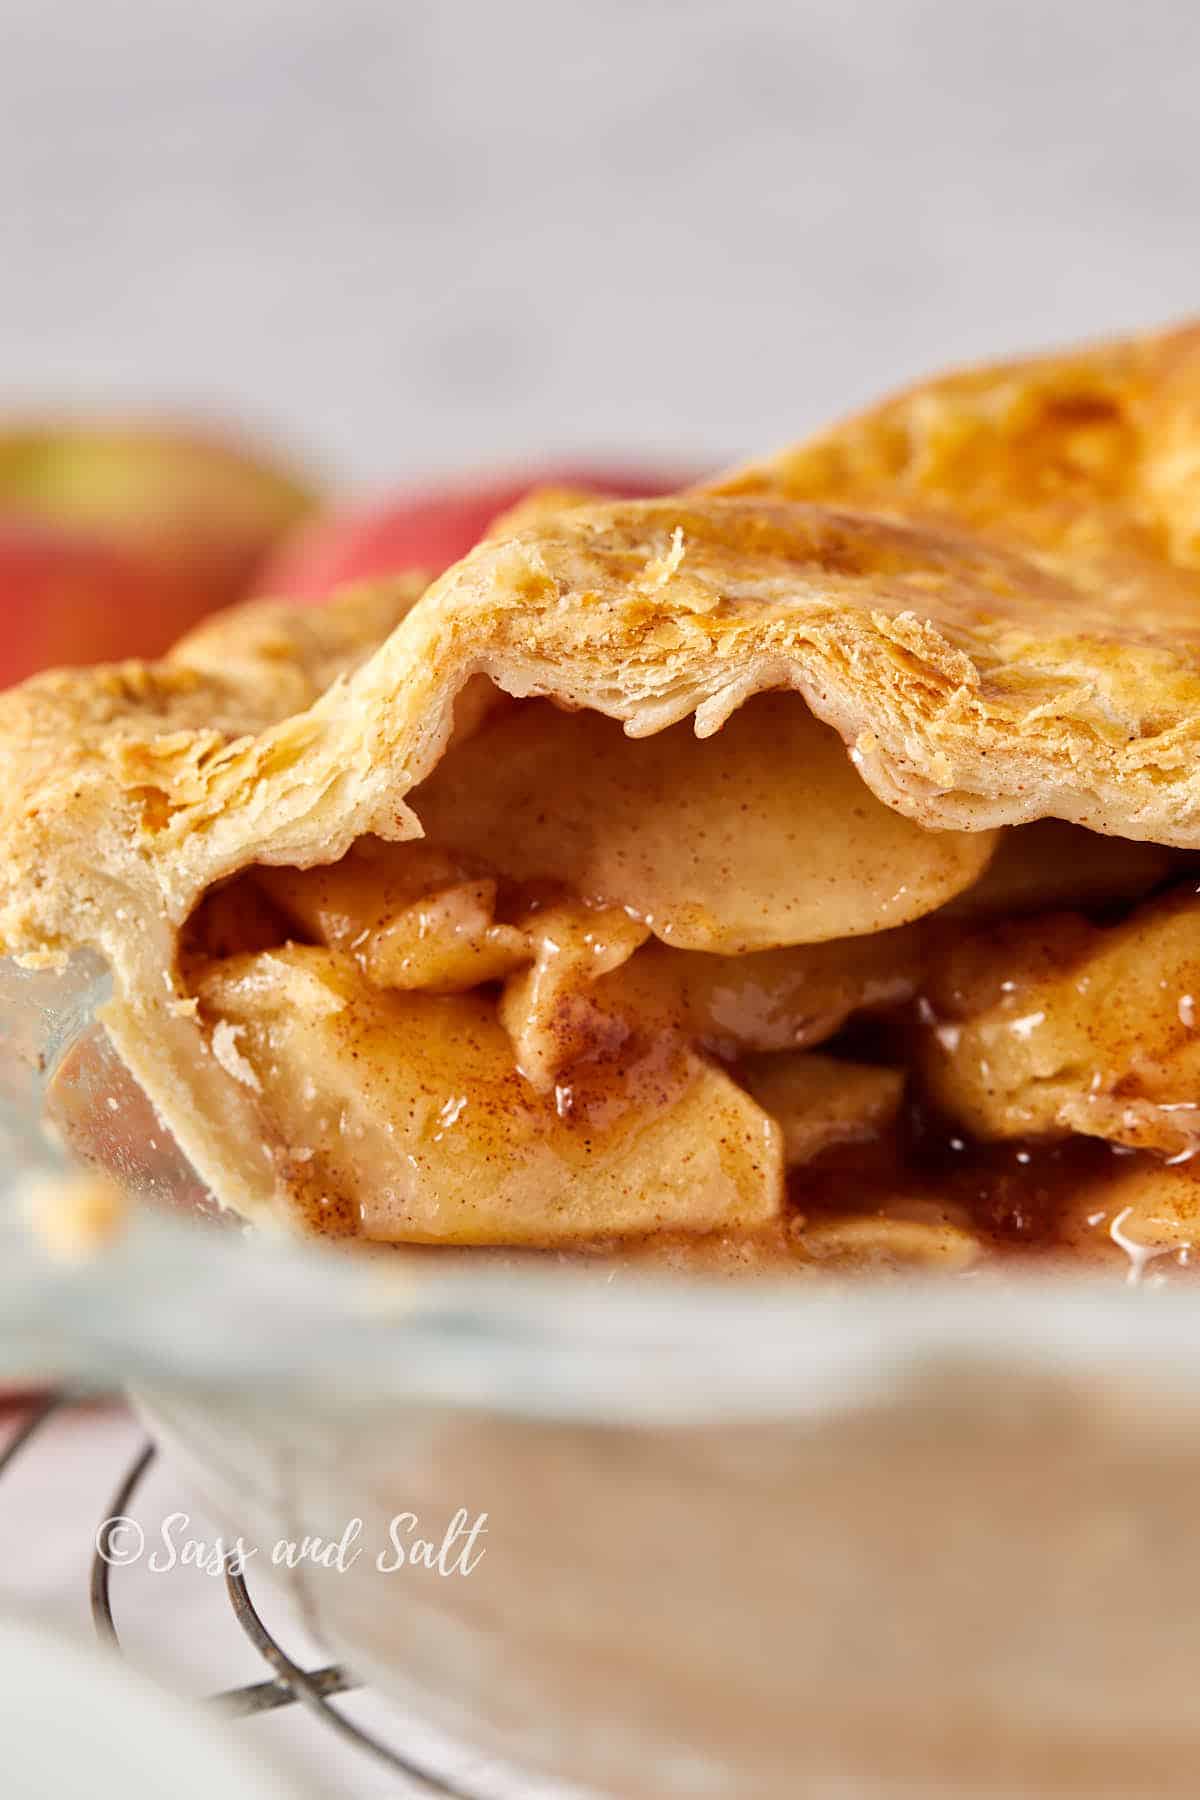
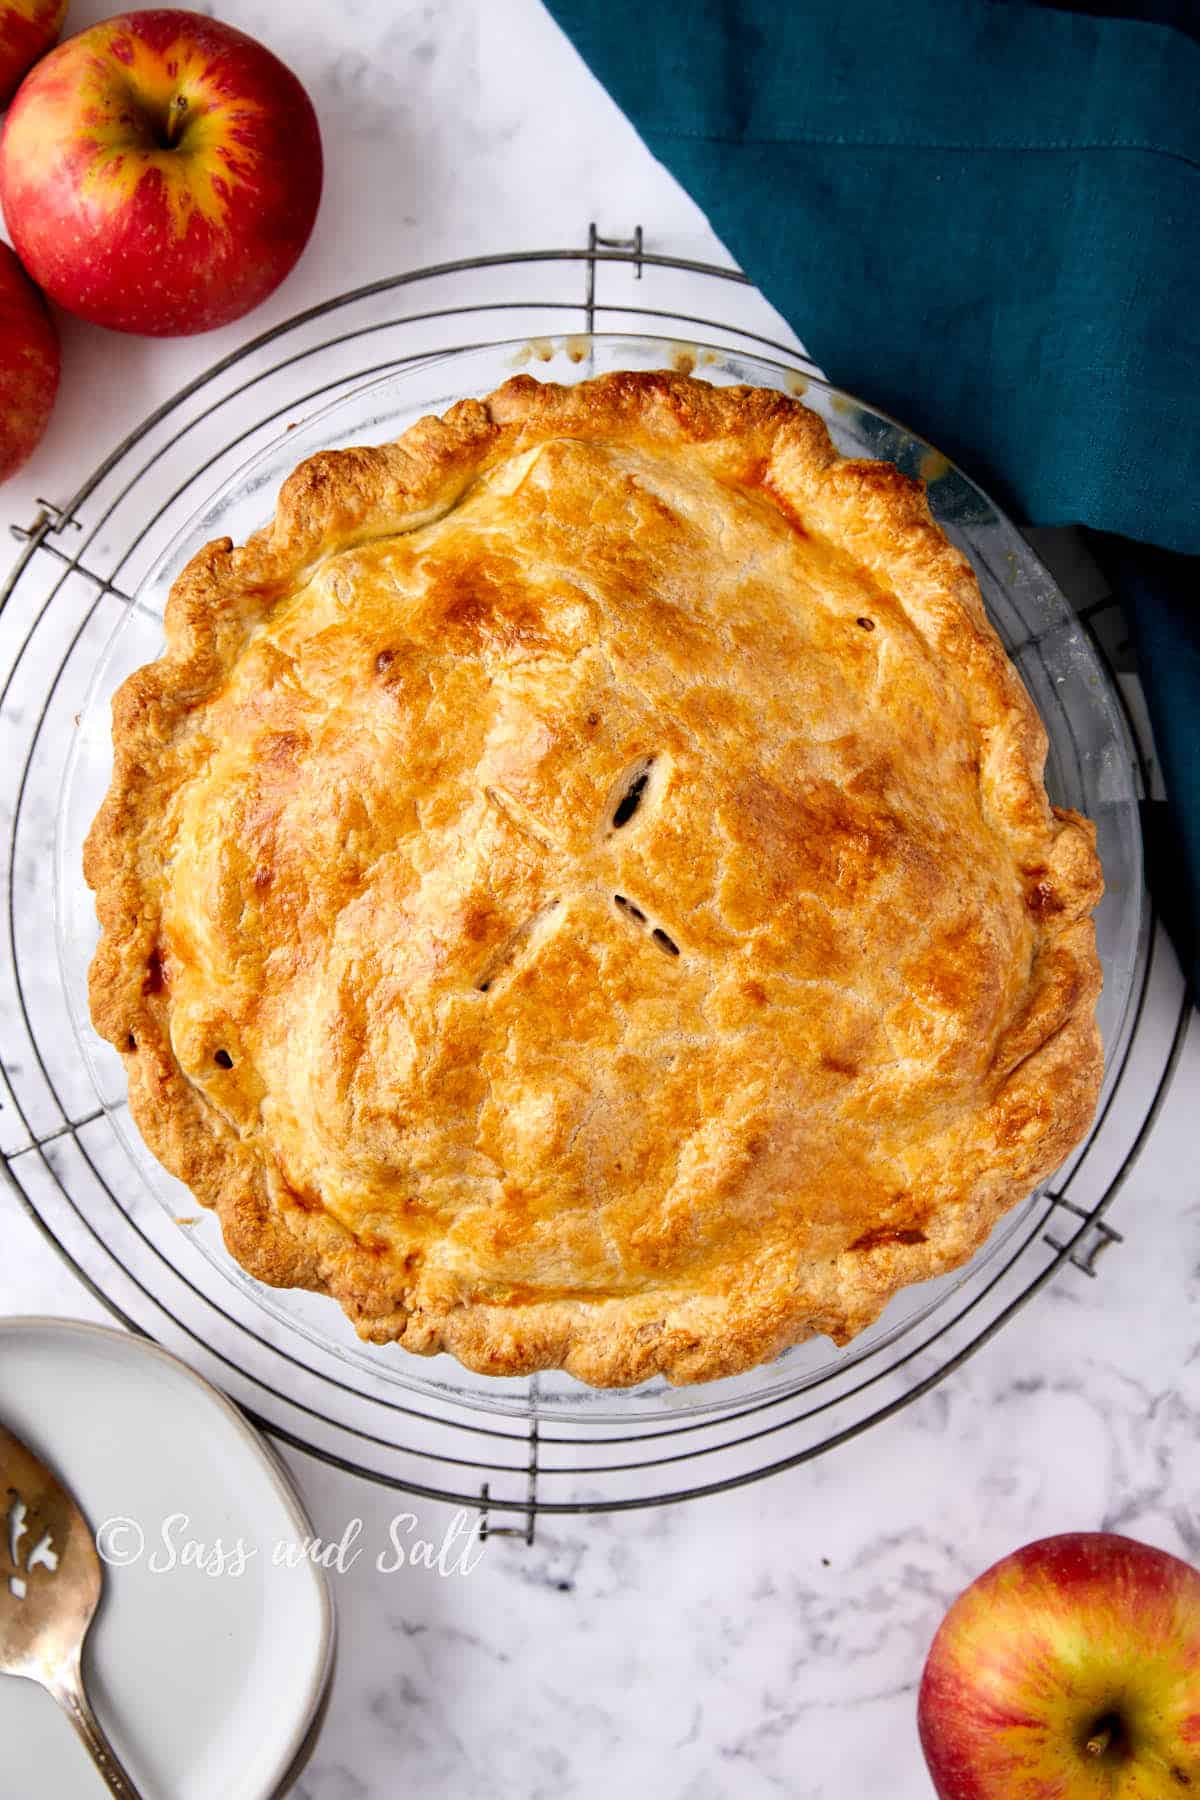
- Honeycrisp Apple Pie – There’s nothing like a warm, homemade apple pie with its golden, flaky crust. Fill your pie shell with a mix of cinnamon-spiced apples and let the buttery crust complement the sweet filling.
- Savory Chicken Pot Pie – A flaky pie crust isn’t just for dessert. Use it to top a hearty chicken pot pie, filled with tender veggies and a creamy sauce. The crust’s crisp texture adds the perfect contrast to the rich filling.
- Rustic Berry Galette – For a more rustic feel, try a berry galette. Simply fold your flaky pie dough around a mix of fresh berries, leaving the center exposed. It’s a simple, yet stunning way to show off your crust!
- Quiches and Tarts – Your flaky pie crust makes a great base for quiches or savory tarts. Whether it’s a classic quiche Lorraine or a seasonal veggie tart, the light crust will pair beautifully with any filling.
FAQ’s
To prevent a butter pie crust from shrinking, make sure to chill the dough for at least 2 hours before rolling it out. Chilling helps relax the gluten, which reduces shrinkage. When placing the dough in the pie dish, avoid stretching it, as this can cause it to snap back during baking. Use pie weights when blind baking to keep the crust in place, and ensure the oven is fully preheated to set the crust quickly.
Adding vinegar to pie crust adds a subtle tang that enhances the flavor without being overpowering.
If you don’t chill the pie crust before baking, the butter will soften too quickly in the oven, causing the dough to lose its shape. This can lead to a crust that shrinks and becomes tough rather than flaky. Chilling the dough helps maintain its structure and ensures a tender, flaky crust.
Tried this Flaky Butter Pie Crust? I’d love to hear how it turned out! Drop a comment below, and if it won your family over, please give it a ⭐️⭐️⭐️⭐️⭐️ rating. Don’t forget to join our mailing list for more tasty recipes delivered straight to your inbox!
Flaky Butter Pie Crust
Ingredients
- 2 1/2 cups (313g) all-purpose flour
- 1 tablespoon (12.5g) granulated sugar
- 1 teaspoon (4g) Diamond Crystal kosher salt (for table salt, use half as much by volume or the same weight)
- 2 sticks (226g) unsalted butter, straight from the fridge, preferably higher fat European style
- 1/2 cup (120ml) ice water
- 1 tablespoon (15g) vinegar (preferably apple cider, optional)
Instructions
Prep
- TIP: Fill a 1-cup liquid measuring cup with about 1 inch of water and freeze until completely frozen. After mixing your dry ingredients, grab the cup from the freezer and fill it to 1/2 cup (120 ml), then add 1 tablespoon of apple cider vinegar. If you forget this step, simply fill a 1-cup liquid measuring cup halfway with ice, then add water and 1 tablespoon of apple cider vinegar.
Butter Crust
- In a large stainless steel bowl, mix the flour, sugar, and salt until well combined.
- Place the sticks of butter in the bowl and coat them on all sides with the flour mixture.
- Using a bench scraper, cut the butter into 1/2-inch cubes. Work quickly to separate the cubes with your hands until they are lightly coated with flour.
- Switch to a pastry blender and begin to cut the butter with one hand while turning the bowl with the other. Continue until the largest pieces are the size of peas and the rest of the mixture resembles Parmesan cheese.
- Add the water-vinegar mixture all at once. Use a bench scraper or your hands to mix until you can't see visible liquid pools. Scoop up as much of the mixture as you can and press it down onto the rest of the ingredients. Rotate the bowl a quarter-turn and repeat. Scoop, press, and turn until the mixture forms one cohesive mass. This will take several minutes to come together, don't be tempted to add more water.
- Remove the dough from the bowl, place it on a lightly floured counter, and use your bench scraper to divide it into two equal pieces. Gently pat each into a 2-inch thick disc, quickly sealing any broken edges before wrapping them tightly in a double layer of plastic wrap. Refrigerate the dough for at least 2 hours or, ideally, overnight.
Rolling out the dough
- After chilling the dough for at least 2 hours, roll out one crust at a time, keeping the other in the fridge. Lightly flour your work surface, rolling pin, hands, and sprinkle some flour on the dough itself.
- Use gentle-medium force—no need to press too hard! Start from the center and roll outward, rotating and occasionally flipping the dough to prevent sticking. Add more flour if needed.
- Aim for a thin 12-inch circle, about 1/8 inch thick, perfect for a 9-inch pie dish. Visible specks of butter and fat are completely normal.
- Since the dough is quite thin, use your rolling pin to transfer it to the pie dish. Gently roll one end of the dough onto the rolling pin, peeling it off the surface as you roll it towards you. Then, carefully unroll it over the pie dish.
- Proceed with the pie per your recipe’s instructions.
Save this Recipe!
Notes
Note on Yield
This recipe yields enough for one double-crust pie or two single-crust pies, making it perfect for pies that require both a top and bottom crust.Make Ahead Instructions
- Chill the Dough: Prepare the dough ahead of time and refrigerate it for at least 2 hours, or ideally overnight. You can keep the dough in the fridge for up to 3 days before rolling it out.
- Freeze for Later: Wrap each dough disc tightly in plastic wrap and store in a resealable freezer bag. The dough can be kept frozen for up to 1 year.
- Thawing: If frozen, allow the dough to thaw in the refrigerator for at least 24 hours before using. This helps ensure the butter stays cold, which is key for a flaky crust.