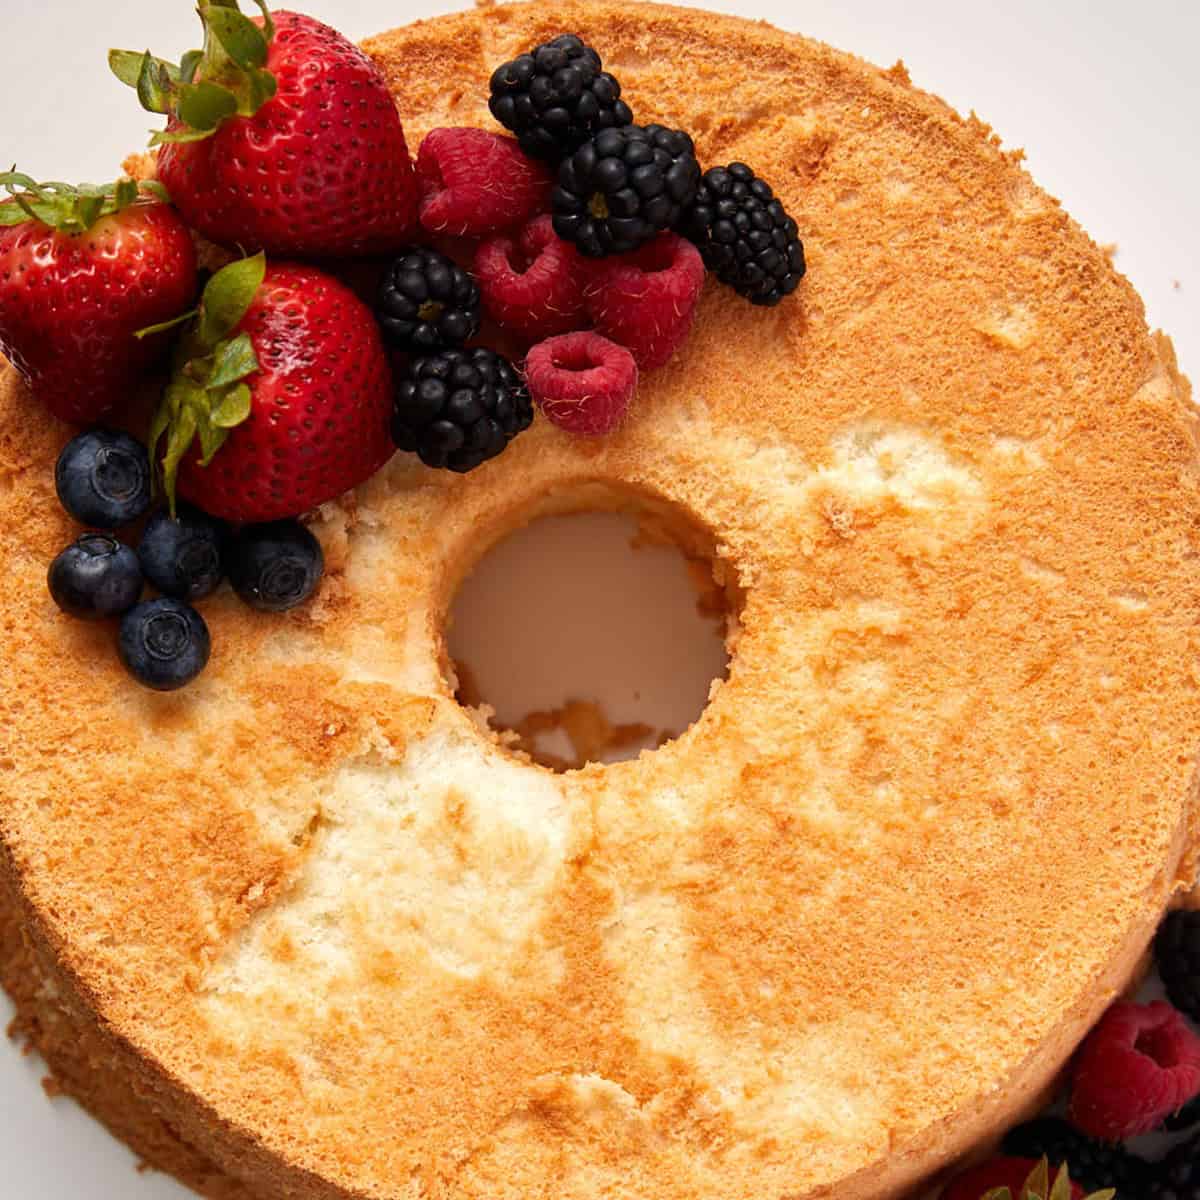
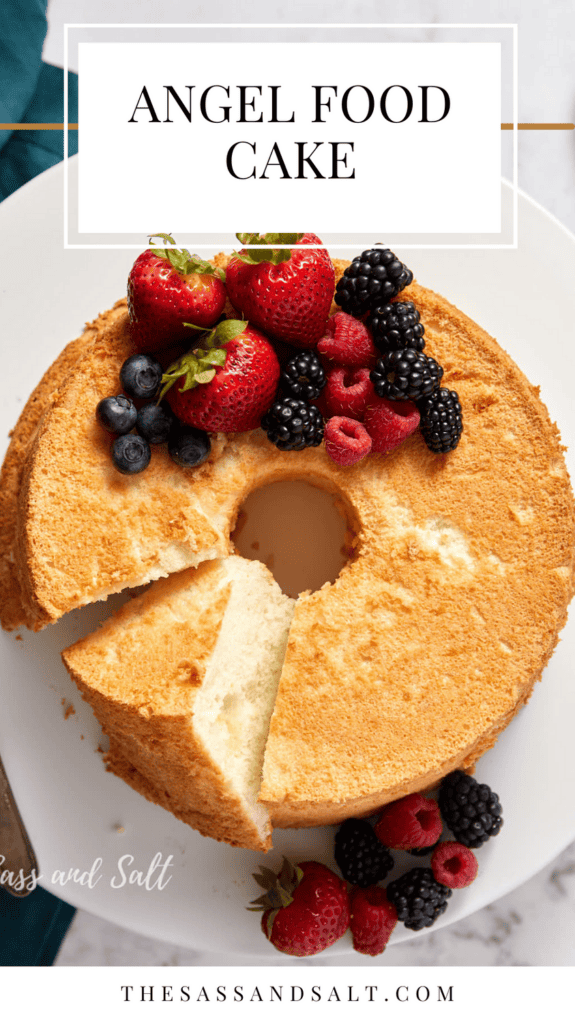
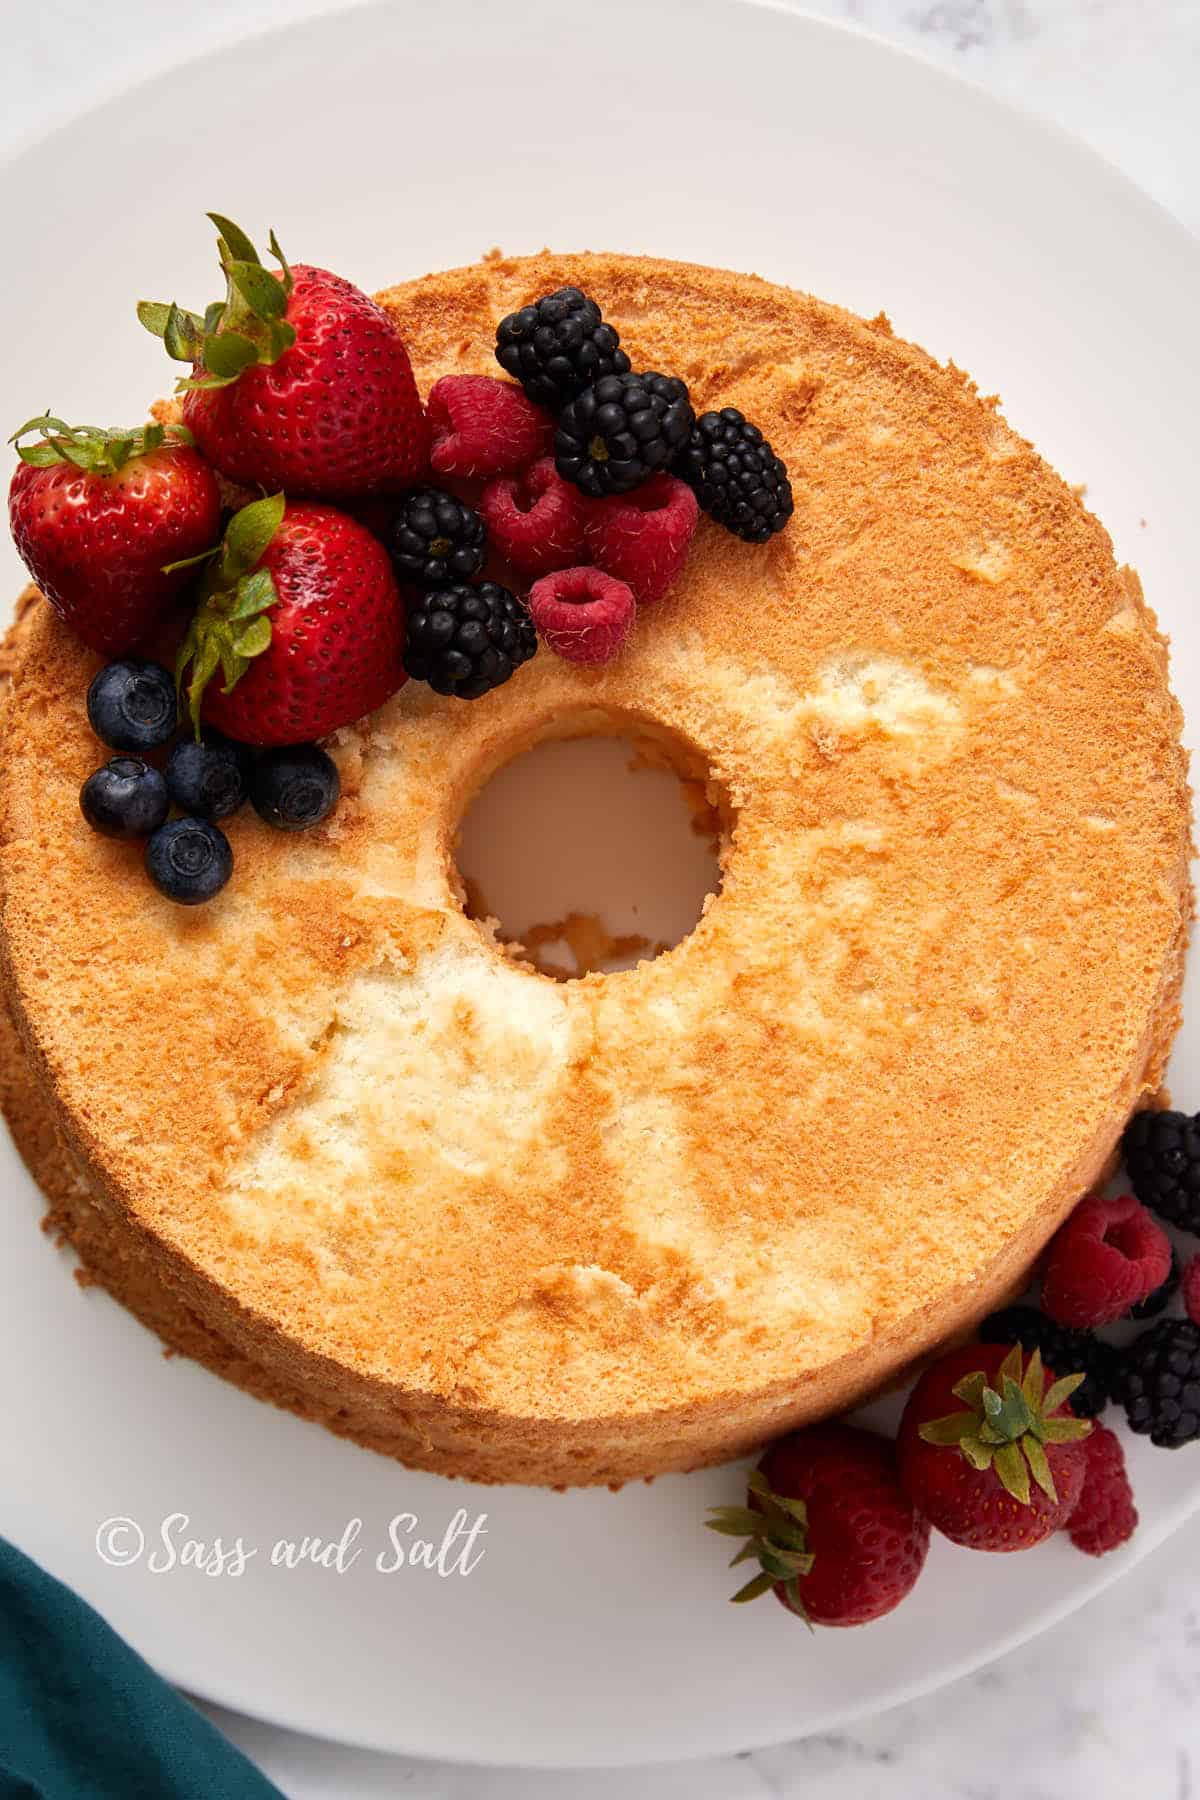
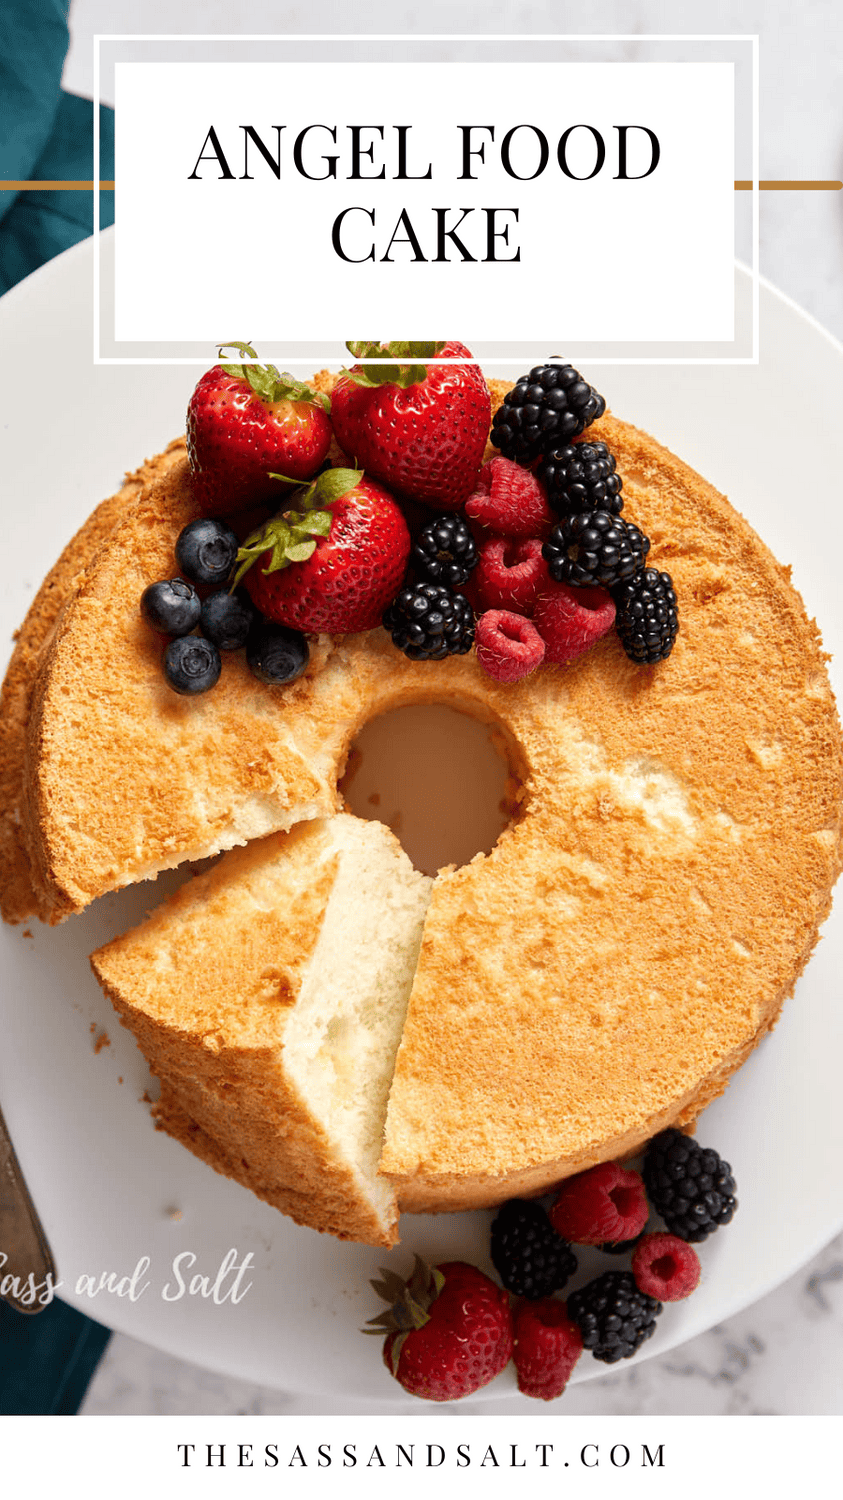
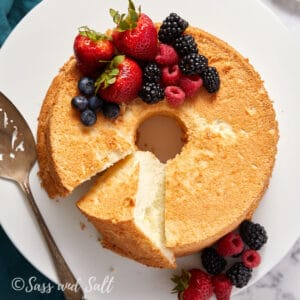
This homemade angel food cake is a heavenly dessert you’ll adore! Made with fluffy egg whites and a touch of vanilla, it’s light, airy, and simply irresistible. Top with fresh whipped cream for a delicious treat that’s perfect for any occasion. Follow this easy angel food cake recipe for a delightful, melt-in-your-mouth experience!
Save this Recipe!
I absolutely love angel food cake! It is one of my top five favorite desserts. However, there are so many recipes that make it rather difficult and confusing. Until I found this recipe from Stella Parks at Serious Eats that debunked all those complicated instructions. I already knew l didn’t have to use superfine sugar; I had done that before. I cut down on the sugar in her recipe, which is much easier to make.
Why is this recipe different?
Traditional methods are riddled with problems: over-whipped meringue, fragile structure, and a bunch of unnecessary steps.
- It ditches the French meringue method. Traditional angel food cake recipes often use fresh egg whites at room temperature, whisked until foamy, and then sugar is added slowly. If you go too fast, the foam collapses. Whip until you get medium peaks, but don’t overdo it, or it will deflate. Sift the remaining sugar and cake flour, then gently fold everything together. This method is airy but fragile and prone to collapse.
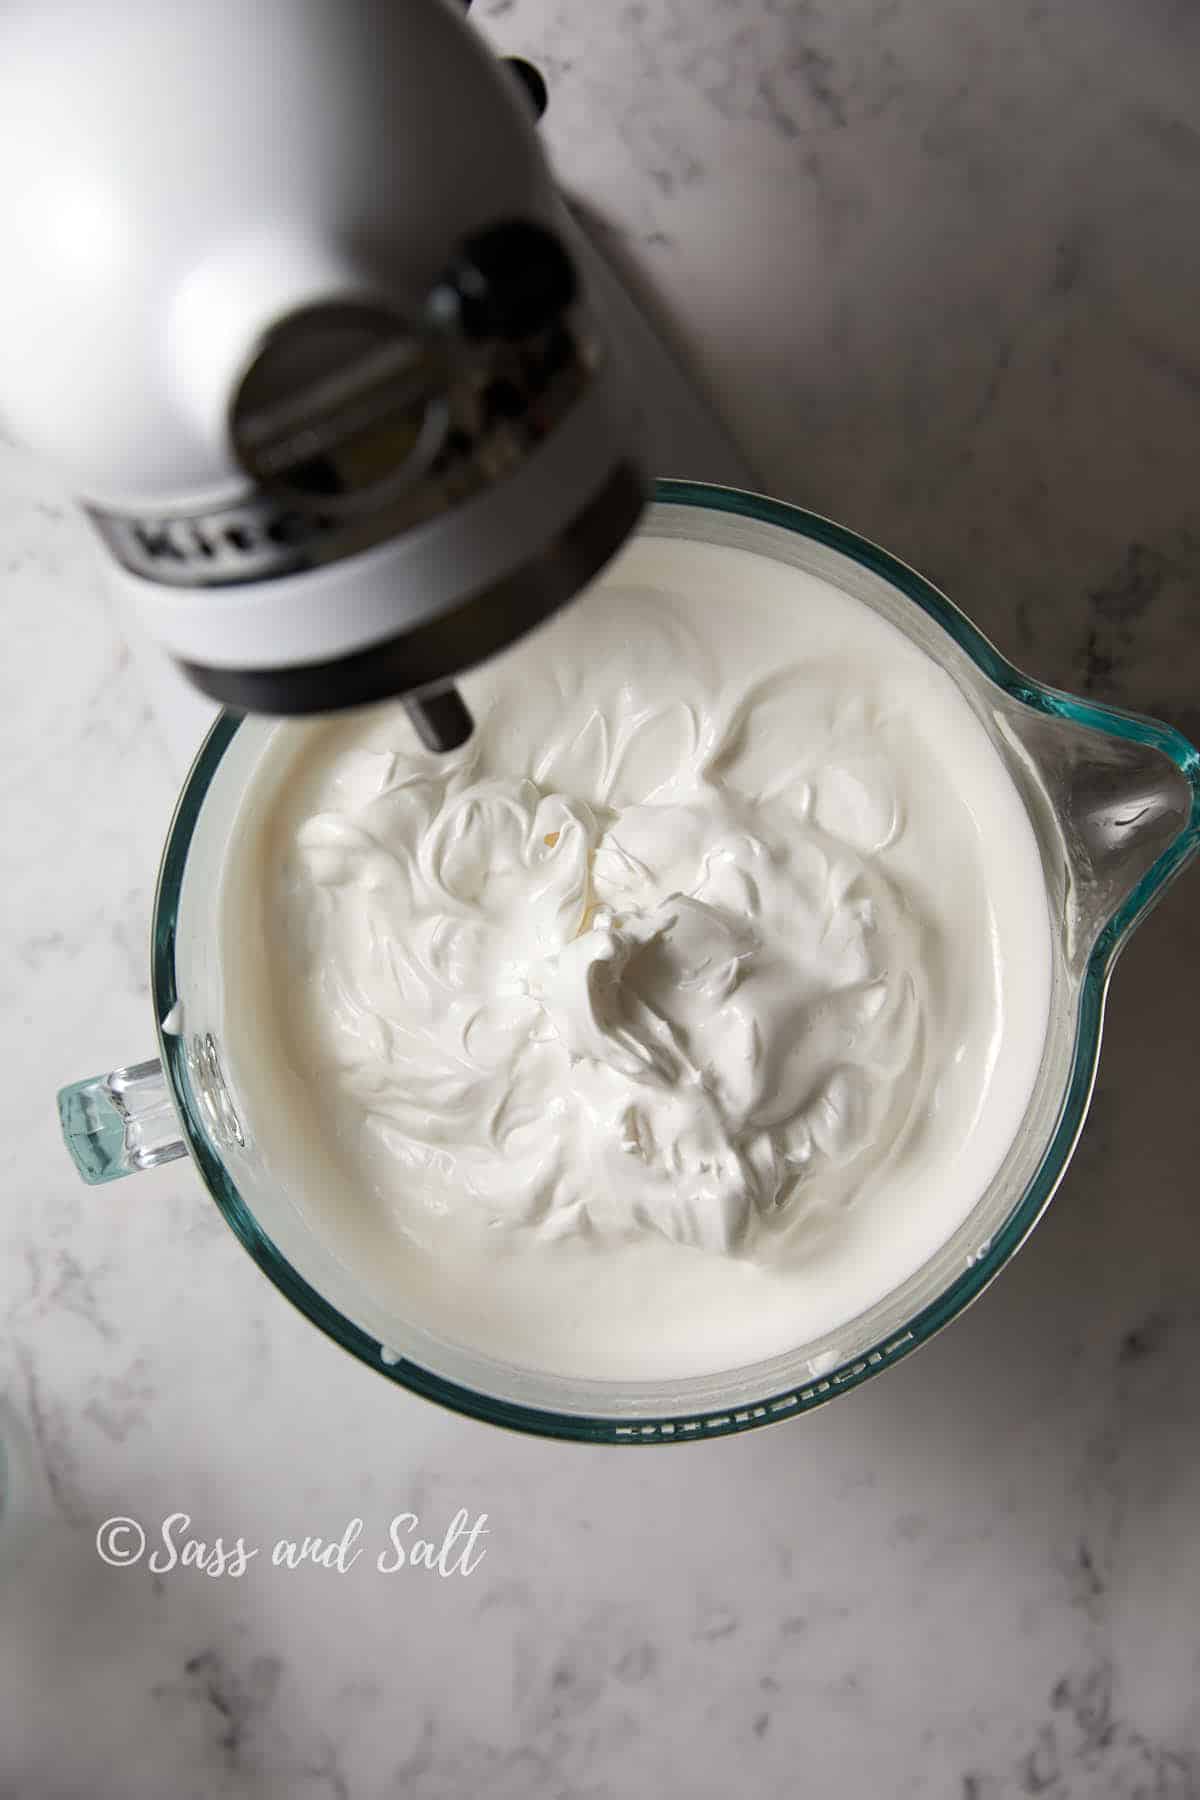
- Stella’s method: You stop whipping when the mixture is still soft and fluid, thick enough to form gentle mounds. Don’t aim for stiff or even medium peaks here. The goal is to stop whipping while the mixture is still fluid and soft—so soft it drips easily off the beater, yet thick enough to form gentle mounds in the bowl. This consistency is key for the perfect angel food cake texture.
- Cold whites & sugar upfront: Chilling the whites and adding all the sugar at once creates a stable, aerated meringue ready to expand in the oven.
- Bake & cool strategically: A digital thermometer ensures perfect doneness and cooling upside down in a regular aluminum pan (do not use non-stick) and utilizes gravity for a light and airy crumb.
The result? A light, fluffy cake that’s perfect for any occasion. Top it with fresh fruit for a stunning presentation, and enjoy a delightful dessert that’s anything but ordinary.
Angel Food Cake Ingredients
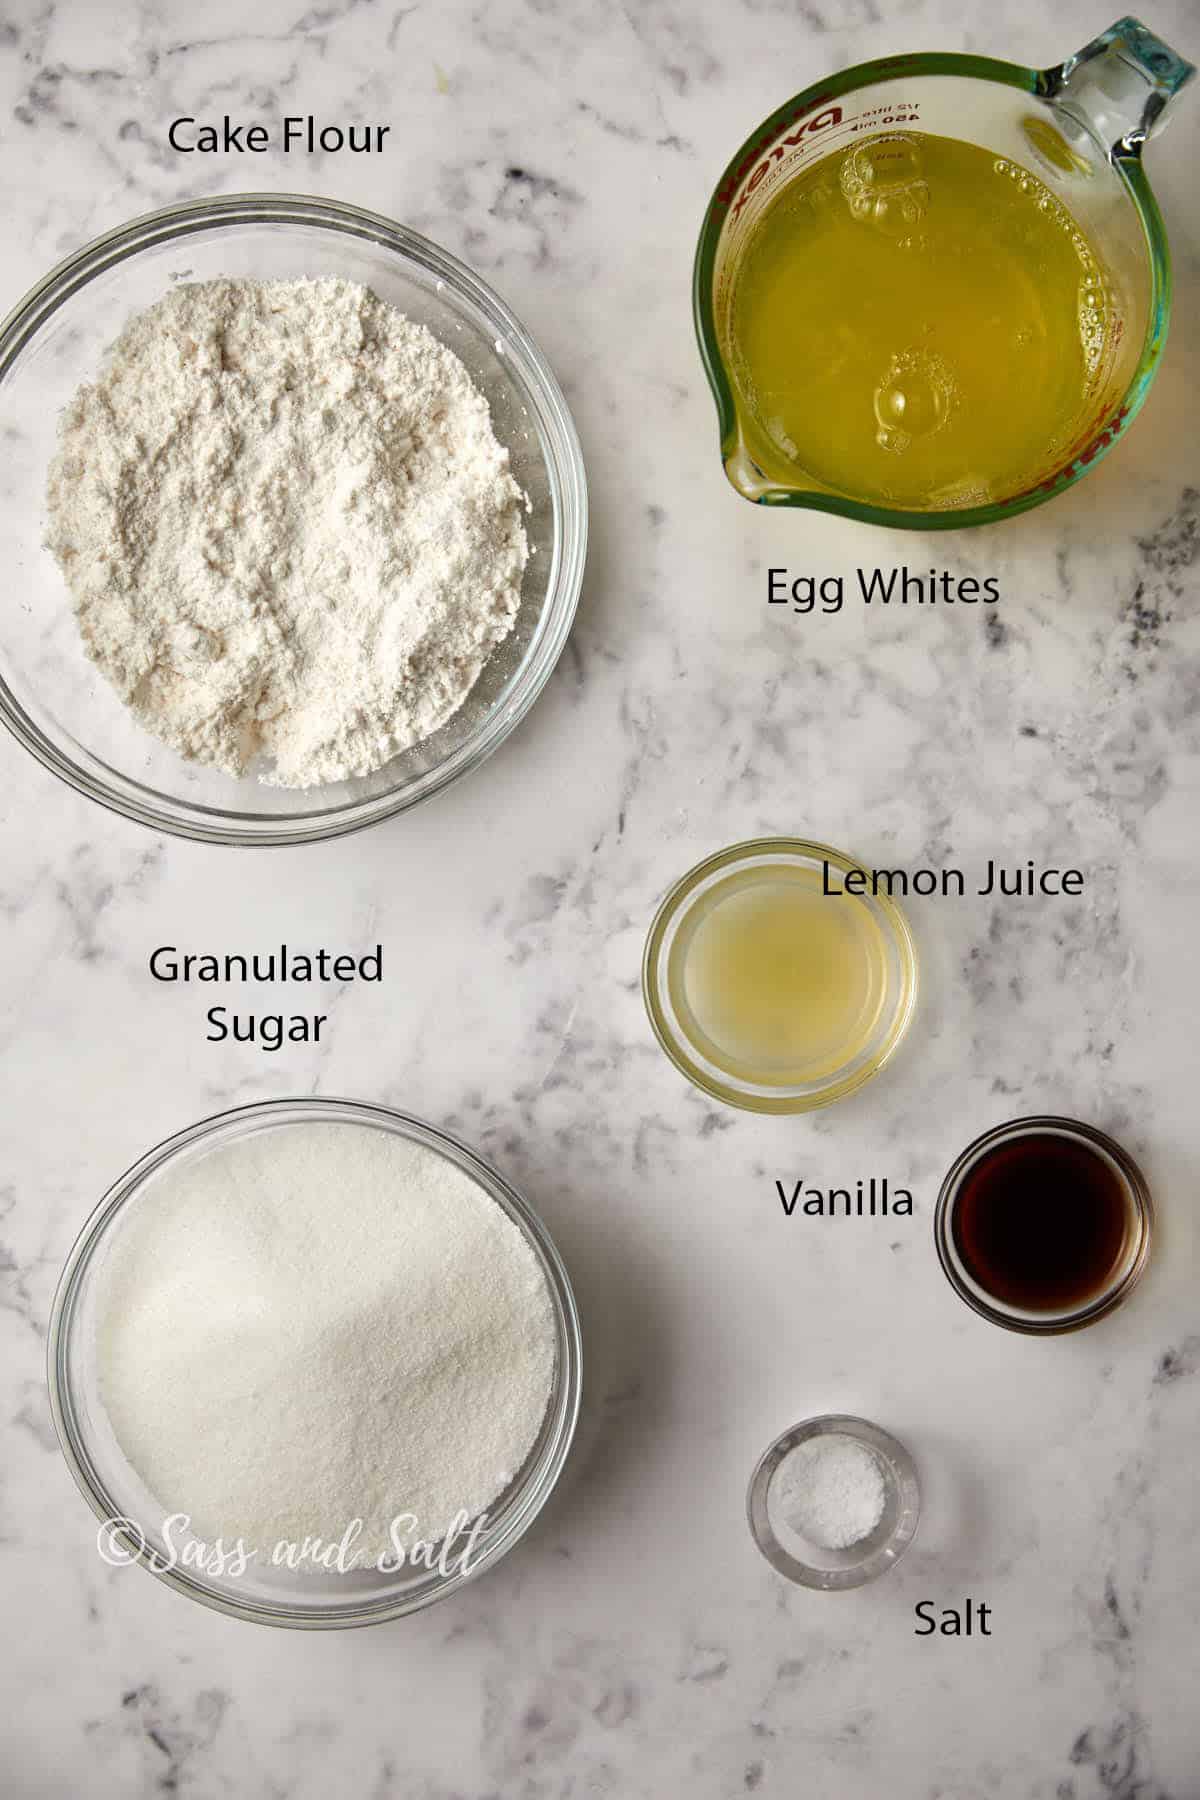
- Cake Flour—For the best results, use bleached cake flour. Sift before using. My favorite brand is Swans Down. The success of this recipe depends on using traditional bleached cake flour (not self-rising). Go for trusted brands like Swans Down, Softasilk, or Purasnow—unbleached and DIY alternatives just won’t cut it.
- Egg Whites – I strongly recommend using fresh real egg whites instead of egg white substitutes, previously frozen egg whites, or egg whites from a carton. Separate the eggs when they’re cold as they are easier to separate.
- Granulated Sugar – is needed to sweeten and stabilize the meringue. Do not substitute powdered or confectioners’ sugar, as it can dry out the angel food cake’s crumb.
- Lemon Juice – It helps the cake rise, balances the sweetness, and keeps the batter pale in the oven. Feel free to use other acids like white or apple cider vinegar, but I prefer lemon because it’s always in my kitchen. This does not add a lemon taste.
- Vanilla – Use pure vanilla extract for the best flavor.
- Salt – A pinch of kosher salt to balance the sweetness.
How to make Angel Food Cake
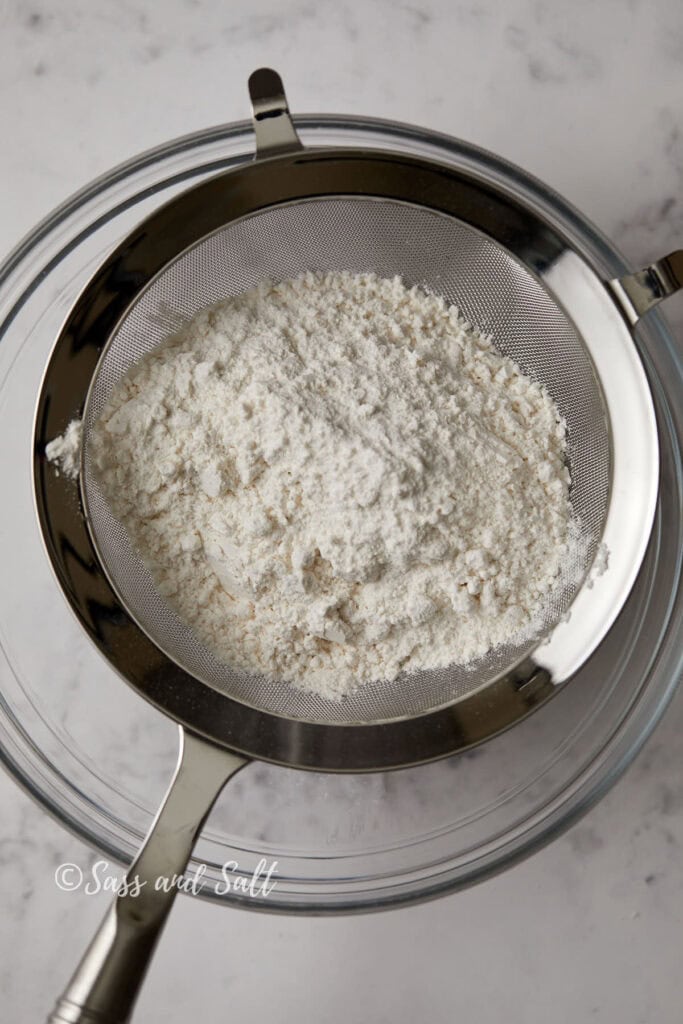
Sift the cake flour and set aside.
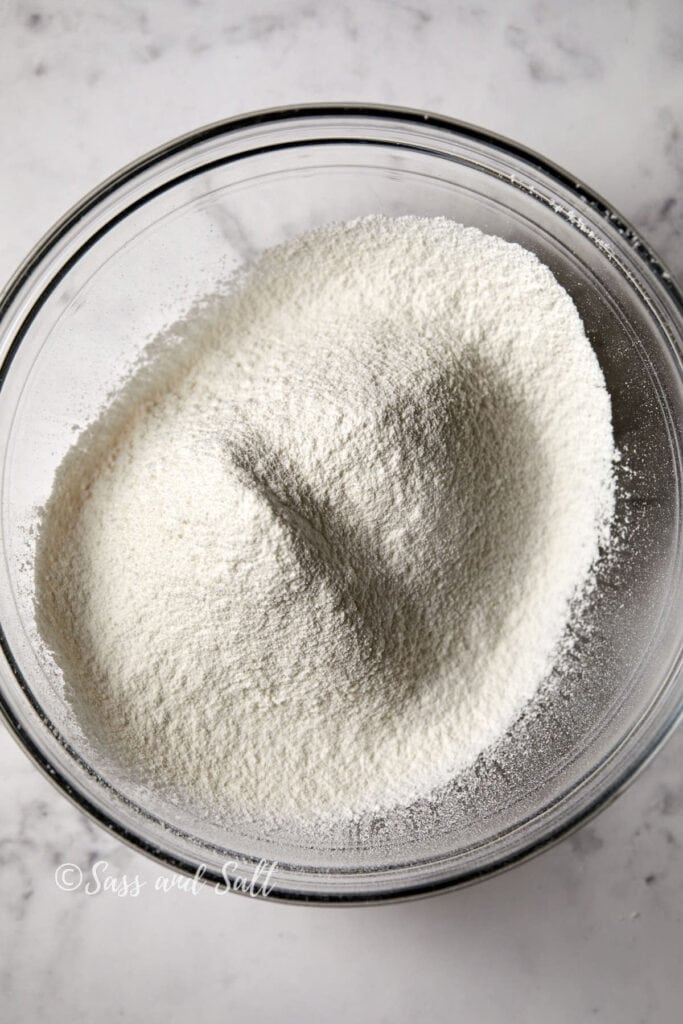
In a stand mixer with a whisk attachment, mix egg whites, sugar, and vanilla extract on low (speed 2 on a Kitchen Aid) for 1 minute. Then increase to medium-low (speed 4) and whip for 3 minutes until mixture is dark.
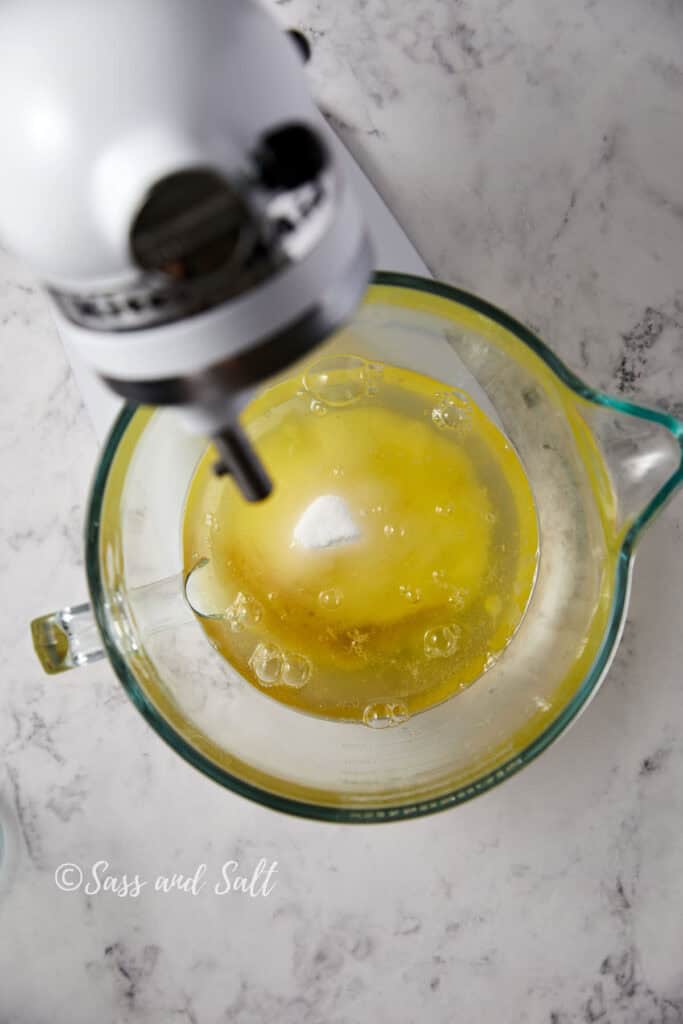
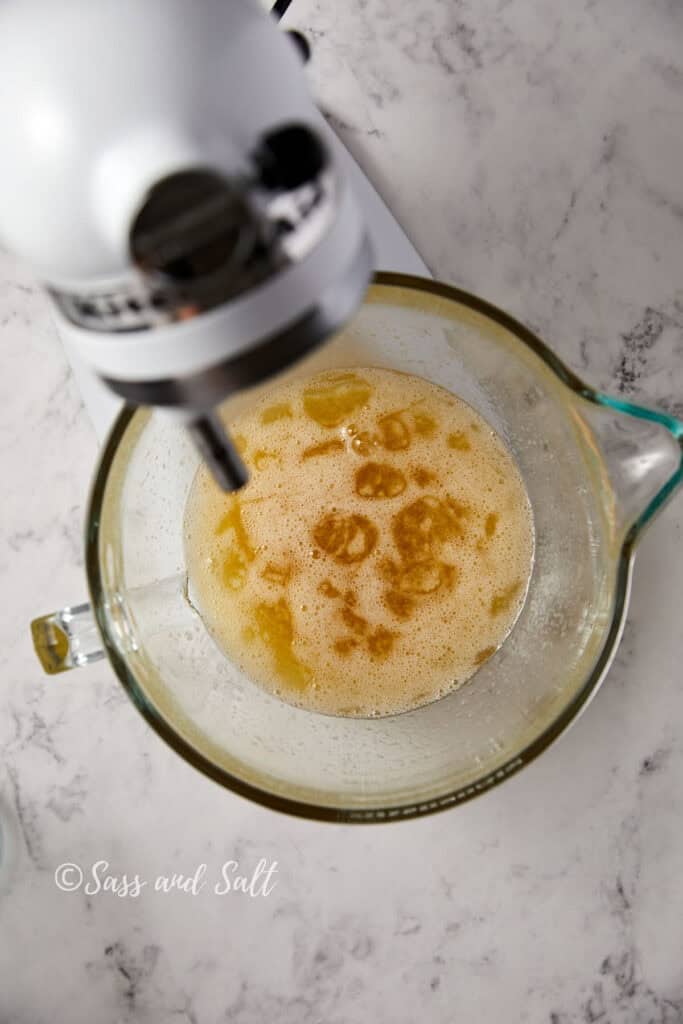
With the mixer running, add lemon juice, and salt. Increase speed to medium (speed 6 on a Kitchen Aid) and whip for another 3 minutes, until the mixture is thin and foamy.
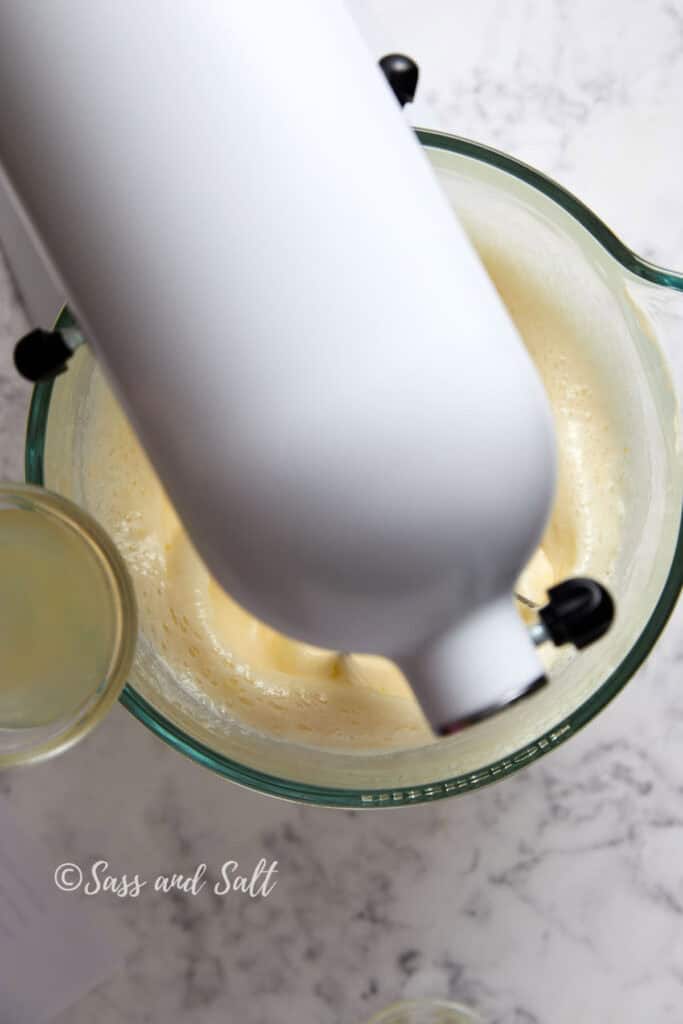
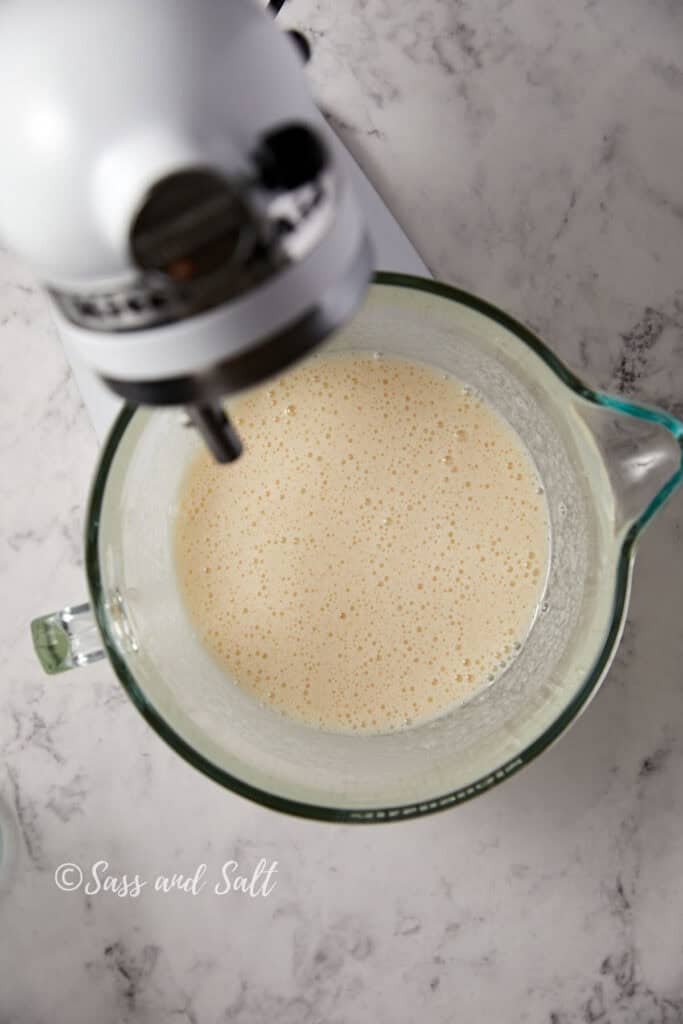
Increase speed to medium-high (speed 8 on a KitchenAid) and continue whipping until the meringue is glossy and thick, about 1-2 minutes. The meringue should form soft peaks that hold their shape but still flexible.
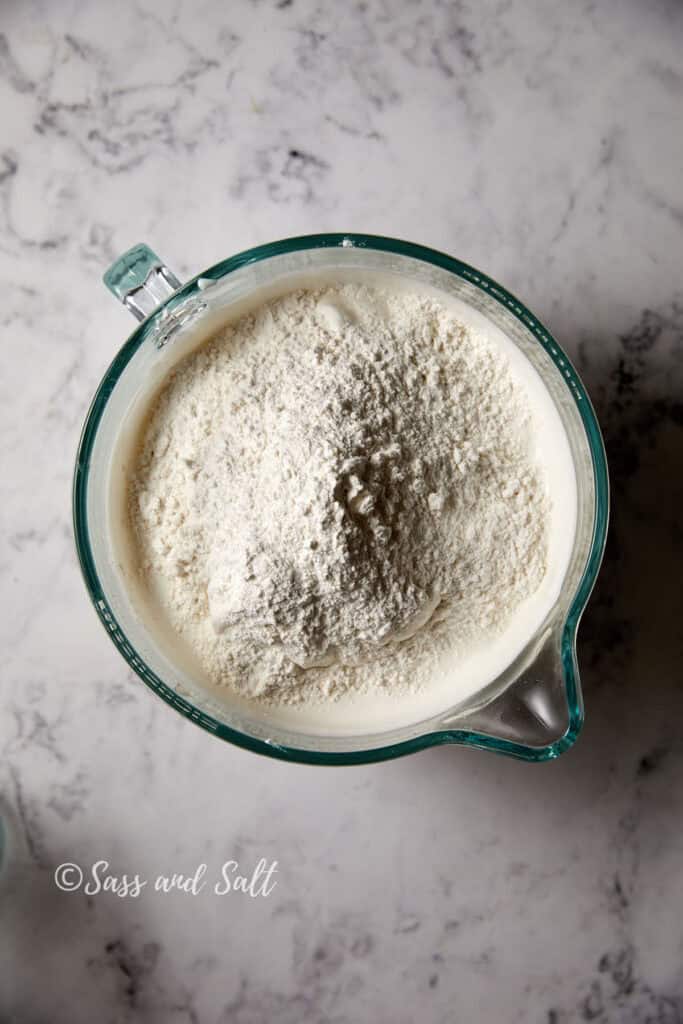
Sprinkle cake flour on top and stir with a flexible spatula to roughly combine. Switch to a folding motion, scraping from the bottom up and folding through the center, until no pockets of flour remain.
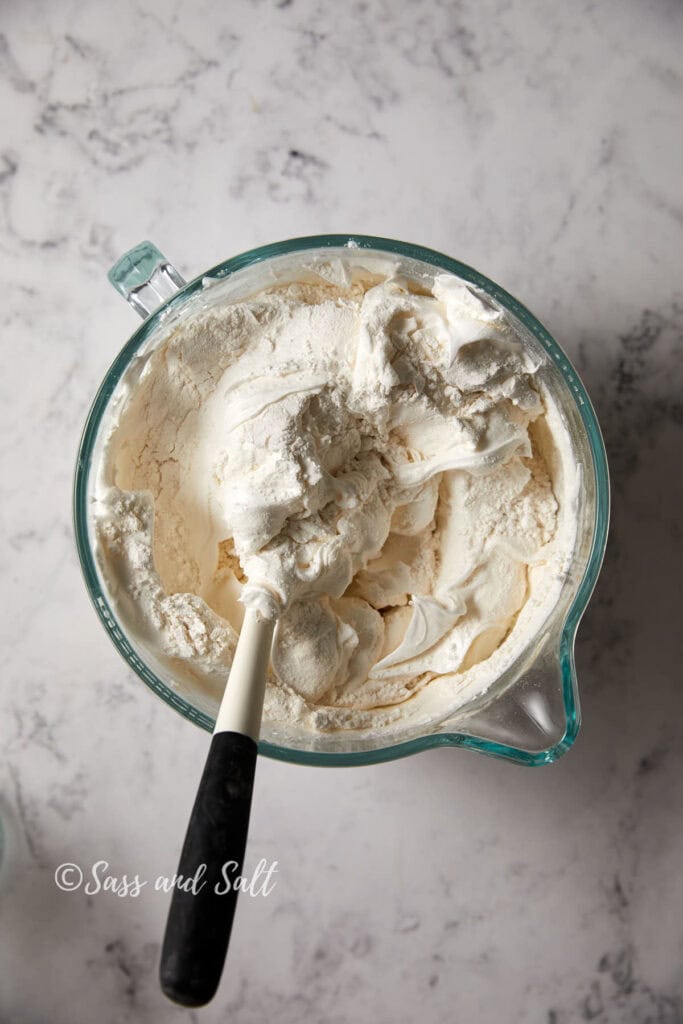
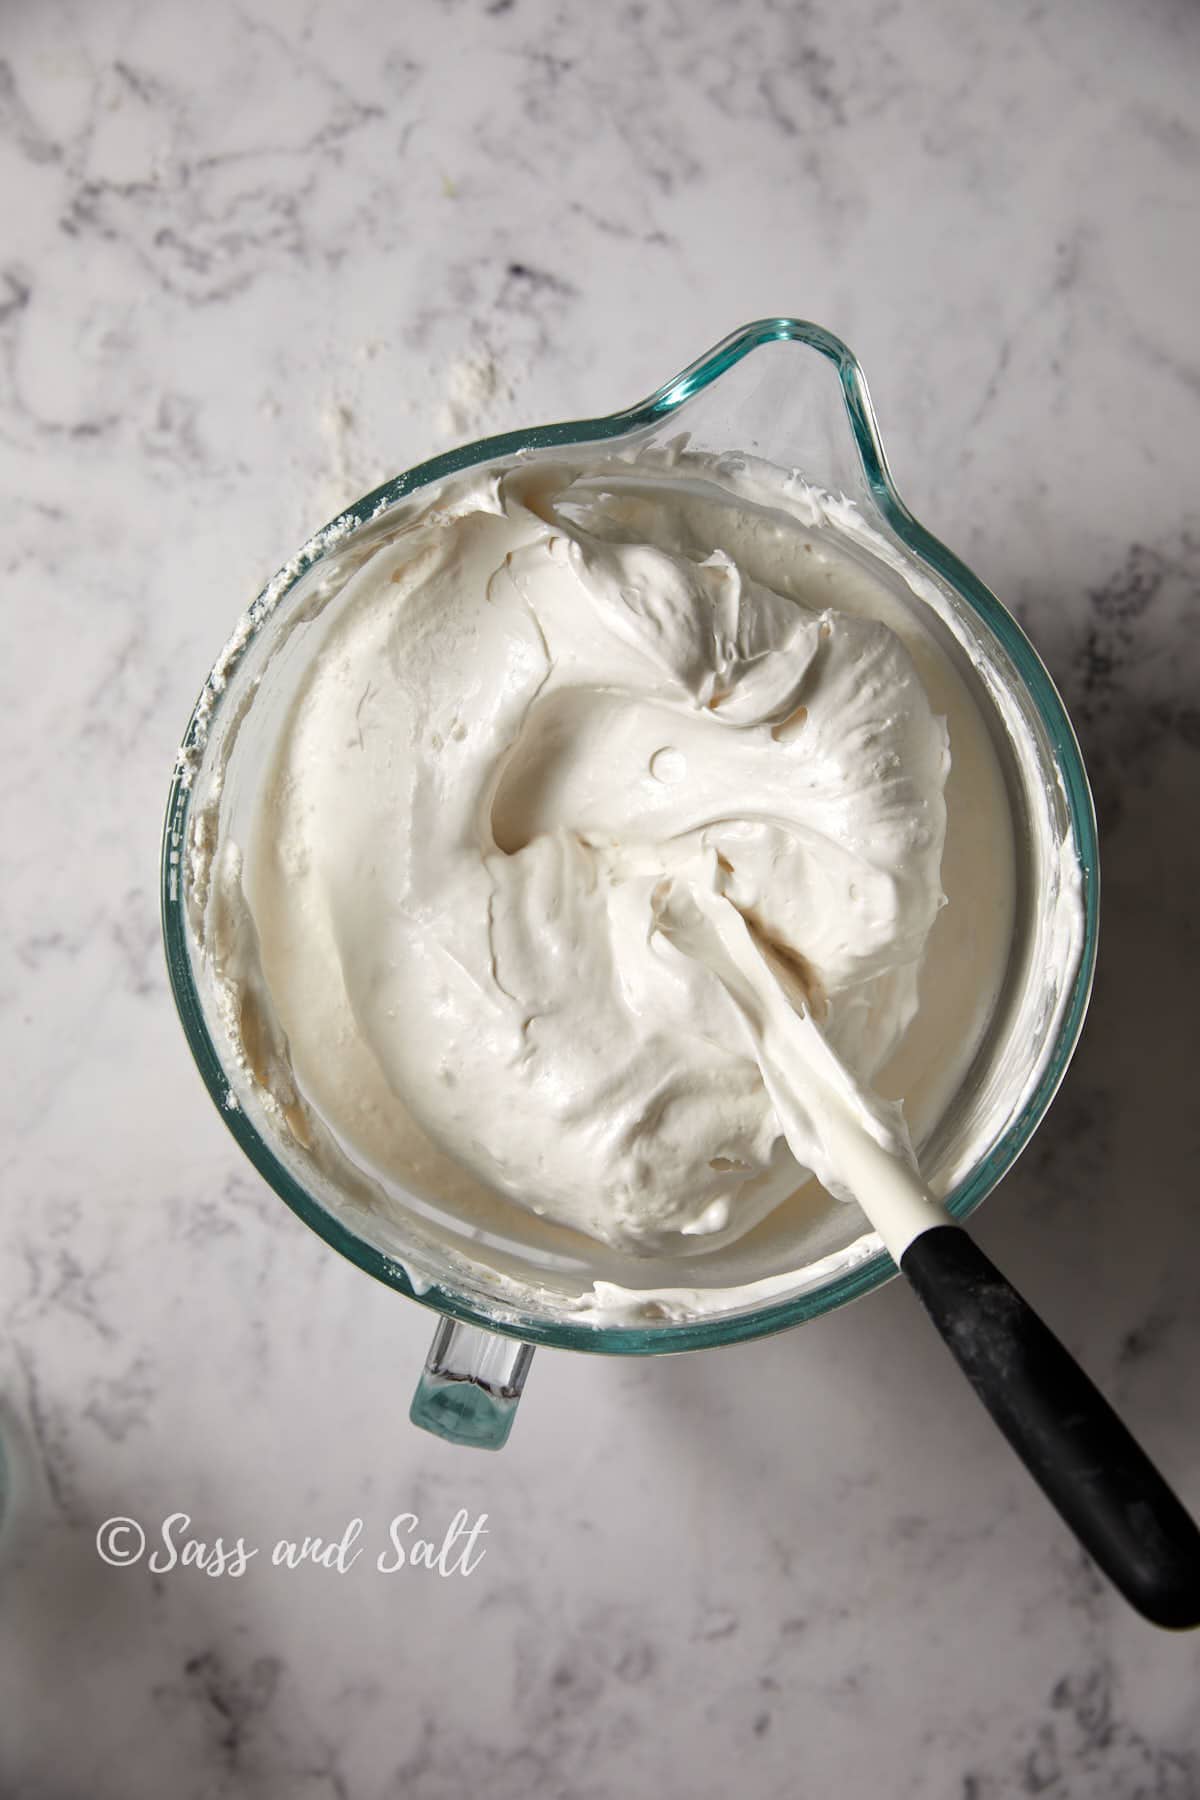
Scrape the batter into a 10-inch aluminum tube pan with a removable bottom (do not butter or grease pan); if you notice any small pockets of unincorporated flour, simply pause to mix them in.
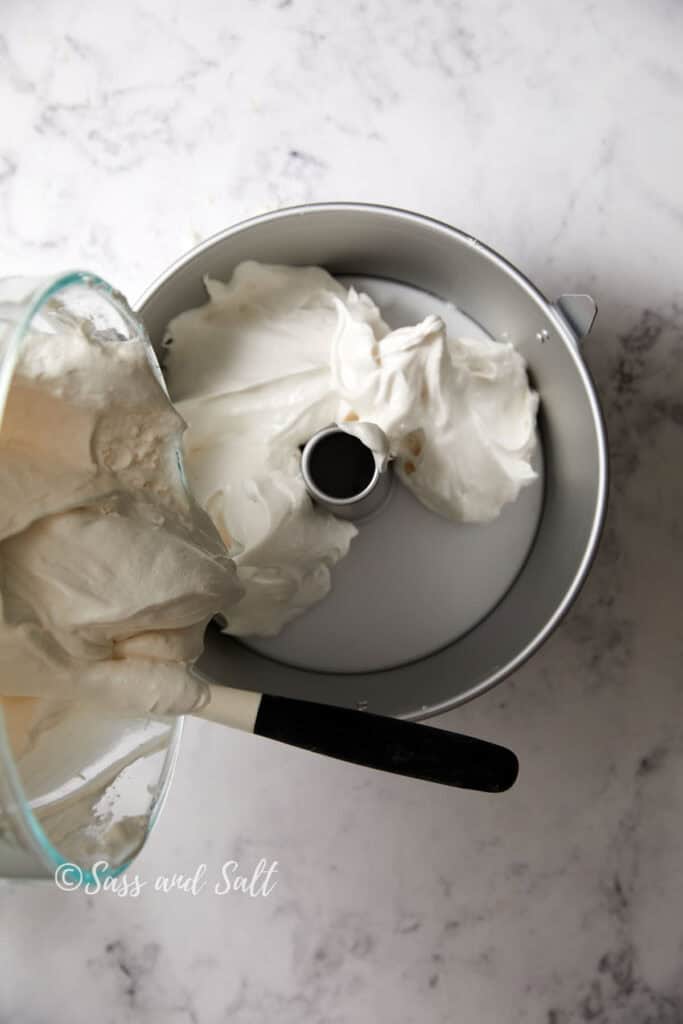
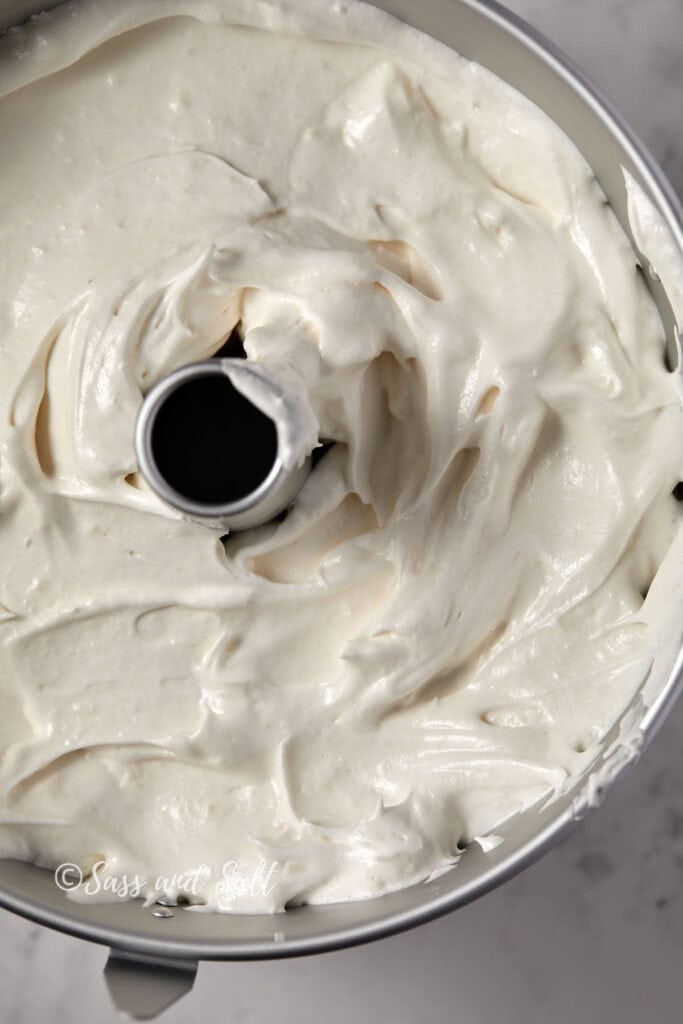
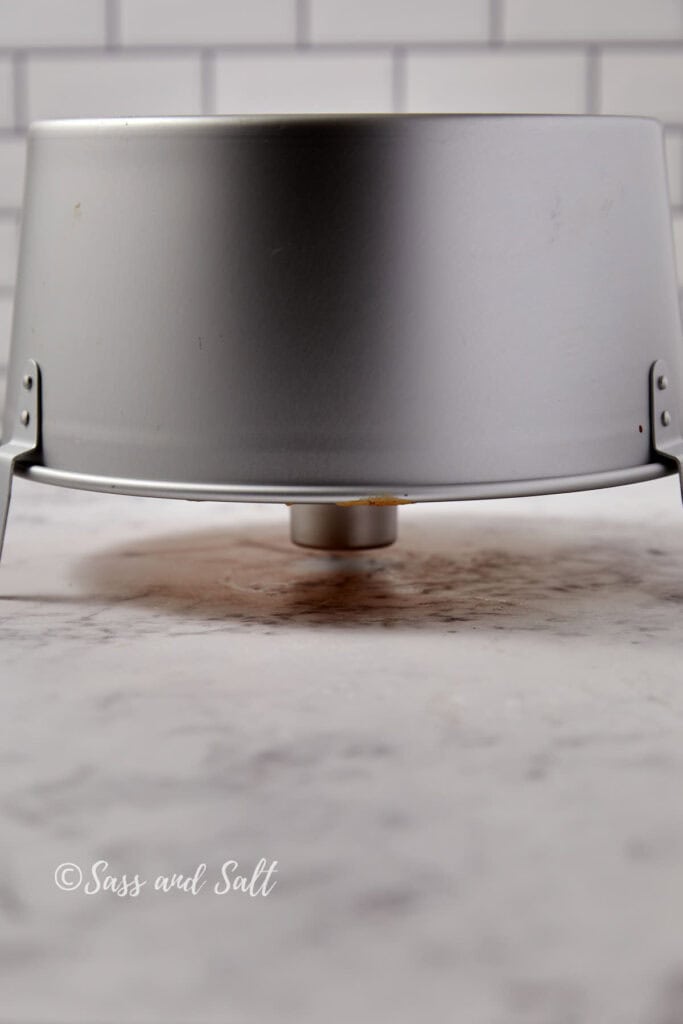
Bake for 35 minutes or until golden and firm. Use a digital thermometer to ensure accuracy; it should read 206°F (97°C). Invert the pan to cool completely before removing the cake, it will take about 2 hours.
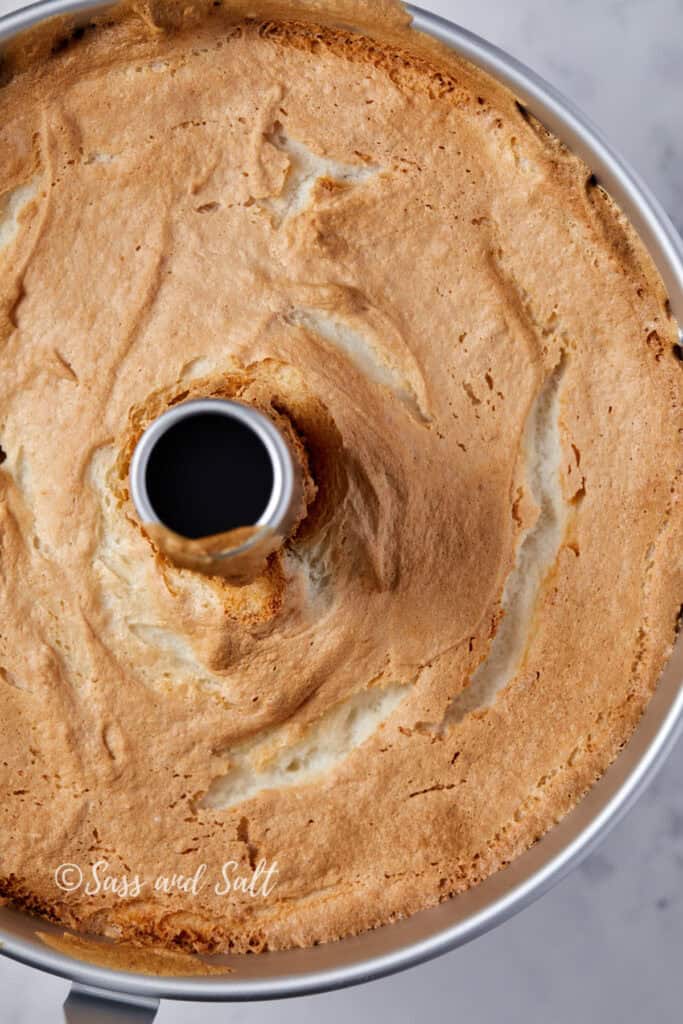
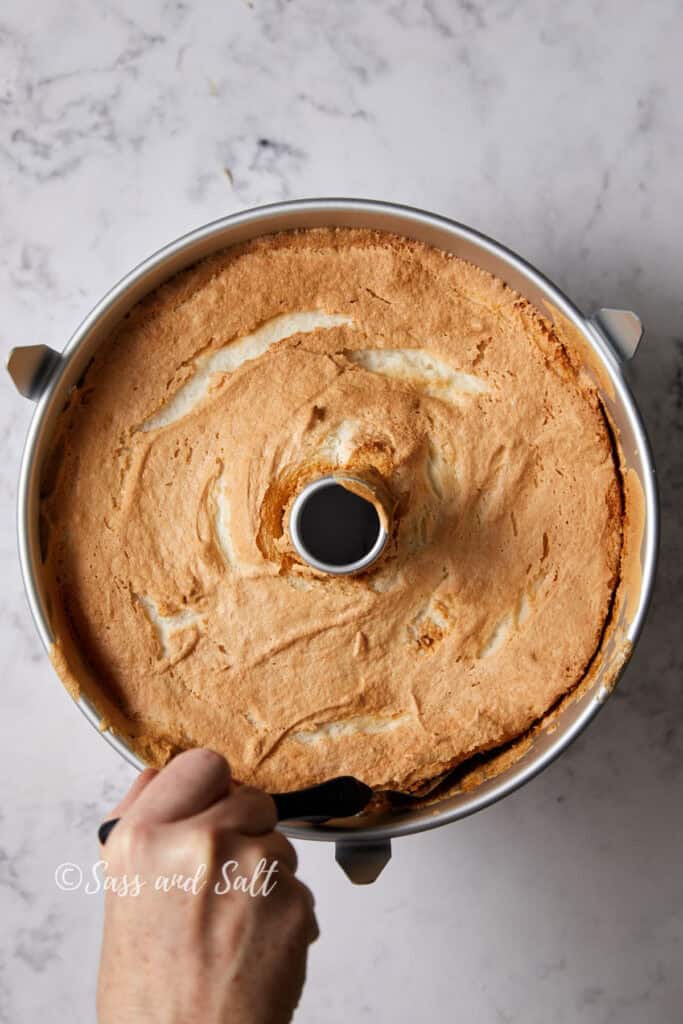
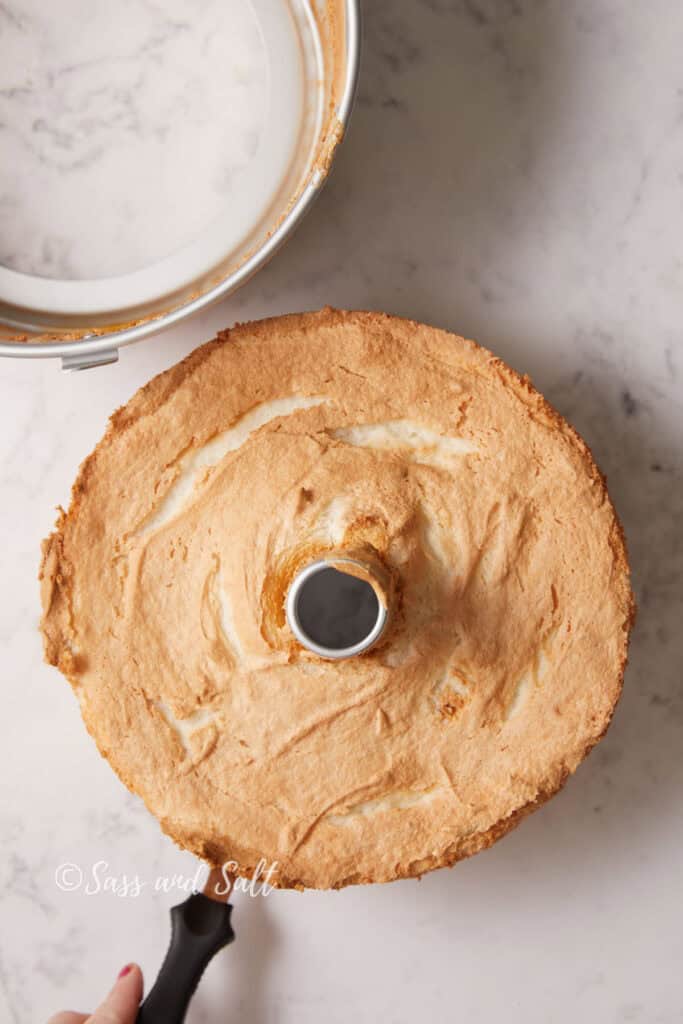
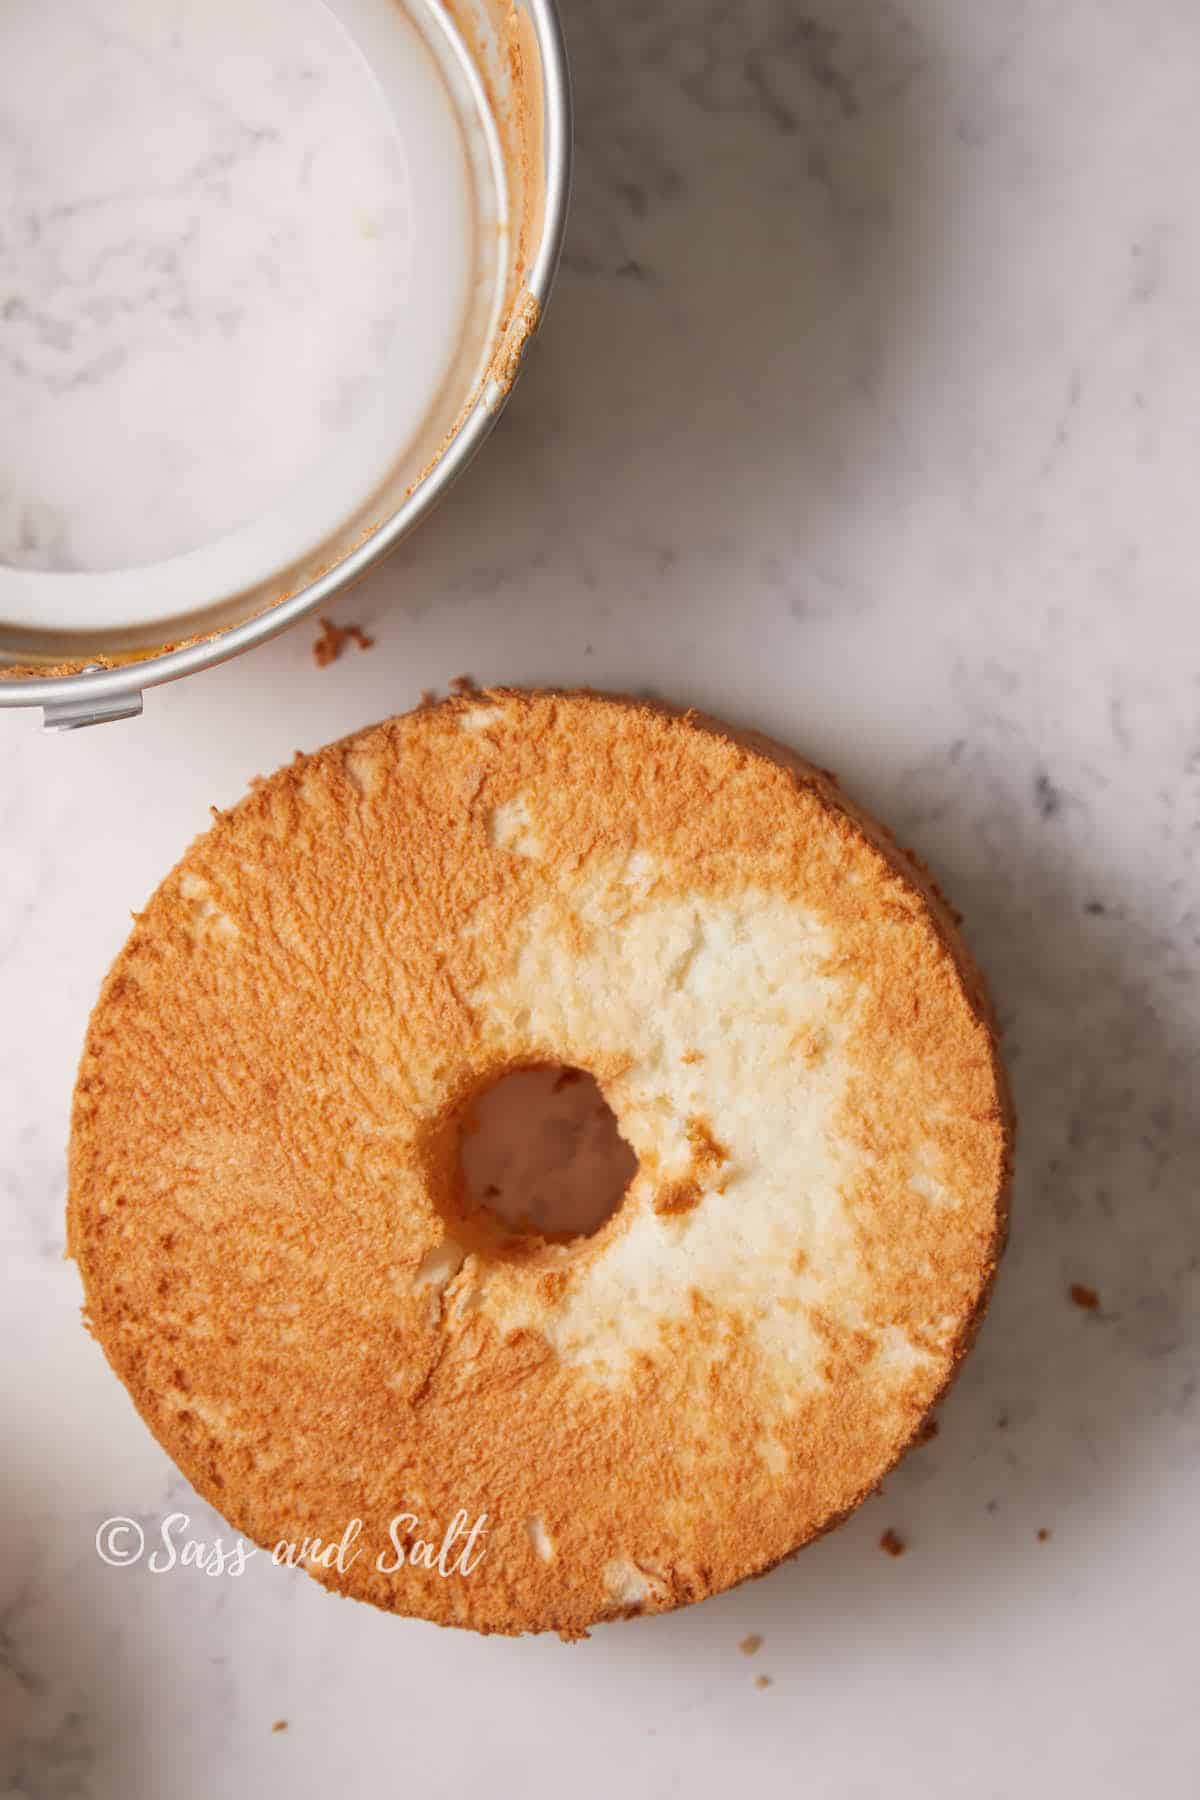
Once completely cooled, slide an offset spatula around the sides to loosen the cake. Remove the insert, then slide the spatula under the bottom to release the cake. Flip it onto a serving plate, gently pulling on the sides to release it from the center tube.
Angel Food Cake Pans
The perfect angel food cake pan, or tube pan, is essential for creating a successful angel food cake. This pan has a unique design with a hollow tube in the center, which allows heat to circulate evenly through the batter, ensuring that the cake bakes uniformly. The tall, straight sides provide support for the delicate batter as it rises, helping to create the classic light and airy texture of angel food cake.
One critical feature of an ideal angel food cake pan is its removable bottom. This allows for easy cake release without damaging its delicate structure. Some pans also come with small feet around the rim, which are particularly useful for cooling the cake upside down.
Cooling the cake inverted is crucial, as it prevents it from collapsing and maintains its fluffy texture. If the pan doesn’t have feet, you can invert it over a bottle or a set of cans to achieve the same effect.
Material-wise, a good angel food cake pan is typically made of aluminum, which provides excellent heat conductivity and ensures even baking. Non-stick coatings are generally avoided for angel food cakes because the batter needs to cling to the sides of the pan as it rises. When shopping for an angel food cake pan, look for one with these features to ensure your cake turns out perfect every time. This is my favorite angel food cake pan and the one pictured in this blog.
Variations
- Chocolate Angel Food Cake: Add 1/4 cup of unsweetened cocoa powder to the cake flour for a chocolate twist.
- Coconut Angel Food Cake: Fold in 1 cup of shredded coconut before pouring the batter into the pan. Top with a coconut glaze.
- Berry Angel Food Cake: Gently fold in 1 cup of fresh berries (such as strawberries, blueberries, or raspberries) into the batter before baking.
Tips for the perfect angel food cake
- Use Cold Egg Whites: Start with cold egg whites for better stability.
- Add Sugar Early: Combine egg whites and sugar from the beginning to create a dense, stable meringue.
- Whip in Stages: Begin whipping on low, then gradually increase to medium and finally to medium-high for the best texture.
- Avoid Stiff Peaks: Stop whipping when the meringue is glossy and soft, not stiff.
- Cool Upside Down: Cool the cake upside down to maintain its structure.
How to Store Angel Food Cake
- Cool Completely: Ensure the cake is completely cool before storing to maintain its texture and prevent moisture build-up.
- Cover Lightly: Wrap the cake loosely in plastic wrap or store in a cake container to allow some air circulation, preventing it from becoming too moist.
- Room Temperature: Store at room temperature for up to 2 days, keeping it in a cool, dry place.
- Refrigeration: For longer storage, wrap the cake in plastic wrap and then in aluminum foil. It can be refrigerated for up to a week.
- Freezing: Wrap the cake in plastic wrap and aluminum foil or place it in an airtight container. It can be frozen for up to 6 months. Thaw at room temperature before serving.
Angel Food Cake Toppings
- Fresh Berries: Strawberries, raspberries, blueberries, or blackberries add a burst of color and natural sweetness.
- Whipped Cream: Classic and simple, whipped cream complements the cake’s delicate flavor.
- Fruit Compote: Warm fruit compotes, like cherry or mixed berry, provide a sweet and tangy contrast.
- Citrus Glaze: A lemon or orange glaze adds a zesty finish.
- Chocolate Drizzle: Melted chocolate or chocolate ganache brings a rich, decadent touch.
- Cream Cheese Frosting: A light layer of cream cheese frosting offers a tangy sweetness.
- Vanilla ice cream: The creamy, rich flavor of vanilla ice cream complements the light and airy texture of the cake.
Easy Homemade Angel Food Cake
Ingredients
- 1 cup plus 2 tablespoons; (133g) bleached cake flour
- 2 cups (425g) cold egg whites from 12 large eggs
- 1 3/4 cups (350g) granulated sugar
- 2 teaspoons vanilla extract
- 2 tablespoons (25 g) freshly squeezed lemon juice
- 1/4 teaspoon (1g) Diamond Crystal kosher salt; for table salt, use half as much by volume or use the same weight
Instructions
- Move the oven rack to the middle position and preheat to 350°F (180°C).
- Sift cake flour and set it aside.
- In a stand mixer bowl, combine egg whites, sugar, and vanilla extract. Use the whisk attachment. Start mixing on low for 1 minute, then increase to medium-low (speed 4 on a KitchenAid) and whip for 3 minutes until the mixture is dense and dark.
- With the mixer running, add lemon juice and salt. Increase speed to medium (speed 6 on a KitchenAid) and whip for another 3 minutes until the mixture is thin and foamy.
- Increase speed to medium-high (speed 8 on a KitchenAid) and continue whipping until the meringue is glossy and thick, about 2 to 4 minutes. The meringue should form soft peaks that hold their shape but are still flexible.
- Sprinkle the sifted cake flour on top of the meringue. Gently stir with a spatula to roughly combine, then fold the mixture by scraping from the bottom up until no flour pockets remain.
- Scrape the batter into a 10-inch ungreased aluminum tube pan with a removable bottom. If you see any unincorporated flour, mix it in gently.
- Bake for about 35 minutes, or until the cake is puffed, golden blond, and firm to the touch, or until it reaches an internal temperature of 206°F (97°C).
- Invert the pan onto its stilts or cooling rack and let it cool upside down for at least 2 hours until completely cool.
- Slide an offset spatula around the sides to loosen the cake. Remove the insert, then slide the spatula under the bottom to release the cake. Flip it onto a serving plate, gently pulling on the sides to release it from the center tube.

