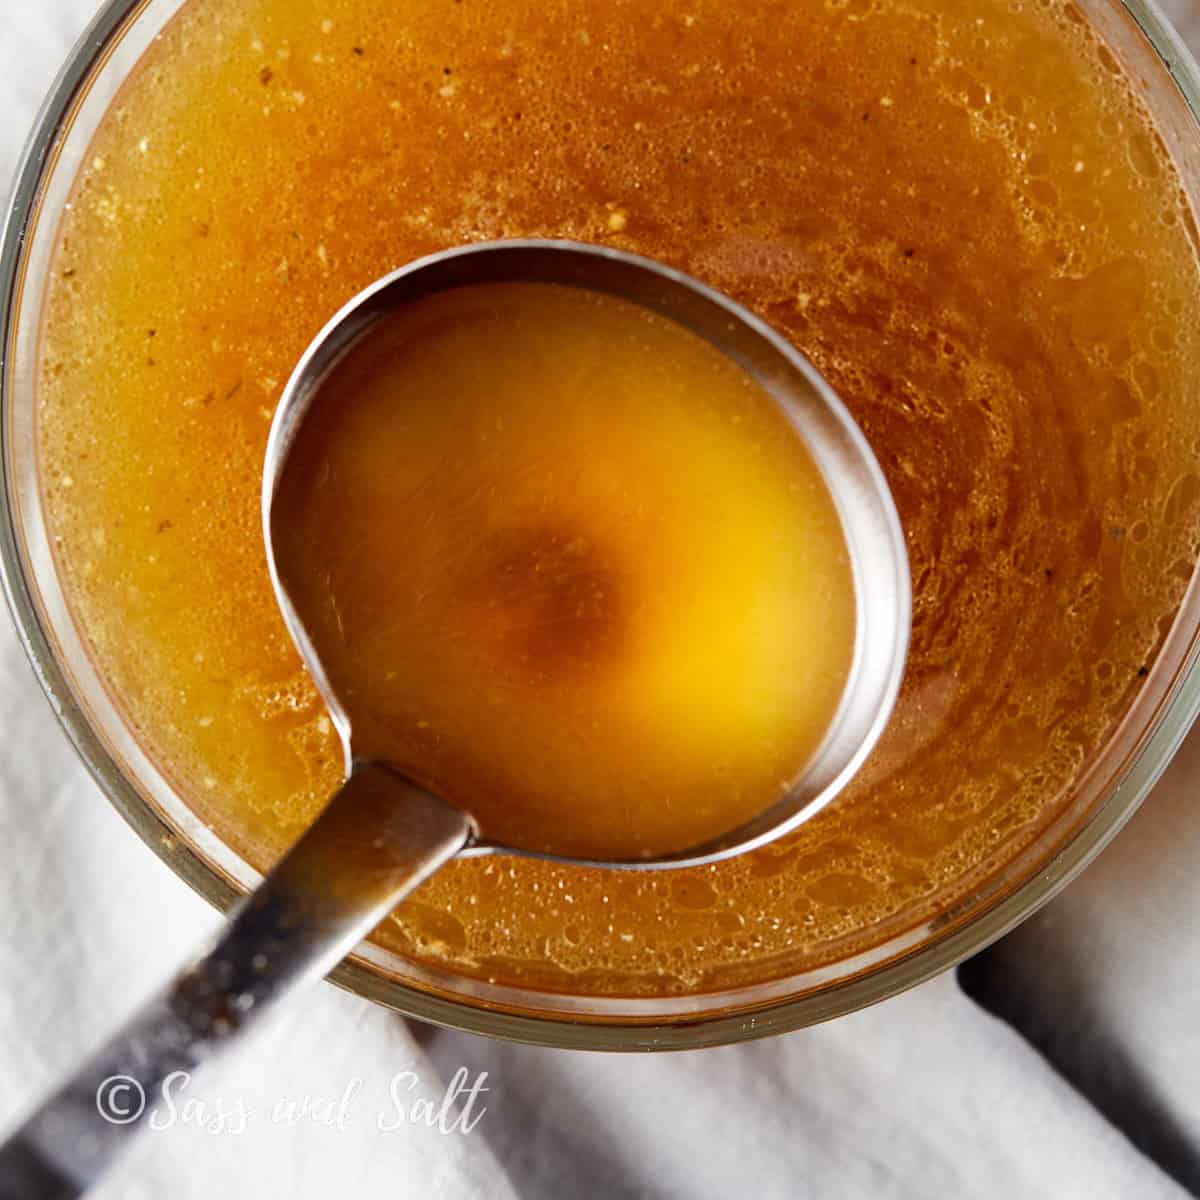
Are you looking for a nutritious and flavorful way to make the most of your rotisserie chicken leftovers? Then, rotisserie chicken bone broth is the answer! Turn leftover rotisserie chicken into a simple, nutritious bone broth.
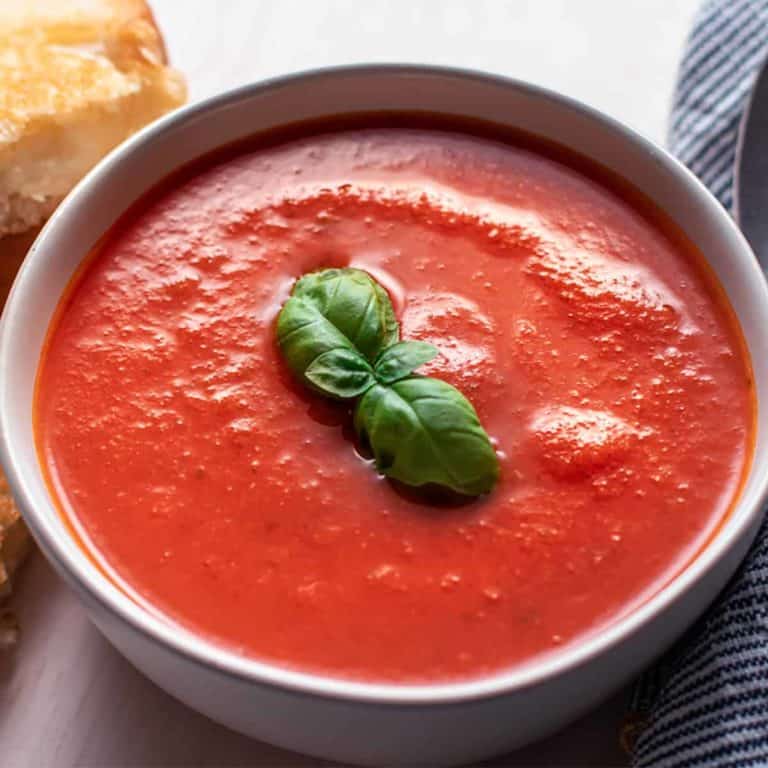
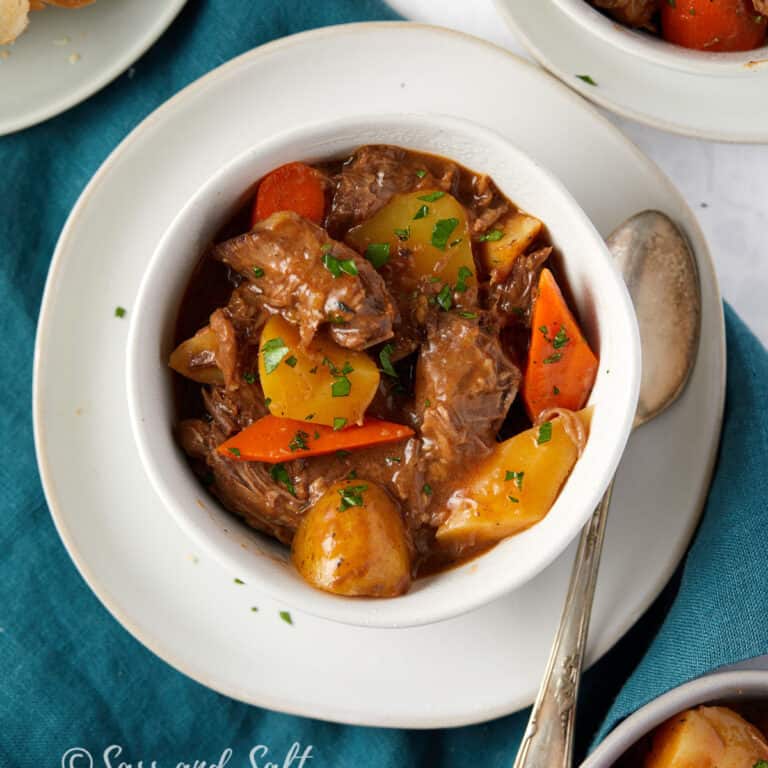
It is an essential foundation that is a perfect start for making tasty meals. Whether it’s enriching a roasted tomato soup with basil, adding depth to a creamy mushroom orzo soup, or creating a robust base for a Dutch oven beef stew without wine, this bone broth is your key to unlocking rich, wholesome flavors in a variety of comforting recipes.

Save this Recipe!
What is Rotisserie Chicken Bone Broth?
Rotisserie chicken bone broth is a nutrient-dense liquid made by simmering leftover rotisserie chicken bones and skin with water, vegetables, and herbs. The result is a rich and savory broth that is perfect as a base for soups, stews, and various other dishes.
Why Make Homemade Broth?
- No Additives: Unlike many store-bought broths, your homemade version won’t contain preservatives or high levels of sodium.
- Waste-Not Philosophy: Utilizing the leftover carcasses and bones from a rotisserie chicken is an excellent way to reduce food waste and get the most out of your groceries. I freeze my leftover chicken carcasses, and once I have 2, I make the broth for maximum flavor!
- Versatile: This broth serves as a fantastic base for a variety of recipes, from soups and stews to gravies and sauces, elevating the taste of almost any dish that requires liquid.
- Ease and Simplicity: This recipe is incredibly straightforward, requiring minimal active preparation time. It’s a perfect set-it-and-forget-it dish that allows you to multitask while the stove does all the work.

Ingredients needed for Rotisserie chicken bone broth
- Rotisserie Chicken Carcasses: The base of the broth provides rich flavor and nutrients from the bones, which release collagen during cooking. The carcass you use to make bone broth can be from a store rotisserie chicken or a chicken carcass from another meal. Set aside the tender meat and reserve the bones and skin for your broth base; add them into a bag suitable for the freezer. Store it in the deep freeze or chill in the refrigerator until you’re set to start your broth. Opt for a high-quality rotisserie chicken, preferably one that’s simply prepared without an excess of added seasonings or spices.
- Carrots: They add sweetness and a vibrant color. f
- Parsnips: Similar to carrots, parsnips contribute a hearty sweetness. If you don’t want to use parsnips just use all carrots.
- Celery: It provides a subtle, earthy flavor and aromatic quality to the broth.
- Onion: Essential for depth of flavor, onions also offer a foundation of savory taste. Leaving the skins on contributes a rich golden-brown hue to the broth.
- Garlic: It’s used for its distinctive aroma and its ability to complement and intensify the flavors of the other ingredients.
- Fresh Herbs (Dill, Parsley, Thyme): These herbs infuse the broth with fresh, aromatic flavors. Dill adds a tangy zest, parsley brings a mild bitterness that balances the sweetness of the roots, and thyme offers a slightly minty and lemony taste.
- Black Peppercorns: They provide a sharp, woody aroma and a gentle heat, which complements the natural flavors of the chicken and vegetables.
- Salt: It enhances all the flavors in the pot and is essential for a well-rounded broth.
How to make Rotisserie Chicken Bone Broth
Making Rotisserie Chicken Bone Broth is a wonderfully simple process that transforms kitchen scraps into a nutritious and delicious base for many dishes. Here’s how to do it:
Step 1: Prepare Your Pot
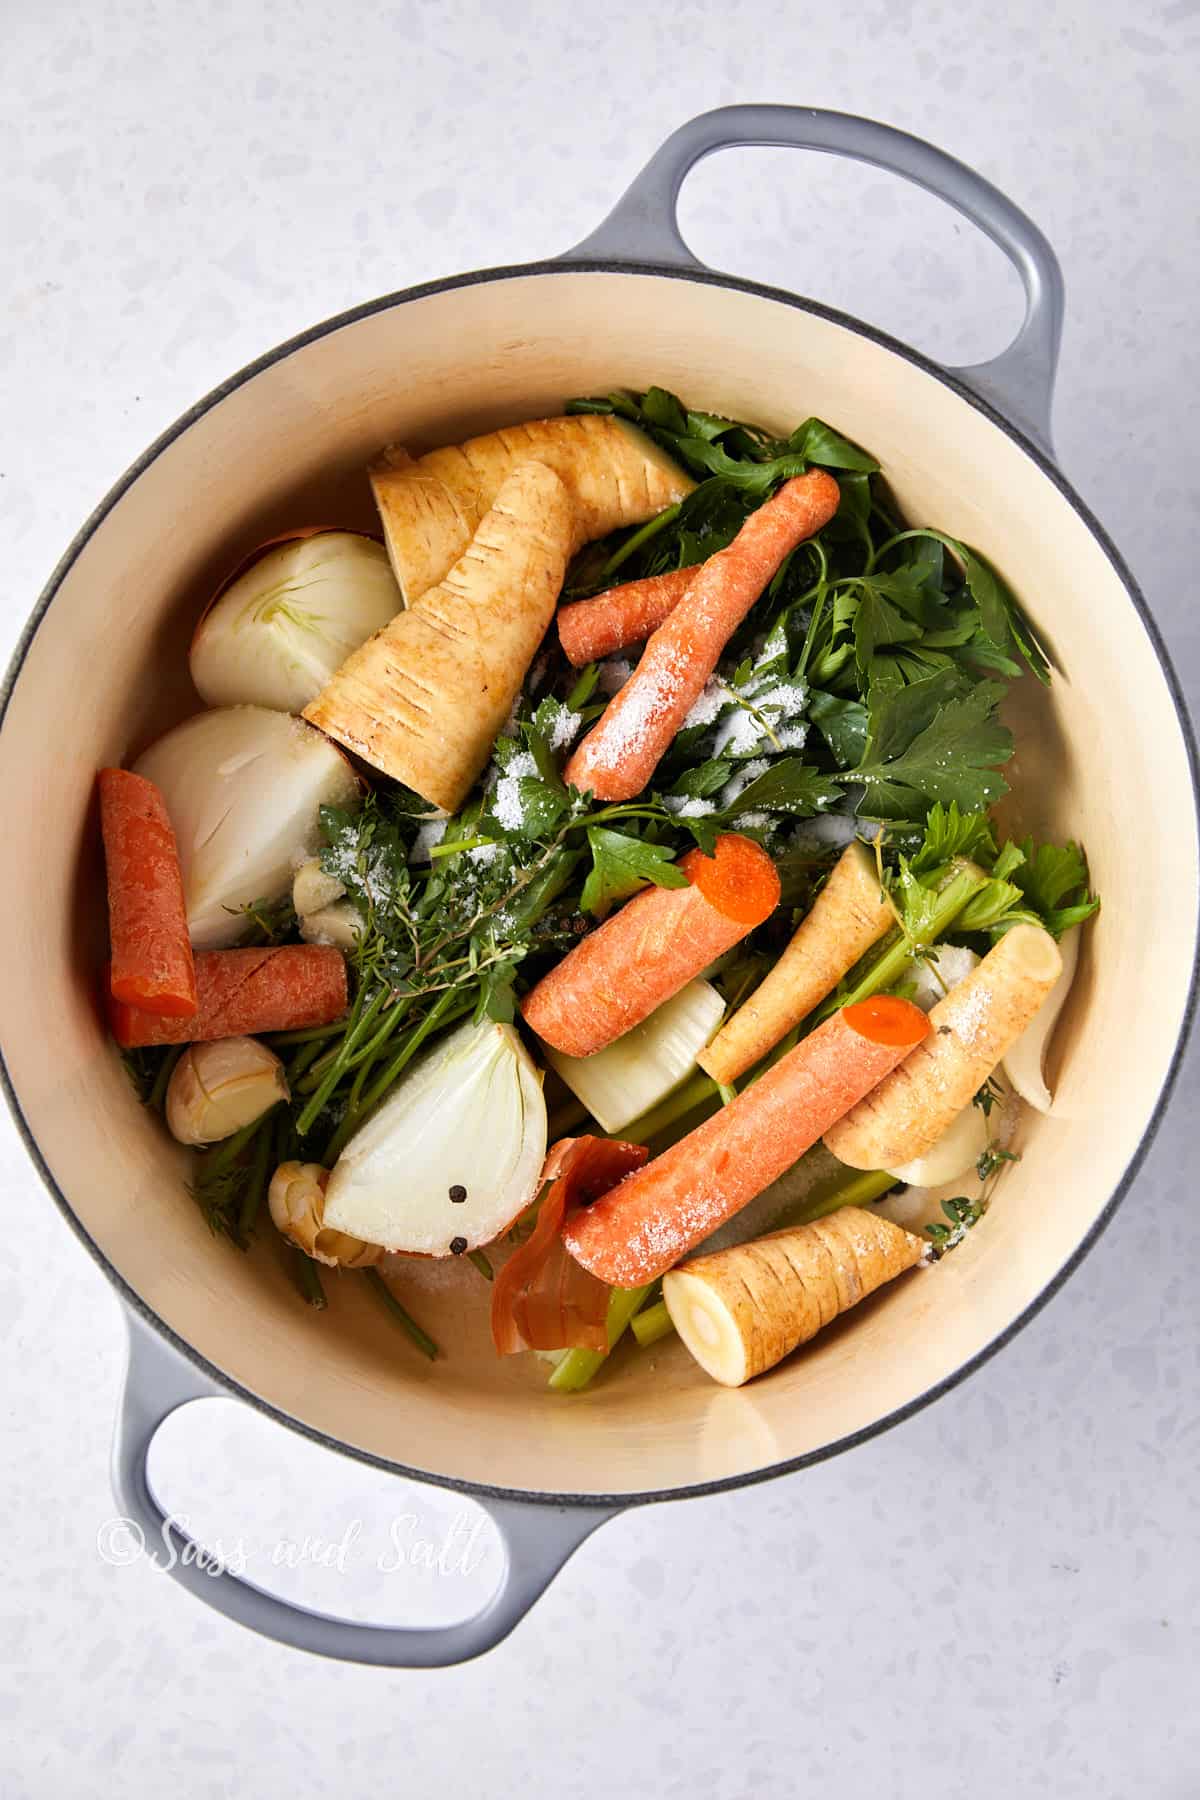
- Place the carrots, celery, parsnips, onion, garlic, and fresh herbs in the bottom of a large Dutch oven or stockpot. Shown in the picture is a 7.25-quart Dutch oven. Sprinkle in the black peppercorns and salt.
Step 2: Add Leftover Chicken Bones
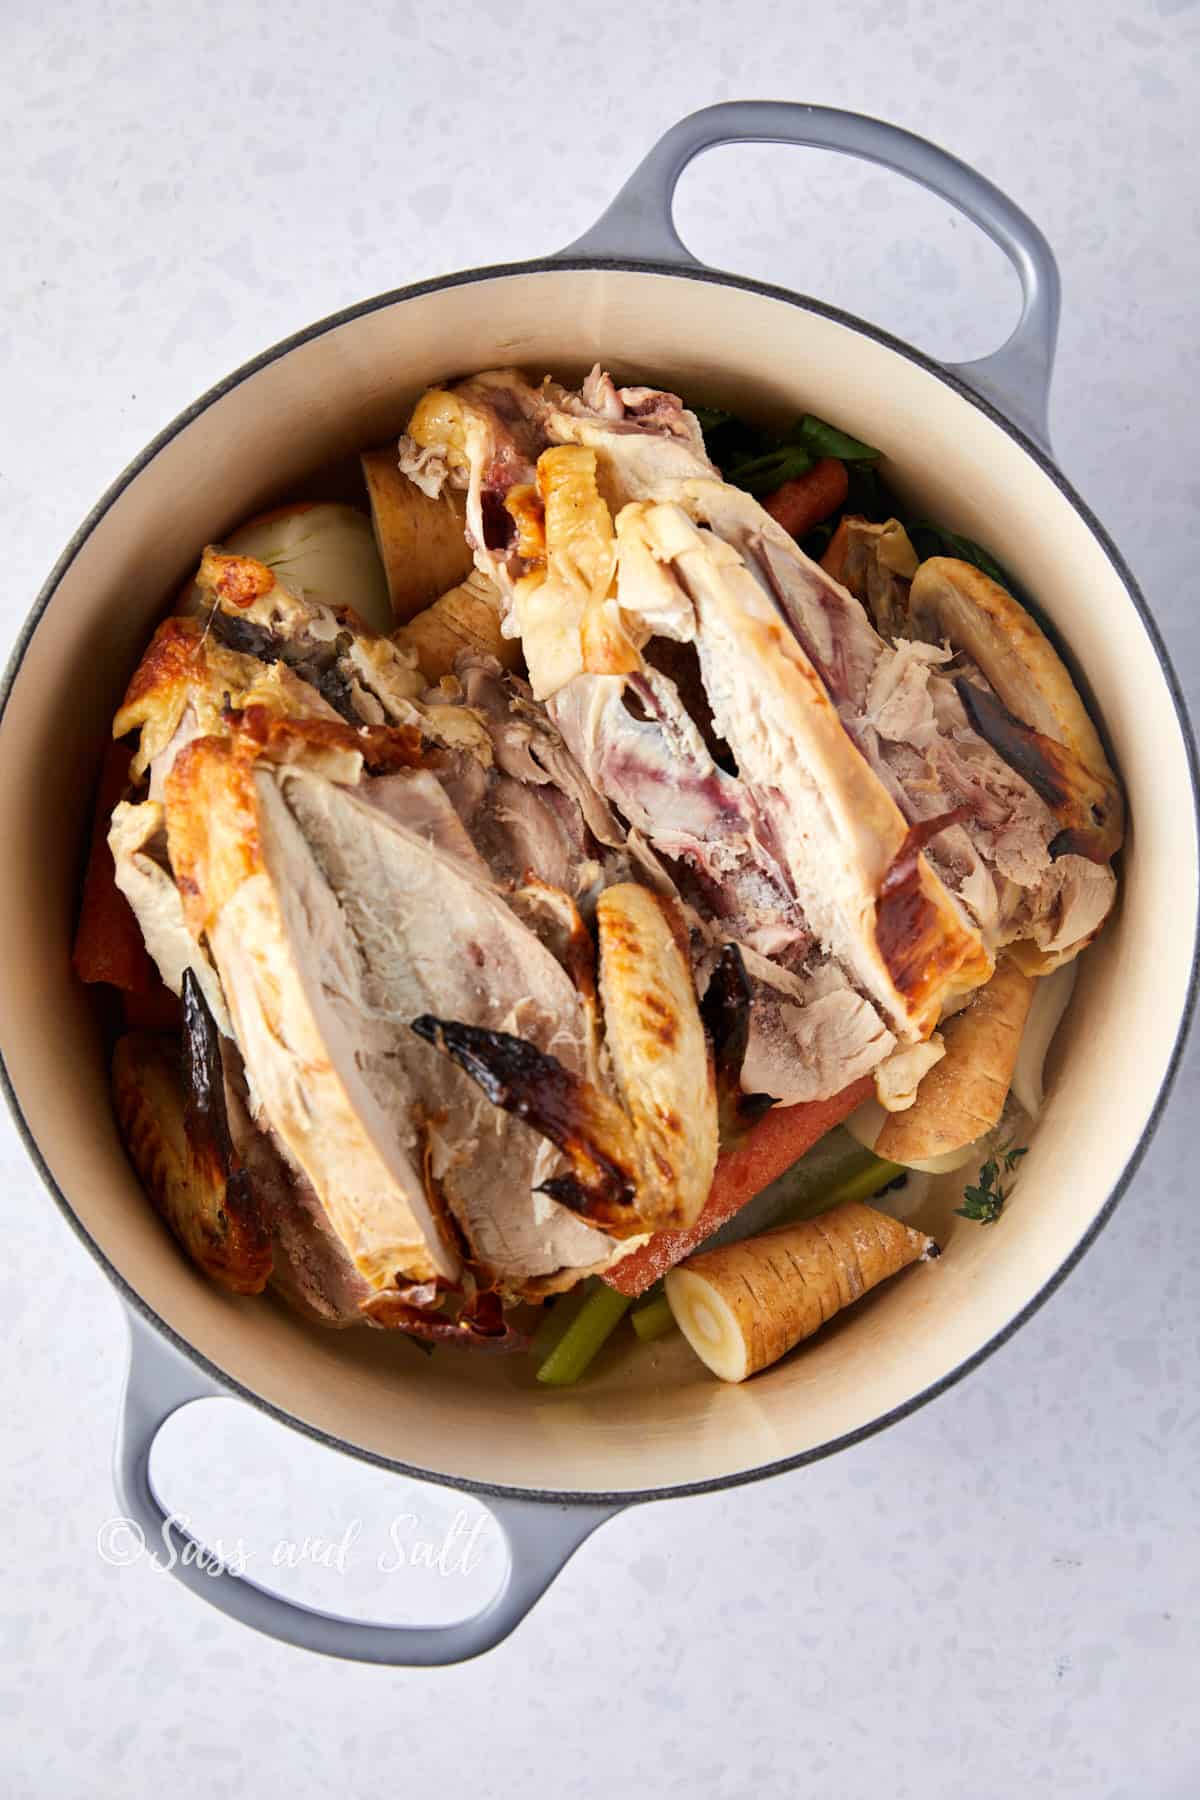
- Place the rotisserie chicken bones on top of the vegetables.
Step 3: Add Water
- Pour cold water over the ingredients until they are mostly submerged. Cold water helps extract flavors and nutrients more effectively as it heats.

Step 4: Start Cooking
- Bring the pot to a gentle simmer over medium-high heat. This might take some time, but don’t be tempted to rush the process by increasing the heat.
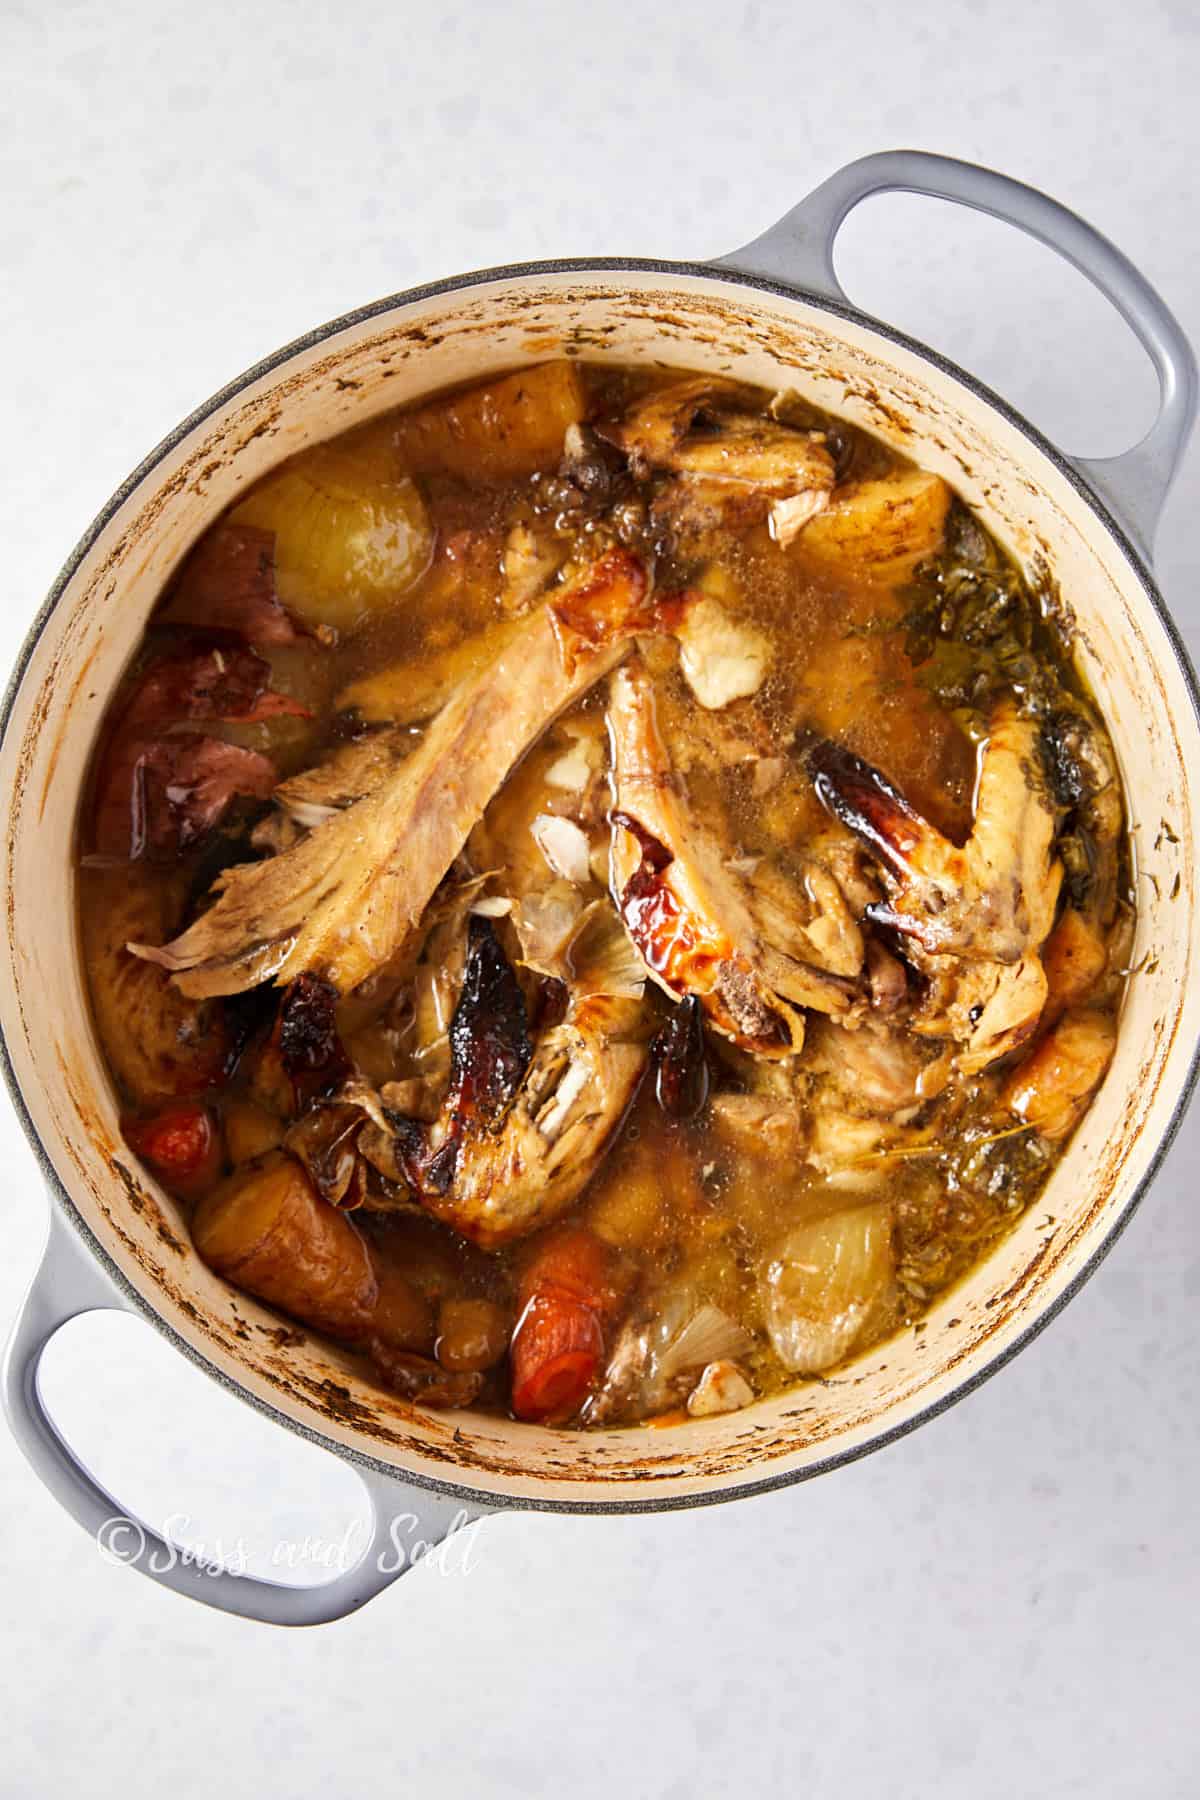
- Reduce the heat to low and simmer gently for 3 hours, with the lid mostly on but slightly ajar for steam to escape. You should see just a few small bubbles breaking the surface—not a rolling boil.
Step 5: Strain the Broth
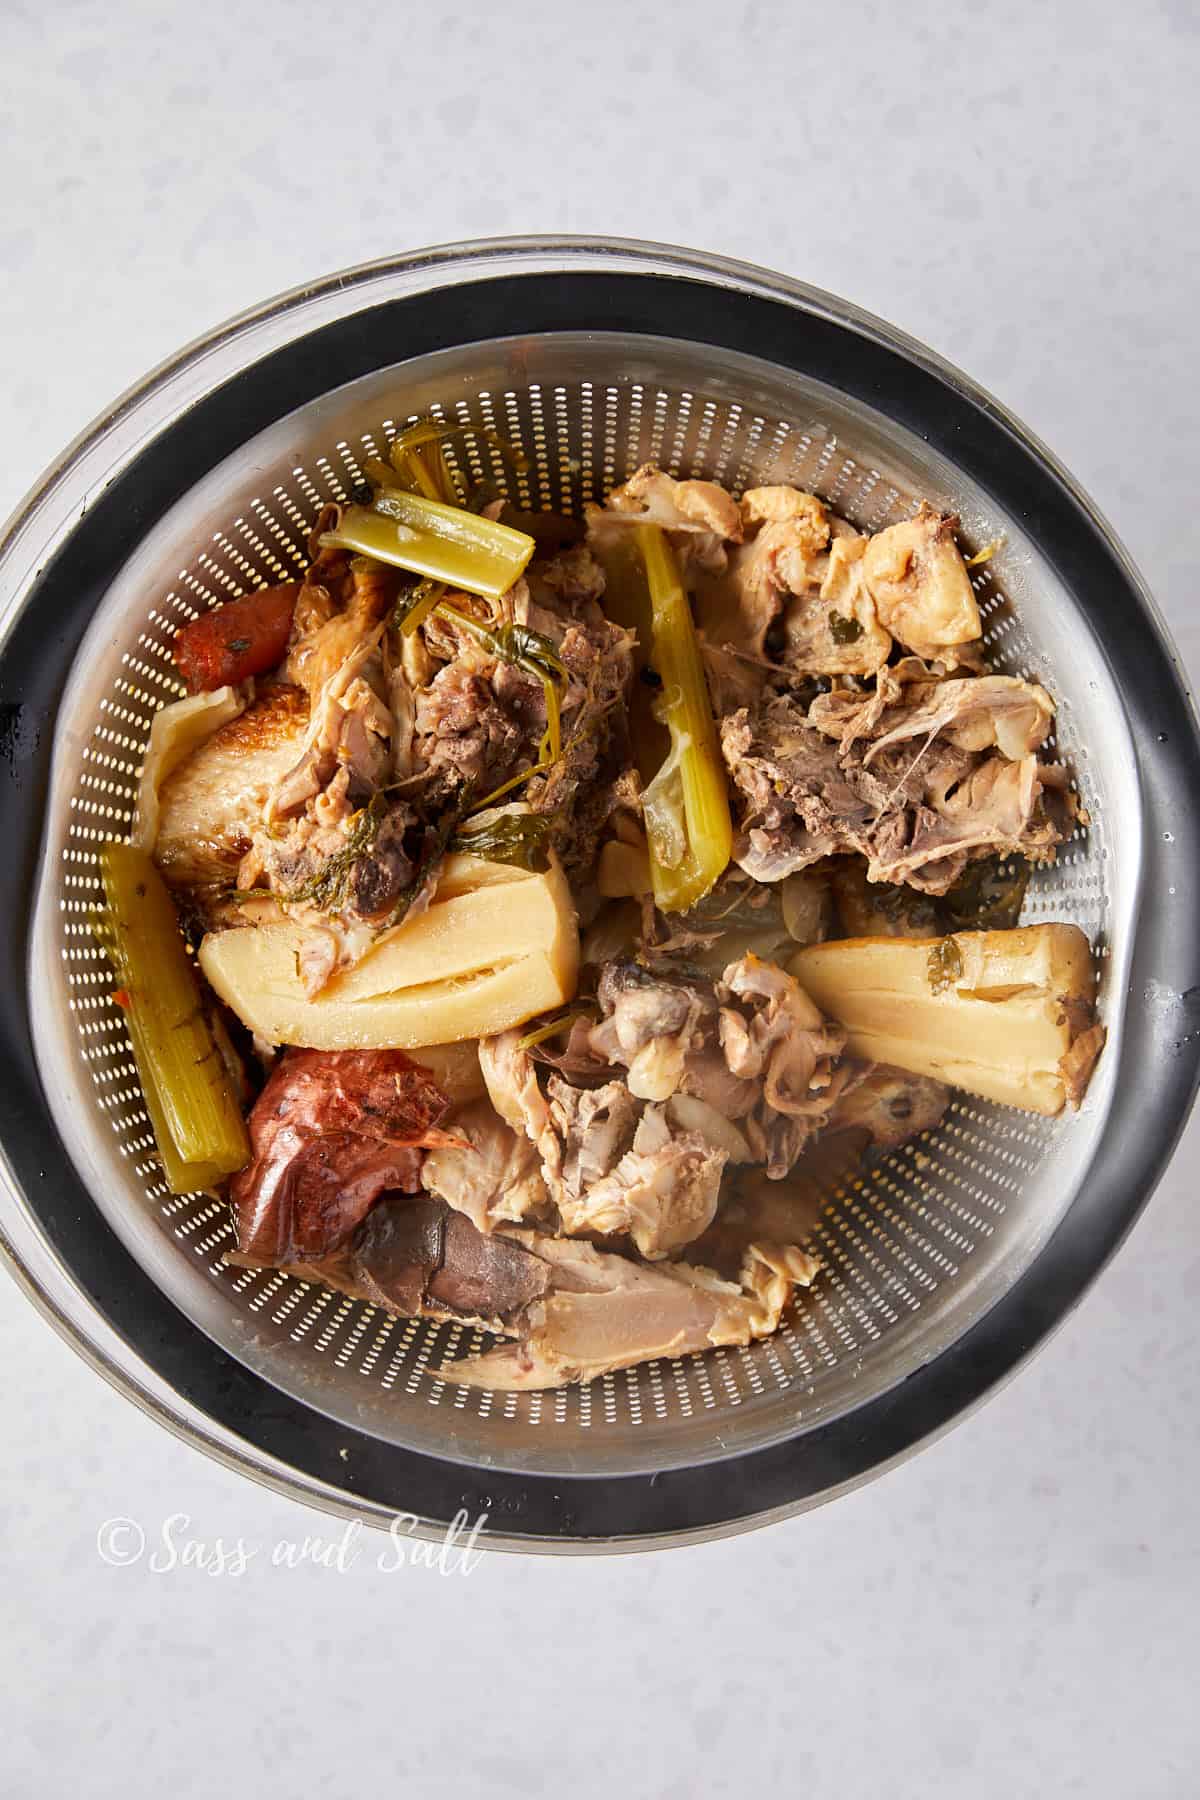
- After simmering, remove the pot from the heat. Place a colander or strainer over a large bowl or pot and pour the homemade chicken broth through to remove the solid ingredients.
Step 6: Cool and Store
- Allow the broth to cool to room temperature. If you see fat on the surface, you can remove it with a spoon or refrigerate the broth until the fat solidifies, making it easier to remove.
- Once cooled, you can store the broth in the refrigerator for 4-5 days or freeze it in smaller portions for up to 6 months. I use these storage containers and freeze the broth until I am ready to use.

Rotisserie Chicken Bone Broth TIPS
- Long and Low: Simmer the broth on the lowest heat possible for several hours to extract maximum flavor.
- Skim, Don’t Stir: Resist the urge to stir the broth as it simmers. Instead, skim off any foam or impurities that rise to the top to keep the broth clear.
- Storage: Store the broth in smaller containers for quick thawing. Ice cube trays are great for freezing small portions that can be used to add flavor to dishes.
- Season at the End: Wait to adjust the seasoning until after the broth has finished simmering and you’ve skimmed off any excess fat. This way, you can ensure the right balance of flavors without the salt becoming too concentrated as the broth reduces.
Chicken Bone Broth Variations
- Herbal Infusion: Incorporate different herbs like rosemary, sage, and bay leaves for an earthy flavor profile, which works beautifully in rustic soups and stews.
- Spicy Broth: Throw in some whole chili peppers, a teaspoon of peppercorns, and a few cloves of garlic for a broth with a kick. It’s perfect for sipping on a cold day or using it as a base for spicy noodle dishes.
- Mediterranean Flavor: Add a touch of the Mediterranean by including sun-dried tomatoes, olives, and a sprig of oregano to the simmering broth.
- Vegetable Boost: For a more vegetable-forward broth, increase the number of carrots, celery, and onions, or add leeks, sweet potatoes, or turnips.
- Low-Sodium Broth: For those watching their salt intake, make a low-sodium version by skipping or reducing the salt. You can always add salt to your individual serving if needed.
Rotisserie Chicken Bone Broth Substitutions
- For the Chicken Bones:
- Turkey Carcass: After a holiday meal, use a leftover turkey carcass for a different flavor profile of homemade broth.
- Beef Bones: For a beef bone broth, which is richer and has a more intense flavor.
- Vegetable Scraps: For a vegetarian option, skip the bones and use only vegetables, adding more variety like mushrooms for umami flavor.
- For Celery:
- Fennel: If you’re out of celery, fennel can give a similar crunchy texture and a slight anise flavor.
- Celery Root: It provides a stronger celery taste and holds up well during the long simmering process.
- For Onion:
- Leeks: These can offer a milder onion flavor with a hint of garlic.
- Shallots: If you want a slightly sweeter and more subtle flavor, shallots are a good option.
- For Garlic:
- Garlic Powder: If fresh garlic isn’t available, you can use garlic powder. Use 1/8 teaspoon of garlic powder for every clove of garlic called for.
- For Fresh Herbs:
- Herb Stems: If you have used the leaves for another recipe, the stems of herbs like parsley and cilantro still have plenty of flavor.
Remember, when substituting, consider each ingredient’s role in the recipe (flavor, texture, acidity, etc.) and choose a substitute that offers a similar contribution. It’s also worth noting that substitutions may alter the final flavor profile.
Storage TIPS
- Cool Quickly: To minimize the risk of bacterial growth, cool the broth quickly after cooking. You can do this by placing the pot in a sink filled with ice water and stirring the broth to release heat.
- Refrigerate or Freeze Promptly: Once cooled, transfer the chicken broth recipe to the refrigerator if you plan to use it within 4-5 days, or freeze it for up to 6 months for the best quality.
- Use Airtight Containers: Store the broth in airtight containers to preserve freshness and prevent any absorption of flavors in your homemade chicken broth from the refrigerator or freezer.
- Portion Size: Freeze the broth in various portion sizes. Use ice cube trays for small amounts, which are great for sautéing vegetables or making sauces. Larger portions can be frozen in resealable bags or containers for making soups and stews.
- Leave Space for Expansion: When freezing broth, leave about an inch of headspace in containers as the liquid will expand when it freezes.
- Reheating: When reheating frozen broth, thaw it in the refrigerator overnight. If you’re in a hurry, you can also thaw the homemade chicken broth in a pot on the stove over low heat.
- Avoid Repeat Thawing and Freezing: To ensure the quality your homemade chicken broth avoid repeatedly thawing and refreezing the broth. Only thaw what you need.

How to use the chicken bone broth
Here are some of my favorite recipes to make with this chicken broth:
- Roasted tomato soup with basil
- Creamy mushroom orzo soup
- Dutch Oven Beef Stew without wine
- Use it to cook rice or pasta! So much more flavor than using water.
I’d love to hear how your Rotisserie Chicken Bone Broth turns out! Drop a comment to share your experience, and if your family enjoys it as much as mine does, please rate it five stars ⭐️! Also, don’t forget to subscribe to our mailing list for more yummy recipes delivered straight to your inbox.

Rotisserie Chicken Bone Broth
Ingredients
- 1 large yellow onion unpeeled and quartered
- 2 carrots unpeeled and cut into thirds
- 2 parsnips unpeeled and cut into thirds
- 2 stalks celery with leaves cut into thirds
- 10 sprigs fresh parsley
- 7 sprigs fresh thyme
- 10 sprigs fresh dill
- 6 cloves garlic unpeeled and cut in 1/2 crosswise
- 1/2 tablespoon (5g) Diamond Crystal kosher salt; for table salt, use about half as much by volume or the same weight
- 1 teaspoon whole black peppercorns
- 2 rotisserie or roasted chicken carcasses
Instructions
- Place onion, carrots, parsnips, celery, parsley, thyme, dill, garlic, salt, and peppercorns in a large Dutch Oven or stockpot (shown in the pictures is a 7.25-quart Dutch oven).
- Set the chicken carcasses on top of the vegetables.
- Add 3-4 (12 -16 cups) quarts of water, depending on the size of your pot (covering most of the ingredients), and bring to a boil.
- Reduce heat to low and simmer gently for 3 hours, with the lid mostly on but slightly ajar for steam to escape. You should see just a few small bubbles breaking the surface, not a rolling boil. You'll have to concentrate the flavors.
- Strain the entire contents of the pot through a colander and discard the solids.
- Season to taste with salt and pepper or your preferred spices.
- Chill the stock overnight.
- The next day, remove the surface fat. Use immediately or pack in containers and freeze for up to 3 months.
Notes
-
- Refrigerate or Freeze Promptly: Once cooled, transfer the broth to the refrigerator if you plan to use it within 4-5 days, or freeze it for longer storage.
-
- Use Airtight Containers: Store the broth in airtight containers to preserve freshness and prevent any absorption of flavors from the refrigerator or freezer.




great!
Thanks so much!