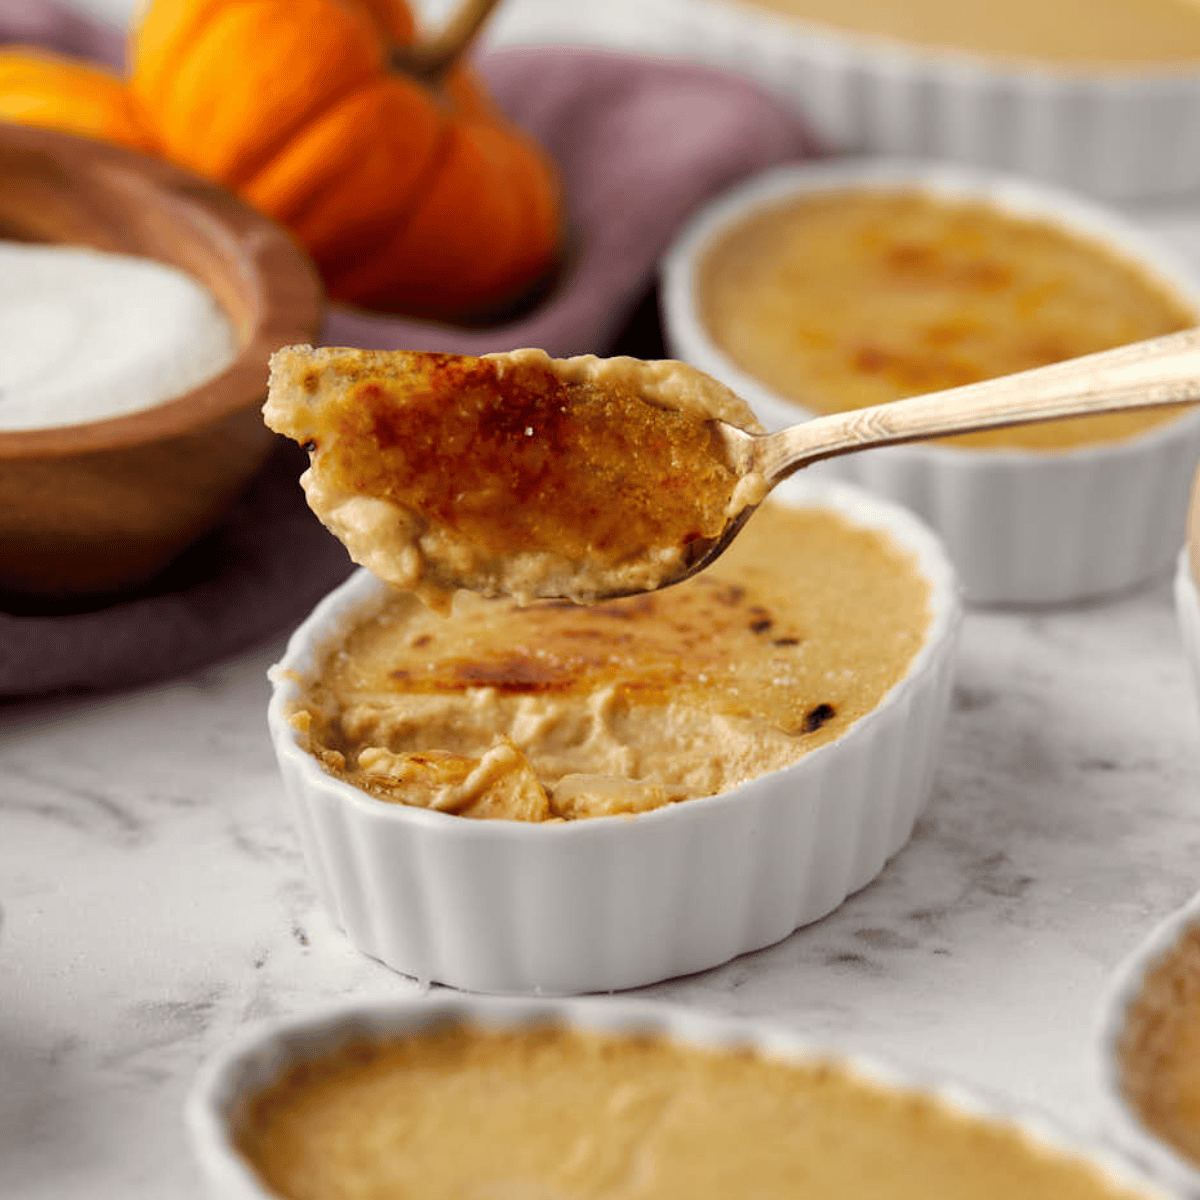
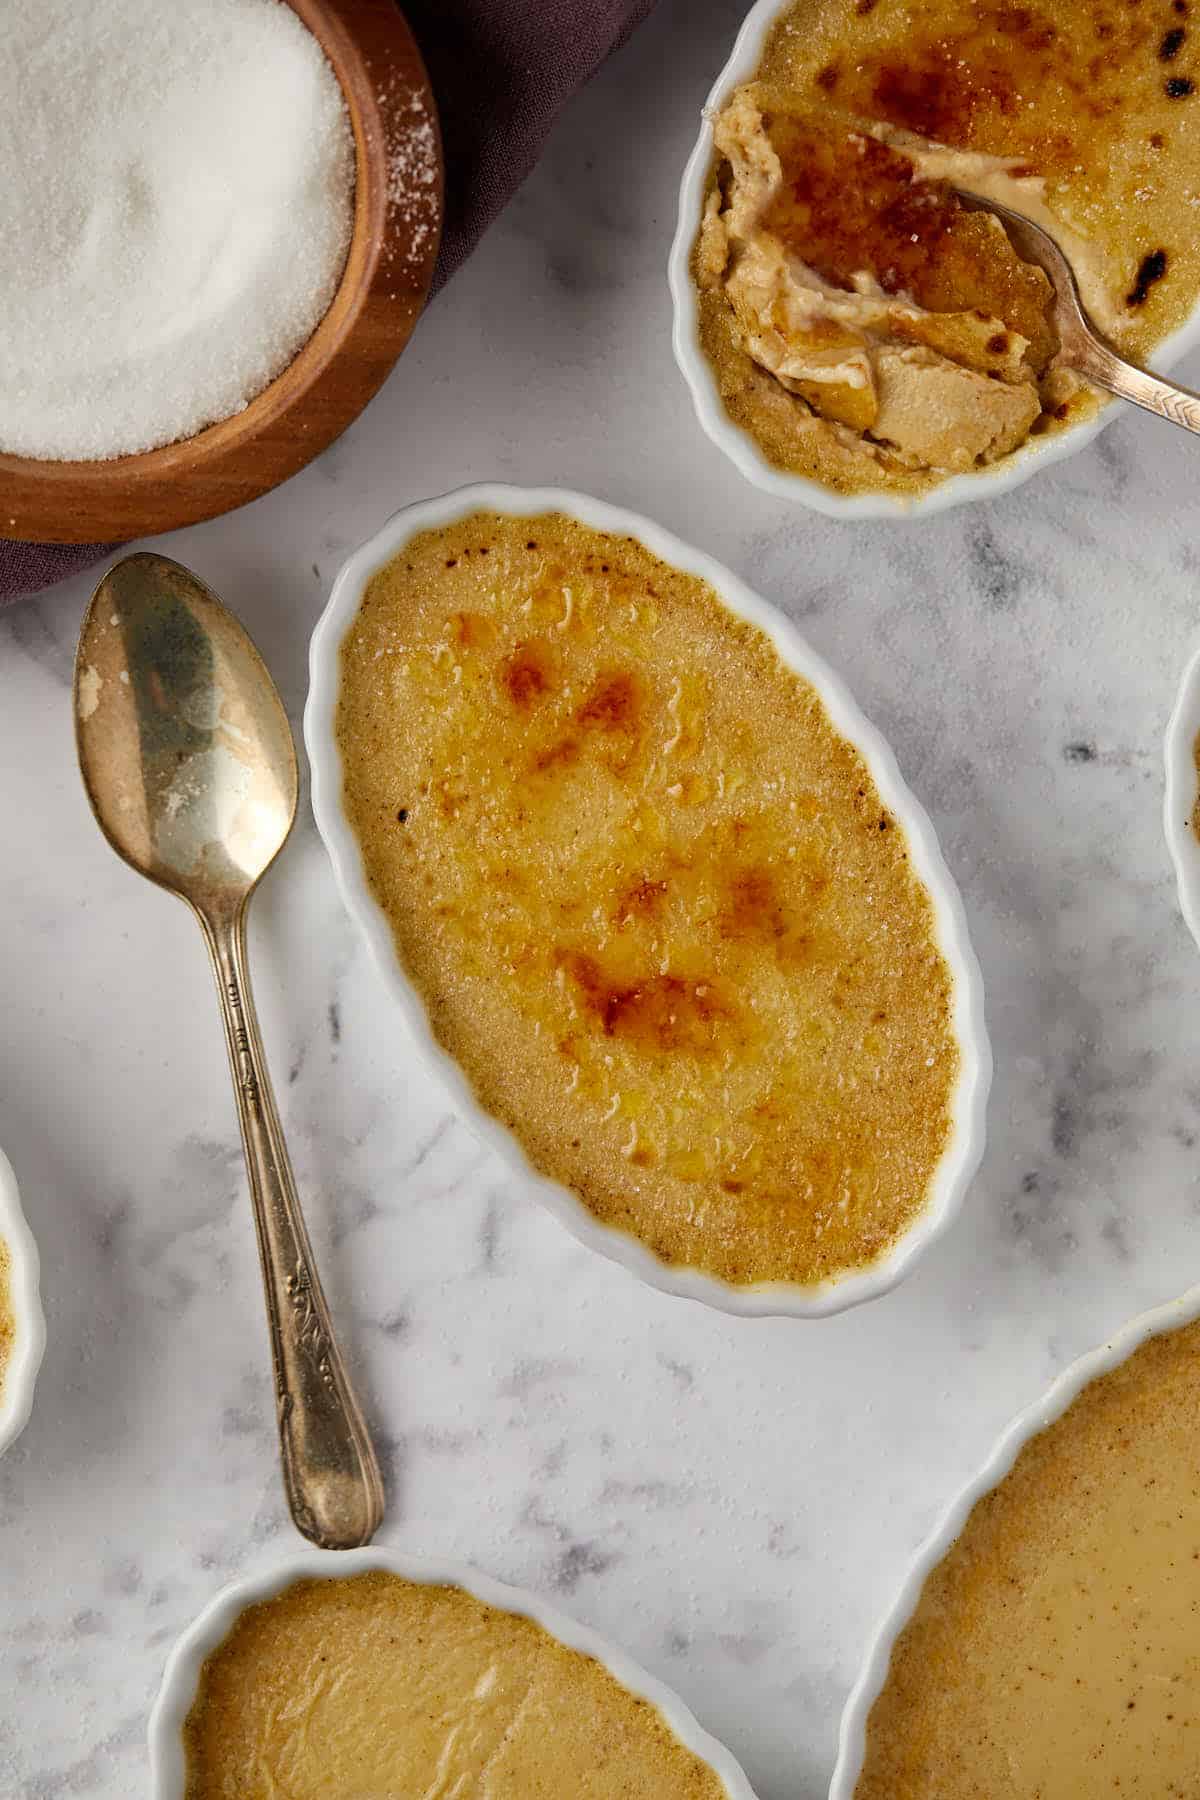
Fall is here, and I’ve got just the treat to make your cozy autumn evenings even better—Pumpkin Crème Brûlée! Creamy, pumpkin-spiced custard topped with a caramelized sugar crust that cracks perfectly when you tap it. It’s simple, comforting, and just what you need for a crisp fall night. Let’s make this season a little sweeter!
Looking for more fall pumpkin treats? Don’t miss my Best Pumpkin Banana Muffins and Pumpkin Bread with Cream Cheese Frosting!
Save this Recipe!
Let’s be real—when you hear “Crème Brûlée,” it might sound like something you’d only find at a fancy restaurant. But nope, this pumpkin version is absolutely doable at home, and bonus: it’s super easy! I’m about to show you how to make this fall favorite without the stress.
Fun fact: Crème brûlée means ‘burnt cream’ in French – which makes perfect sense when you think about that deliciously caramelized sugar crust we create on top. It’s probably the only time ‘burnt’ is exactly what we’re going for in the kitchen! 😉
What You’ll Need
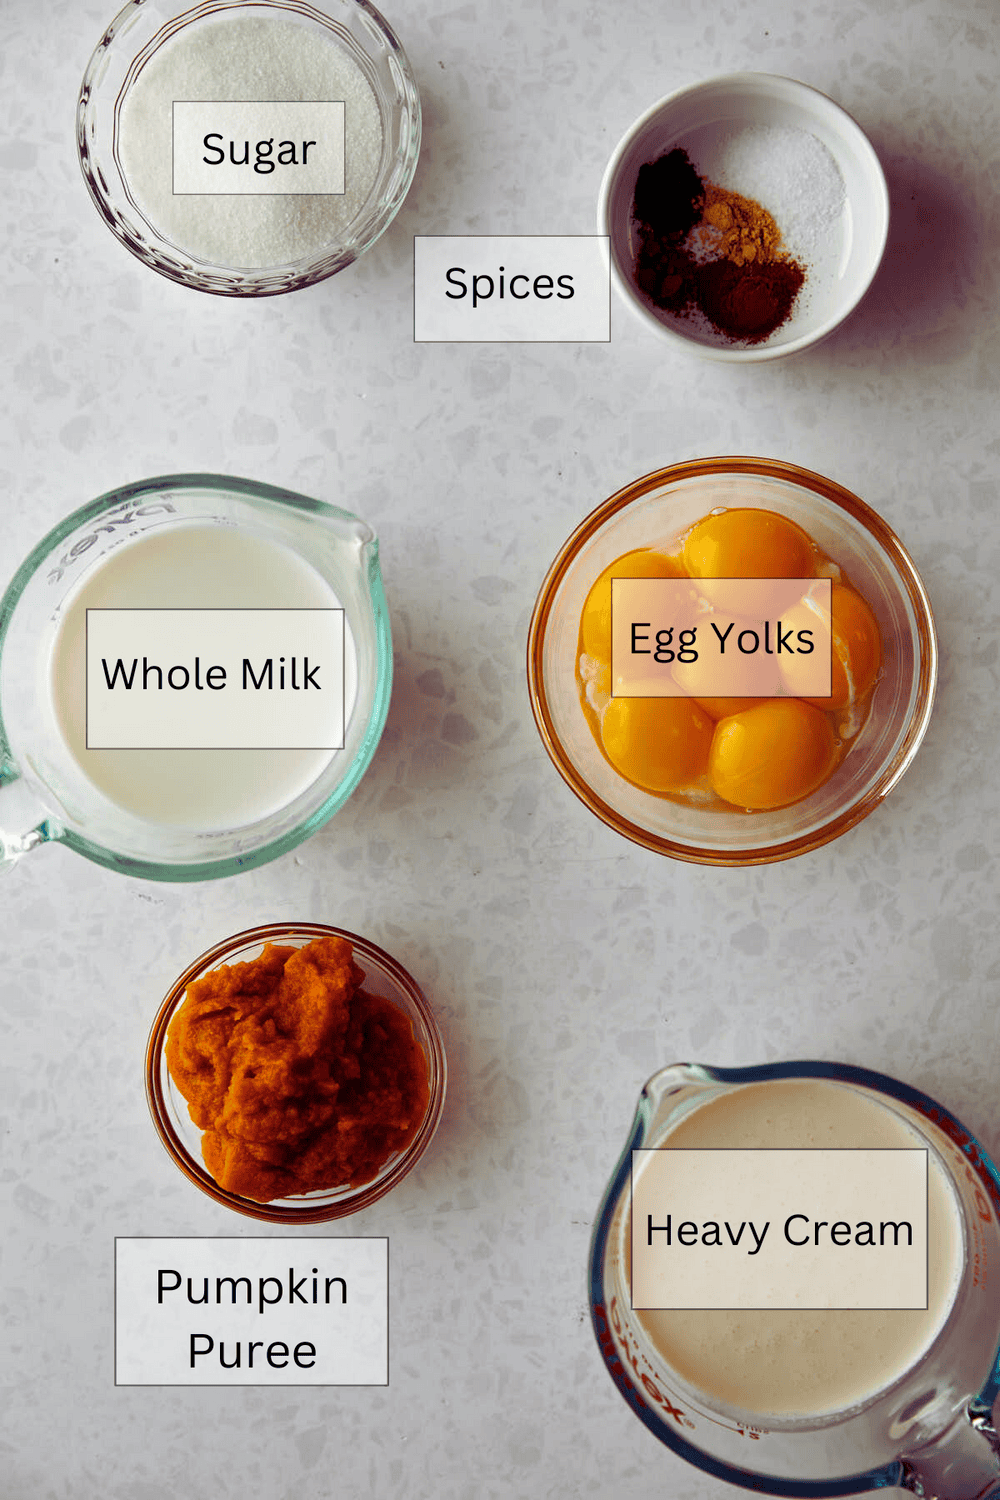
Alright, let’s gather our ingredients. It’s a short list—no need for anything too fancy here:
- Heavy Cream: This adds the rich, luxurious texture that makes creme brulee so decadent. You want that creamy consistency!
- Whole Milk: It adds a little lightness to balance the heavy cream while still keeping everything wonderfully smooth.
- Ground Cinnamon, Nutmeg, Ginger, and Cloves: These warm spices bring the classic fall flavors that make this creme brulee a perfect autumn treat. Each spice adds a layer of depth, warmth, and comfort to the custard.
- Salt: Just a little bit of salt helps balance the sweetness and brings out all the lovely flavors. I use Diamond Crystal Kosher salt; if you don’t use this salt, reduce the salt to half.
- Egg Yolks: These are key for that silky-smooth custard texture. They provide richness and help set the custard perfectly. Save those egg whites to make this angel food cake.
- Granulated Sugar (for custard and topping): This sweetens the custard and balances the pumpkin and spices. Plus, it helps create that beautiful caramelized top.
- Pumpkin Puree: The star of the show! It brings that wonderful pumpkin flavor and makes this dessert extra creamy.
Fun Fact: The Science of Eggs – Eggs yolks create a protein network when heated. Add sugar or fat to slow this process and control the texture. That’s why custards are both silky and luscious!
How to Make Pumpkin Crème Brûlée Like a Pro
1. Preheat Your Oven: Set your oven to 325°F (165°C). Arrange the ramekins in a large baking dish with high sides for the water bath.
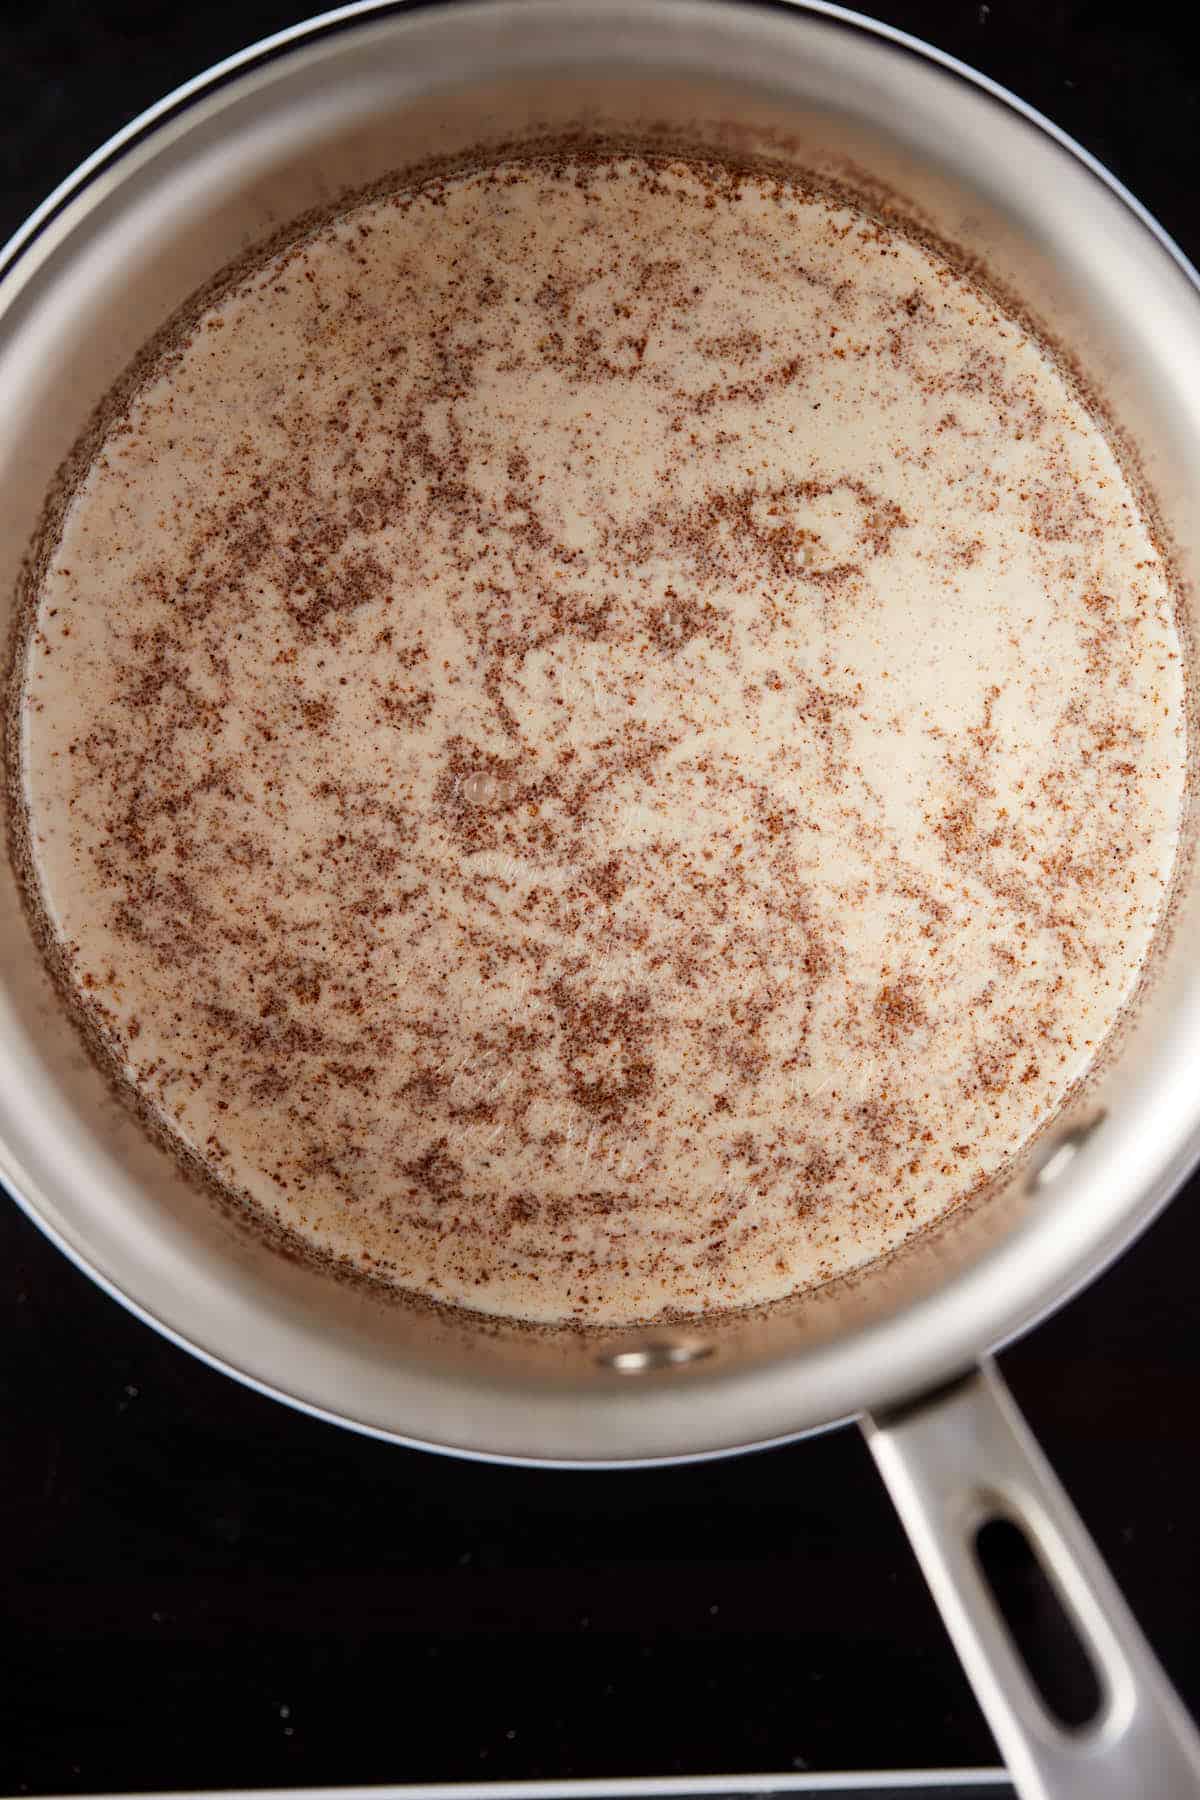
2. Infuse the Cream: In a medium saucepan, combine heavy cream, whole milk, cinnamon, nutmeg, ginger, cloves, and salt. Heat over medium, stirring occasionally, until it just starts to simmer. Then remove it from the heat and let it steep for 15 minutes to let those warm spices really infuse the cream.
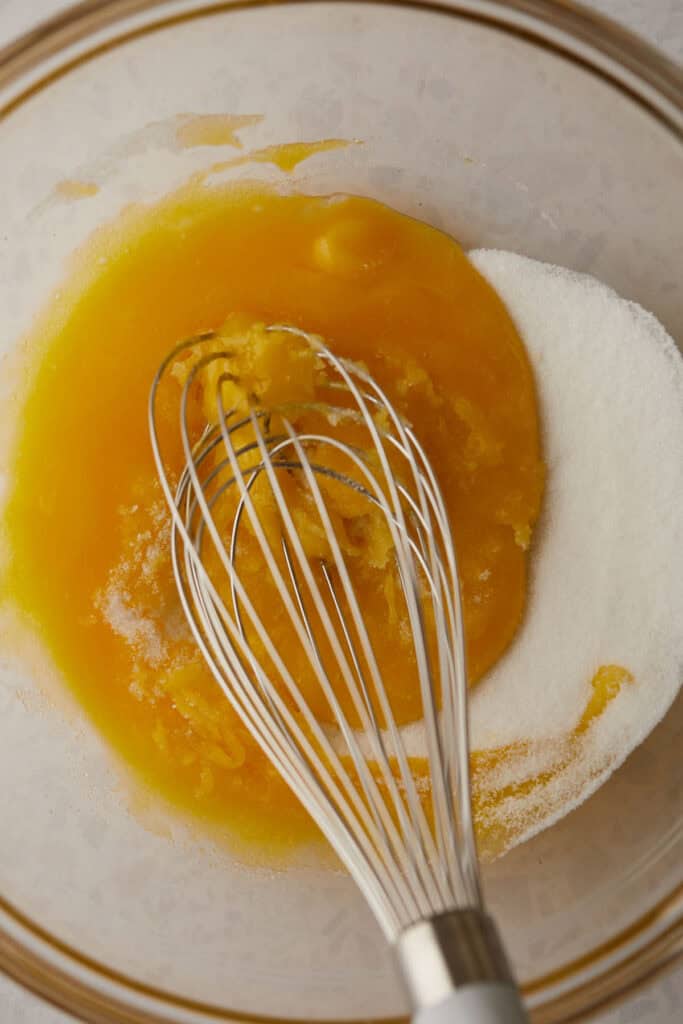
3. Prepare the Yolks and Sugar: In a large bowl, whisk together egg yolks and granulated sugar until light and creamy.
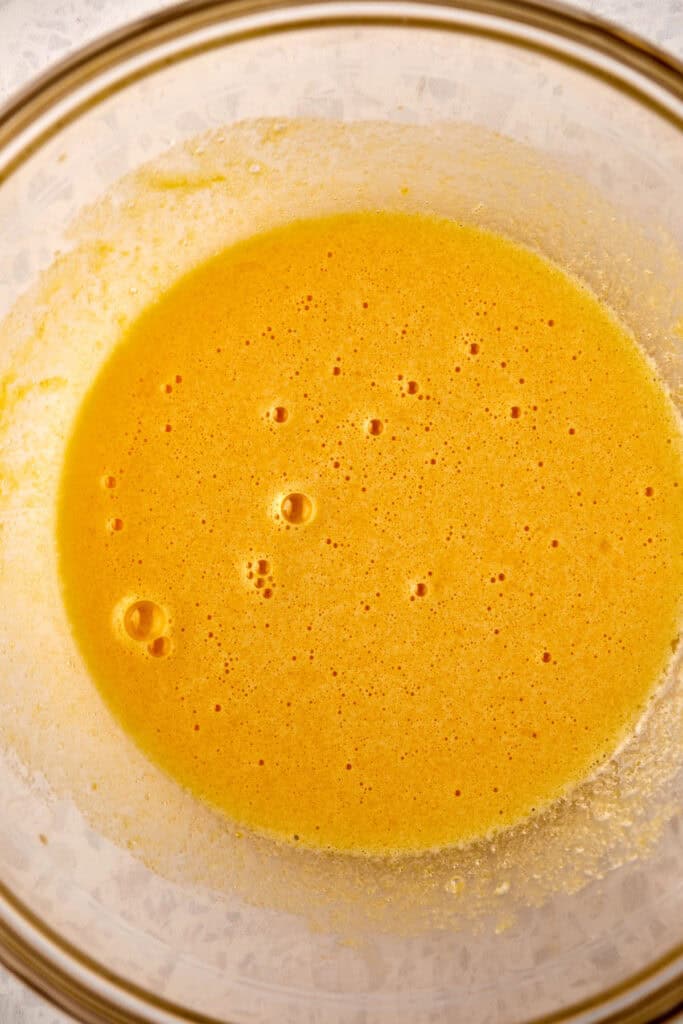
4. Combine the Mixtures: Slowly whisk the warm cream mixture into the egg yolk mixture—a little at a time to temper the yolks so they don’t scramble.
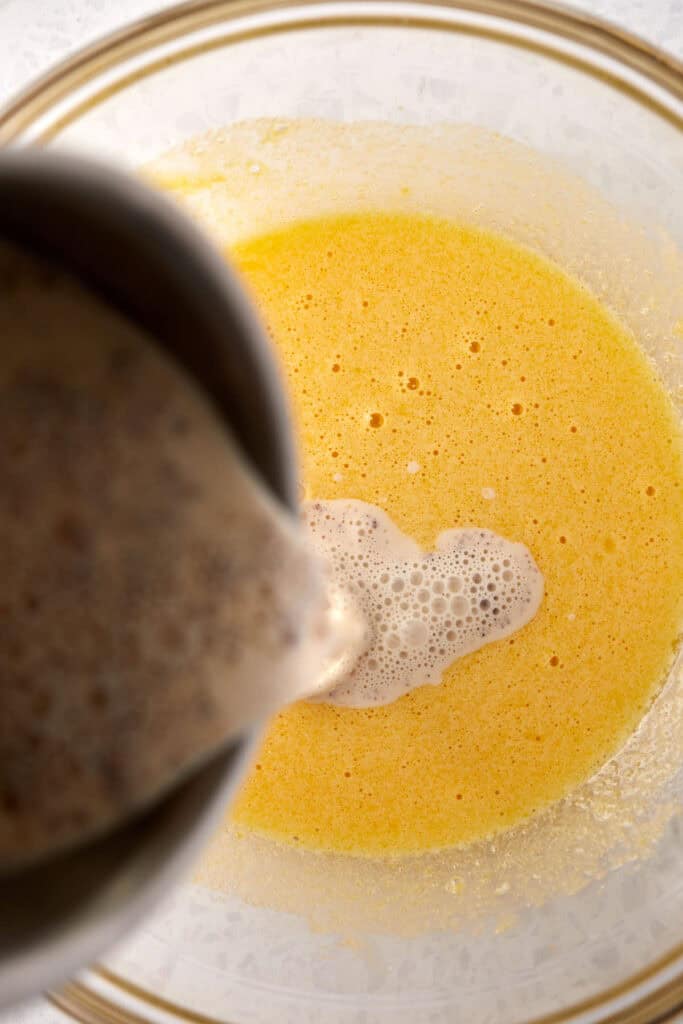
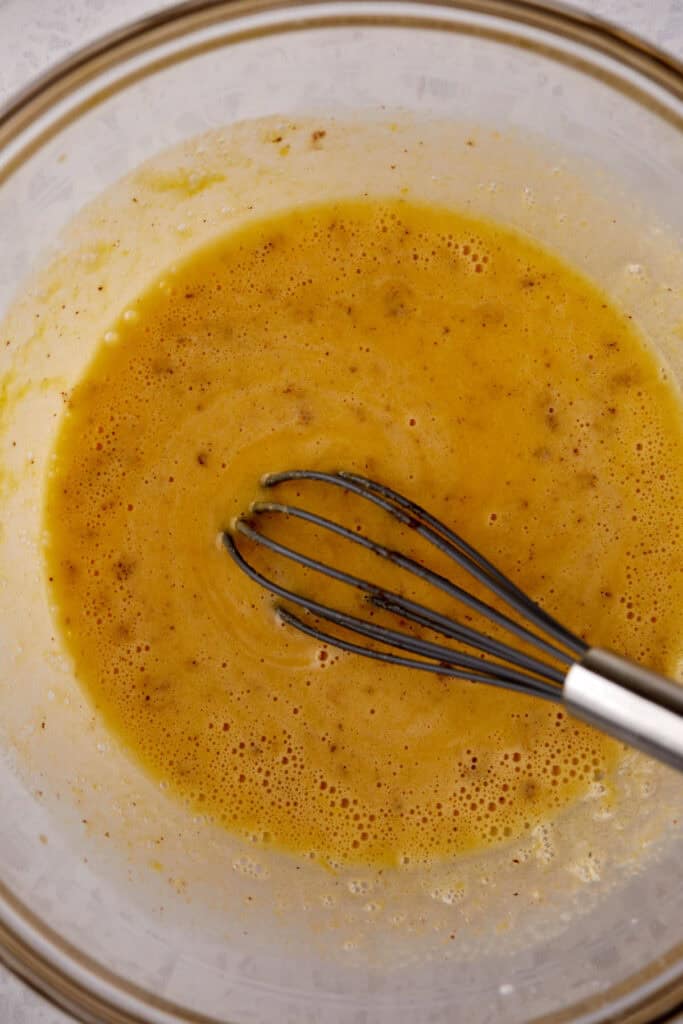
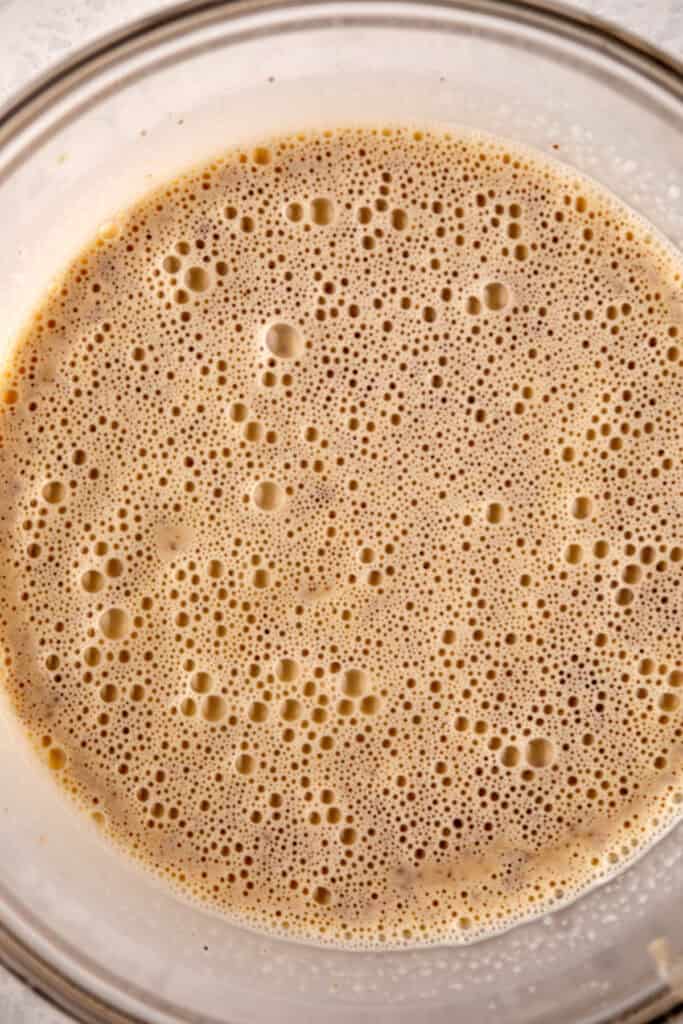
5. Add the Pumpkin: Strain the custard through a fine sieve into a bowl to ensure a silky texture, then stir in the pumpkin puree until everything is nicely combined.
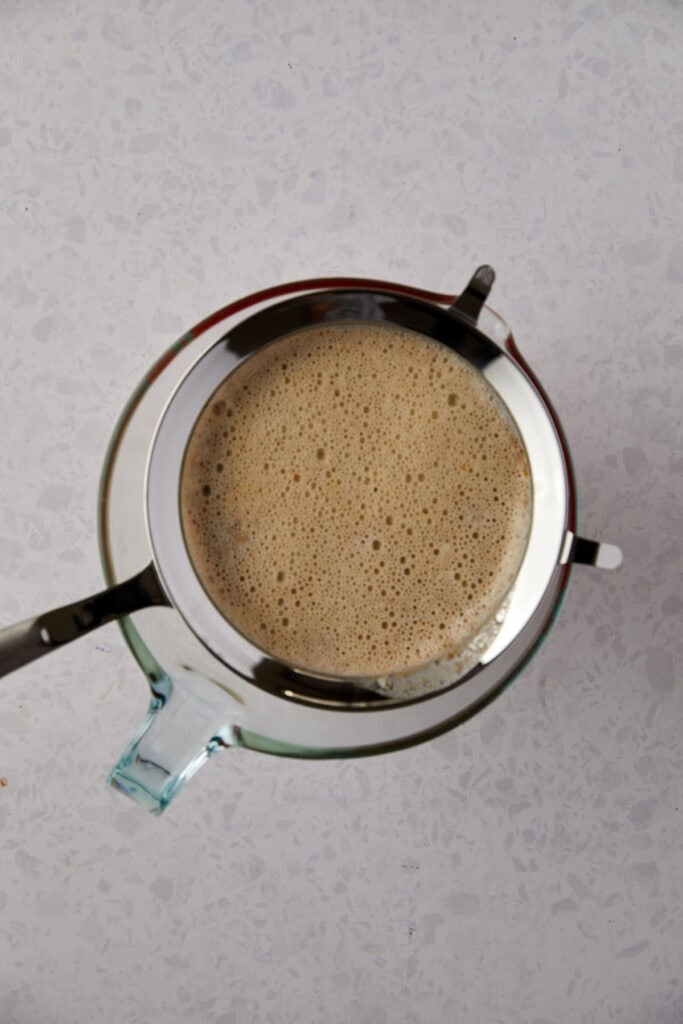
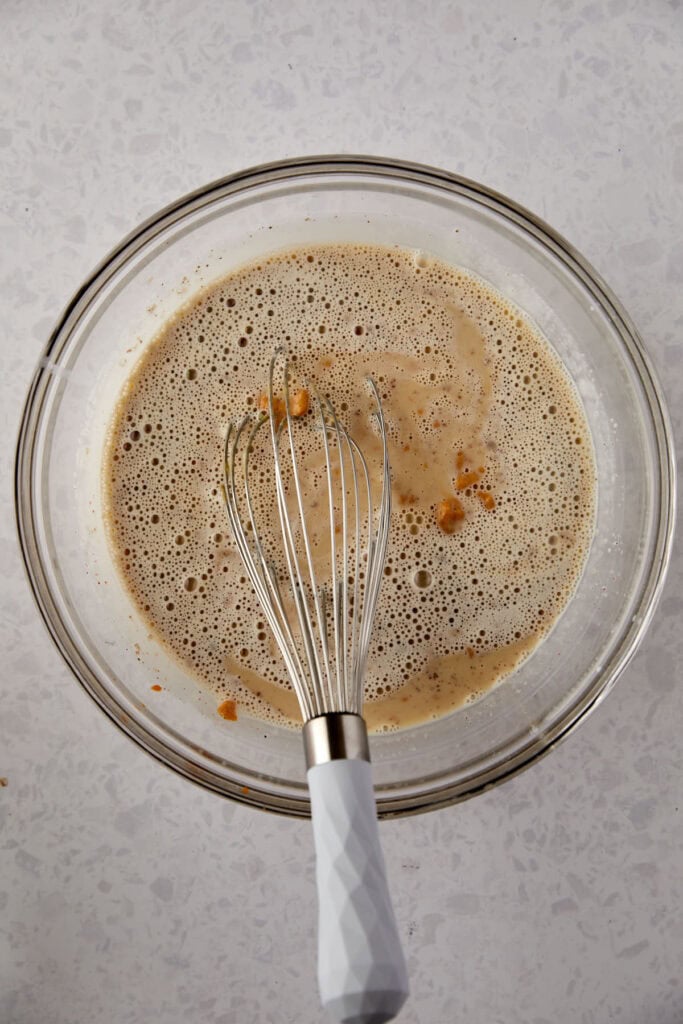
6. Divide and Bake: Place the ramekins in a baking dish with high sides. I used this 9×13 pan. This recipe makes eight so you may need a couple of pans. Pour the custard evenly into eight ramekins and fill the dish with warm water halfway up the sides of the ramekins. This water bath will help cook the custard gently and evenly.
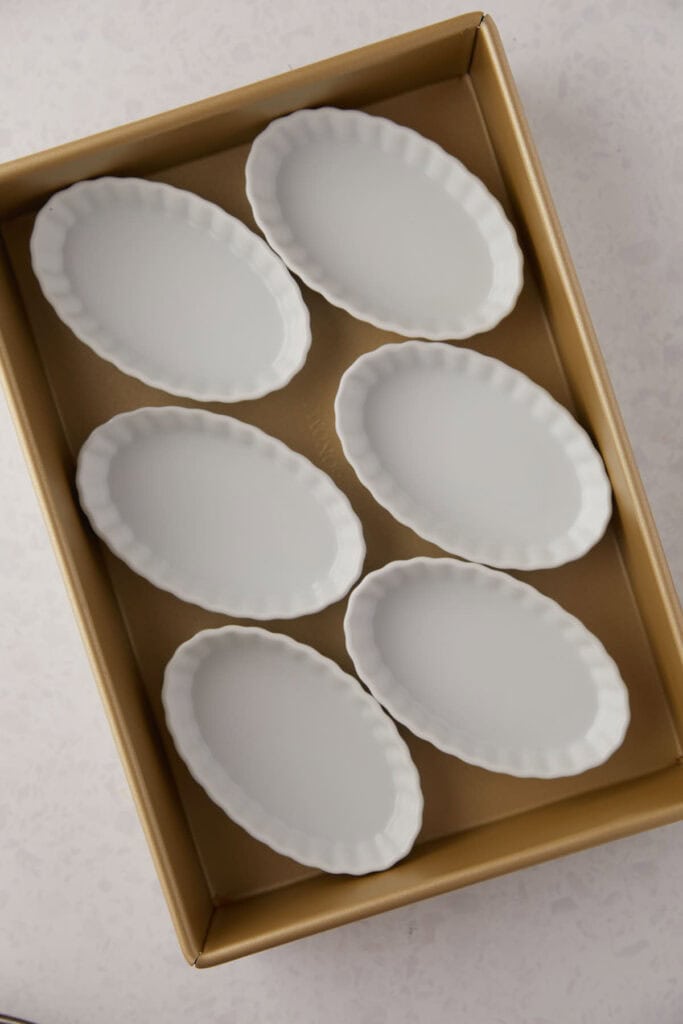
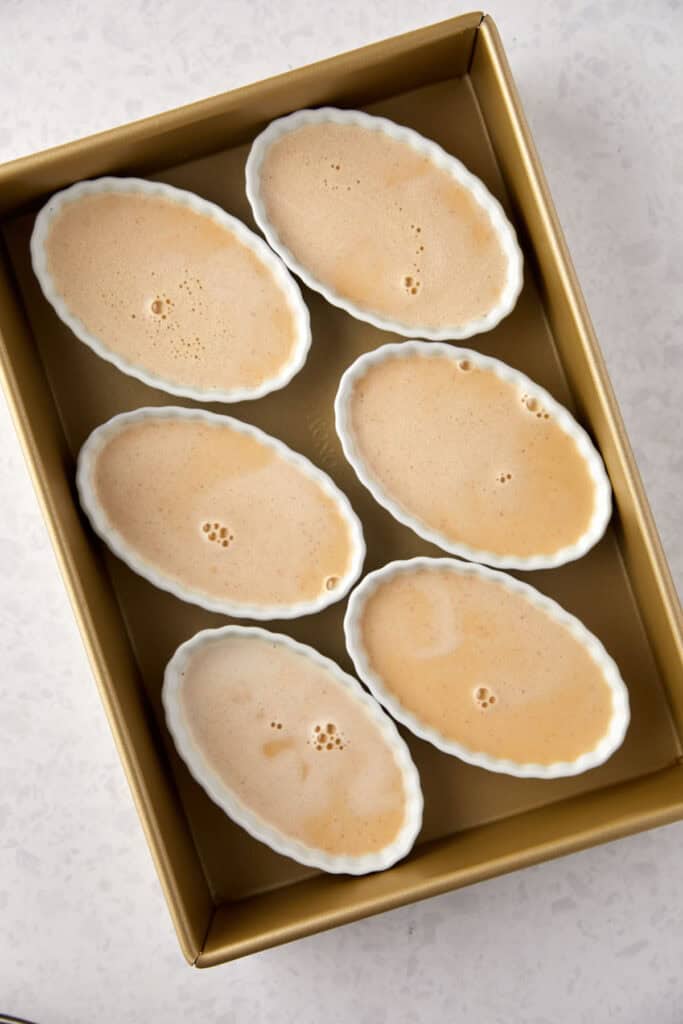
7. Bake: Bake in your preheated oven for 30-40 minutes, until the custards are set at the edges but still slightly jiggly in the center.
8. Remove from the oven and transfer ramekins to a cooling rack. Cool for 1 hour, then refrigerate for at least 2 hours or overnight.
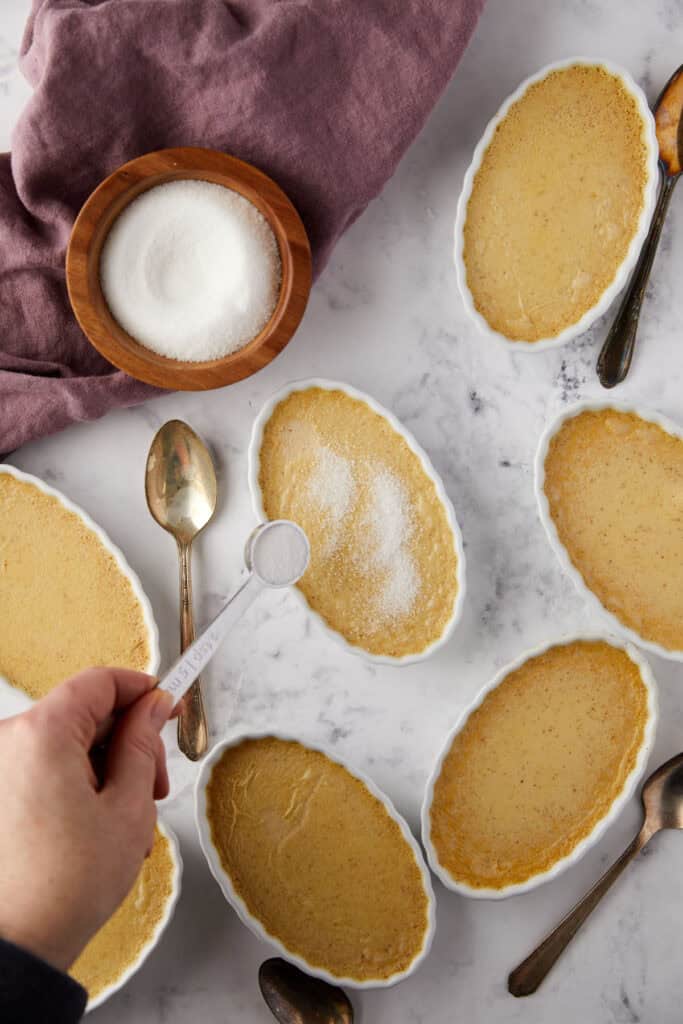
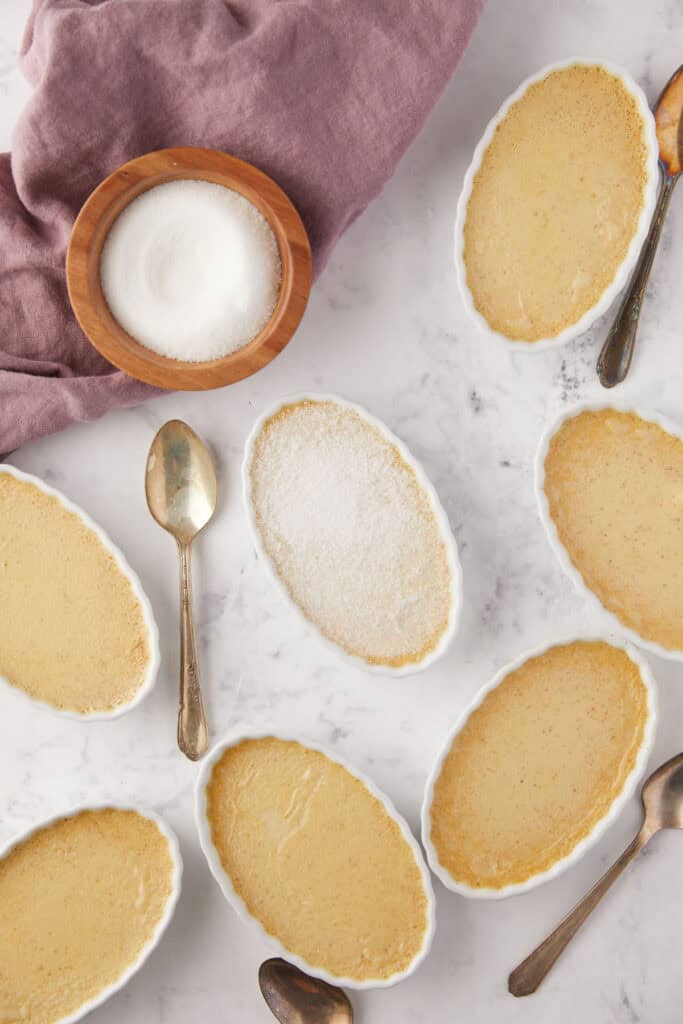
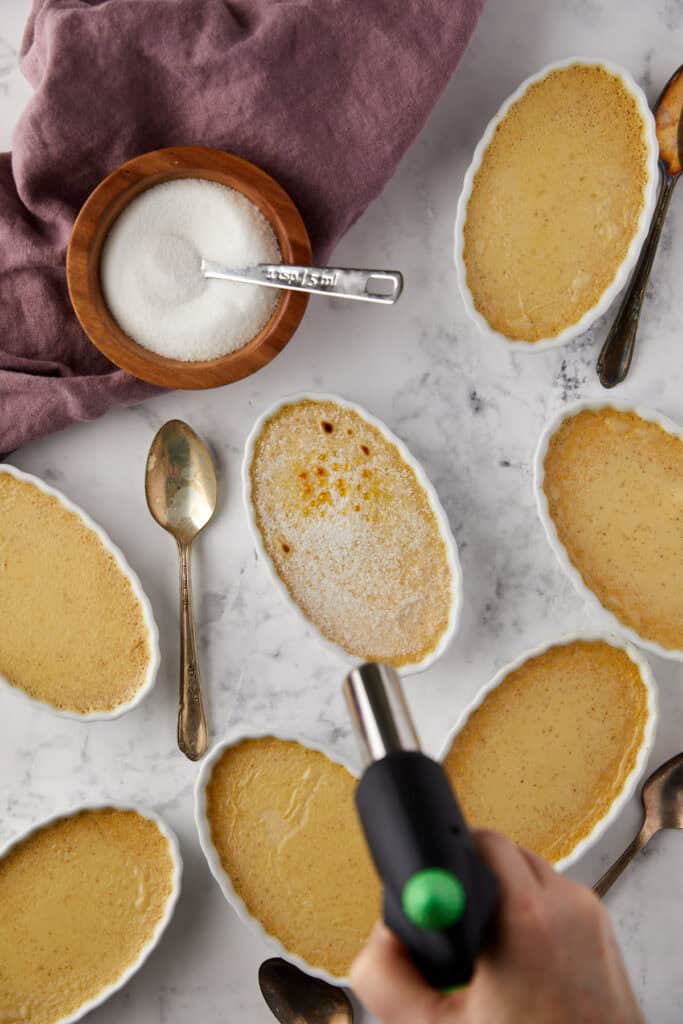
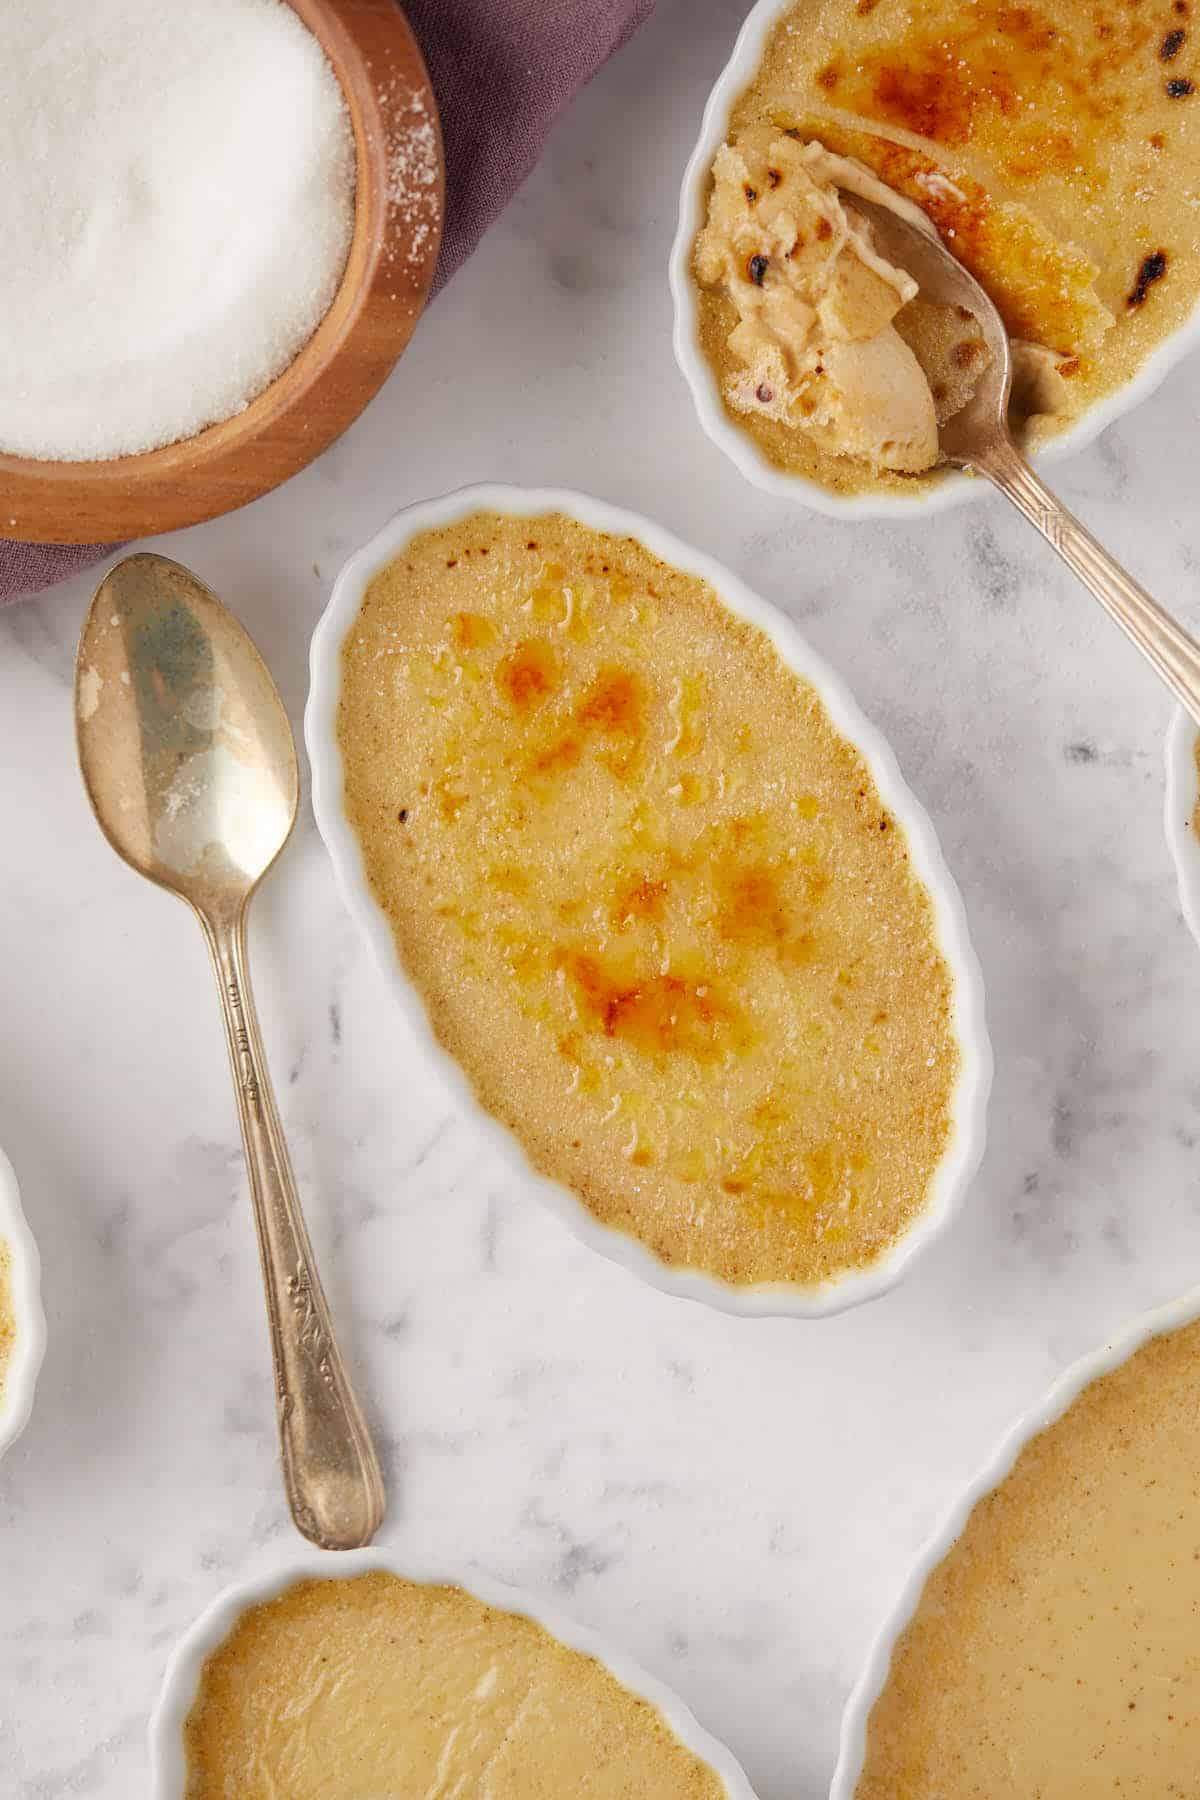
9. Before serving, sprinkle a thin layer of 1 teaspoon of granulated or demerara sugar over the custard. Caramelize the sugar using a blowtorch (do several layers for a thicker crust if desired). Let the caramelized crust cool and harden for 5 minutes before serving.
The Ultimate Guide to Perfect Pumpkin Crème Brûlée
Understanding the Basics
The secret to perfect custard lies in understanding how its key components work together. Each ingredient plays a crucial role in creating that silky-smooth texture we’re all after:
Full-fat dairy and sugar aren’t just there for richness and sweetness. The fat molecules actually wrap around egg proteins like tiny protective shields, while sugar molecules slow down their cooking process. Together, they prevent the proteins from getting too tight and causing that curdling effect.
Egg yolks are the true heroes of custard making. They’re packed with natural emulsifiers (called lecithin) that help create that velvety texture we love. While you can make custard with whole eggs, using just yolks gives you a richer, smoother result. Each additional yolk adds more richness and stability to your custard.
The wobble factor is your key to perfect doneness. A properly cooked custard should have a gentle jiggle in the center when you tap the dish – think Jell-O that hasn’t quite set. If you’re using a thermometer, aim for 170°F (77°C). At this temperature, the proteins have firmed up enough to hold their shape but haven’t tightened so much that they start squeezing out liquid (which causes that grainy texture).
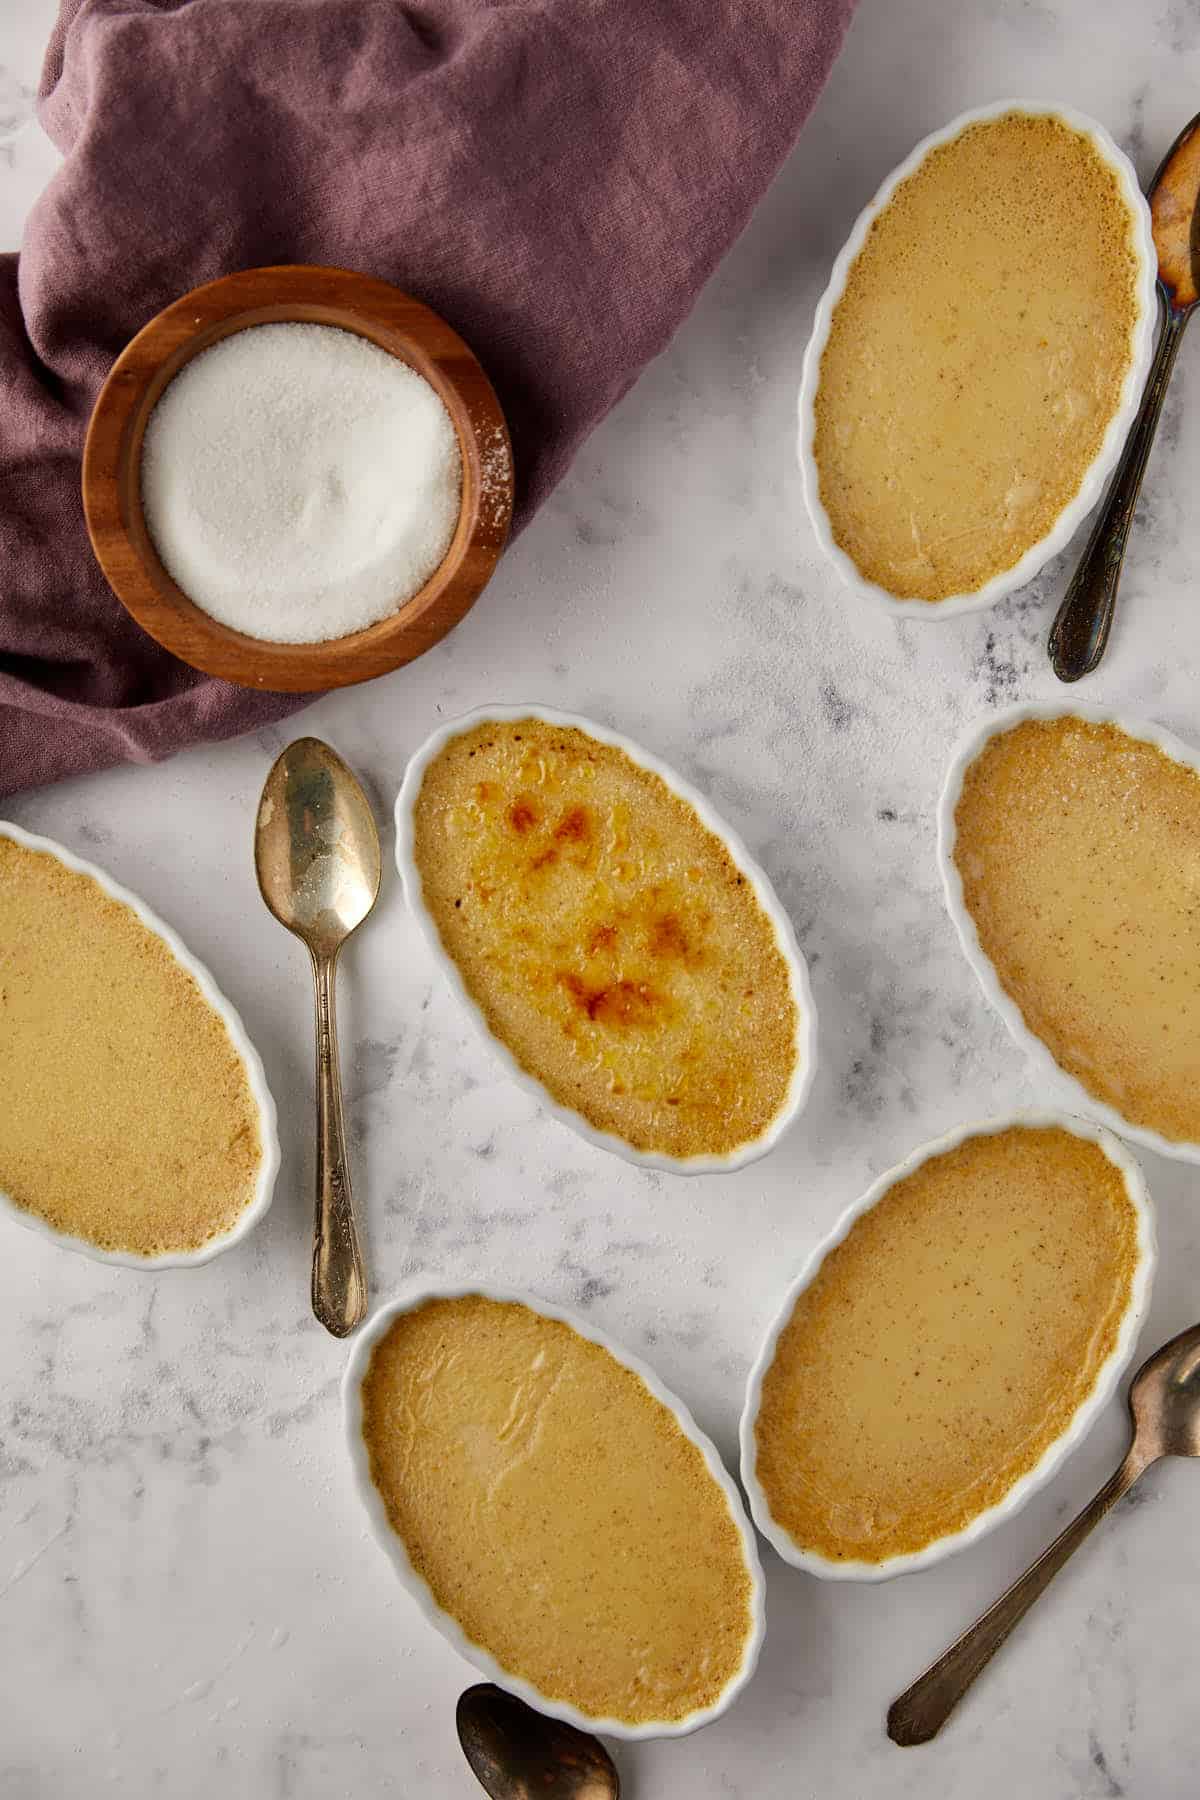
Essential Preparation Steps
Equipment Selection
The vessels you choose for your custard matter more than you might think. Ceramic or glass dishes are ideal because they heat evenly and won’t react with acidic ingredients. Metal pans can create hot spots and sometimes impart a metallic taste.
If you’re making a dessert with a caramelized top (like crème brûlée), choose wider, shallower ramekins. This increases the surface area for that delicious crispy sugar layer and helps the custard cook more evenly.
Mastering the Water Bath
The water bath (or bain-marie) is ideal for baked custards. Here’s why it’s worth the extra effort:
Water can’t exceed 212°F at normal pressure, which creates a perfect environment for gentle cooking. This temperature control, combined with the humid environment, prevents the custard from curdling, cracking, or developing a rubbery texture.
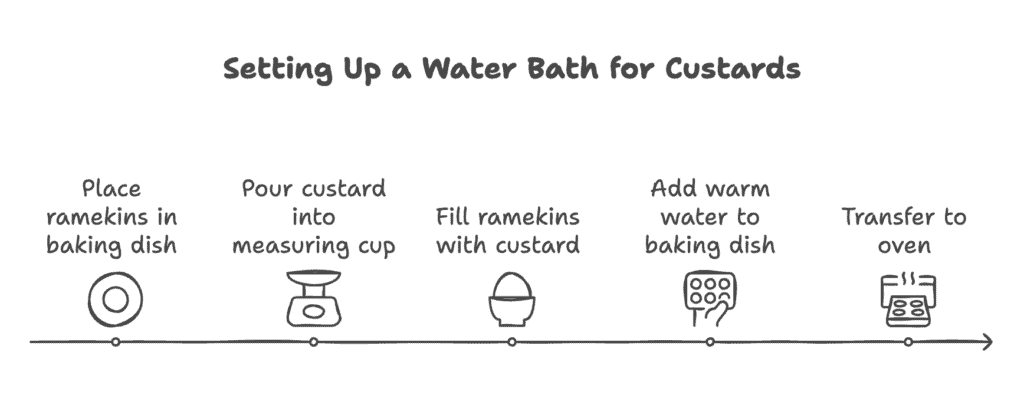
- Place your empty ramekins in a deep baking dish
- Pour the custard into a measuring cup with a spout
- Fill the ramekins with the custard
- Pour warm water halfway up the sides of the ramekins
- Carefully transfer the deep baking dish to the oven.
The Art of Tempering
Tempering eggs is where many custards go wrong, but it’s actually simple when you understand the process:
The goal is to gradually warm the egg yolks so they don’t shock and scramble when added with the hot cream. Start with a thin stream of hot liquid while whisking constantly. The motion of the whisk creates thousands of tiny channels where the hot liquid can be quickly incorporated without cooking the eggs.
Pro tip: Stabilize your bowl by wrapping a damp kitchen towel around the base. This frees both hands for pouring and whisking.
Troubleshooting Common Issues
If Curdling Starts:
Immediately remove from heat and whisk vigorously. If caught early enough, you can often save it by straining through a fine-mesh sieve.
For Bubble Prevention:
Skim the surface with a spoon before baking, and let the filled ramekins rest for 10 minutes before putting them in the oven. Any remaining bubbles will rise to the surface where they can be popped.
Storage and Serving
Custards need time to achieve their perfect final texture. While they need a minimum of 2 hours to chill, overnight refrigeration yields the best results. Cover them loosely with plastic wrap.
When serving, remove custards from the refrigerator 20-30 minutes before serving. This takes the chill off and allows the flavors to fully bloom.
FAQ’s
While both are egg-based desserts, crème brûlée is distinguished by its signature caramelized sugar crust on top. The custard base in crème brûlée is also typically richer, made primarily with heavy cream and egg yolks, while traditional custard often uses milk and whole eggs.
rème brûlée should be served with contrasting temperatures: the custard base should be cold (straight from the refrigerator) while the caramelized sugar top should be freshly torched and warm. This temperature contrast is part of the dessert’s signature appeal.
What is the thickening agent in crème brûlée?
Egg yolks are the primary thickening agent in crème brûlée. The proteins in the yolks coagulate when heated to around 170°F (77°C), creating the dessert’s characteristic smooth, thick texture. Unlike some custards, authentic crème brûlée doesn’t use cornstarch or other thickeners.
Yes, crème brûlée must be refrigerated. The custard base contains dairy and eggs, making it perishable.
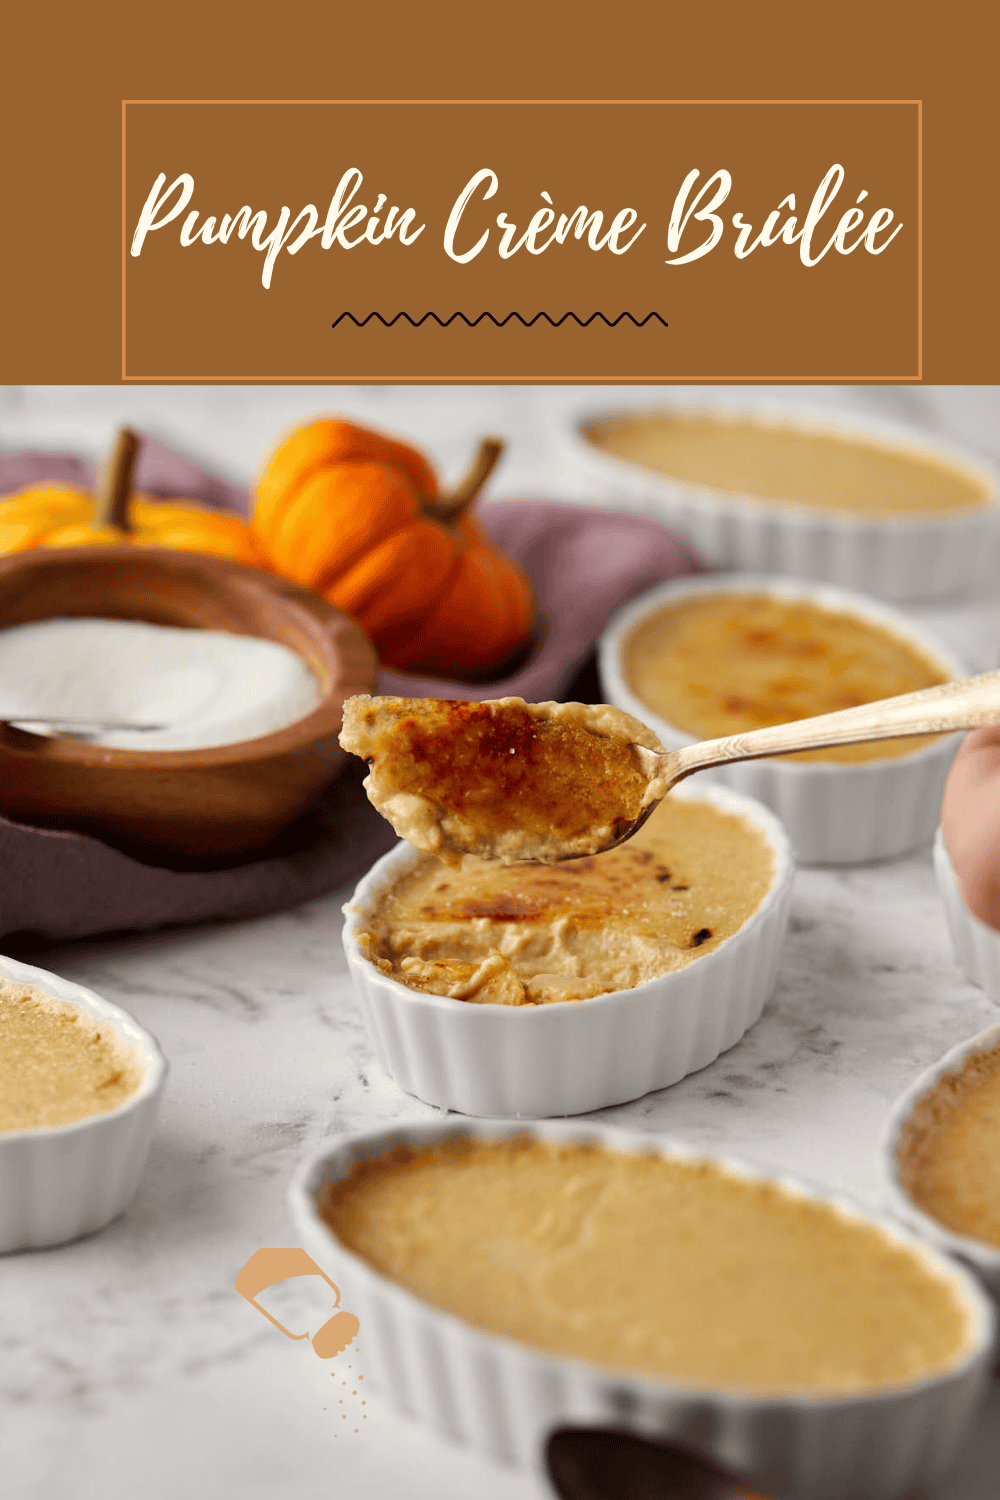
Pumpkin Crème Brûlée
Equipment
- Instant-Read Thermometer optional
Ingredients
- 1 1/2 cups (360g) heavy cream
- 1/2 cup (120g) whole milk
- 1/4 teaspoon (0.5g) ground cinnamon
- 1/8 teaspoon (0.3g) ground nutmeg
- 1/8 teaspoon (0.3g) ground ginger
- 1/8 teaspoon (0.3g) ground cloves
- 1/2 teaspoon (3g) salt
- 6 large egg yolks
- 3/4 cup (150g) granulated sugar, separated
- 1/2 cup (122g) pumpkin puree
Instructions
- Set the oven to 325°F (165°C). Arrange the ramekins in a large baking dish with high sides for the water bath. If you don’t have 1 pan large enough, bake them in a couple pans.
- In a medium saucepan, combine heavy cream, milk, cinnamon, nutmeg, ginger, cloves, and a pinch of salt. Heat over medium, stirring occasionally, until it just starts to simmer. Remove from heat and let it steep for 15 minutes.
- In a large bowl, whisk egg yolks and 1/2 cup (100g) sugar until light and creamy.
- Slowly whisk the warm cream mixture into the yolk mixture a little at a time to temper (this keeps the eggs from scrambling).
- Strain the custard through a fine sieve into a bowl to catch any lumps.
- Stir in the pumpkin purée until smooth.
- Place ramekins in a large baking pan. Divide custard between each ramekin, filling to the top. Carefully fill the pan with about a 1/2 inch of the warm water.
- Bake until the edges are set and centers are a little jiggly. The time depends on the depth of your ramekins. My ramekins are 1-inch and the custard takes 35 minutes. Begin checking them at 30 minutes. For a more accurate sign, they’re done when an instant read thermometer registers 170°F (77°C).
- Remove pan from the oven and, using an oven mitt, remove the ramekins from the pan. Place on a wire rack to cool for at least 1 hour. Place in the refrigerator, loosely covered, and chill for at least 4 hours and up to 2 days before topping.
- Just before serving, sprinkle 1 teaspoon of granulated sugar evenly over each custard. Use a kitchen torch to caramelize the sugar until golden brown. Let the caramelized top cool briefly before serving. (Caramelized topping is best enjoyed right away.)

