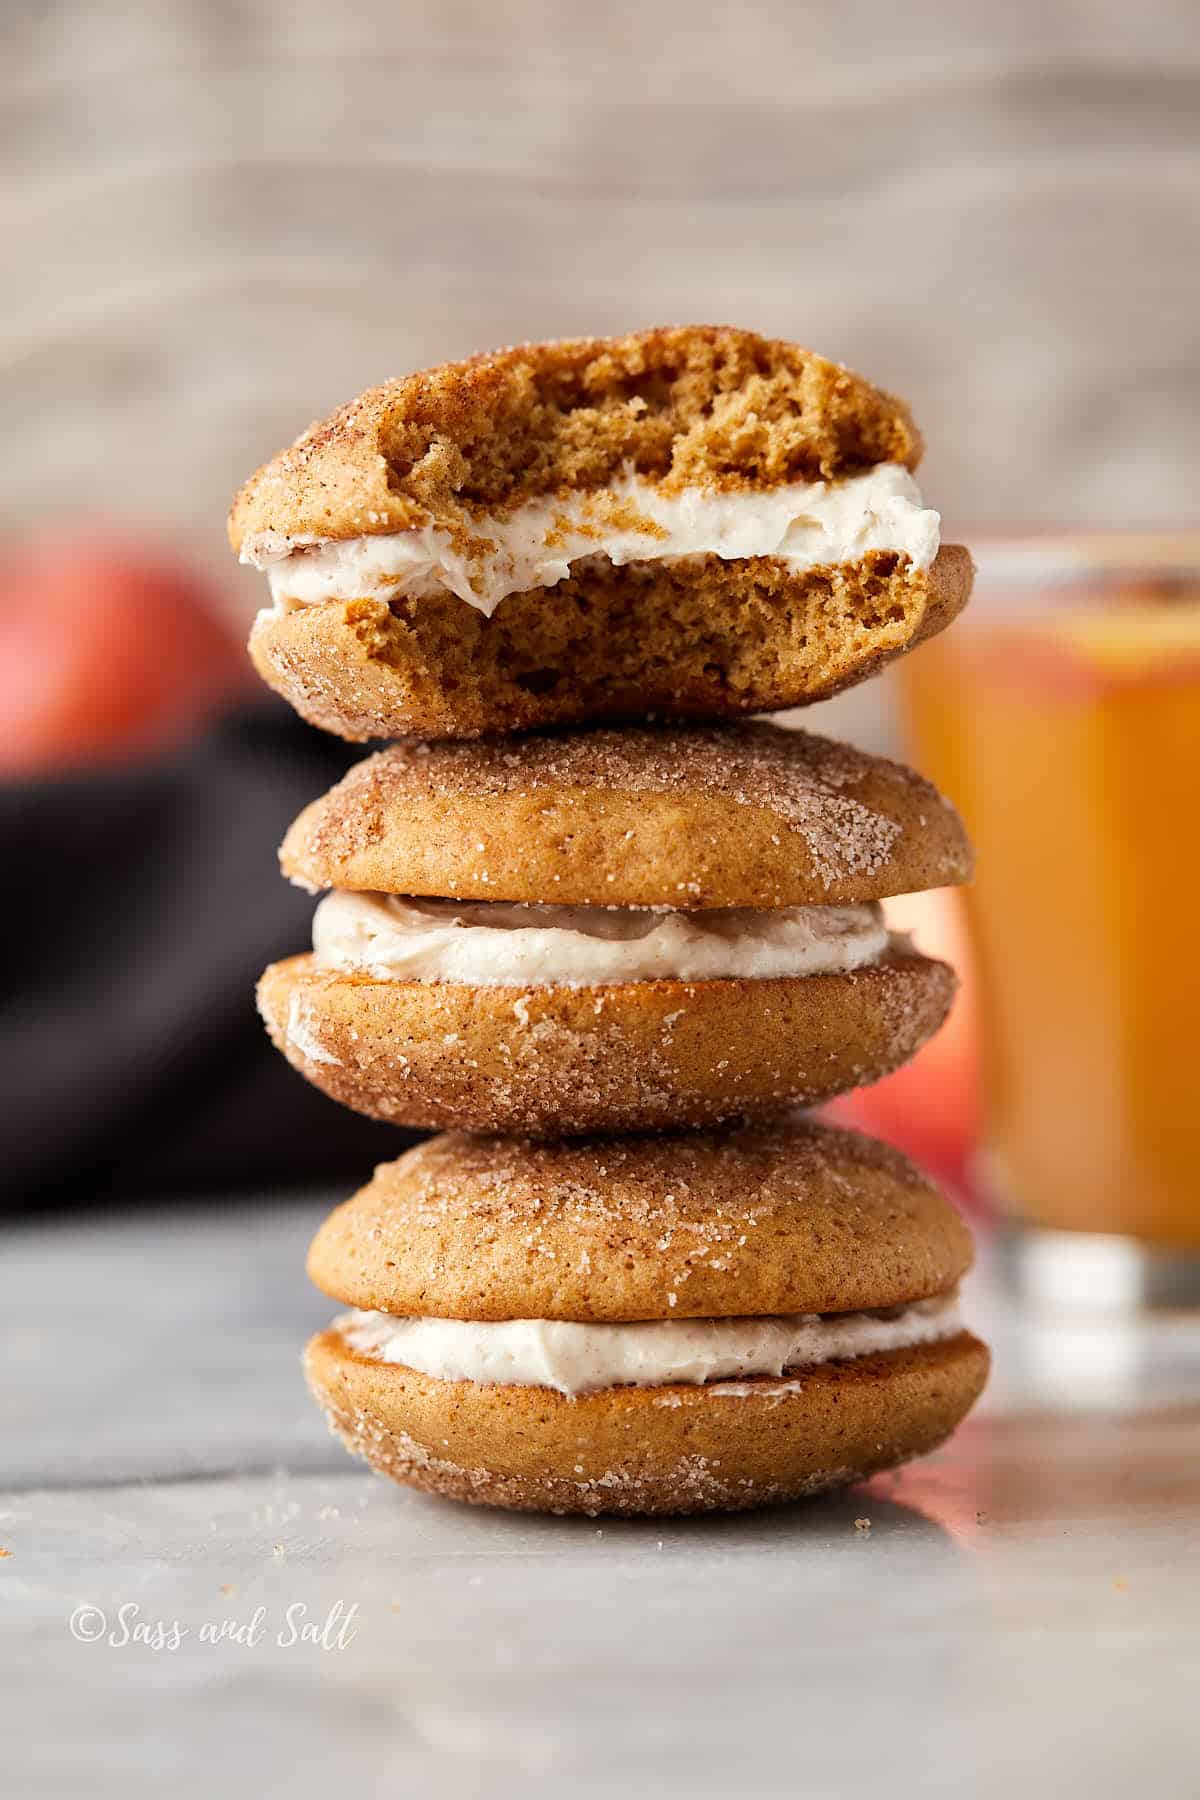
Craving the cozy flavors of apple cider donuts but want something extra special? These apple cider whoopie pies are the answer! Like my Apple Cider Muffins with Cinnamon Streusel, these treats pack all the warm, spiced goodness of fall into a fun sandwich cookie format. The secret? We’re using boiled apple cider for even more intense flavor, then adding it to soft, cakey cookies that get rolled in cinnamon sugar. Paired with a creamy, marshmallow-spfilling, they’re absolutely irresistible!
Save this Recipe!
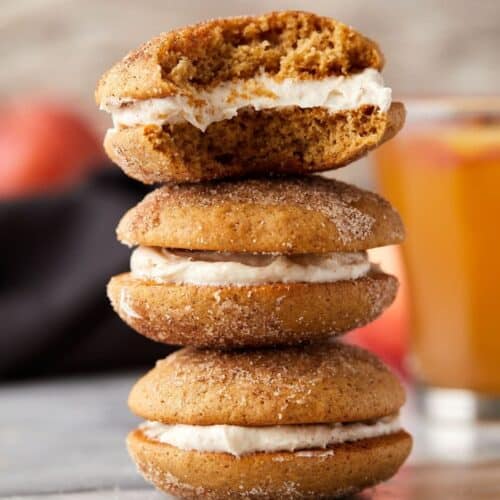
Apple season is my happy place; these might just be my new favorite treat! They’re packed with big apple flavor, warm spices, and the perfect crunch from the topping. For the filling, I added a little marshmallow cream to soften the tang of the cream cheese—a small touch that makes a big difference. But if you don’t have any, no worries! They’re just as delicious without it.
What you’ll love about this recipe:
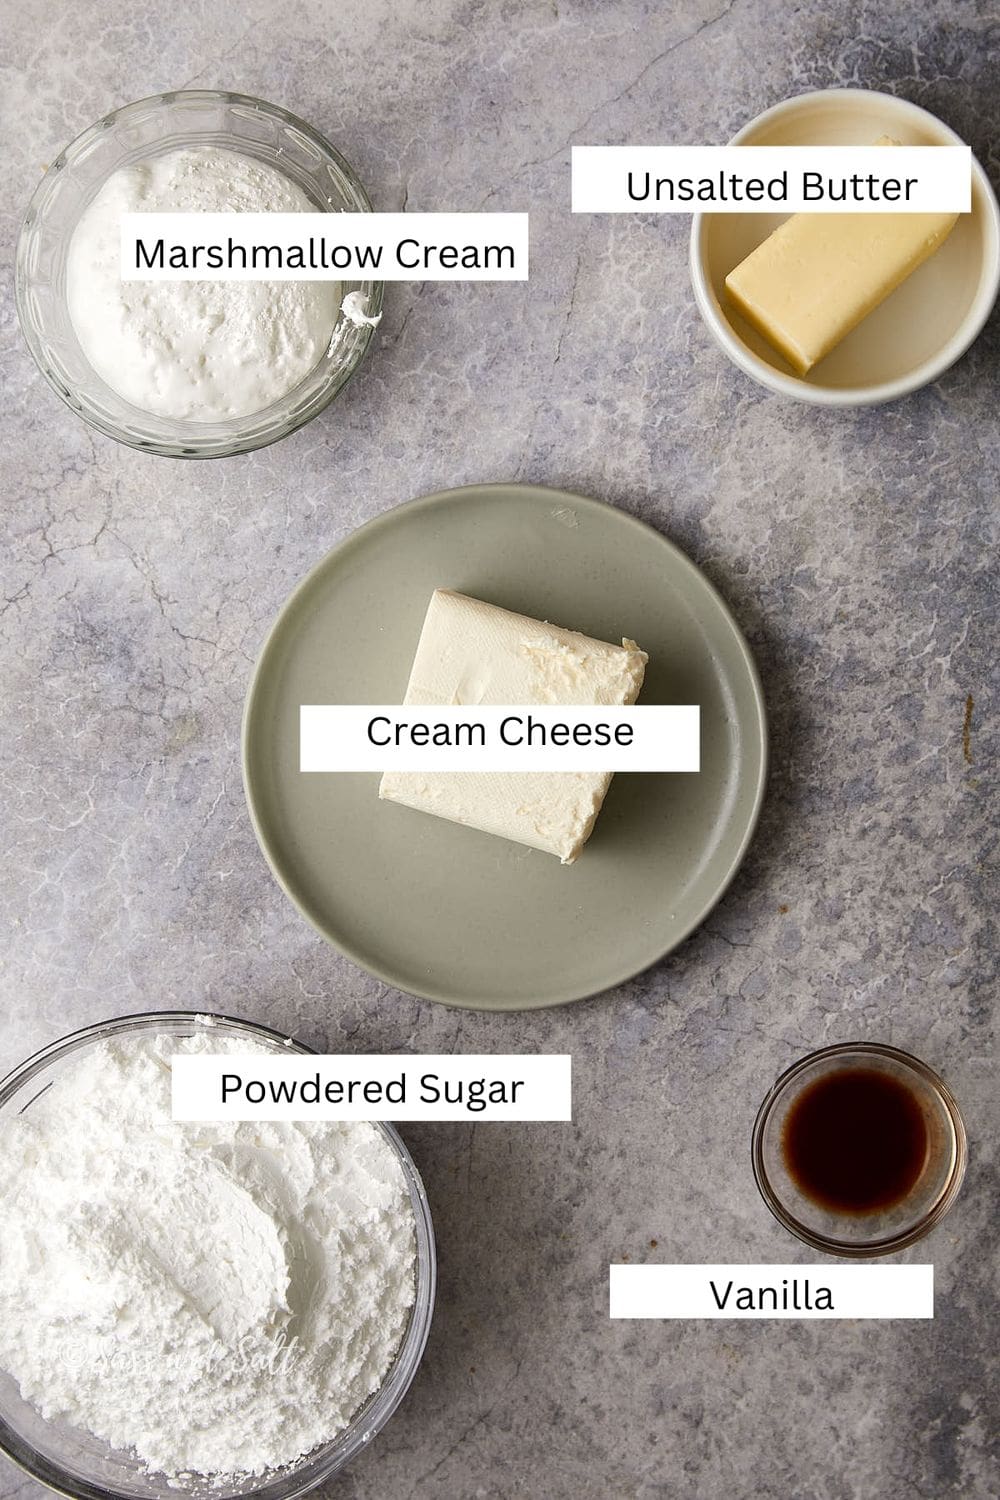
Key Ingredients & Why They Work
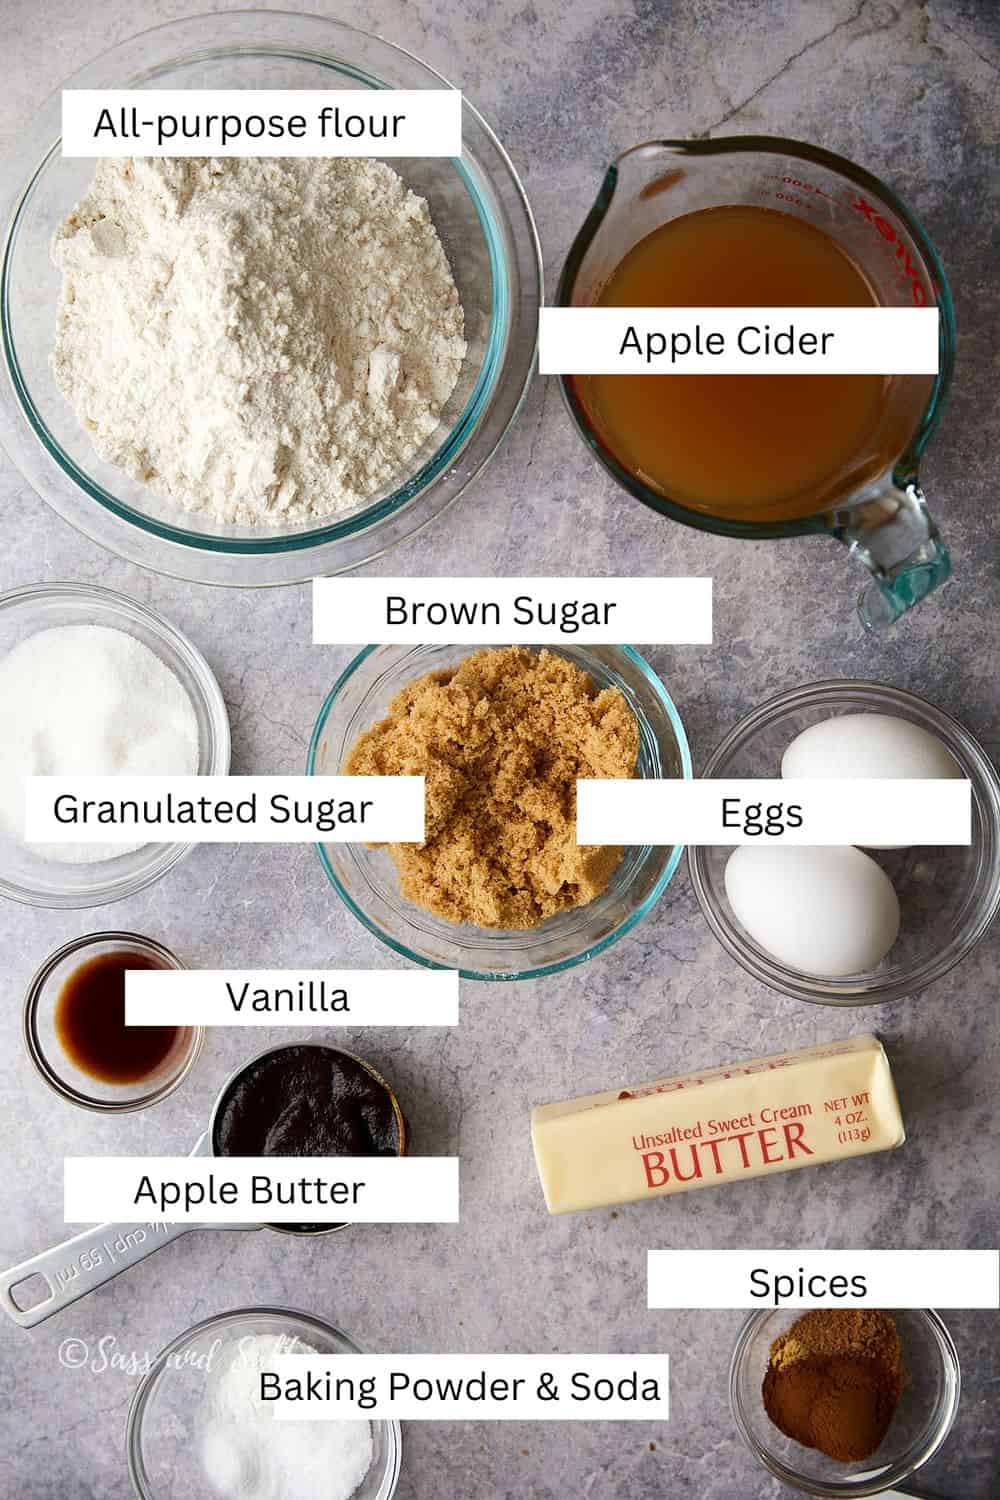
- Fresh Apple Cider – The heart of these cookies! Reducing it concentrates the flavor and makes all the difference. Don’t substitute apple juice – it lacks the depth we need. This is non-alcoholic juice, not vinegar. It is usually found in the produce section in the grocery store or at your local farmer’s market.
- Apple Butter – Our secret weapon! Adds extra apple intensity and keeps the cookies moist for days. It’s the magic behind these Baked Apple Cider Donuts with Apple Butter Glaze, where it enhances both the batter and the luscious glaze. If you haven’t baked with apple butter yet, now’s the time!
- Warm Fall Spices – A blend of cinnamon, nutmeg, and ginger creates that classic apple cider donut flavor we all love.
- Marshmallow Fluff – The game-changer in our filling! It lightens the cream cheese frosting and gives it that perfect, pipeable texture.
Let’s Make Some Apple Cider Whoopie Pies!
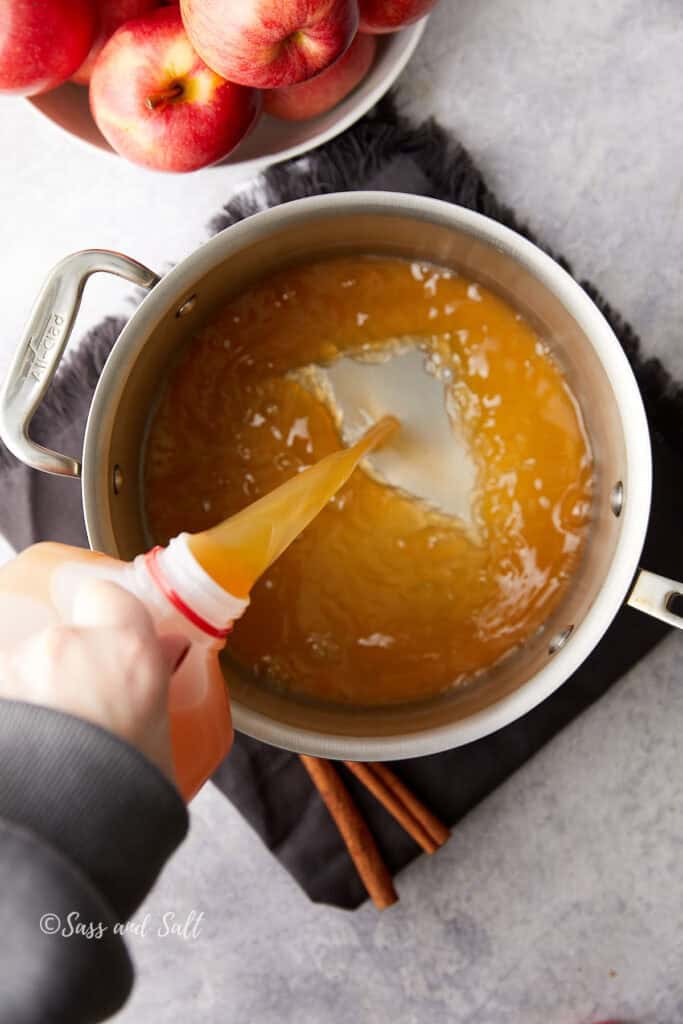
Step 1: Pour apple cider into a saucepan and bring it to a boil over medium-high heat.
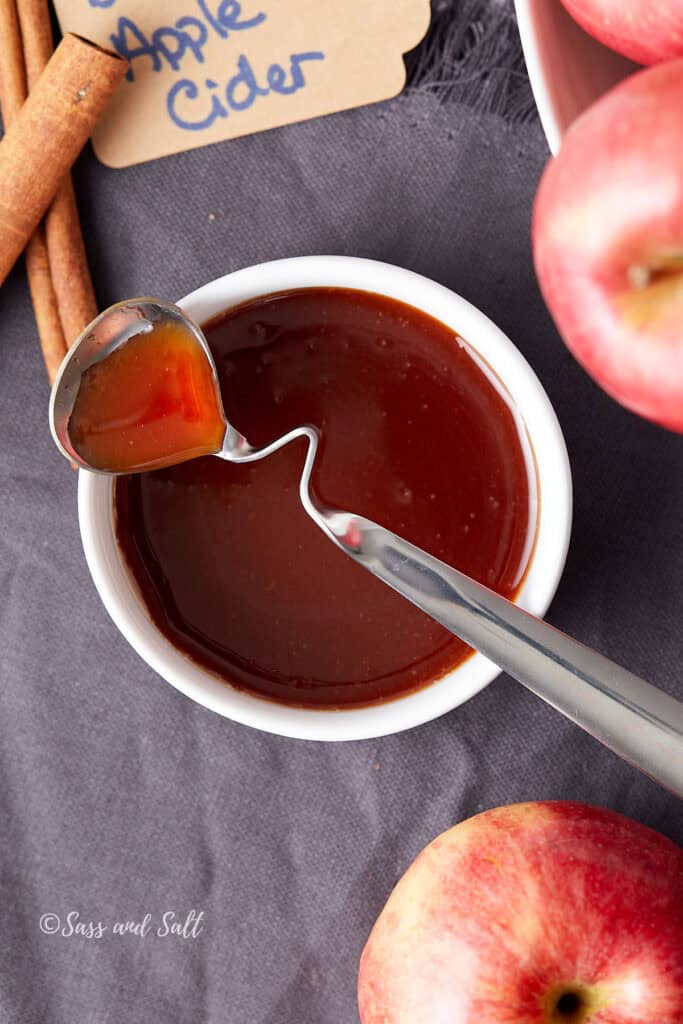
Step 2: Let it simmer until it reduces to a 1/4 cup concentrated syrupy consistency. Set aside to cool completely before using. Pro tip: Want to save time? Reduce the cider the night before and store it in the fridge.
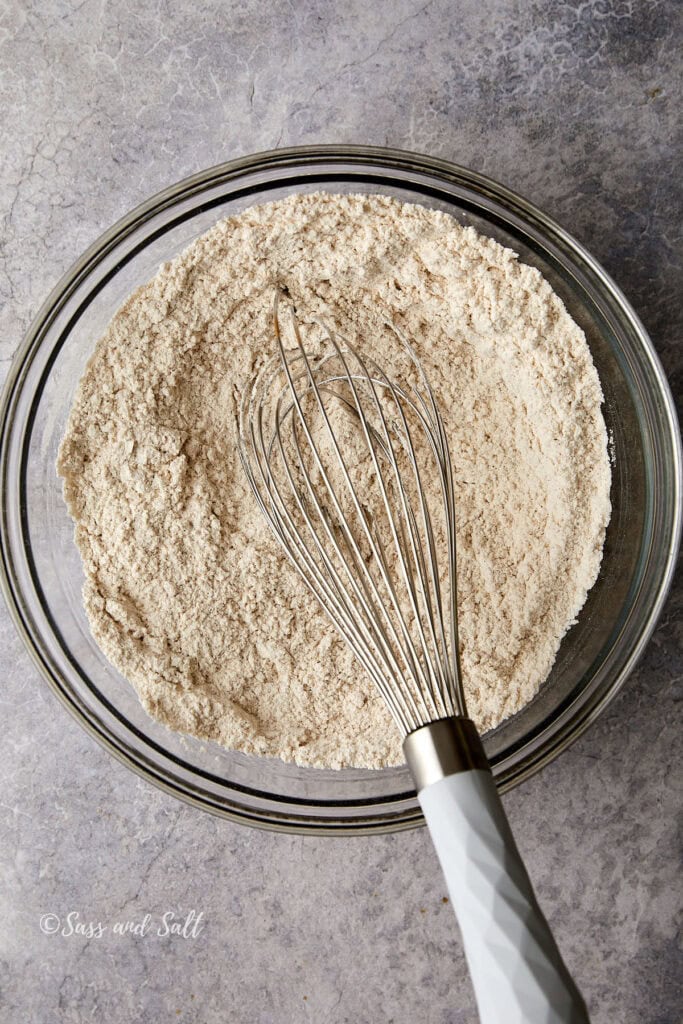
Step 3: In a medium bowl, whisk together flour, baking powder, salt, baking soda, cinnamon, nutmeg, and ginger.
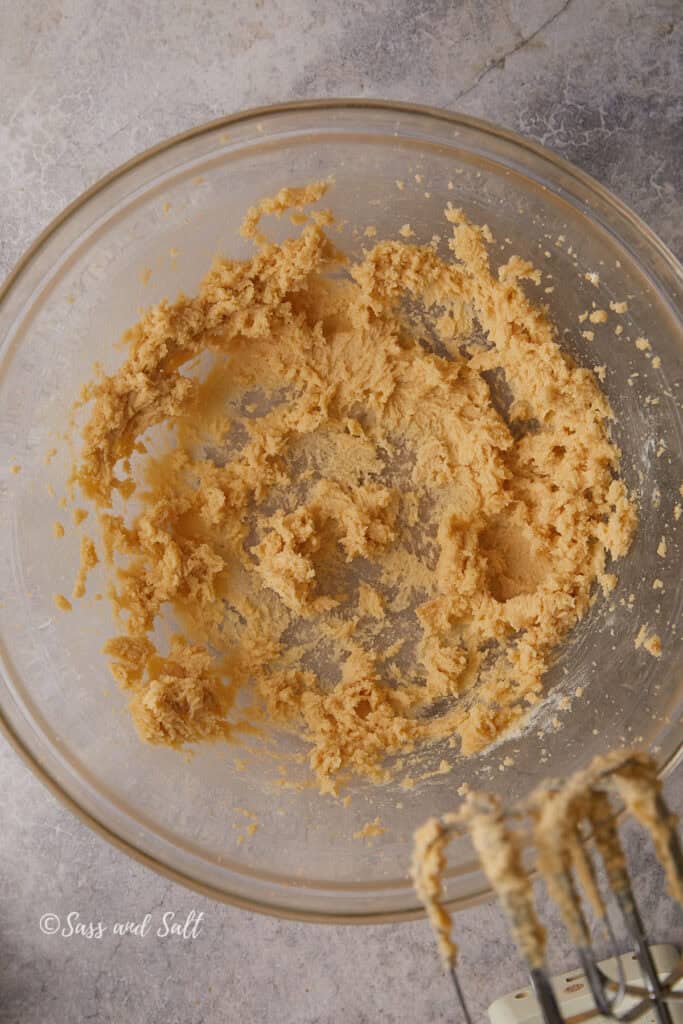
Step 4: Cream together butter, brown sugar, and granulated sugar until light and fluffy, about 3 minutes
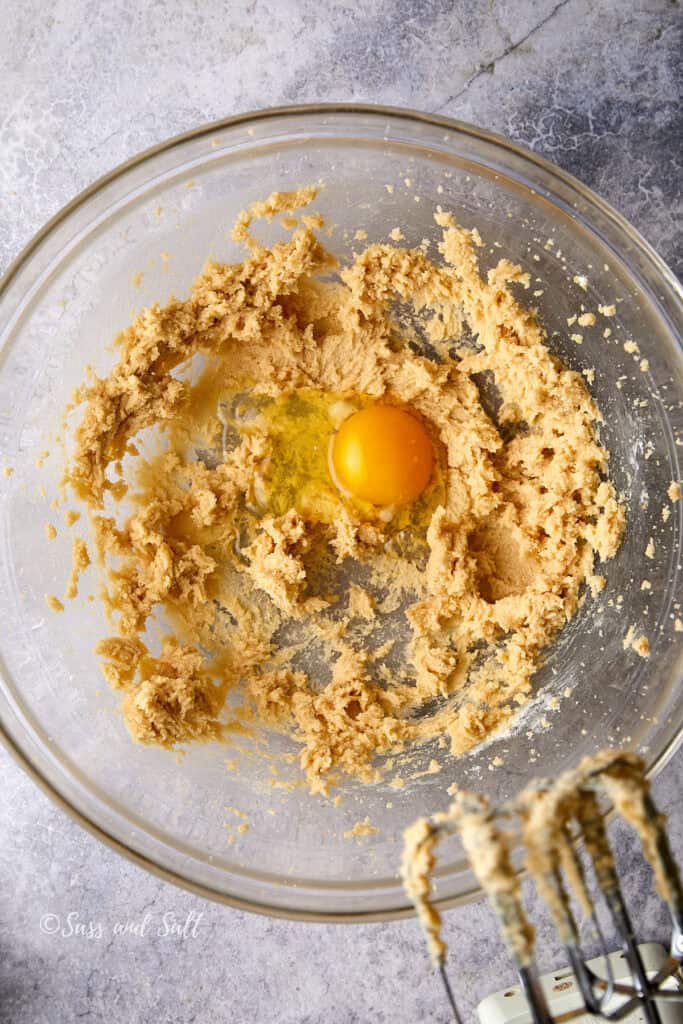
Step 5: Beat in eggs one at a time.
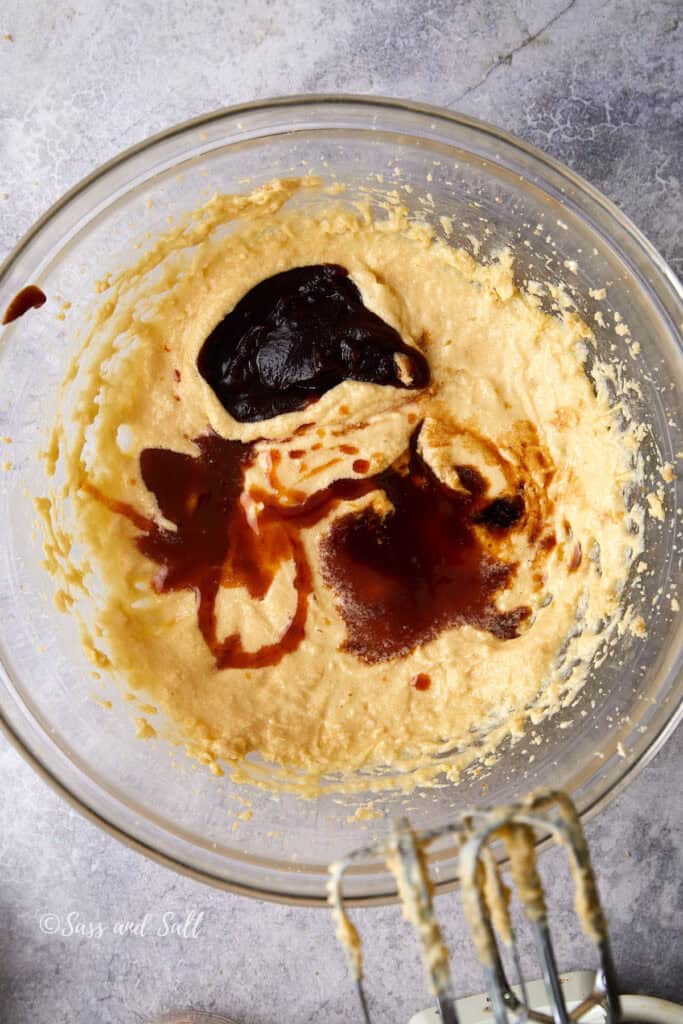
Step 6: Add the apple butter, cooled reduced apple cider, and vanilla extract. Mix until well combined.
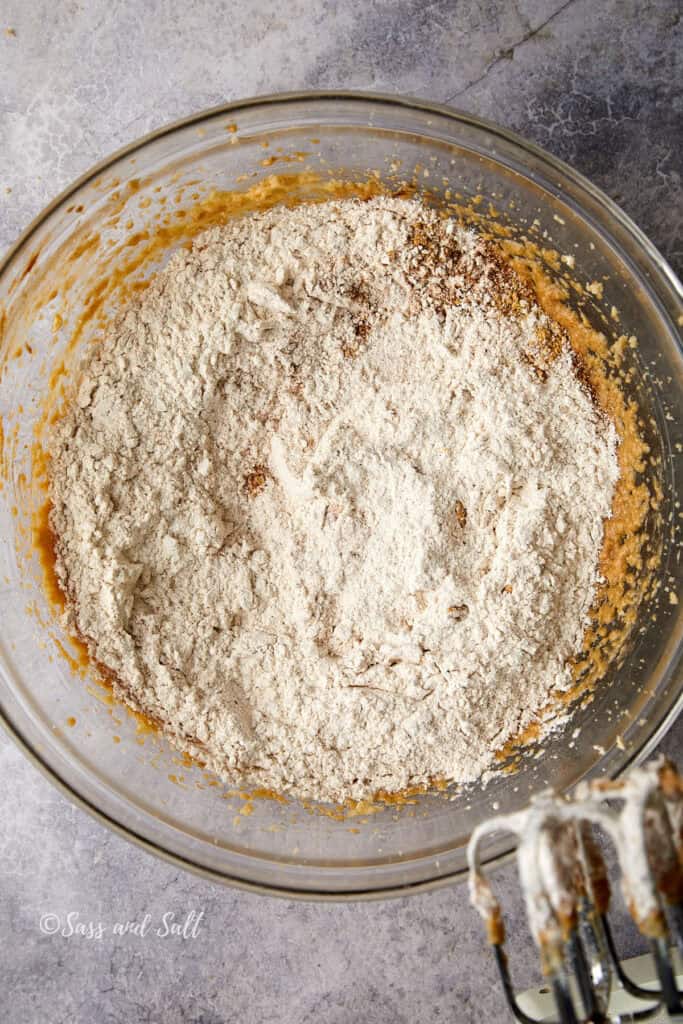
Step 7: Add dry ingredients to the wet ingredients.
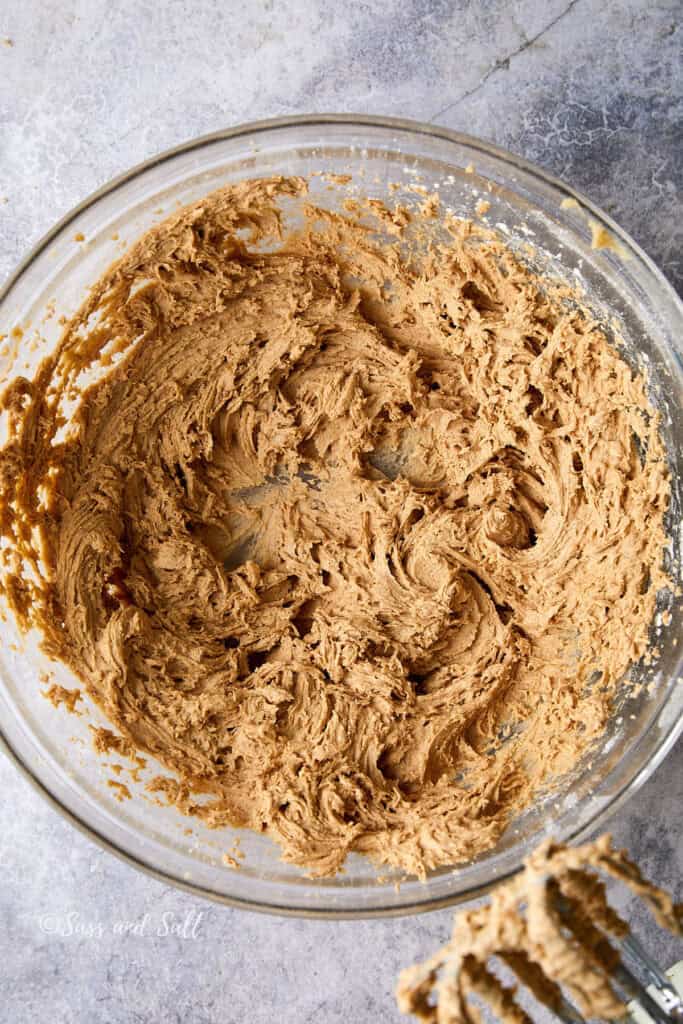
Step 8: Mix until it just combined, the mixture will be thick.
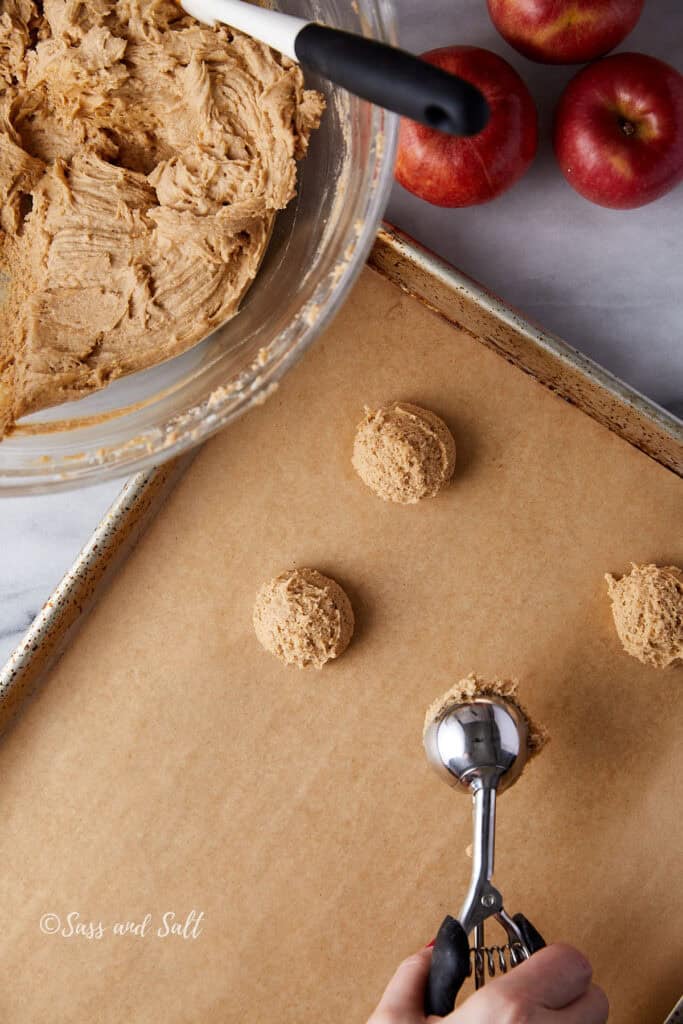
Step 9: Use a 1 1/2 tablespoon cookie scoop (#40). Drop the batter onto the prepared baking sheets, spacing them about 2 inches apart.
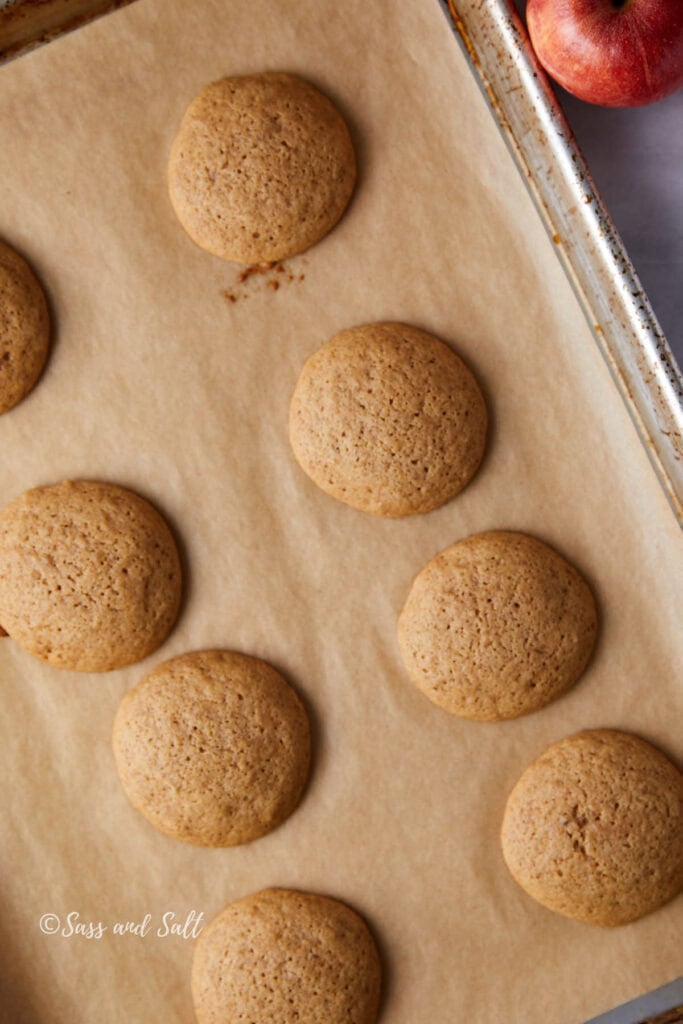
Step 10: Bake for 12-14 minutes, or until the edges are lightly browned and the centers spring back when touched.
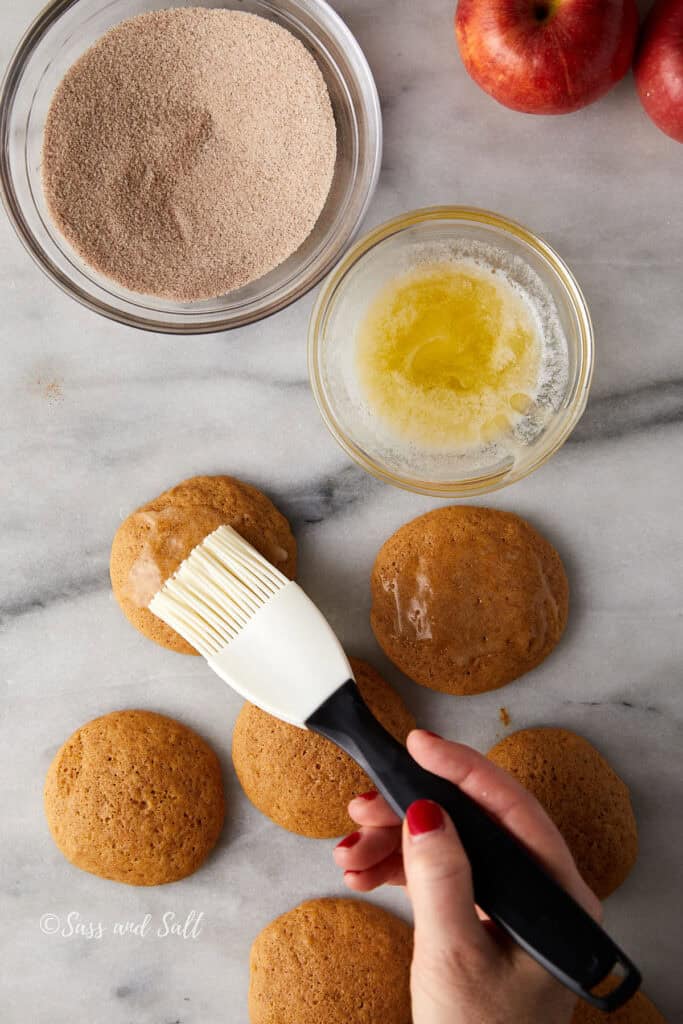
Step 11: In a small bowl, mix granulated sugar and cinnamon.
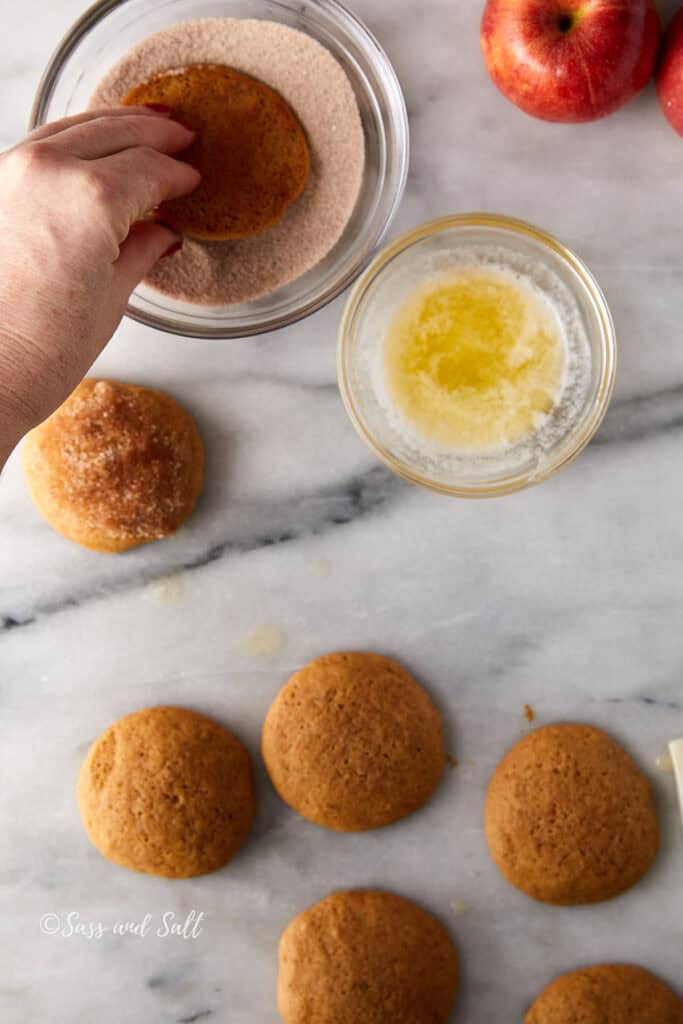
Step 12: Lightly brush melted butter onto the tops of the cooled cookies, then roll them in the cinnamon sugar mixture.
Make the filling
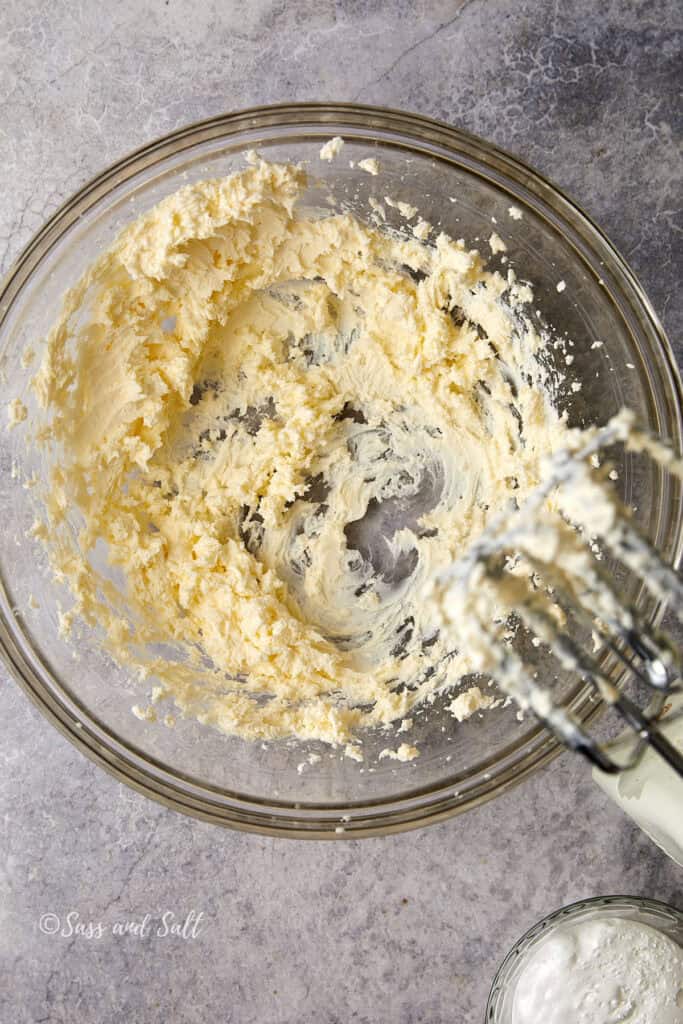
Step 13: Beat cream cheese and butter together until smooth.
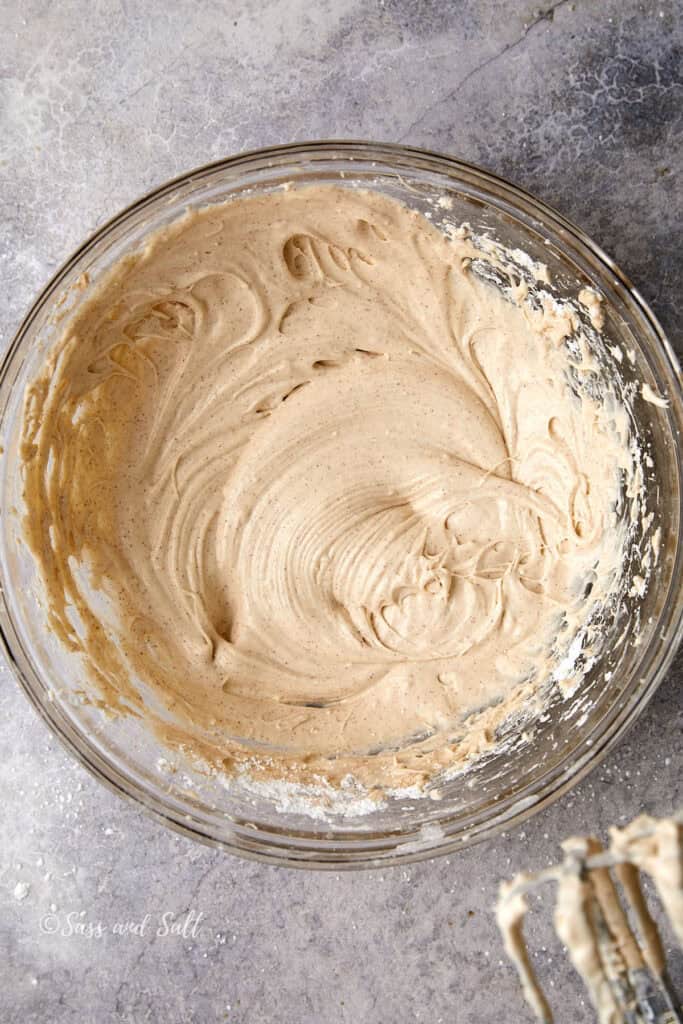
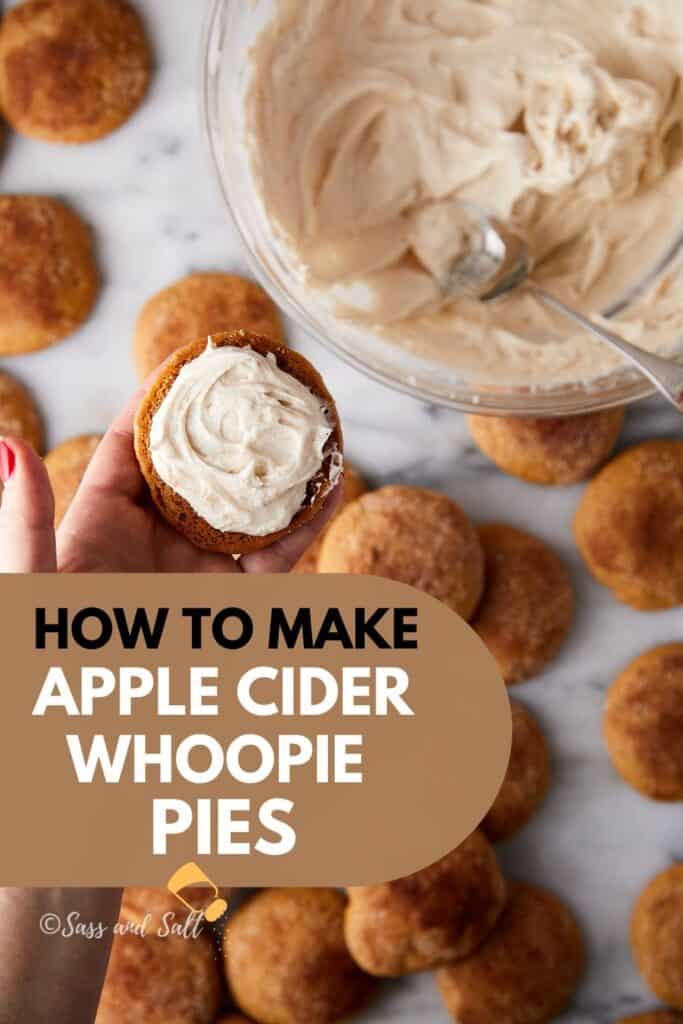
Step 14: Add powdered sugar, vanilla extract, marshmallow fluff, and cinnamon (if using), and mix until light and fluffy.

Step 15: Pipe or spread filling onto half the cookies’ flat side.
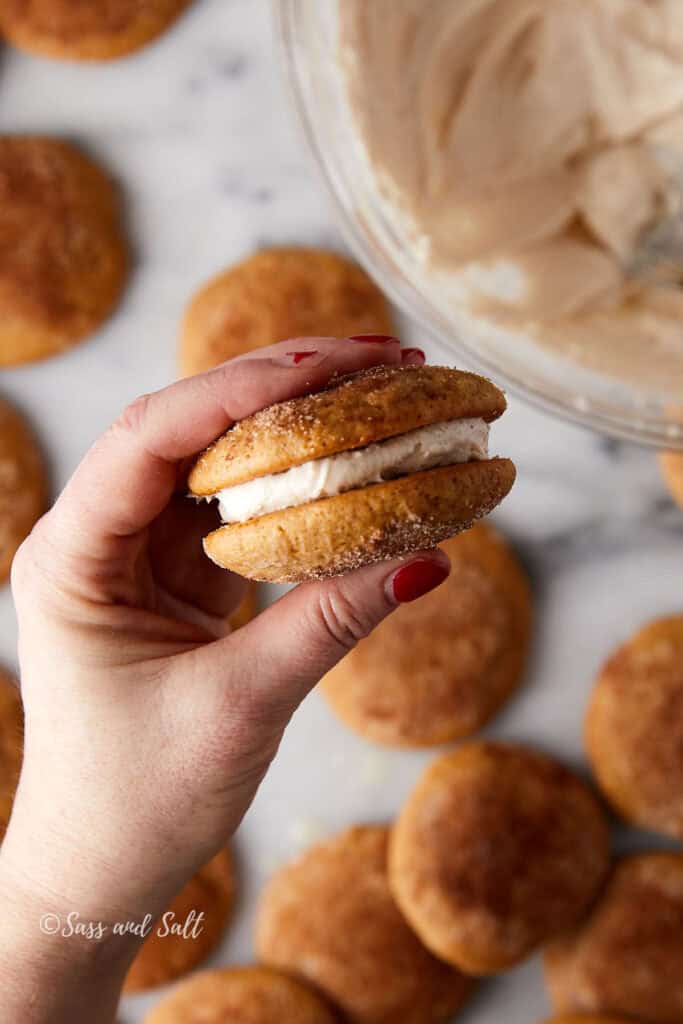
Step 16: Top with the remaining cookies to create sandwiches.
Tips for Perfect Apple Cider Whoopie Pies
Pro Tips for the Perfect Apple Cider Reduction
- Start with 1¼ cups fresh apple cider (don’t use apple juice!)
- Simmer on medium-high heat for 15-20 minutes until you have ¼ cup
- Look for a darker color and slightly syrupy texture
- Let it cool completely before adding to your batter
- Make this the night before to save time on baking day
Perfect Size Every Time
- Use a 1 1/2 tablespoon cookie scoop for consistent sizing
- Look for slightly springy tops when done
- Let cool 5 minutes on the pan before moving
Filling & Finishing Touches
- Try brown sugar cream cheese frosting for extra caramel notes
- Pipe a ring of frosting and fill the center with apple butter
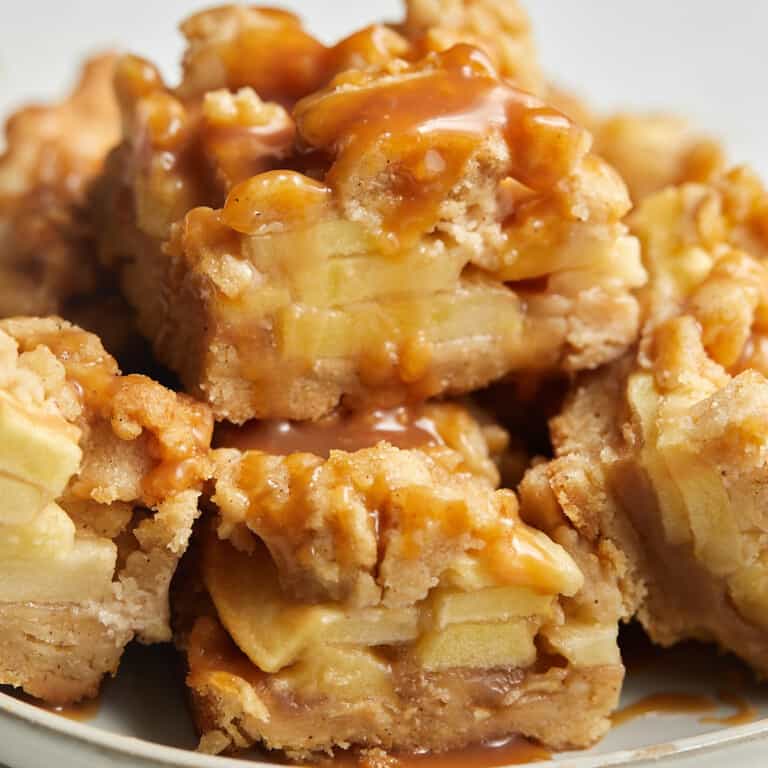
- Add a caramel drizzle for extra wow factor
Frequently Asked Questions
No way! Apple juice lacks the complex, tangy flavor that makes these whoopie pies special. Fresh apple cider is worth the extra effort – trust me on this one!
If they spread too much, the batter may have been too thin. Make sure to fully reduce the apple cider to ½ cup (120ml)—this step is key! Also, be sure your butter is at room temperature and avoid overmixing.
Absolutely! These taste even better the next day. You can make the components separately (cookies up to 2 days ahead, filling 1 day ahead) or freeze assembled whoopie pies for up to 3 months.
A cookie scoop is your best friend here! I use a 1 1/2-tablespoon scoop for perfect portions every time. Space them 2 inches apart on your baking sheet.
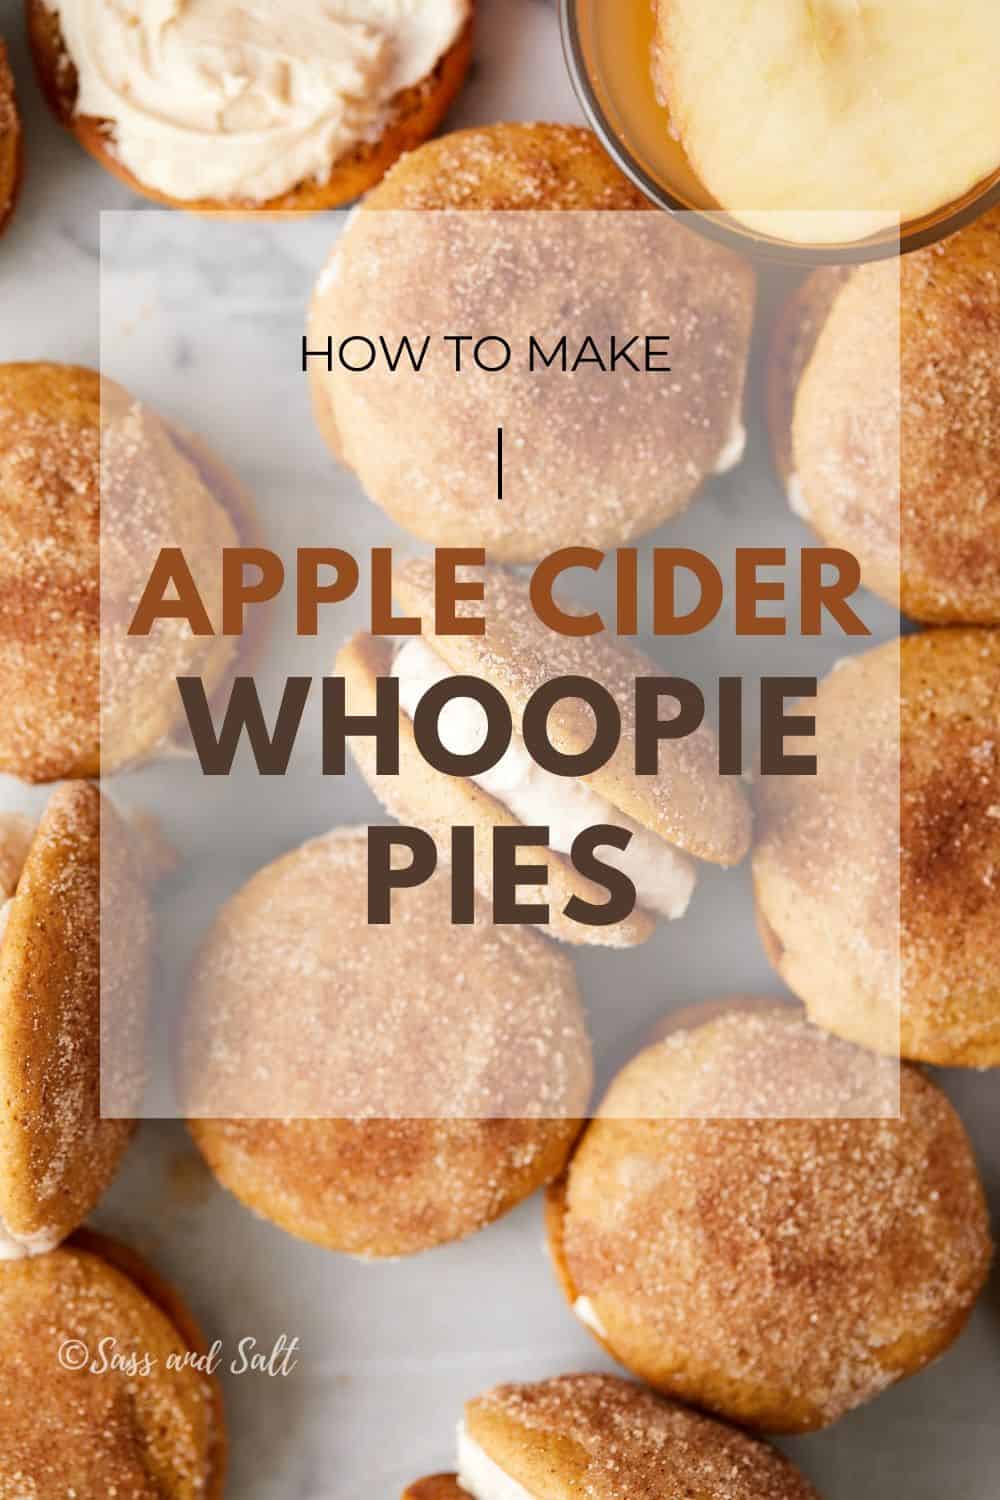
Apple Cider Whoopie Pies with Cinnamon Cream Cheese Filling
Equipment
Ingredients
- 1 1/4 cups (300ml) apple cider
- 2 cups (284g) all-purpose flour
- 1 1/2 teaspoons ground cinnamon
- 1/2 teaspoon ground nutmeg
- 1 teaspoon (4g) Diamond Crystal kosher salt; for table salt, use about half as much by volume or the same weight.
- 1 teaspoon baking powder
- 1/4 teaspoon baking soda
- 1/4 teaspoon ground ginger
- 1/2 cup (8 Tbsp; 115g) unsalted butter, room temperature
- 1/2 cup (100g) packed light brown sugar
- 1/4 cup (50g) granulated sugar
- 2 large eggs, room temperature
- 1/4 cup (58g) apple butter
- 1 teaspoon vanilla extract
For the Cinnamon Sugar Coating:
- 2 tablespoons unsalted butter, melted
- 1/4 cup (50g) granulated sugar
- 1 teaspoon ground cinnamon
For the filling
- 4 oz cream cheese, softened
- 1/4 cup (4 Tbsp; 58g) unsalted butter, softened
- 1 3/4 cups (350g) confectioner's sugar
- 1/3 cup (114g) marshmallow fluff
- 1/2 teaspoon cinnamon
- 1/2 teaspoon vanilla extract
Instructions
Reduce the Apple Cider
- Bring the apple cider to a boil in a small saucepan over medium-high heat, stirring occasionally. Let it boil until reduced to 1/4 cup (60ml)—start checking at 10, 15, and 20 minutes until you reach the right amount. Mine usually takes about 20 minutes. Let it cool for 10 minutes before using in step 4. You can also make the reduction in advance—cover and refrigerate it, then bring it to room temperature before using.
- Preheat the oven to 350°F (177°C). Line two baking sheets with parchment paper or silicone baking mats. Set aside.
- Whisk the flour, cinnamon, nutmeg, salt, baking powder, baking soda, and ginger in a medium bowl.
- In another large bowl using a hand mixer or a stand mixer fitted with a paddle attachment, beat the butter, brown sugar, granulated sugar, on mat medium-high speed until creamed, forut 1 minute.
- Beat in eggs one at a time, mixing well after each addition, then add the apple butter, cooled reduced apple cider, and vanilla extract. Mix until well combined.
- Add the dry ingredients to the wet ingredients, then mix on low until completely combined. Batter will be thick and creamy.
- Using a medium cookie scoop, scoop mounds of batter, about 1 and 1/2 Tablespoons each, onto prepared baking sheets about 2 inches apart.
- Bake the cookies for 12-14 minutes or until the edges are very lightly browned and the tops spring back when lightly touched. Remove from the oven and allow cookies to cool on the baking sheet for 5 minutes.
- While the cookies are baking mix, the sugar and cinnamon for the coating in a small bowl.
- Once the cookies are done, let them cool on the baking sheet for 5 minutes. Brush each cookie with melted butter and dip in the cinnamon sugar mixture.
- Make the filling: In a large bowl using a handheld or stand mixer fitted with a paddle attachment, beat the cream cheese and butter until completely smooth and creamy, about 2 minutes. Add the confectioners’ sugar, marshmallow fluff, cinnamon, and vanilla extract. Then beat on medium speed until combined. Taste; if it is too sweet, add a pinch of salt.
- Pair the cookies up based on their size. Spread (I just spread it on with a knife) or pipe (use Wilton 1A piping tip) the frosting onto the flat side of one cookie. Top with teaming cookies to form sandwiches.
- Serve immediately. Cover leftover whoopie pies and store them in the refrigerator for up to 5 days.
Save this Recipe!
Notes
-
- Frosting can be made up to 2 days in advance and stored in the fridge. It will thicken after chilling—just beat it with a mixer and add 1 tablespoon of apple cider or milk to thin if needed.
- Whoopie pie batter can be made a day ahead, covered, and refrigerated. Bring it to room temperature before baking.
- Baked and filled whoopie pies freeze well for up to 3 months. Wrap them individually in plastic wrap, place them in a freezer-safe container, and thaw overnight in the fridge or at room temperature before serving.